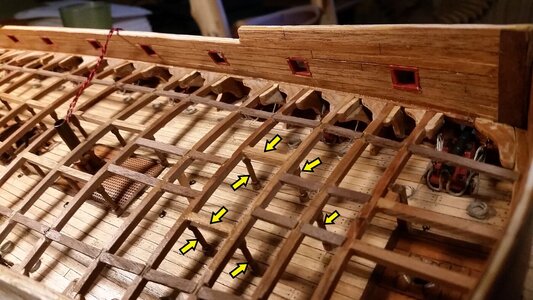
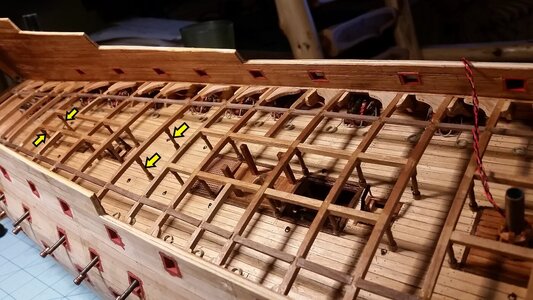
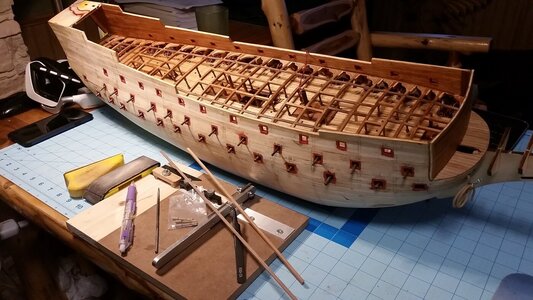
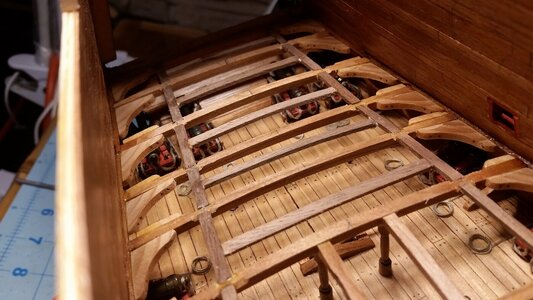
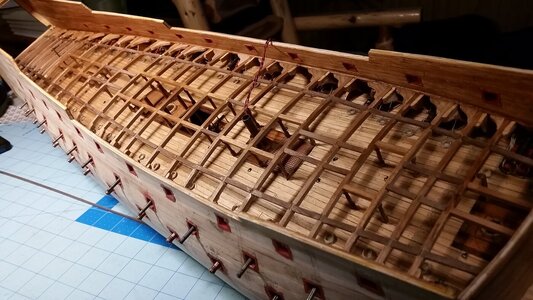
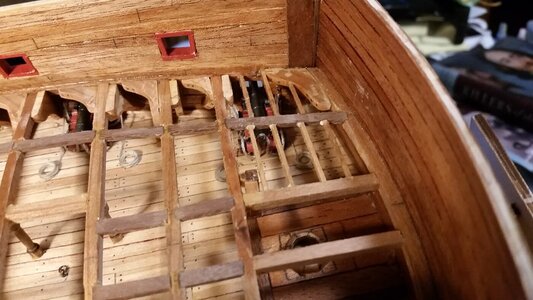
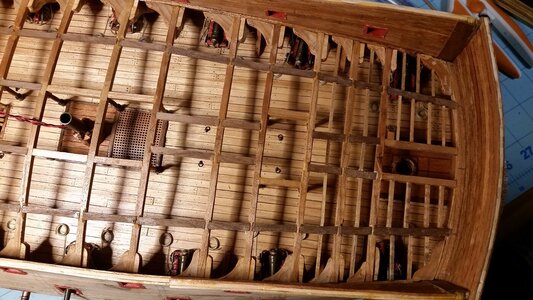
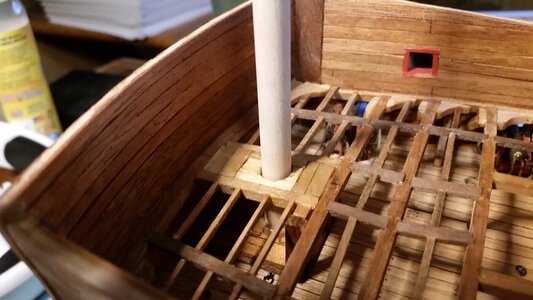
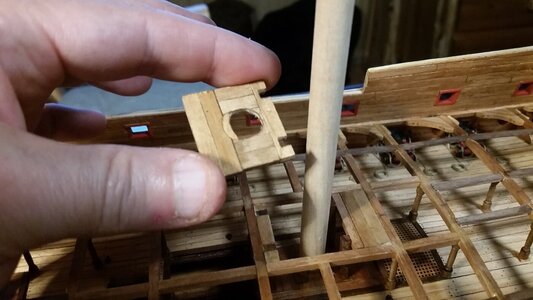
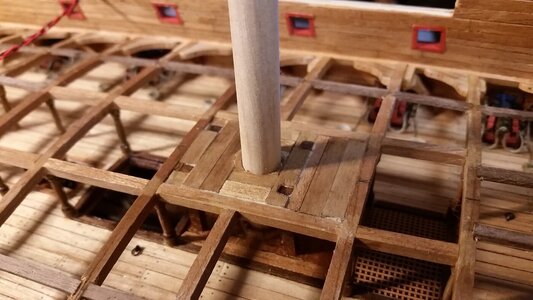
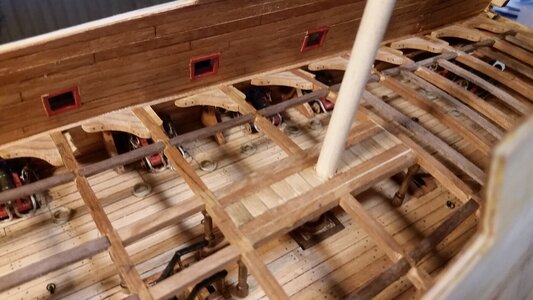
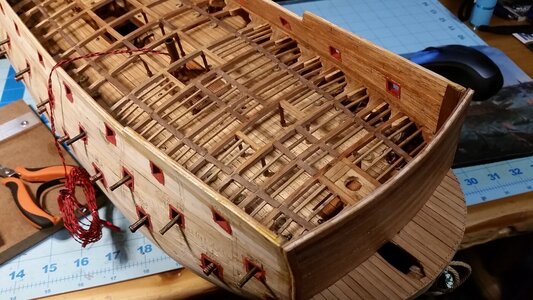
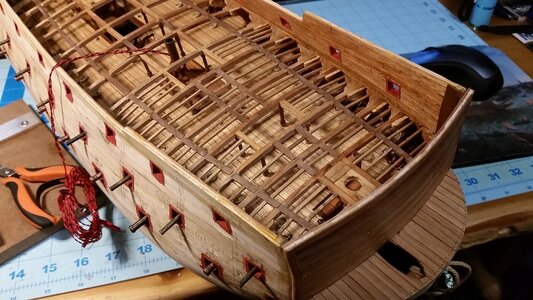
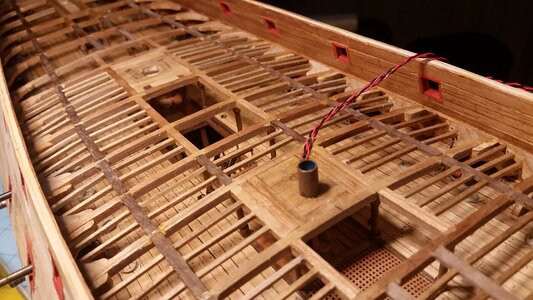
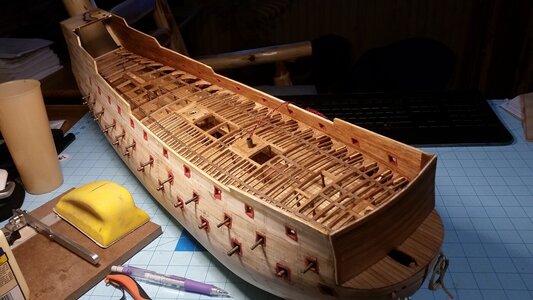
Today the carlings were begun. The starboard carlings were made as follows.
A line marking where center of the carlings will be installed was drawn along the tops of the beams earlier in this build. This long, slightly curved line helps keep all the carlings lined up nicely.
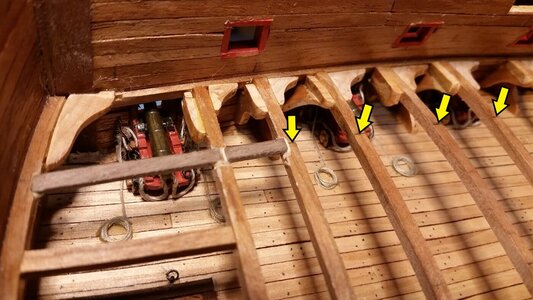
File the first beam at 45 degrees making the width as wide as the strip of wood used for the carlings.
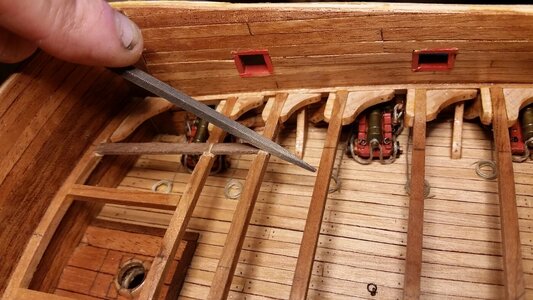
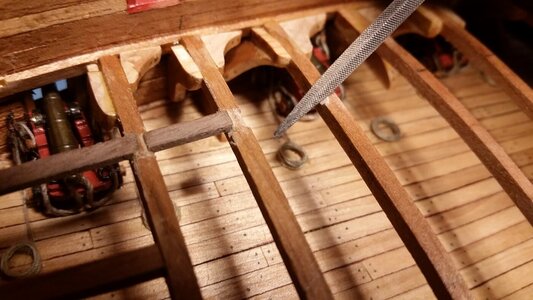
File the second beam, making a second, shallow bevel.
Take the 1x3mm strip and sand the end to 45 degrees
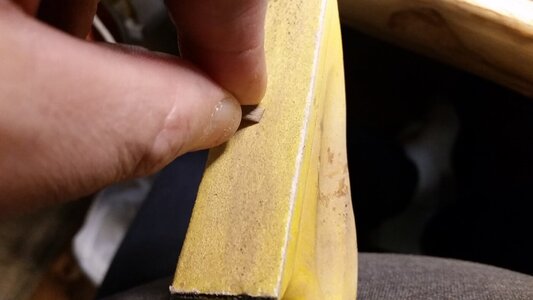
The end of the strip will fit in the bevel, with the top of the carling flush with the top surface of the beams.
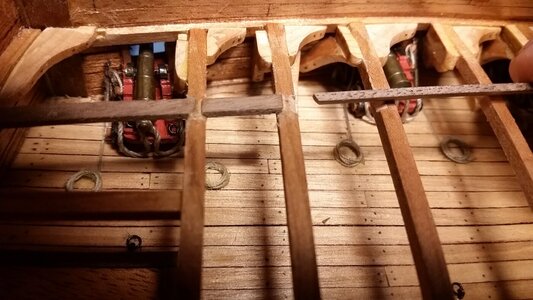
Lay the end of the strip in position and mark the length of the carling with a pencil.
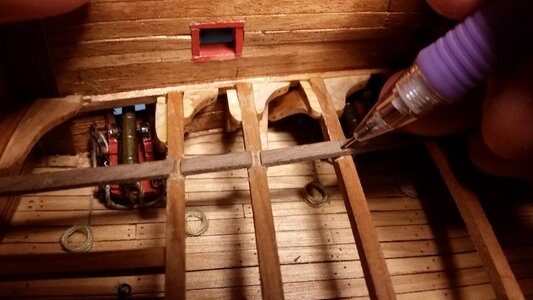
Chop the carling to length.
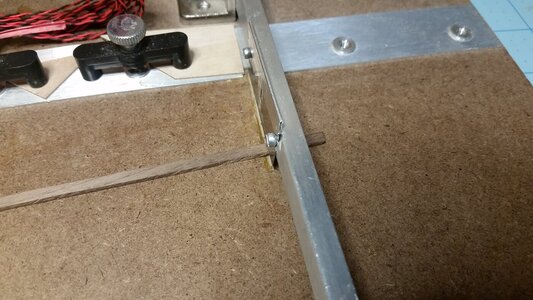
Bevel the opposite end of the carling.
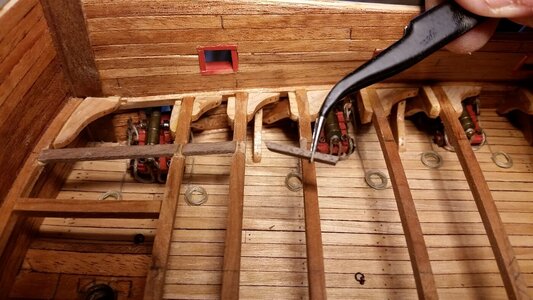
Test fit. If the carling is not flush with the beams, sand one end a bit shorter until it fits perfectly.
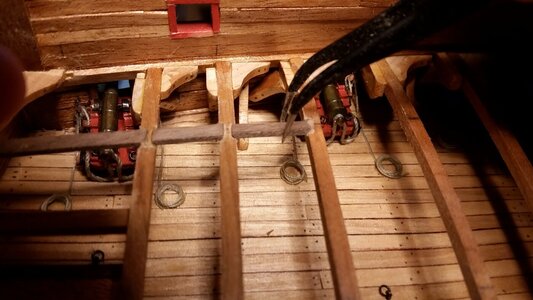
Apply PVA glue. I use Tightbond II Premium for all model work because it's strong.
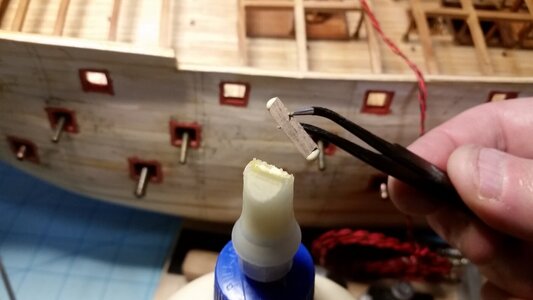
Place the carling in place, and adjust its position so it lines up with the previous carling and the lines on the beams.
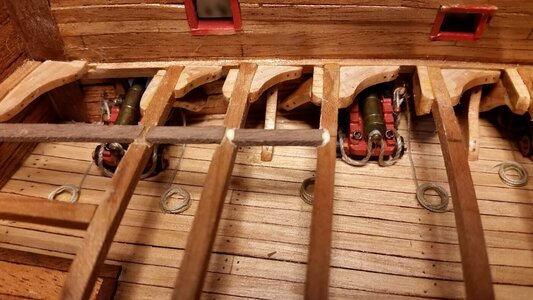
Wipe off the excess glue. When dry, each piece adds strength to the deck structure until the entire support structure is surprisingly strong.
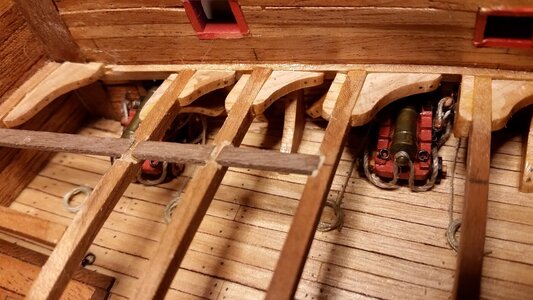
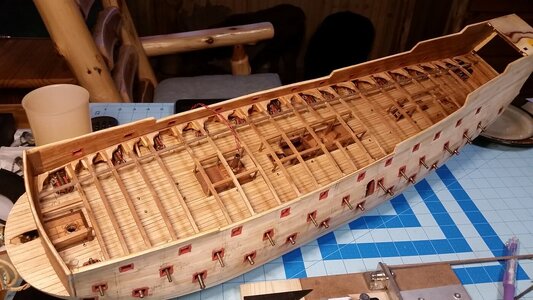
Starboard carlings are all installed. There are some carlings to install near the center of the deck, as well as the line of carlings on the port side to do. This shows you how much of scratch work in building is actually quite easy using basic techniques, and you don't have to be a master carver to add a lot of nice details to your model, although I am still very envious of Paul's miniature painting skills and Jano's carving skills. As a newer builder, I can still make a complex model in many regards as long as I do the proper planning and spend the time.
A line marking where center of the carlings will be installed was drawn along the tops of the beams earlier in this build. This long, slightly curved line helps keep all the carlings lined up nicely.

File the first beam at 45 degrees making the width as wide as the strip of wood used for the carlings.

File the second beam, making a second, shallow bevel.

Take the 1x3mm strip and sand the end to 45 degrees

The end of the strip will fit in the bevel, with the top of the carling flush with the top surface of the beams.

Lay the end of the strip in position and mark the length of the carling with a pencil.

Chop the carling to length.

Bevel the opposite end of the carling.

Test fit. If the carling is not flush with the beams, sand one end a bit shorter until it fits perfectly.

Apply PVA glue. I use Tightbond II Premium for all model work because it's strong.

Place the carling in place, and adjust its position so it lines up with the previous carling and the lines on the beams.

Wipe off the excess glue. When dry, each piece adds strength to the deck structure until the entire support structure is surprisingly strong.

Starboard carlings are all installed. There are some carlings to install near the center of the deck, as well as the line of carlings on the port side to do. This shows you how much of scratch work in building is actually quite easy using basic techniques, and you don't have to be a master carver to add a lot of nice details to your model, although I am still very envious of Paul's miniature painting skills and Jano's carving skills. As a newer builder, I can still make a complex model in many regards as long as I do the proper planning and spend the time.


