HMS Sovereign of the Seas - Bashing DeAgostini Beyond Believable Boundaries

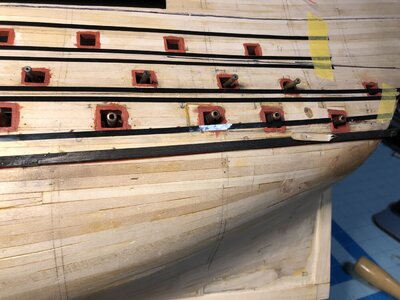
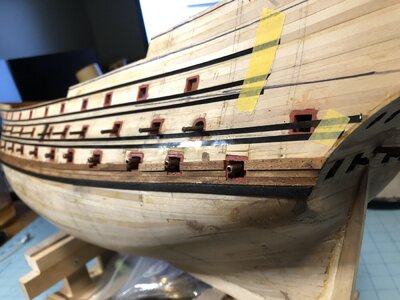
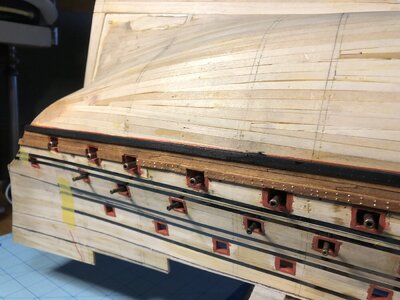
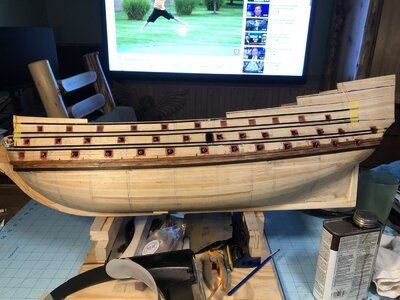
Finished drilling, inserting brass wire, and filing, tamping wires flush, and painting/staining wale for final finish. Also cut the rest of the scarf joints. One wale down, eleven to go!

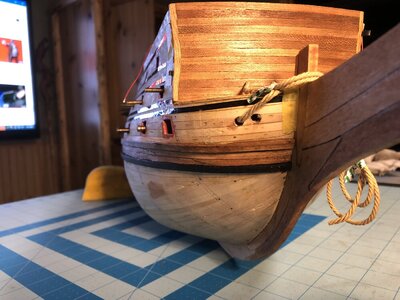
Added the last section of the wale at the stern, where it's easy because it it not curved except at the very end. Lots more brass wire inset into the wale.
1114 Extend Wale Strip to Stern.JPG

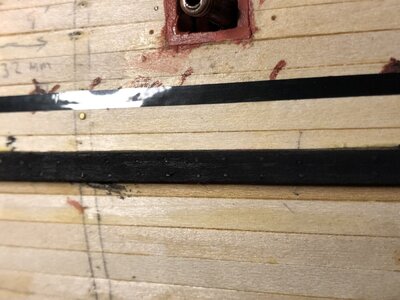
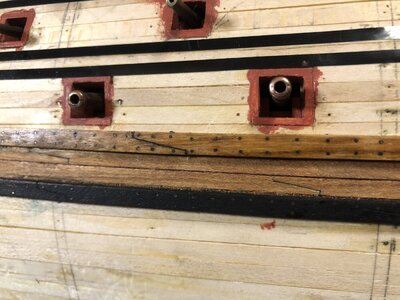
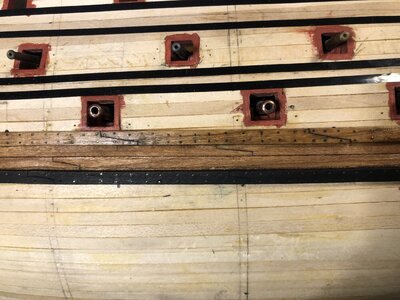
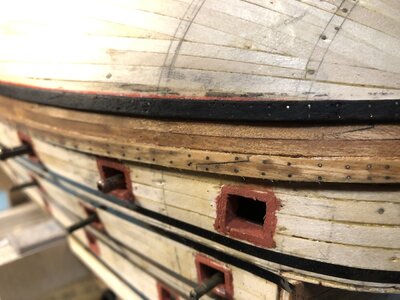
Brass wire filed and tamped in flush, awaiting painting.
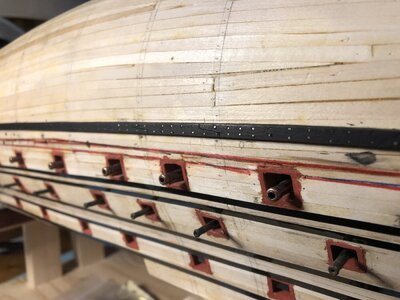
1115 Finished Brass Boltheads.JPG

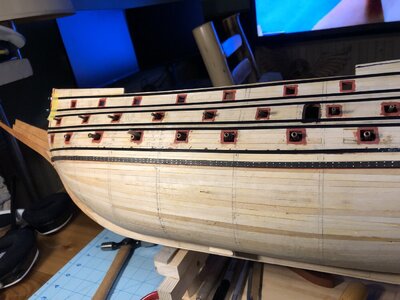
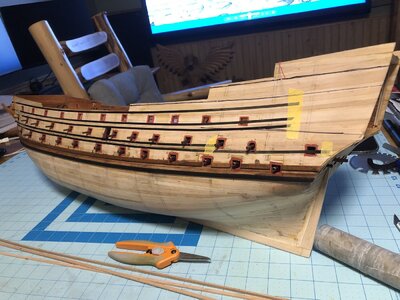
Finished section of wale. The wire ends reflect light more than the wood.
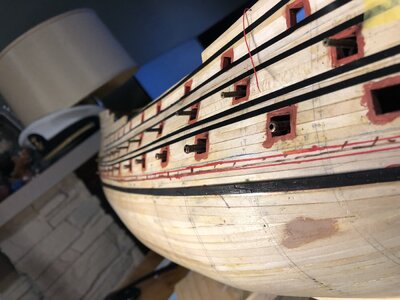
1116 Painted Bolt Heads Black.JPG

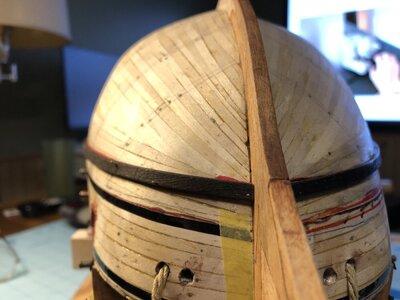
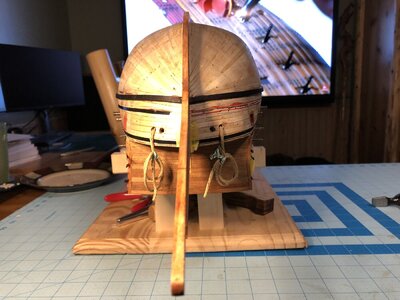
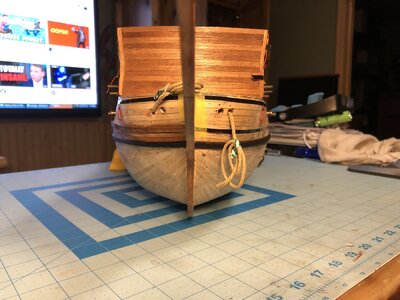
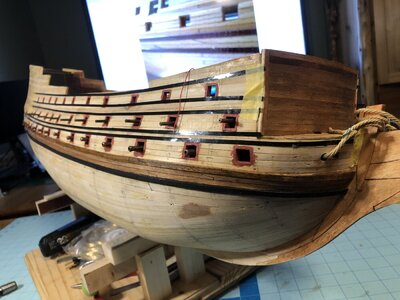
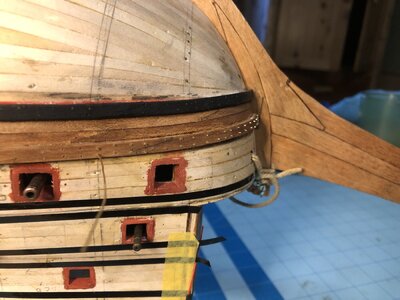
View of wale from the bow. I managed to avoid too much vertical rise in the wale as it approached the stem.
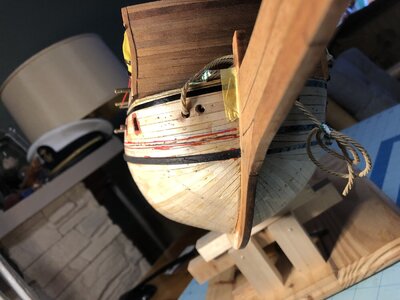
1117 Wale Viewed from Bow.JPG

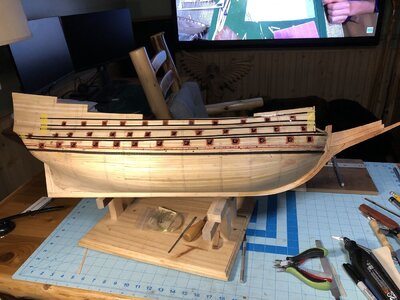
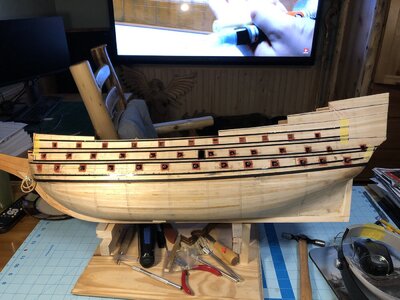
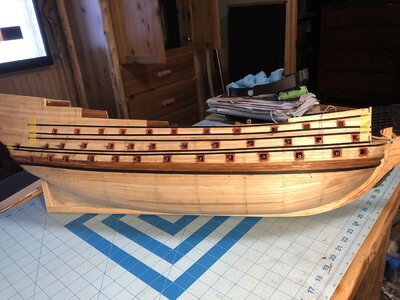
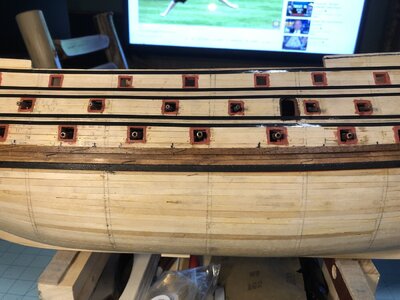
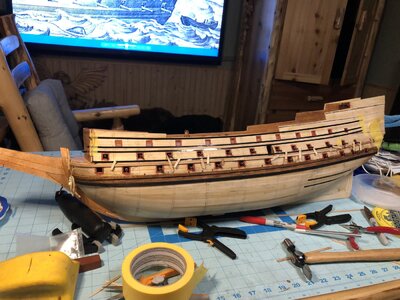
Progress so far.
1118 Starboard Wale Complete.JPG
 
Kurt I really would think about just touching the brass with some brass black on an artist brush.A quick wipe with a damp cloth should neutralise the acid.

Can't help but think the fixings will disappear into obscurity with paint after all that work

Kind Regards

Nigel
 
Finished drilling, inserting brass wire, and filing, tamping wires flush, and painting/staining wale for final finish. Also cut the rest of the scarf joints. One wale down, eleven to go!

Added the last section of the wale at the stern, where it's easy because it it not curved except at the very end. Lots more brass wire inset into the wale.
View attachment 329075

Brass wire filed and tamped in flush, awaiting painting.
View attachment 329076

Finished section of wale. The wire ends reflect light more than the wood.
View attachment 329077

View of wale from the bow. I managed to avoid too much vertical rise in the wale as it approached the stem.
View attachment 329078

Progress so far.
View attachment 329079
The scarf shows up nicely. Also, kudos on making the rounded aft section of the ship. I found it difficult to make both port and starboard portions of the rear to be perfectly symmetrical on my Connie. Great job! And I like your deadwood area. Thanks for showing this portion of the ship.
 
The portside bottom wale is done! That's a LOT of wire bolt heads. Nigel, seeing your hull with a zillion dots makes me dizzy after only doing TWO wales. You have the patience of a saint.

Glued and pinned the strip at the bow first.
1119 Beginning the Port Bottom Wale at the Bow.JPG

Bolt heads made from 24g brass wire.
1120 Brass Wire for Bolt Heads.JPG

Brass blackened using blackening acid solution as Nigel recommended. They came out much better, with a small contrast and shinier appearance compared to the wood.
1121 Wire Ends Blackened with Blackening Solution.JPG

Last section of wale at the stern scarfed into the forward strip. The scrap piece of wood holds the piece in place while the CA glue dries. The scrape was broken free and the pin head cut off, with the shank driving in to become one of the bolt heads.
1122 Wale Section at Stern Held with Pin and Scrap..JPG

The wale symmetry is pretty close.
1123 Wales Match Up at Bow Well.JPG

1124 Port SIde Bottom Wale Complete.JPG
 
The wale on the bow looks a little go down. Don't know if that is correct. The planking looks great with these connecties. Don't know how they are called in English.
 
The wale on the bow looks a little go down. Don't know if that is correct. The planking looks great with these connecties. Don't know how they are called in English.
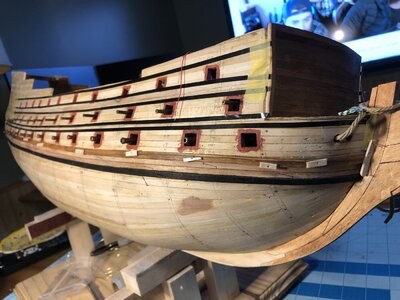
The connecties are scarf joints. I tried to keep the wales from rising up at the bow. When viewed from the side. you can see how they appear. The scarf joints were made by making cuts in the plank strips with a chisel point and #11 fine point blades after the planks were glued on. A sharp pencil was used to put some graphite in the cuts so they stand out a bit. Some of the scarfs are real, made with a small, sharp scissors to shape the plank ends and fit them before attachment. It's hard to distinguish between the two, but the simulated scarfs are much easier to make appear neat than the actual ones.

Dark Walnut Danish Oil was applied to the second wale, and Light Walnut Danish Oil was used on the plank strakes in between the wales, but the color difference is not much. Al the wood used is cherry wood. I can't get pear or boxwood here, but we have lots of walnut and cherry wood.
 
Last edited:
Looking good Kurt

If you want to "loose" the pin holes made in the Wale.Dab the area with water on a small brush.The hole will close up 9 times out of 10 if you didn't drill a pilot hole.I suspect you may have made them in bolt locations though

Kind Regards

Nigel
 
Looking good Kurt

If you want to "loose" the pin holes made in the Wale.Dab the area with water on a small brush.The hole will close up 9 times out of 10 if you didn't drill a pilot hole.I suspect you may have made them in bolt locations though

Kind Regards

The pin holes were made in locations where the bolts will go. Saves damage to the wale strip. Also, because the pins are the same diameter as the 24g brass wire, All I have to do is nip off the heads and file the shank and tap it flush like the others. I'll save that water trick for accidental holes, though!
 
Last edited:
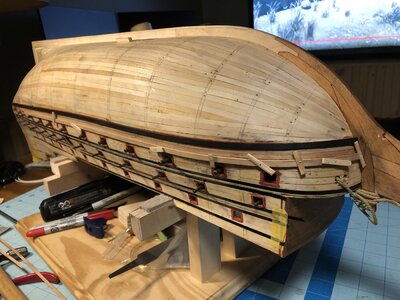
Holes were drilled in the second wale on both sides, and wire for bolts installed on the starboard side wale. I tried using brass browning solution to darken the wire ends, but they didn't effectively turn them brown, so blackening solution was used and it was more effective. It's not as neat as Nigel's work, but he had nicer wood and I'm using cherry, and I think he was more careful about the bolt placement. My model looks more rustic.

Holes drilled in port side second wale.
1128 Drill Holes for Bolts Port & Stbd.JPG

Finished second wale on starboard side.
1129 Finished Second Wales Stbd Side.JPG

1130 Finished Second Wales Stbd Side.JPG

Starboard side.
1131 Finished Second Wales Stbd Side.JPG
 
Back
Top