-

Win a Free Custom Engraved Brass Coin!!!
As a way to introduce our brass coins to the community, we will raffle off a free coin during the month of August. Follow link ABOVE for instructions for entering.
-

PRE-ORDER SHIPS IN SCALE TODAY!
The beloved Ships in Scale Magazine is back and charting a new course for 2026!
Discover new skills, new techniques, and new inspirations in every issue.
NOTE THAT OUR FIRST ISSUE WILL BE JAN/FEB 2026
You are using an out of date browser. It may not display this or other websites correctly.
You should upgrade or use an alternative browser.
You should upgrade or use an alternative browser.
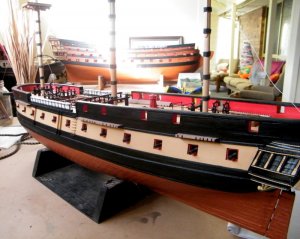
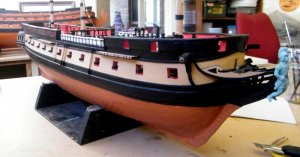
HMS Surprise 1/48 scale built by neptune
- Thread starter neptune
- Start date
- Watchers 11
-
- Tags
- artesania latina suprise
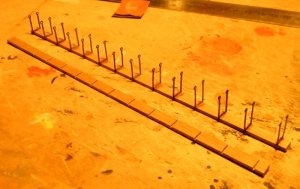
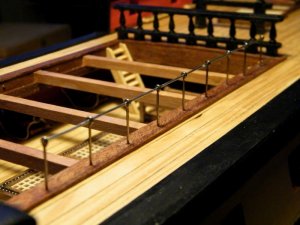
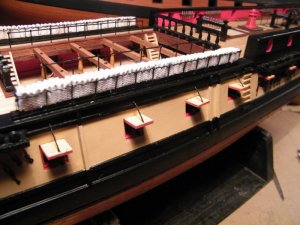
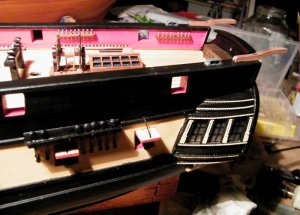
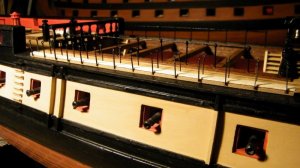
The hammock cranes were photo etch and very flimsy so I ended up taking a strip of wood that was long enough
and cutting grooves half way through into which I glued the cranes, one side done one to go,
I then glued another strip of wood on top to securely hold them in place, and then painted it all black,
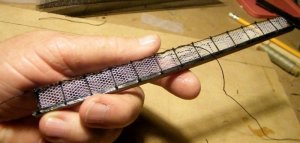
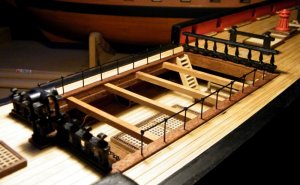
Lacing the netting in place,
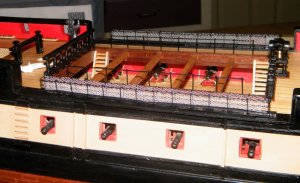
both sides attached,
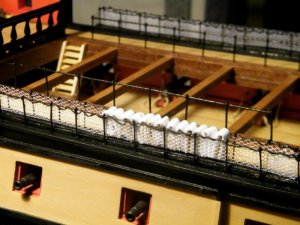
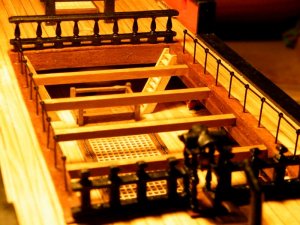
I made the hammocks out of some folded white cotton sheet,
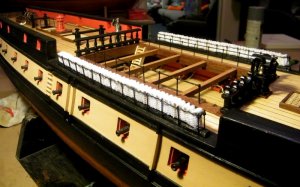
Bothe sides done,
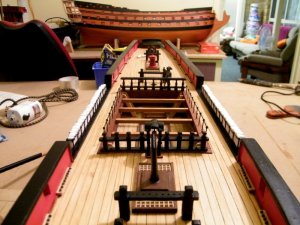
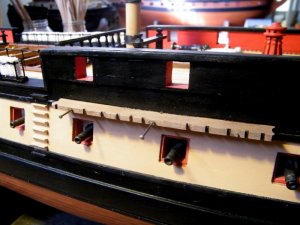
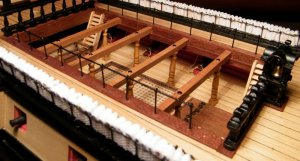
Looking down along the deck,
.
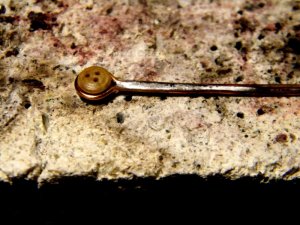
Straps soldered, I found it best to leave the straps long, and then apply the heat to the bottom end and let it
travel up the strap then apply the solder to the top end, that way the dead eyes didn't get burnt,
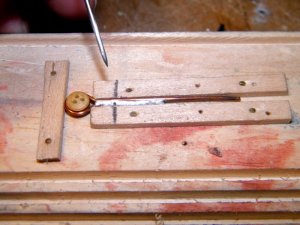
Then i made a simple little jig and marked where I wanted to drill the hole,
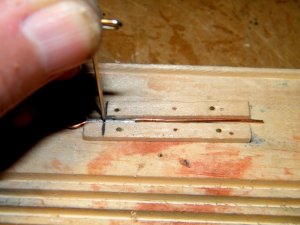
Then it was just a matter of drilling all the straps the same,
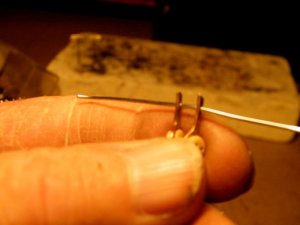
I then threaded them onto a piece of wire and it was easy to cut them all back to the same size,
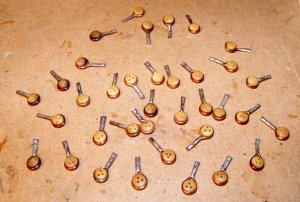
just waiting to be cleaned up,
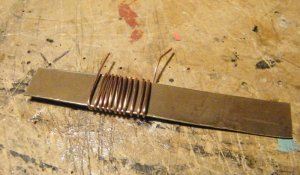
I cut a piece of brass of the right width and wound the copper strip around it,
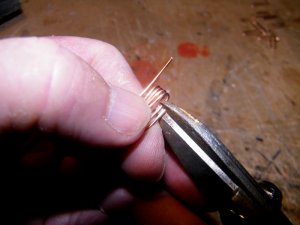
Then I slipped the wire off the brass and using side cutters I cut off a lot of loops of wire,
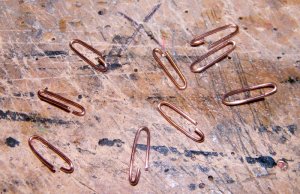
some of the wire loops,
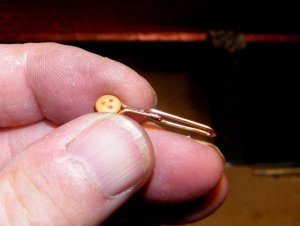
next was to bend them through the dead eye strap,
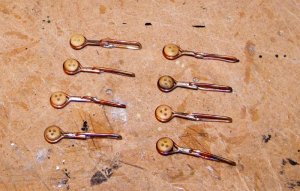
and then solder them so the links were still able to move,
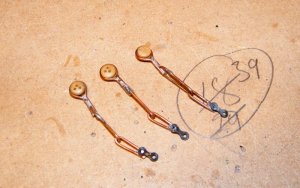
Then the same again with the lower loops,
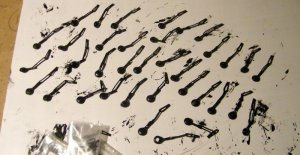
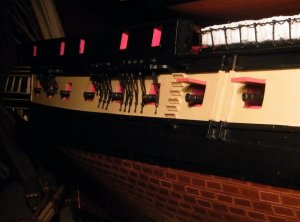
after a couple of coats of paint,
.
Very good work - very clean and accurate execution.....and real great progress
.....maybe for later:
the hammocks are too "clean" - I imagine that in every single one not washed seamen were sleeping a lot of free shifts
.....maybe for later:
the hammocks are too "clean" - I imagine that in every single one not washed seamen were sleeping a lot of free shifts
Very good work - very clean and accurate execution.....and real great progress
.....maybe for later:
the hammocks are too "clean" - I imagine that in every single one not washed seamen were sleeping a lot of free shifts
Thank you Uwe, next time I make sure they are a bit more stained,
best regards john.
Thanks guys for looking in and the generous comments and likes,
best regards John.
best regards John.
Beautiful work again. Great tutorial on the dead eyes.
Is this the suprise of victory models?
Is this the suprise of victory models?
Beautiful work again. Great tutorial on the dead eyes.
Is this the suprise of victory models?
G'day Maarten, this is the Artensania Latina model, but the guy that I built it for bought it off eBay and a lot of the woods were missing,
Best regards John,
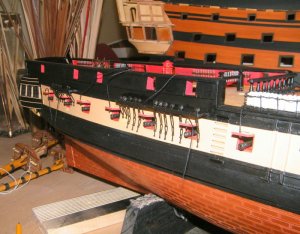
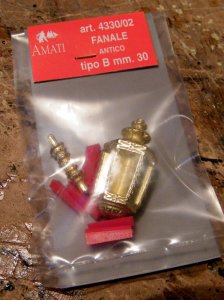
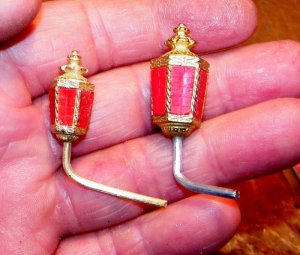
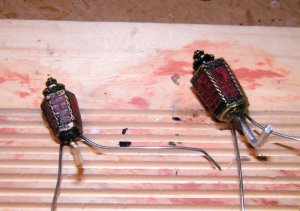
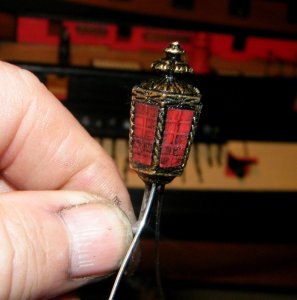
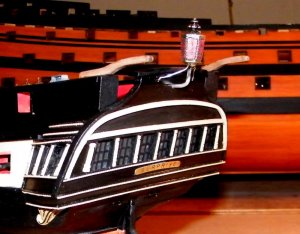
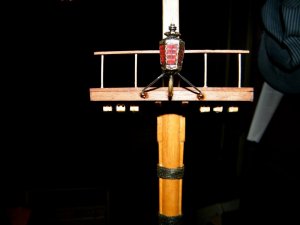
Excellent work with lanterns, John!
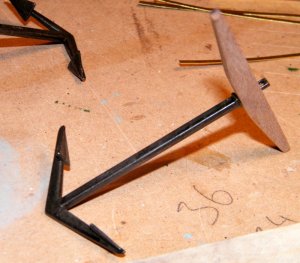
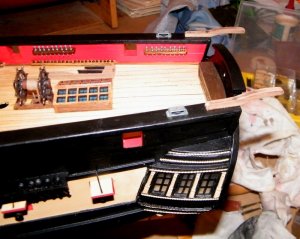
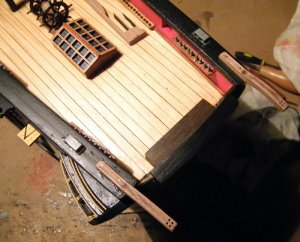
Next up were the anchors, the metal parts were there but not the wood parts, so I cut some from the same
piece of wood that I used for the stern davitts, its Australian Mrtlye, some call it Australian Cherry, it has a
beautiful tight grain and works great, also steams and bends well,
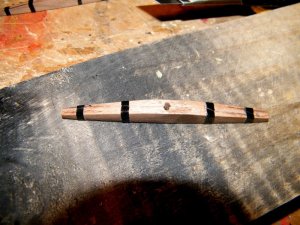
I used auto tape to make the bands,
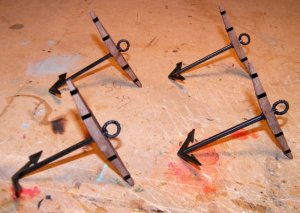
the four anchors before they were painted black,
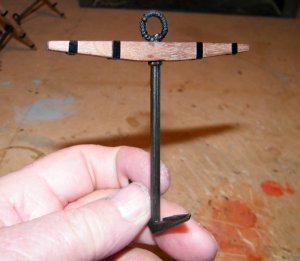
a close up view,
.


