-

Win a Free Custom Engraved Brass Coin!!!
As a way to introduce our brass coins to the community, we will raffle off a free coin during the month of August. Follow link ABOVE for instructions for entering.
-

PRE-ORDER SHIPS IN SCALE TODAY!
The beloved Ships in Scale Magazine is back and charting a new course for 2026!
Discover new skills, new techniques, and new inspirations in every issue.
NOTE THAT OUR FIRST ISSUE WILL BE JAN/FEB 2026
You are using an out of date browser. It may not display this or other websites correctly.
You should upgrade or use an alternative browser.
You should upgrade or use an alternative browser.
HMS Surprise 1/48 scale built by neptune
- Thread starter neptune
- Start date
- Watchers 11
-
- Tags
- artesania latina suprise
Gonna leave it at that for now, I will post some more later on, thank you for looking and your comments and likes,
best regards John.
best regards John.
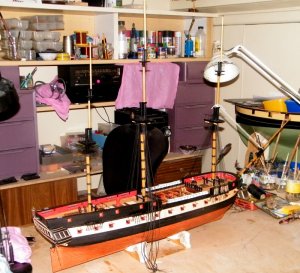
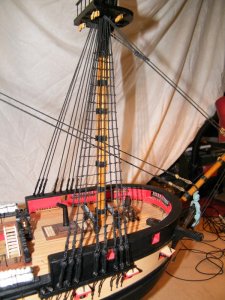
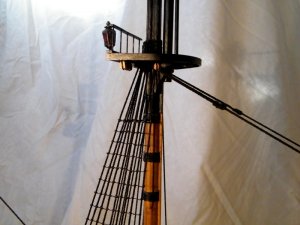
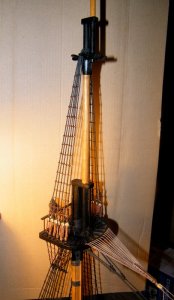
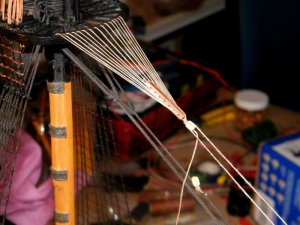
Started attaching the shrouds, this shows the fore shrouds attached, and the white rope from the fore top to
the bowsprit is keeping the tension on till the shrouds are fixed, the shrouds should go on first and then the
Stays go on over the top of the shrouds, i don't have a lot of detailed pics of attaching the shrouds, so any questions just ask,
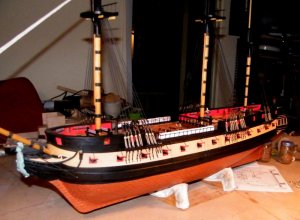
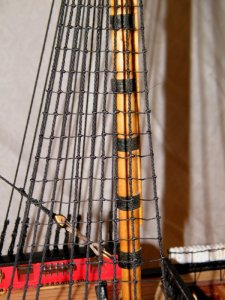
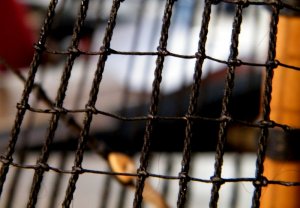
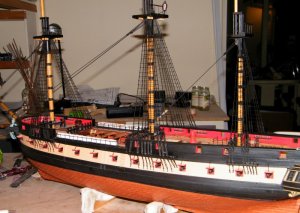
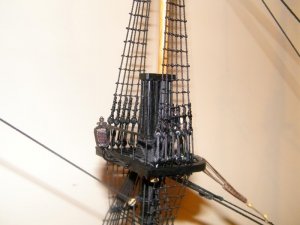
all the lower shrouds now in place,
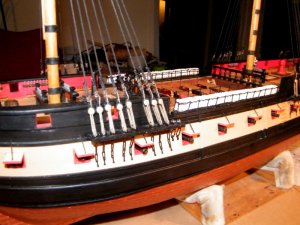
Fore,
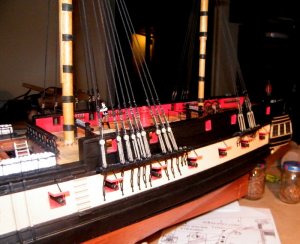
Main,
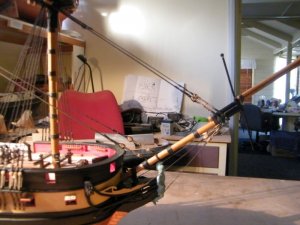
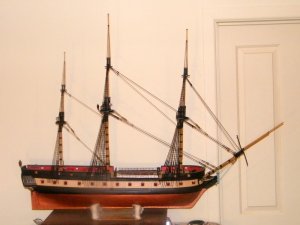
The bob stays, fore stays and main stays attached,
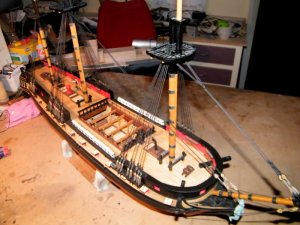
view looking down,
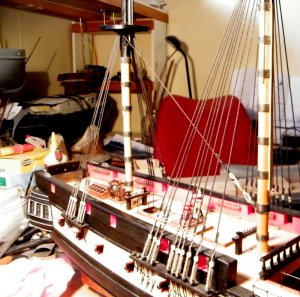
and the mizzen mast,
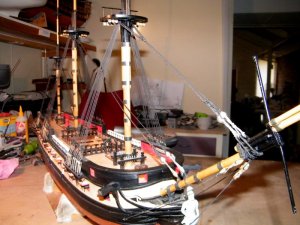
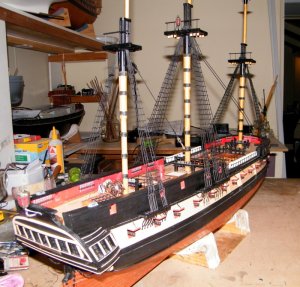
looking back along the ship,
.
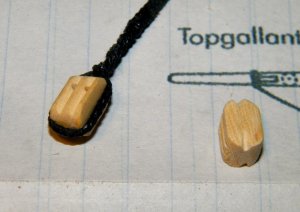
The blocks that were supplied for the yards were way too small, so i made all of the larger blocks for the yards,
nothing fancy i just squared them off, filed the grooves and drilled for the ropes to go through,
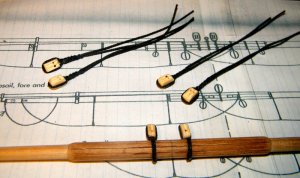
Shows two sets for tying around the mast over the bolsters, and one set tied on the yard,

The fore and main yard with stun sail yards, i use the fish hooks for the stirrups, they are supposed to be rope,
but at this scale they don't hang properly,
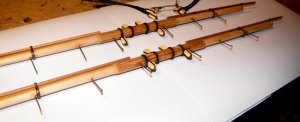
another view,
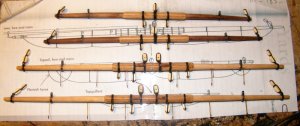
and this is the main and fore yards, with the main top and fore top yards above them,
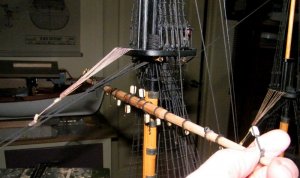
holding the main yard in position to make sure there are no problems,
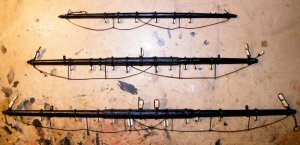
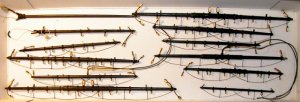
and these next two pics show all the yards blackened,
.
The rigging sure dresses her up nicely.
Ray
Thanks Ray, and she sure was a big model, had to be very careful when turning her around,
best regards John.
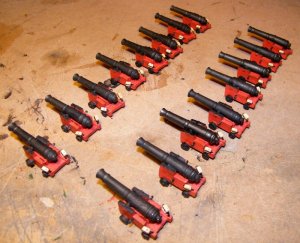
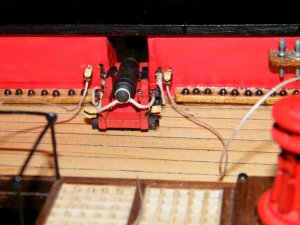
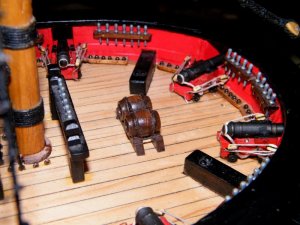
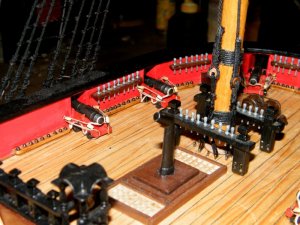
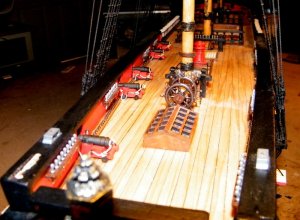
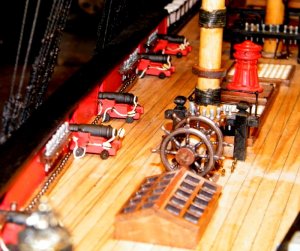
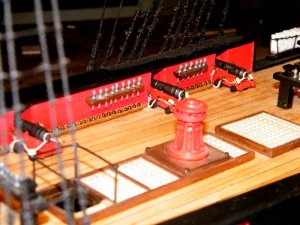
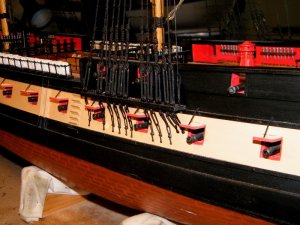
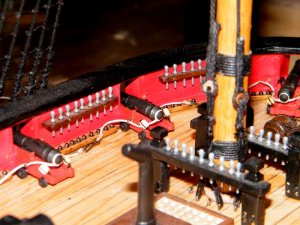
The cannon assembled and painted, i don't like the blocks attached with rope, so what I do is get some blackened
craft wire and twist it together, then drill a small hole into the back of the carriage and CA glue them in place,
and also the carriages should taper to the front not the back, if they tapered to the back they would
be unstable and topple over when fired,
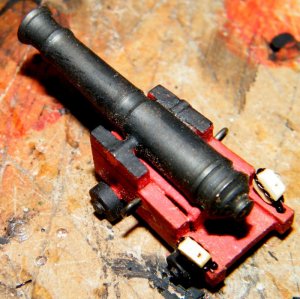
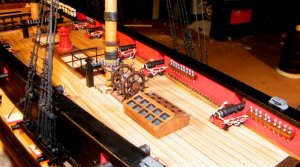
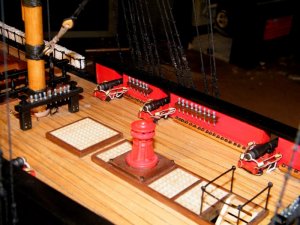
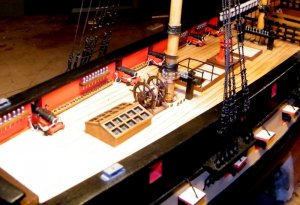
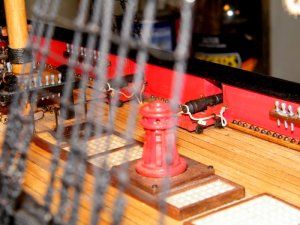
close up view, the next pics are just general views of the carriages in position,
.
- Joined
- Jul 22, 2017
- Messages
- 331
- Points
- 268

I know what you mean. I will one day build the HMS Victory at 1:48 and the task feels kind of scary considering that she will be about 5 feet long, 4 and 1/2 feet tall, and 13 and 1/2 inches wide.she sure was a big model, had to be very careful when turning her around
Ray
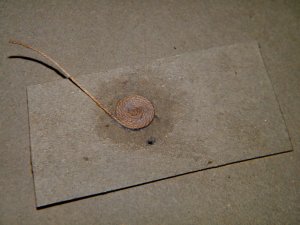
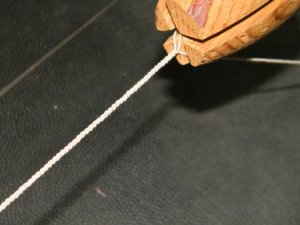
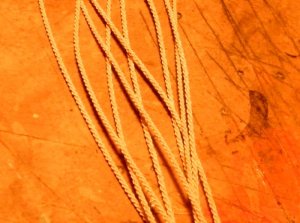
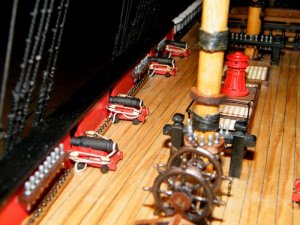
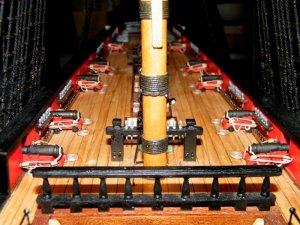
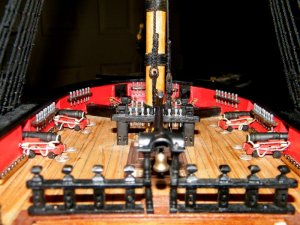
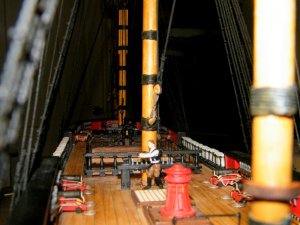
So next up were the rope coils for the cannon, I make mine by putting a small drop of PVA glue on a piece
of cardboard, actually I do it for all the coils I'm going to need, then I attach a piece of string long enough
to make the coil, when the drop of PVA glue has set and is holding the string, I then spread more PVA around
and coil the string makinf sure it is soaked with the PVA glue as above,
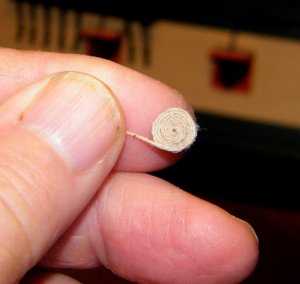
I leave them for 24 hours and then very carefully release them from the cardboard,
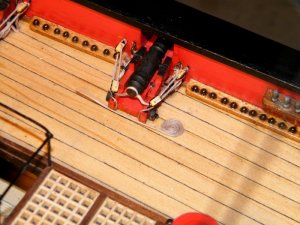
The training tackle I take over the back of the carriage and glue just under the carriage, then I place the coil
in position and cut the end to match up with the piece coming over the back of the carriage,
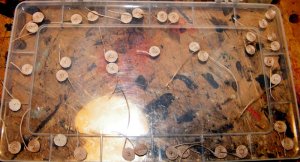
A lot of coils ready to be attached,
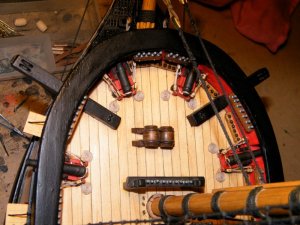
This pic and the next few show the coils in place,
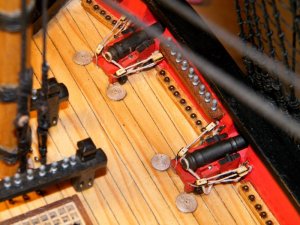
.
Last edited:
I know what you mean. I will one day build the HMS Victory at 1:48 and the task feels kind of scary considering that she will be about 5 feet long, 4 and 1/2 feet tall, and 13 and 1/2 inches wide.
Ray
I think the Victory could be even bigger than that, the Royal William is 55inches long without the bow sprit and the boom over the aft end,
best regards John.
Last edited:
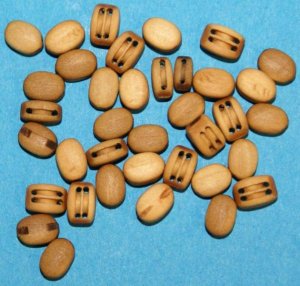
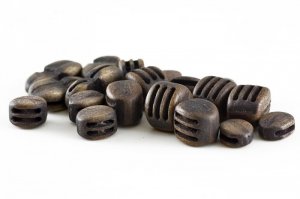
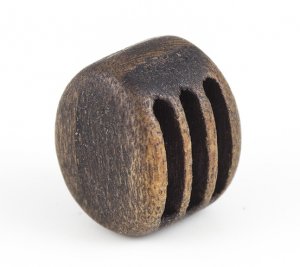
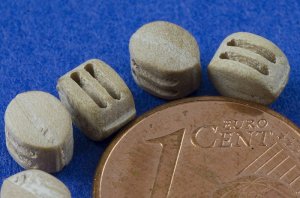
You did a brilliant job but why did you use these hopeless blocks? You can buy a nice one. Those from the pictures are from Poland from Mirek .
Size from 3 mm . They are entertained and spoiled looking old and such as for foto.
As you already wanted to use your own, you could have jeweled into a box with pieces of rubbing paper and screw it with a screwdriver or something that drives it to get rid of these sharp edges on the blocks
Size from 3 mm . They are entertained and spoiled looking old and such as for foto.
As you already wanted to use your own, you could have jeweled into a box with pieces of rubbing paper and screw it with a screwdriver or something that drives it to get rid of these sharp edges on the blocks
You did a brilliant job but why did you use these hopeless blocks? You can buy a nice one. Those from the pictures are from Poland from Mirek .
Size from 3 mm . They are entertained and spoiled looking old and such as for foto.
As you already wanted to use your own, you could have jeweled into a box with pieces of rubbing paper and screw it with a screwdriver or something that drives it to get rid of these sharp edges on the blocks
G'day JScolum, thank you for the compliment,
I used those blocks because I was building the ship for someone else and these were the blocks in the kit, so that is why I made the larger blocks the same, also if you look at the HMS Victory you will see these square blocks on her as well as some rounded ones.
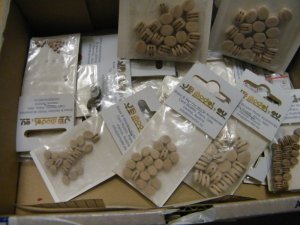
I have a box full of the type of blocks you show, I bought them from I bought them from JB Model. see pics below,
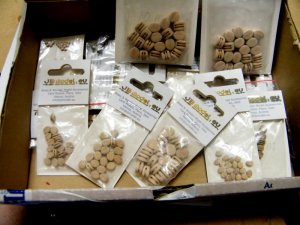
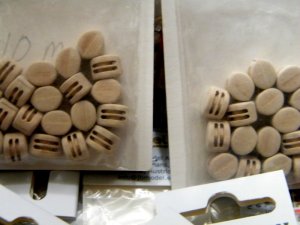
Hi John, can you provide the link to this JB model?I bought them from JB Model.
@JScolum Don't know Mirek from Poland...how we can get those nice blocks from him?Those from the pictures are from Poland from Mirek .
https://www.facebook.com/mirek.rybus@JScolum Don't know Mirek from Poland...how we can get those nice blocks from him?


