Wonderful build, I'm more inspired now to make this my next build, when I complete other projects of course.
-

Win a Free Custom Engraved Brass Coin!!!
As a way to introduce our brass coins to the community, we will raffle off a free coin during the month of August. Follow link ABOVE for instructions for entering.
-

PRE-ORDER SHIPS IN SCALE TODAY!
The beloved Ships in Scale Magazine is back and charting a new course for 2026!
Discover new skills, new techniques, and new inspirations in every issue.
NOTE THAT OUR FIRST ISSUE WILL BE JAN/FEB 2026
You are using an out of date browser. It may not display this or other websites correctly.
You should upgrade or use an alternative browser.
You should upgrade or use an alternative browser.
HMS Vanguard 1787 1:72 scale by ADoyon - First Build
- Thread starter ADoyon
- Start date
- Watchers 52
-
- Tags
- amati vanguard victory models
A nice reminder of how beautiful this model is! Welcome back!
An absolutely beautiful model !!!
Just catching up and must say your model looks very well made ADoyon. There is something I had never seen on contemporary models or paintings so hope you don't mind a question. Does the kit show the black paint following the waterline as on your model instead of following the run of the wales and planking as was normally done?
Thanks
Hercules (74)
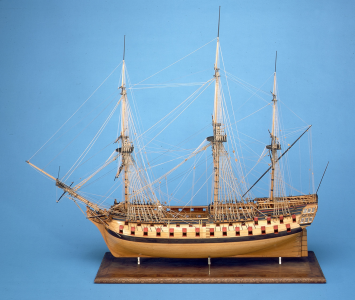
Ajax (74)
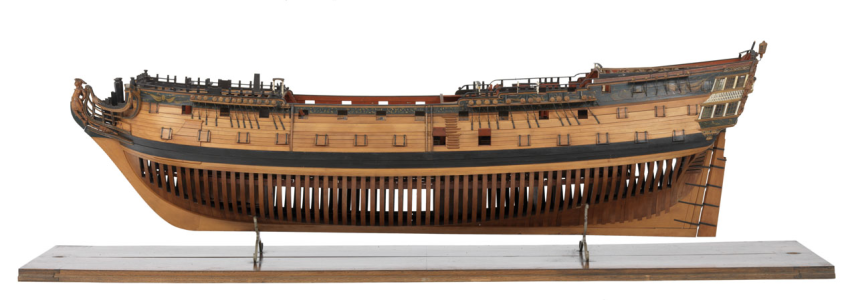
Thanks
Hercules (74)

Ajax (74)

Andre, your attention to detail and the copper hull is amazing! Nicely done, Magic Mike
Thank you to everyone for your kind comments.
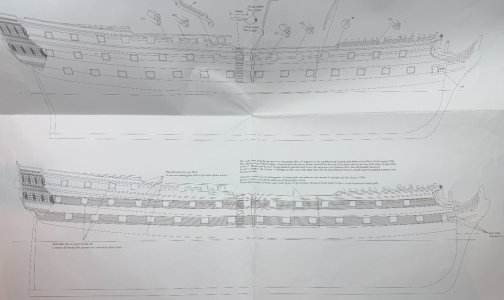
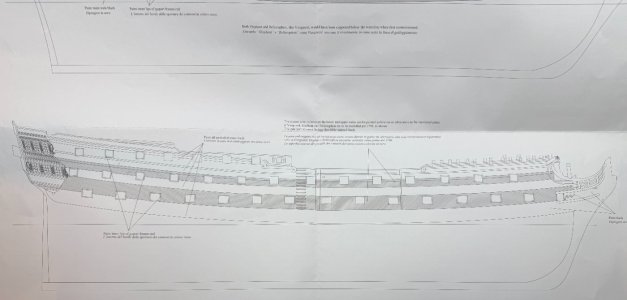
Hi Allan, to answer your question about the black paint following the waterline…yes, the plans show black paint between the lower wale and the waterline for the HMS Vanguard build. The kit comes with the option to build three different versions of a 3rd rate 74-gun ship. Additional parts are included to build the HMS Bellerophon and the HMS Elephant. The paint scheme for the Bellerophon and the Elephant are different than for the Vanguard. The following drawing shows the paint scheme for the Vanguard. See lower right corner showing black paint between the lower wale and waterline.
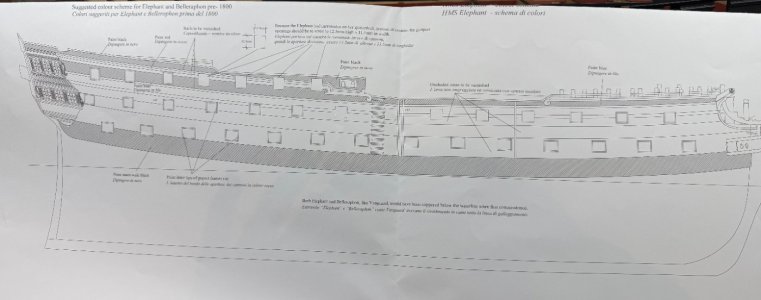
The following two drawings show the paint scheme for the Bellerophon and the Elephant, which follows the sweep of the wales. In the first drawing instructions show the colors applied to the shaded areas with a note to paint the main wale black. Unshaded areas are to be varnished. Although not specifically mentioned I would assume the area between the lower wale and the waterline is also varnished. The second drawing for the Bellerophon and the Elephant shows areas that can be painted yellow as an alternative to varnished sides.
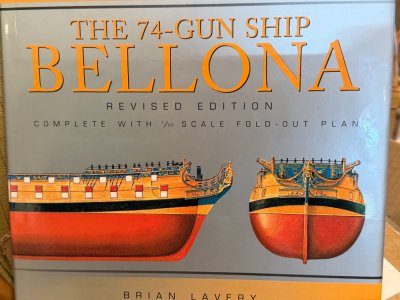
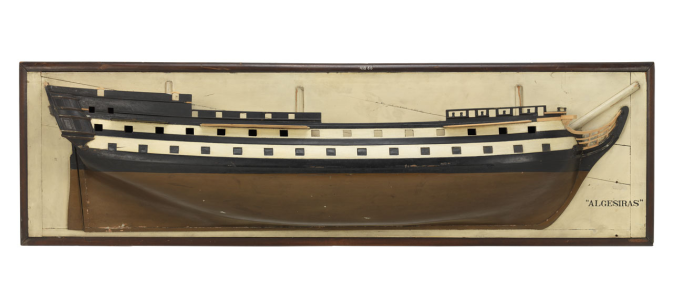
The following is the cover photo from the book Anatomy of the Ship The 74-Gun Ship Bellona, probably painted similar to the HMS Bellerophon and HMS Elephant.
What I found on the internet:
British naval ships were primarily painted in the yellow and black "Nelson Chequer" scheme from approximately 1803 to 1815. Adopted by Admiral Lord Nelson to distinguish his ships from the enemies, the pattern featured yellow sides, black gunport lids, and black horizontal stripes, becoming popular throughout tne Royal Navy following the 1805 Battle of Trafalgar.
Nelson applied this style when he took command of HMS Victory in 1803. It allowed for immediate, "greater certainty" in identification during combat. While associated with Nelson, other captains used variations. The style was widely adopted after 1805 but began to fall out of use after 1815 as white paint became more common. When gunports were closed, the alternating black lids and yellow paint formed a checkerboard effect. HMS Victory retains this iconic color scheme today.
HMS Vanguard was part of the fleet under Admiral Lord Nelson at the Battle of the Nile, so I’m assuming the paint scheme would have been the same for all ships in his fleet. Admiral Nelson initiated a variation of the yellow-and-black "Nelson's Chequers" paint scheme on his ships during the Battle of the Nile in 1798, although it was not yet the standardized, formalized version seen later at Trafalgar.
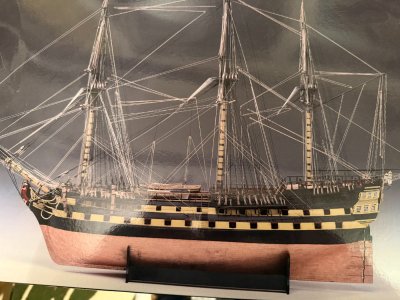
The photo below is from the box cover for the HMS Vanguard kit.
Hi Allan, to answer your question about the black paint following the waterline…yes, the plans show black paint between the lower wale and the waterline for the HMS Vanguard build. The kit comes with the option to build three different versions of a 3rd rate 74-gun ship. Additional parts are included to build the HMS Bellerophon and the HMS Elephant. The paint scheme for the Bellerophon and the Elephant are different than for the Vanguard. The following drawing shows the paint scheme for the Vanguard. See lower right corner showing black paint between the lower wale and waterline.

The following two drawings show the paint scheme for the Bellerophon and the Elephant, which follows the sweep of the wales. In the first drawing instructions show the colors applied to the shaded areas with a note to paint the main wale black. Unshaded areas are to be varnished. Although not specifically mentioned I would assume the area between the lower wale and the waterline is also varnished. The second drawing for the Bellerophon and the Elephant shows areas that can be painted yellow as an alternative to varnished sides.


The following is the cover photo from the book Anatomy of the Ship The 74-Gun Ship Bellona, probably painted similar to the HMS Bellerophon and HMS Elephant.

What I found on the internet:
British naval ships were primarily painted in the yellow and black "Nelson Chequer" scheme from approximately 1803 to 1815. Adopted by Admiral Lord Nelson to distinguish his ships from the enemies, the pattern featured yellow sides, black gunport lids, and black horizontal stripes, becoming popular throughout tne Royal Navy following the 1805 Battle of Trafalgar.
Nelson applied this style when he took command of HMS Victory in 1803. It allowed for immediate, "greater certainty" in identification during combat. While associated with Nelson, other captains used variations. The style was widely adopted after 1805 but began to fall out of use after 1815 as white paint became more common. When gunports were closed, the alternating black lids and yellow paint formed a checkerboard effect. HMS Victory retains this iconic color scheme today.
HMS Vanguard was part of the fleet under Admiral Lord Nelson at the Battle of the Nile, so I’m assuming the paint scheme would have been the same for all ships in his fleet. Admiral Nelson initiated a variation of the yellow-and-black "Nelson's Chequers" paint scheme on his ships during the Battle of the Nile in 1798, although it was not yet the standardized, formalized version seen later at Trafalgar.
The photo below is from the box cover for the HMS Vanguard kit.

Thanks Adoyon, your reply is very much appreciated.See lower right corner showing black paint between the lower wale and waterline.
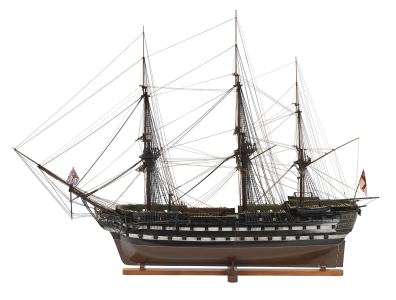
I did more research on the RMG website and found a couple contemporary models of 74s from 1804 and 1818 painted similar to the last photo in your reply. It seems to have come about near the time of the Nelson chequer pattern. Another example that very little was consistent across the fleet, especially from year to year.
Your model is gorgeous. Clean lines throughout!
Thanks again
Allan
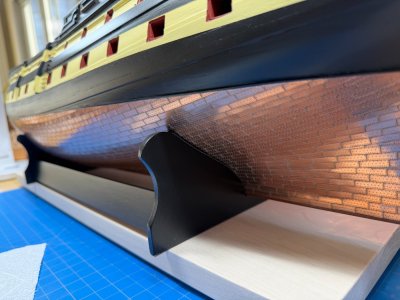
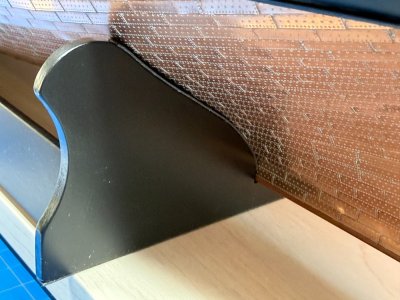
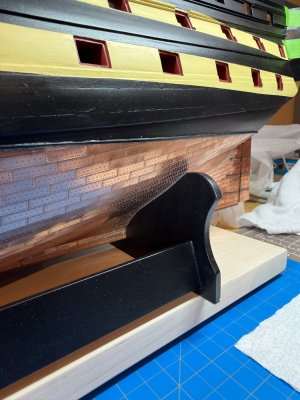
Welcome back Andre.I’m back and ready to work on fittings for the upper gun deck. I need to hold the ship upright and decided to finish the ship’s cradle.
View attachment 573044
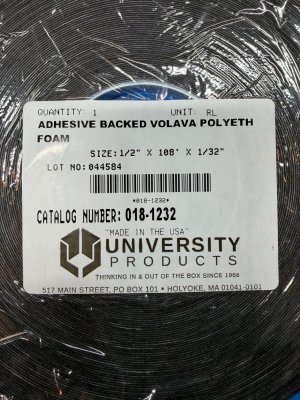
I'm adding strips of Adhesive Backed Polyethylene Foam to the cradle.
View attachment 573046
View attachment 573047
View attachment 573048
I’m now working on some of the fittings for the upper gun deck. Nothing is glued down yet. I need to place the cannons before glueing deck beams.
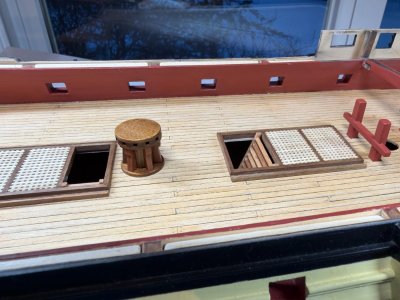
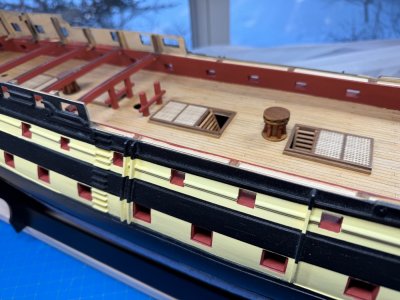
The kit comes with two capstans and 22 whelps. There is no mention of how many whelps to place around the capstan. Drawings in the kit’s plans show what is approximately six whelps. Also, in the book, Anatomy of the Ship HMS Bellona, it shows six whelps. However, the whelps provided are 1.5 mm thick and seem too thin to place six individually around the capstan. I tried gluing two together but didn’t like the glue seam showing since I planned on finishing with clear satin wipe-on poly. I made six whelps for each capstan from 3/32 in Swiss Pear wood. The following drawing shows the thickness of the kit’s whelps and the 3/32 in version I made.
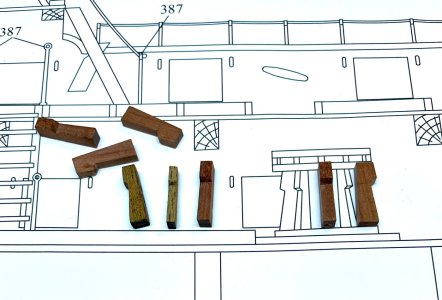
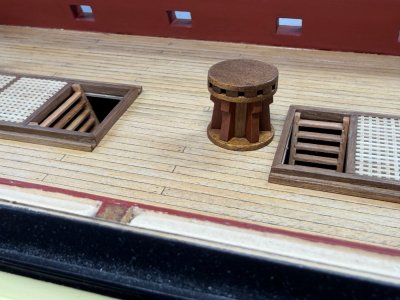


The kit comes with two capstans and 22 whelps. There is no mention of how many whelps to place around the capstan. Drawings in the kit’s plans show what is approximately six whelps. Also, in the book, Anatomy of the Ship HMS Bellona, it shows six whelps. However, the whelps provided are 1.5 mm thick and seem too thin to place six individually around the capstan. I tried gluing two together but didn’t like the glue seam showing since I planned on finishing with clear satin wipe-on poly. I made six whelps for each capstan from 3/32 in Swiss Pear wood. The following drawing shows the thickness of the kit’s whelps and the 3/32 in version I made.


A nice upgrade, Andre. Nice to see you at the workbench again!
- Joined
- Apr 1, 2024
- Messages
- 17
- Points
- 48

Andre, your work is fantastic, thank you for sharing. I've just found this build log today and have spent a fabulous couple of hours reading and digesting this lovely ship build from 2020 until now. I'm now Googling Vanguard as you've inspired me. I love the detailed write ups, and your photos are great too. Glad you're back building and I will follow with interest!


