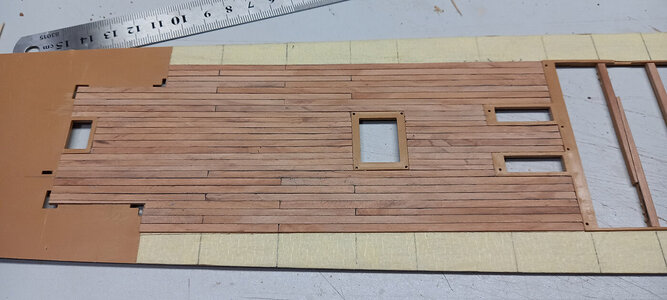
Hallo - your deck with the plank and nailing pattern is really looking very good.
But maybe you should consider to add some more rows of nailing, because I guess there were more existing
the red lines are showing (according my subjective opinion) where I would add an additional row of nails

The deck planks were fixed towards the beams on every single deck-beam
another example which is very interesting is the beam and partly planking drawing of the HMS Cyrus, which were only 20-gunners, but show very well the pattern

Scale: 1:48. Plan showing the upper deck for the Cyrus (1813) and Levant (1813), both 20-gun Sixth Rates, later Sloops building at Chester by William Courtney. The plan includes some planking outline.
here you can find the HMS Victory deck drawing with all the beams of the middle deck, representing the same deck you are just now
Take a look where the beams are

Scale: 1:48. Plan showing the middle deck for Victory (1765), a 100-gun First Rate, three-decker. The plan illustrates the ship after having had her masts repositioned during her 'Large Repair' at Portsmouth Dockyard. The plan was subsequently stamped Portsmouth Dockyard 5 August 1925, when it was used for the initial restoration of Victory.

collections.rmg.co.uk


")


")


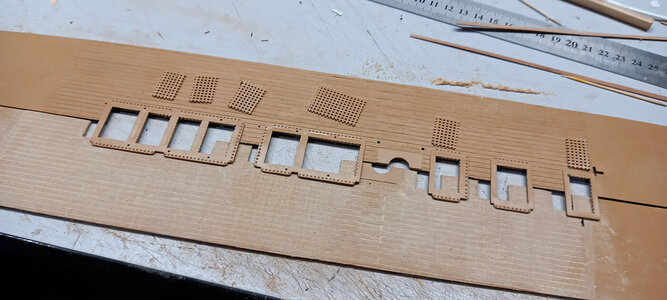
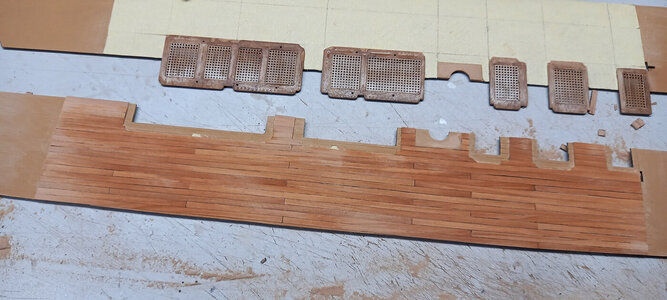


") I think it was worth to make them
I think it was worth to make them