• Ships of Scale has incorportated an extra level of security when you log In. Please follow on-screen prompts to acknowledge that you are not a robot via a "Check Box" or a "Pictorial Check Box Puzzle". This is needed due to higher level of AI Activity Security.
  • SUBSCRIBE TO SHIPS IN SCALE TODAY!

    The beloved Ships in Scale Magazine is back and charting a new course for 2026!
    Discover new skills, new techniques, and new inspirations in every issue.

    NOTE THAT OUR NEXT ISSUE WILL BE July/August 2026
  • Win a Free Custom Engraved Brass Coin!!!
    As a way to introduce our brass coins to the community, we will raffle off a free coin during the month of August. Follow link ABOVE for instructions for entering.

HMS Victory 1:72 - Caldercraft by Gilbertm

Hello friends
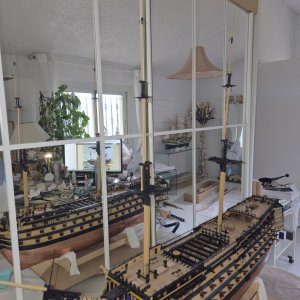
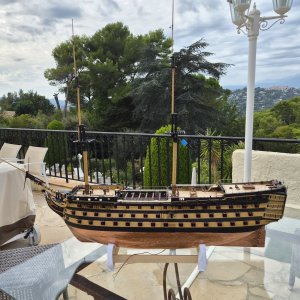
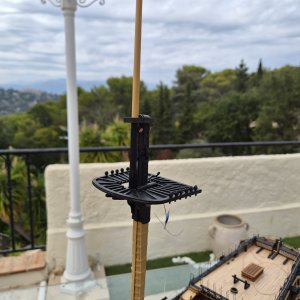
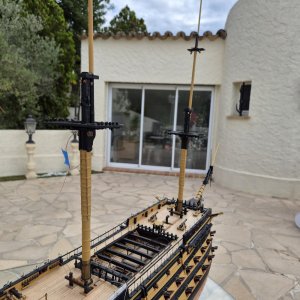
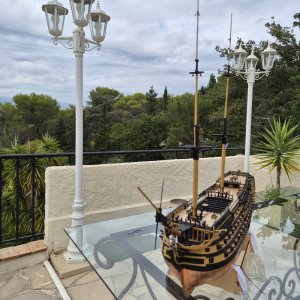
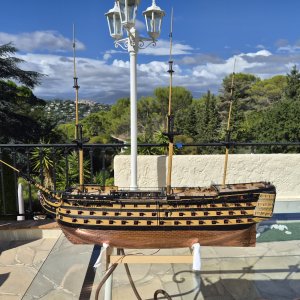
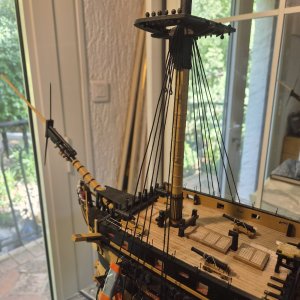
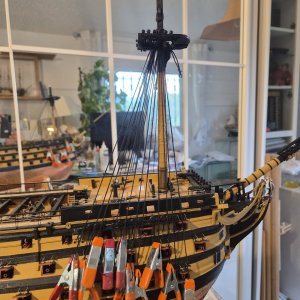
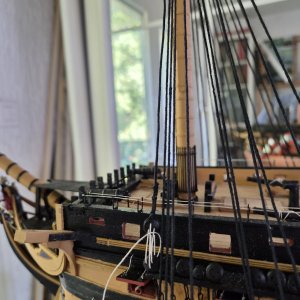
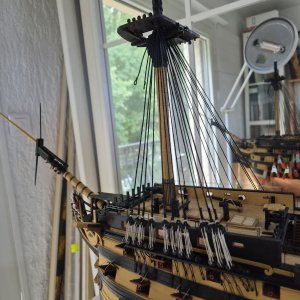
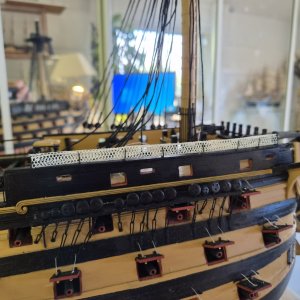
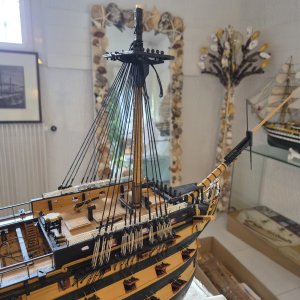
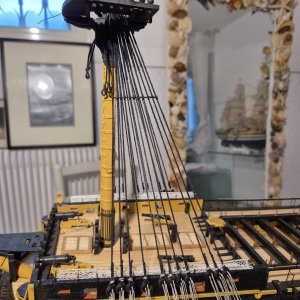
Having completed the foremast (all elements are dry fitted only at this stage), I worked on the main mast which is a replica of the fore mast.
I therefore have not taken a lot of pictures of the various steps.

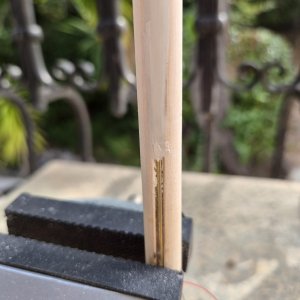
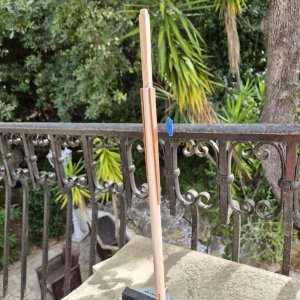
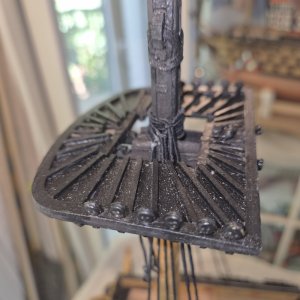
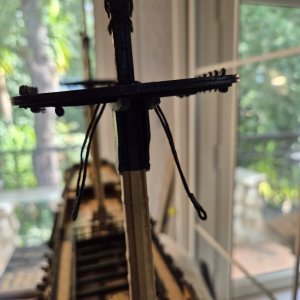
The only element worth mentioning is that I added a wire in order to light the main mast lantern. I made a small groove on the aft part of the mast, added a small 2mm brass tube, used wood putty to keep the mast shape and inserted a very small wire in the tube. I have not made the connection yet; I'll do that when I'll work on the lantern.
Picture below

20260923_103425.jpg20260923_103417.jpg

The the other elements are just like the fore mast.
20260930_161750.jpg20260930_162125.jpg20260930_162230.jpg20260930_162310.jpg20260930_162327.jpg


Again nothing is glued at this stage, minimizing the risk for futher steps.

I am now going to get started on the mizzen mast.

Cheers
Another classic Gilbert ship in the making. Kudos. My son (Justin) always asks me does it float..... So, with the picture by your stunning pool......."does it float" ROTF ROTF
Hey Grant
I won't try her in the pool,m too risky I believe:p
 
Hi Gilbert,
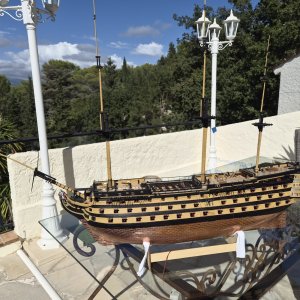
Your latest photos take me back to when I was fitting my masts onto the hull.
My first reaction was: "Good heavens, what a huge ship this is turning out to be."
I can assure you, it only gets bigger.
Good luck, she's going to be beautiful.
 
Hi Gilbert,
Your latest photos take me back to when I was fitting my masts onto the hull.
My first reaction was: "Good heavens, what a huge ship this is turning out to be."
I can assure you, it only gets bigger.
Good luck, she's going to be beautiful.
Hi Will
Thanks for your feedback and comment.
You are right ...
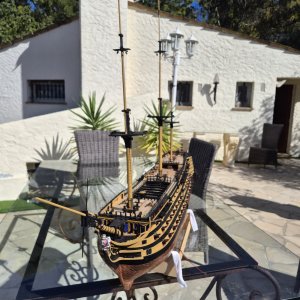
When I brought her outside to take the pictures I realized how big she is :p
This is indeed fun
 
Gilbert, now the real work begins: the rigging. I'd advise setting the Caldercraft rope aside and buying good rope and better blocks. This will be the eye-catcher of your model. Pay particular attention to the correct proportions between the different rope thicknesses, and use McKay's table.
Otherwise, a nice build log and excellent progress.
Hi Will
Thanks for your message; yes, I agree with you regarding the upcoming steps :p
I am not using the Caldercraft ropes and blocks,
I am using blocks from Drydocks or from HIS Model.
Regarding the ropes, I have started with the Caldercraft ropes but will switch to Ropes of scale or to Amati ropes.
Cheers
 
I wish I could justify a way to visit and see both your model and Mougins! Love the photos of both the model and the surrounding area. :) The Midi and Sud de France was always one of my favorite places to visit for both work (Grasse) and leisure days anywhere from Provence to Monaco.
Allan
 
Hello friends
After having completed the build of the 3 masts, I started with the foremast shrouds.The first shroud is entirely served while the 10 others are just served on their upper part.
Some pictures of the progress below, starting with the burton pendants

20261010_122146.jpg20261011_144623.jpg


20261011_144641.jpg
20261011_180506.jpg20261012_155857.jpg20261015_094751.jpg

Once I had completed the lanyards on the port side, I realized that I forgot to insert thje netting behind the shroud.
After multiple trials, I came out with a fabric that I liked and have done the first 2 nettings.
20261016_173227.jpg

Then I installed the lanyards on the starboard side as well as the futtock stave.
20261018_164426.jpg20261019_164539.jpg

Looking at the pictures I realize that the distance betwen the upper deadeye and the lower deadeye is increasing as we go from fore to aft.
I wonder if I should not adjust this in order to have more parallel deadeyes. Of course this is quite an effort but it may very well be worthwhile.

Please let me know what you guys think.

Thanks for your input
Cheers
 
Well, since you asked... that doesn't look that great. I find myself wondering if changing the order of how they are stacked on the mast would solve the problem? What happens if you put the more aft shrouds on first and then work your way forward?

Of course this solution would be heresy to a purist.
 
I wonder if I should not adjust this in order to have more parallel deadeyes. Of course this is quite an effort but it may very well be worthwhile.
Sofar I know this is normal, I looked at a lot of historical models and paintings. The distance between the deadeyes is always the same and result in different distance at 90 degrees. They are to the back lower then to the front.
Edit: I see that in your pictures the distance between upper and lower deadeye is not constant. Oops.
 
Hello Gilbert,

I see that you have not yet fitted the front two stays. Do this first. Normally you would indeed assume an equal distance between the lines of the lower and upper deadeyes. You forgot that, but it is not such a disaster. You can set the rear shrouds under somewhat more tension than the front ones. Whether this works does depend on the stretch in the ropes. My ropes are made of polyester, so it works reasonably well for me. But first fit the front two stays, and then tension the stays and the shrouds at the same time, so that the mast stays straight. You have to make new lainyards. Succes

 
Well, since you asked... that doesn't look that great. I find myself wondering if changing the order of how they are stacked on the mast would solve the problem? What happens if you put the more aft shrouds on first and then work your way forward?

Of course this solution would be heresy to a purist.
Sofar I know this is normal, I looked at a lot of historical models and paintings. The distance between the deadeyes is always the same and result in different distance at 90 degrees. They are to the back lower then to the front.
Edit: I see that in your pictures the distance between upper and lower deadeye is not constant. Oops.
Hello Gilbert,

I see that you have not yet fitted the front two stays. Do this first. Normally you would indeed assume an equal distance between the lines of the lower and upper deadeyes. You forgot that, but it is not such a disaster. You can set the rear shrouds under somewhat more tension than the front ones. Whether this works does depend on the stretch in the ropes. My ropes are made of polyester, so it works reasonably well for me. But first fit the front two stays, and then tension the stays and the shrouds at the same time, so that the mast stays straight. You have to make new lainyards. Succes

Paul, Steef, Will
Thanks for your input and comments.
I believe I am going to remove the shroud in place and do it all over again.
I'll also look at the front two stays as Will mentions.
Cheers
 
Hello Gilbert,

Perhaps starting over is indeed a good idea. But in that case I would advise you to approach it differently. I see that you started with the foremast, which is not smart, because it makes it harder to reach the stays of the following masts. The best order is to begin at the aftmost mast and make everything that belongs to the lower part of the mast. Then the middle one, and then the foremast. Only the lower mast sections! Once all of that is done, you place the topmasts and start again at the aftmost mast, working your way forward. Last come the topgallant masts, from aft to front. This way you are hindered the least by ropes that have already been fitted.
 
Back
Top