HMS Victory 1:78 by Mantua ,Panart - Build log

Hello everyone!
I finished the holidays with my grandchildren and then resumed work on Victory.
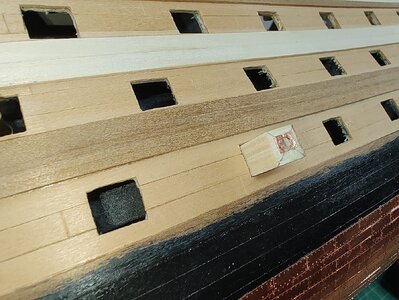
I installed the mouldings and before proceeding with painting the sides I thought it would be better to prepare the holes for the subsequent installation of the cannon barrels, in correspondence with the gunports.
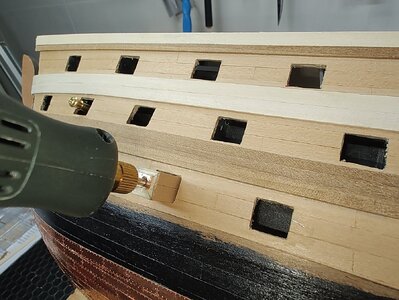
To try to obtain precise holes and facilitate the correct alignment of the cannons, I built myself a template and used it to position the drill correctly.
The template is simply a piece of wood that matches the size of the holes in the side and which has a hole in the center to guide the drill bit.

IMG_20240812_150204303.jpg

It worked quite well.

IMG_20240812_150227444.jpg IMG_20240812_150250301.jpg

IMG_20240812_150137732.jpg

Now I will focus on preparing the ocher color.
 
To try to obtain precise holes and facilitate the correct alignment of the cannons, I built myself a template and used it to position the drill correctly.
The idea of using this is great and has worked for me as well. Did the plans show the four different gun port sizes and did you make a different template for each of the four sizes? It is hard to tell from the photos, but the openings were quite different in size on each deck, thus my question.
Thanks Ismaele
Allan
 
The ports size is the same on all decks, 10x12 mm. I was not perfectly accurate in drilling the openings, as the kit provides brass profiles to be put in the ports, so finally all the holes wil be equal to each other. You're welcome
 
The ports size is the same on all decks
I realize this is a kit design mistake but would cost them nothing to correct. Then again, at this scale the differences in port sizes is subtle and probably unimportant to some builders. For anyone that finds these details to be interesting the below shows the sizes that would be appropriate for a 100 gun ship of the late 18th/early 19th century. The actual sizes and at 1:78 scale are shown.

From The Shipbuilder's Repository 1788
The lower gun deck 2' 9" X3'5" fore and aft - 10.75mm up and down X 13.4mm fore and aft
Middle gun deck 2' 9" X3' 3" fore and aft - 10.75 X 12.7mm
Upper deck 2'8" X 2' 11" fore and aft - 10.42 mm X 11.4mm
Quarter deck 2' 6" X 2' 9" fore and aft - 9.7mm X 10.75mm
 
As always I find the accuracy of the data you make available to everyone incredible!
In this specific case the kit manufacturer should provide four different types of brass frames for the ports, which would actually have a cost perhaps not justified by the small differences in scale.
I must admit though that the different fore and aft dimensions between the lower gun deck and the quarter deck are significant enough to consider how to take them into account.
 
It has. They must be painted in red in the insides and put in the ports to better define the openings. I'll show them when they will be ready to be installed.
 
Hello everyone,

summer holidays are over and the great heat that made neither patience nor concentration easier has passed, so I reopened Victory's shipyard...
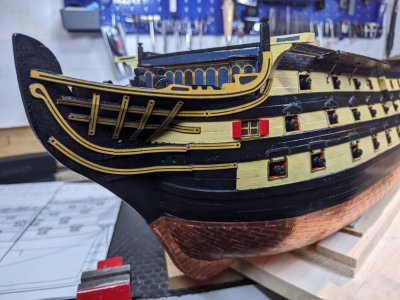
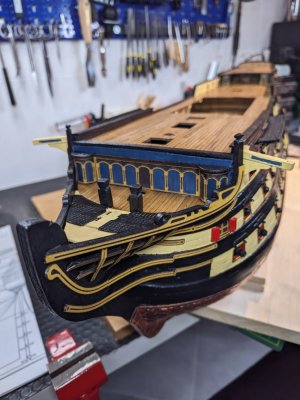
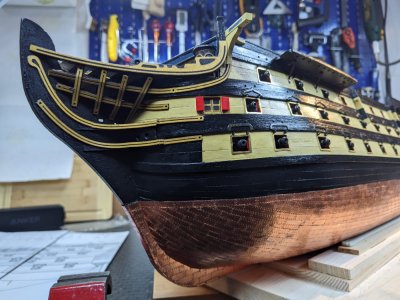
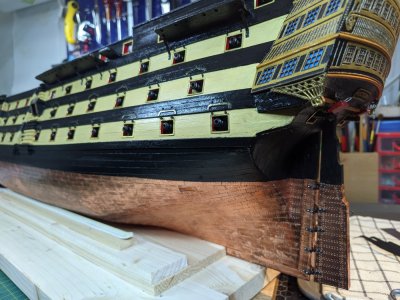
As you will see in the photos, I have installed all the brass profiles to the port holes.
I saw from the photos of the real Victory that port holes don't have these brass profiles, but they allow you to define the openings much better and therefore I decided to install them anyway.
This certainly represents a lack of fidelity to the original, but I have seen that many other model makers, even in other blogs, have made the same choice.
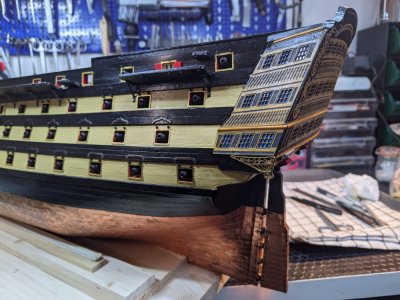
I therefore addressed the fundamental problem of the color to be used, together with black, to paint the characteristic stripes on the hull.
Again, I saw photos of the real Victory, I read various articles and a couple of books on the history of the ship, on Admiral Nelson's opinion on the matter and the debate on the same topic held on the occasion of the most recent restoration of the ship.
I also saw many photos of models already made and in my evaluation I added some experience in the field of photography, on the topic of color temperature in relation to the lighting sources and reflective surfaces surrounding the subject, on the color rendering fidelity on modern monitors and so on.
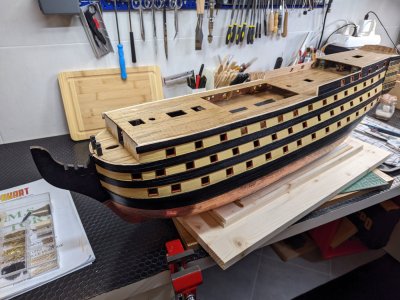
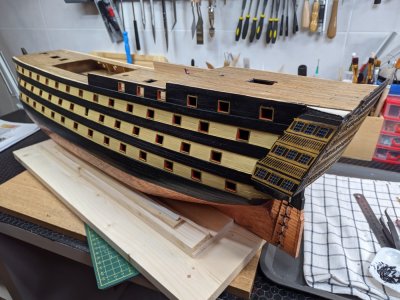
I did some tests with some shades of yellow and in the end I decided to apply the one I liked best!
Even in this case my choice is certainly criticizable in terms of fidelity to the original, but that's it.PXL_20240911_154656381.jpg

PXL_20240911_154718924.jpg

PXL_20240911_154734098.jpg

PXL_20240911_154800118.jpg

In my laboratory the lighting is provided by 4000K LED lights and the walls are white, so on my monitor the photos reproduce a color tone very close to reality.

PXL_20240911_154816297.jpg

For the stern cabins windows, as for the skylight windows, I used a sheet of light blue acetate.
All comments, especially critical or negative ones, will be highly appreciated. Only by making mistakes do you learn...
 
I started construction of the bow deck.
PXL_20240922_094604919.jpg

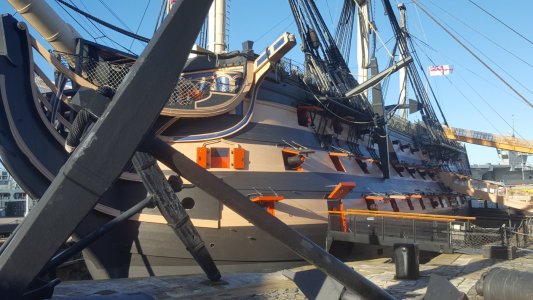
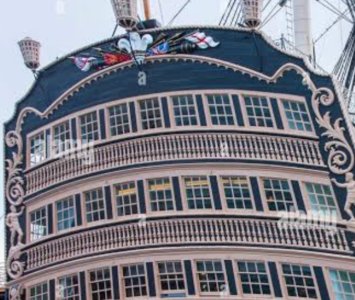
To try to be faithful to the original I found some photos of the Victory preserved in Portsmouth. Unfortunately the photos I found are all like this
20171123_111202_38570450882_o.jpg

useful for reproducing color, but I can't see the entire front of the bulkhead.
I assume there is access to the bridge and therefore I left the central arch different, but I would like to have confirmation. Does anyone happen to have a suitable photo of the original? Thank you
 
I followed the advice from the build log of Mark Frazier (which I thank) and I also made small cuts to allow bending without breaking the dummy cannon rails.
In fact it seems to me an indispensable trick.

View attachment 416749

Then I started to prepare the 80x3 mm pieces to be used as deck planking.
As mentioned above, I finally decided to use aliphatic glue and a black wax crayon to simulate the caulking between the planks.

View attachment 416751

We will see the result when I have installed and completed the lower deck, which in any case is quite hidden and lends itself to experimentation that leaves room for any corrections on the upper decks.
Try using a black sharply on the side and end edges.
 
Sorry to disappoint, but I'm not good enough to follow the details in the different historical moments of the ship!
For the aesthetic details of my previous models I simply followed the instructions of the assembly kits. In the case of the Victory the instructions are really sparse, so I did some research and got some photos of the real ship, as it appears today.
So I'm not trying to reproduce a specific historical period of the ship, I'm just trying to create a generically accurate model that pays off in terms of personal satisfaction.
Having said that, it seems interesting to me to participate in the forum and analyze more deeply the details that seem most interesting to me and here are the reasons for my question.
Just curious. None of the most often reference books on the VICTORY and current photos show a grating on top of the cupola. I have found, through studying those references that I need to add / correct some items on the model I recently finished and on the cross-section I am now working on. Have fun!!
 
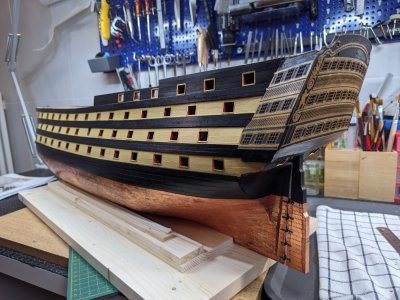
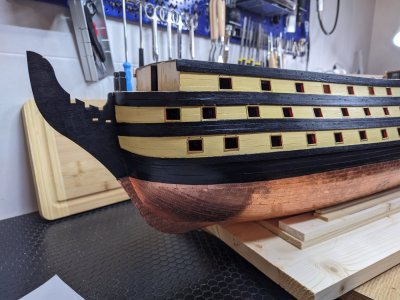
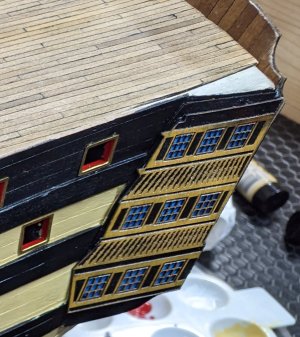
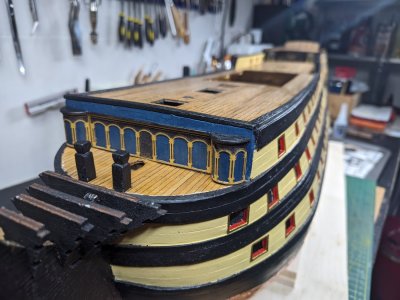
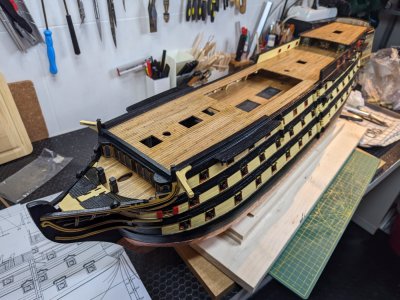
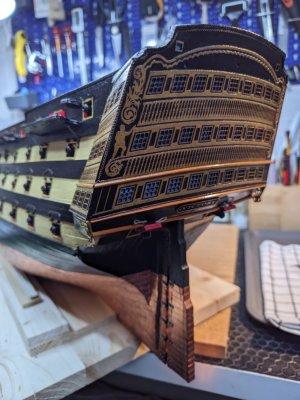
Hello everyone! I practically completed the hull, leaving out the installation of the gun ports. They seem particularly delicate to me and in my opinion they would be easily subject to damage as the construction of the model continues, so I decided to install them last thing.
I publish some photos to illustrate the work done so far, work with which I am quite satisfied.

PXL_20241019_160220819.jpg

PXL_20241019_160239279.jpg

PXL_20241019_160303729.jpg

PXL_20241019_160319477.jpg

PXL_20241019_160340521.jpg

PXL_20241019_160355561.jpg

PXL_20241019_160409817.jpg

PXL_20241019_160438403.jpg
 
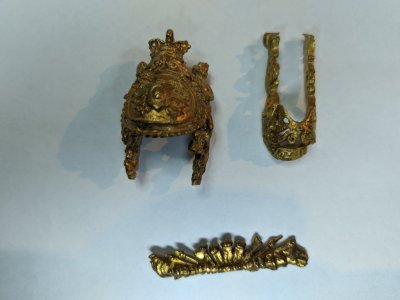
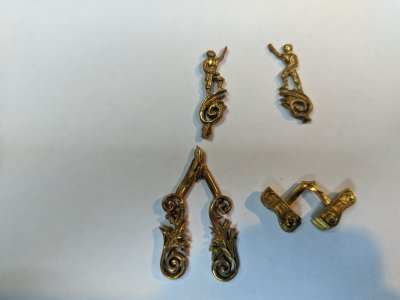
As you can see from the photos, the installation of the brass details at the stern and bow is also missing.
This is because I couldn't find a color scheme to use to finish them.
Can anyone help me? Thank you

View attachment 478596

View attachment 478597
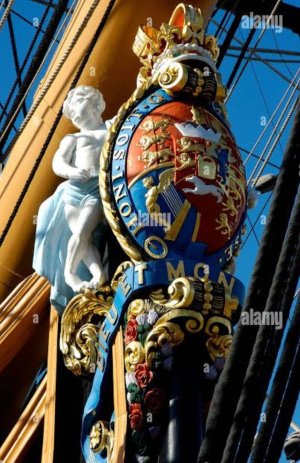
Good morning. The colours on the decorations are rather intensive. Here are photos from the web. It does require some fine painting. Cheers Grant
91FED335-5FDC-4B05-A0BE-3764A56639A7.jpegB6590EFA-3E42-4DDA-8249-40E02AA287B2.jpeg
 
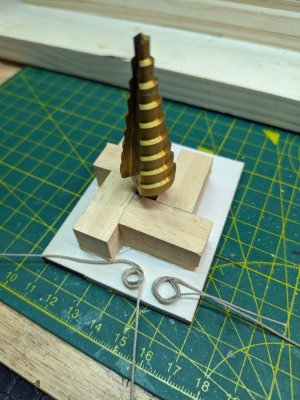
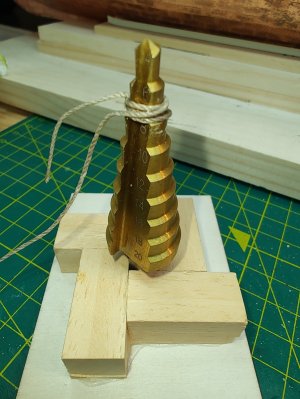
I have found a method that seems practical and effective to make the rolls of cordage to be used for various purposes on the deck of the ship.
I got myself a conical drill bit and fixed it on a base of wood waste.

PXL_20241110_111401109.jpg

Then I used the tip to form rolls of different diameters, fixing the string with a few stitches of CA glue.

IMG_20241110_111630762.jpg

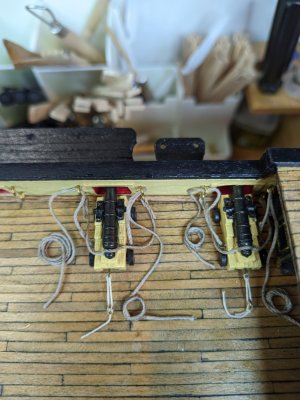
The result seems rather satisfactory to me, as the rolls seem more natural to me than the perfectly flat ones I had obtained with other methods:
Furthermore, the process is quick and simple.

PXL_20241110_111413389.jpg
 
Back
Top