HMS Victory [1805] 1:79 by serikoff. Started with Mantua -> Upgraded with John McKay's Anatomy.

01.2010

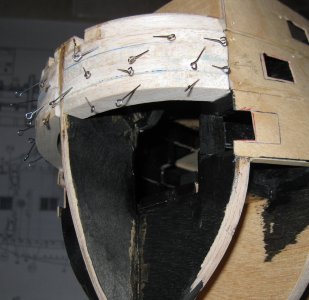
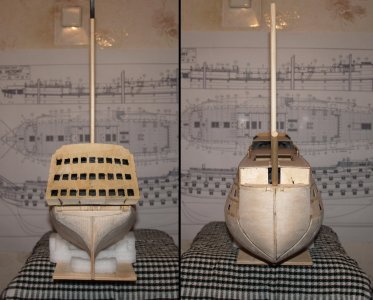
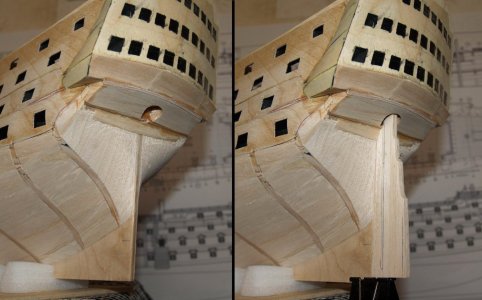
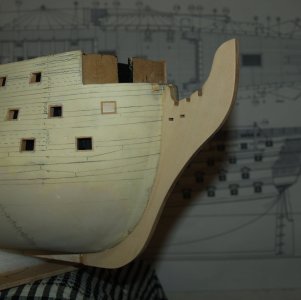
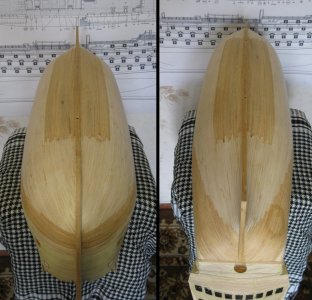
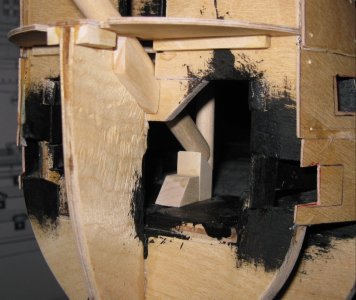
To start, I hurried to ensure a place for the bowsprit so that it wouldn’t be loose inside but would have its designated spot.
HMS Victory 066.jpg

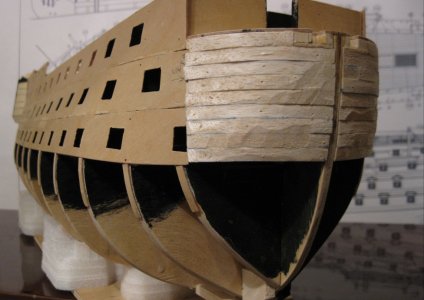
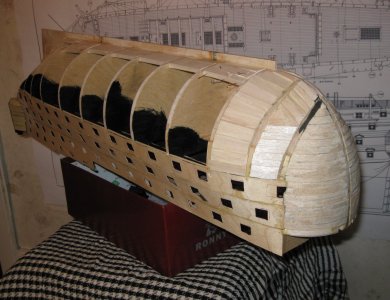
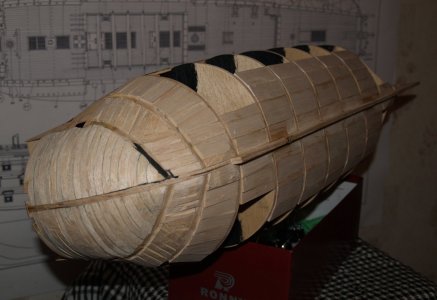
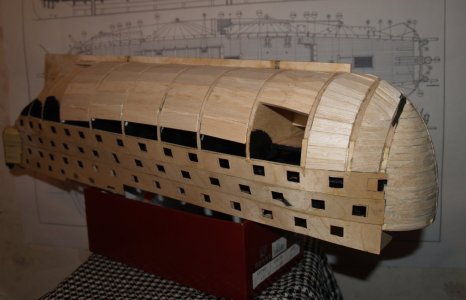
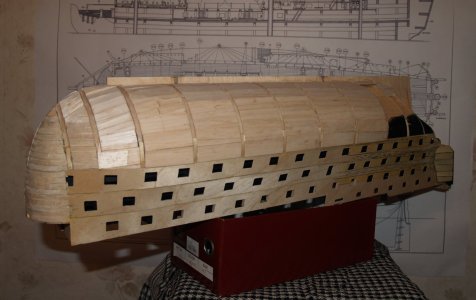
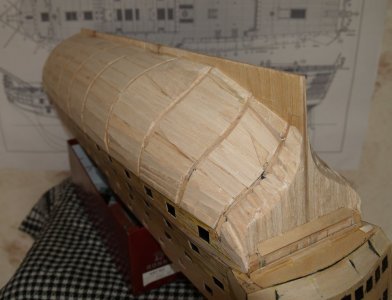
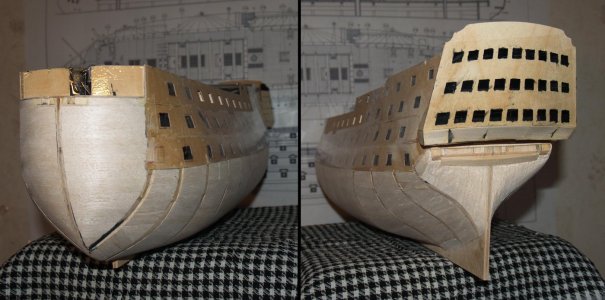
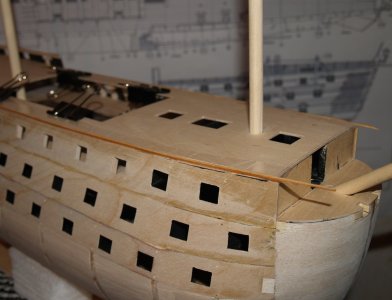
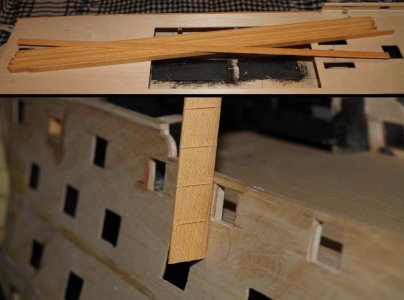
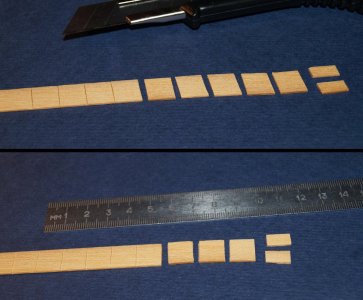
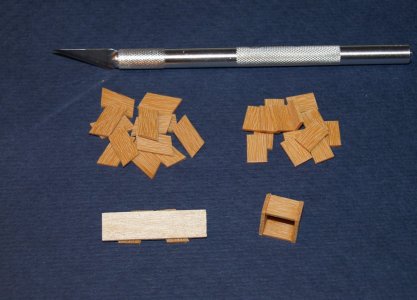
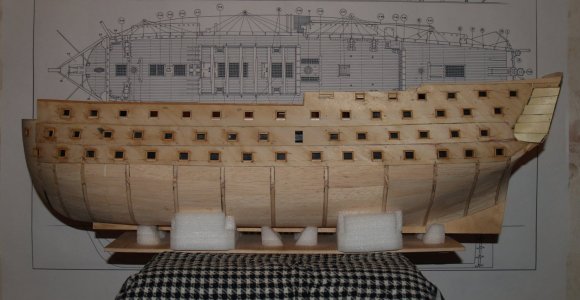
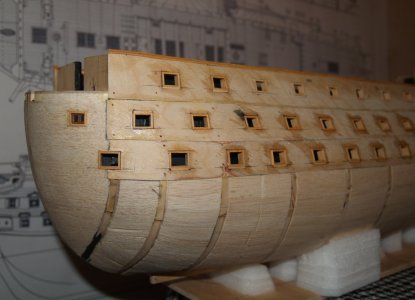
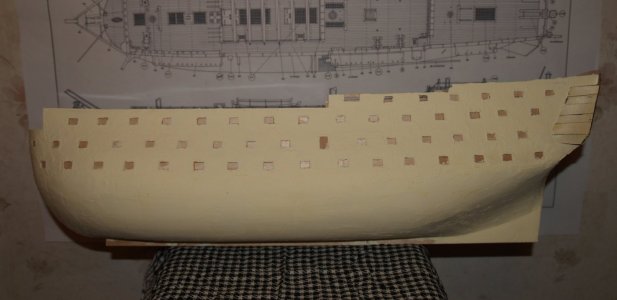
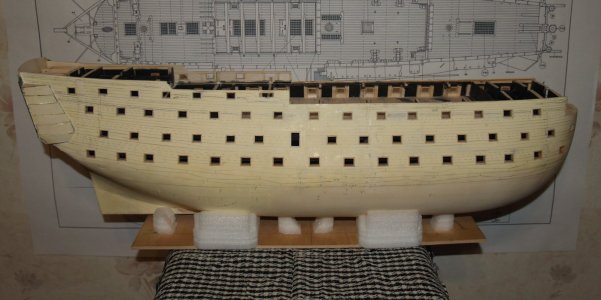
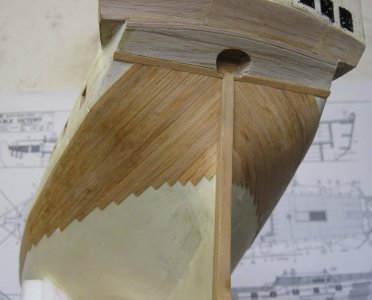
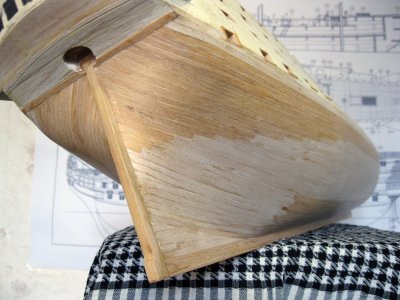
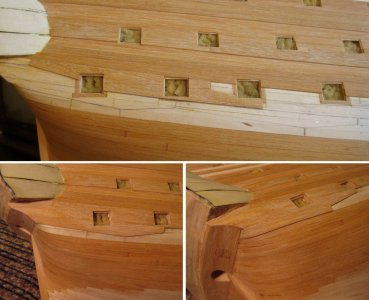
I filled the lower part of the hull with balsa inserts. I pre-cut fragments of the appropriate size and glued them in layer by layer.
HMS Victory 067.jpg

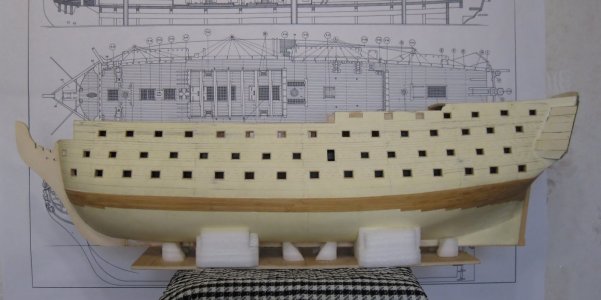
I made a small reserve (1-1.5 mm) to avoid depressions in the future. I aimed to keep the structure hollow for material efficiency and to facilitate the creation of a window at the level of the second tier of gun ports.
HMS Victory 068.jpg

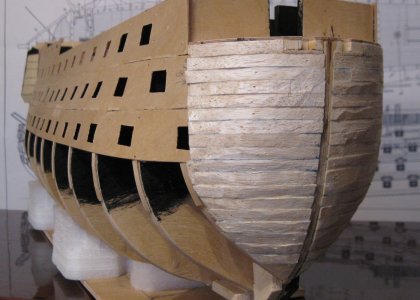
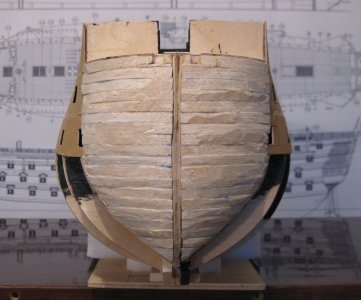
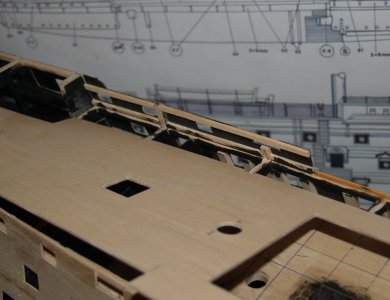
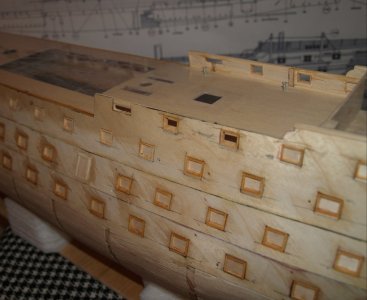
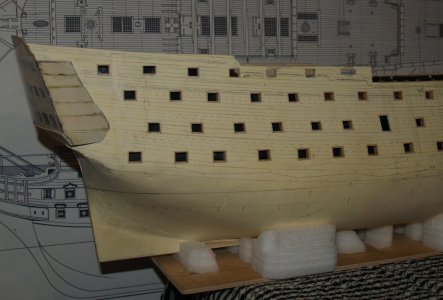
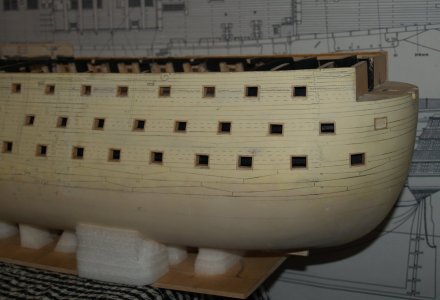
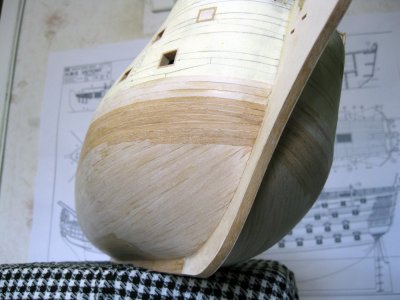
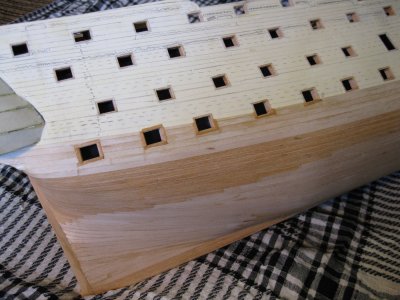
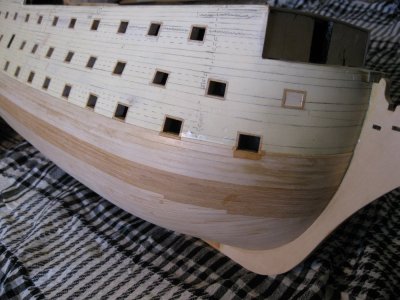
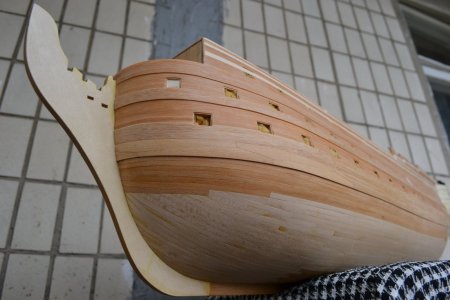
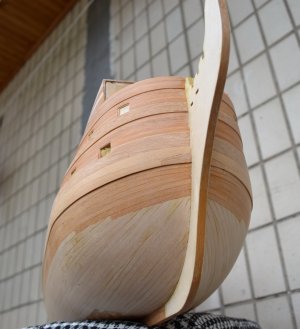
As a result, a sufficiently rigid structure was created. This principle will be applied to all further work on the rough sheathing below the plates that have already been installed.
HMS Victory 069.jpg
HMS Victory 070.jpg

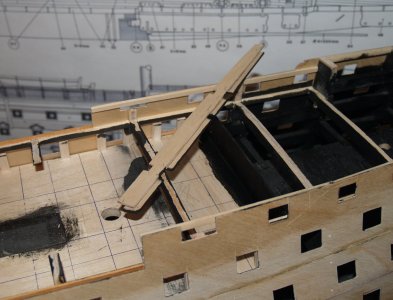
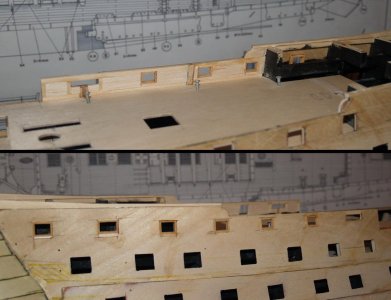
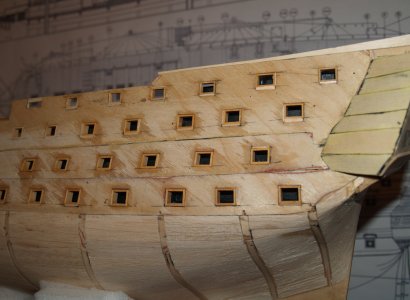
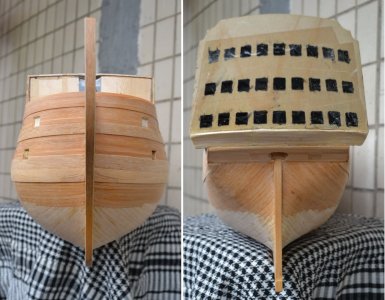
At the level of the small front deck, the locations for the knight's deck are visible. I cut these parts out, as I described in the section on working with the drawings.

Currently, there are 400 parts on board, and the continuation of the sheathing will be in the next part...
 
01.2010

To start, I hurried to ensure a place for the bowsprit so that it wouldn’t be loose inside but would have its designated spot.
View attachment 476300

I filled the lower part of the hull with balsa inserts. I pre-cut fragments of the appropriate size and glued them in layer by layer.
View attachment 476301

I made a small reserve (1-1.5 mm) to avoid depressions in the future. I aimed to keep the structure hollow for material efficiency and to facilitate the creation of a window at the level of the second tier of gun ports.
View attachment 476302

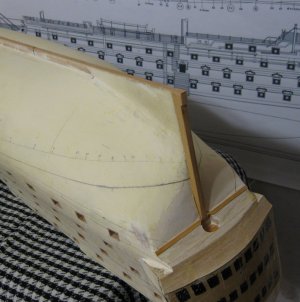
As a result, a sufficiently rigid structure was created. This principle will be applied to all further work on the rough sheathing below the plates that have already been installed.
View attachment 476303
View attachment 476304

At the level of the small front deck, the locations for the knight's deck are visible. I cut these parts out, as I described in the section on working with the drawings.

Currently, there are 400 parts on board, and the continuation of the sheathing will be in the next part...
Hi Sergey
Probably it's too late at this stage but have you considered including lights in the various parts of the ship?
 
Welcome Sergey! I will now follow your construction here.
Приємно бачити земляків!!
Hi Sergey
Probably it's too late at this stage but have you considered including lights in the various parts of the ship?
It’s already too late for that, as the hull is completed and I'm currently working on fitting it out. I’ll give it more thought if I decide to build the next one as an admiralty model.
 
Hello
You've got yourself quite challenging project. Good job with this build log, going into details and describing them will be helpful for many.
I'm also pulling up a chair. You mentioned adding 3d parts, do you intend on changing dummy half canons for full scale with carriages?
 
Hello to all my colleagues in the best hobby in the world!

My name is Sergey, but in the world of ships, I go by the name serikoff.

And here’s my story. (Without this introduction, it might be hard to understand me).

I’m from Ukraine and I am the creator of a website and forum dedicated to wooden shipbuilding. My forum is one of the largest in Ukraine. It began functioning fully in 2012. There are more than 150 build logs, just as many threads featuring completed models, and 250 threads discussing techniques and other topics. Some of the modelers who have published their work include prominent names such as: Evgeny Epur, Dmitry Shevelev, and Vladislav Zhdan. These names are well-known in our region. (By the way, Olga, who is known here under the nickname shipphotographer.com, also regularly published her work. It’s not surprising, since we’re from the same area). But! The situation started to deteriorate after 2014, when we began having issues with the website’s domain and hosting. That was the first phase of the war, as our countries were closely intertwined, and cross-sanctions began to destroy joint services. And after the full-scale Russian invasion of Ukraine, the website essentially died. To be more precise, it still exists, but all the images uploaded by modelers have disappeared. The reason for this is a conflict between the image storage resources and the website’s platform. Right now, I don’t have the resources or time to restore it. But I’m sure that after our victory, someone will be able to create a forum as large and wonderful as yours.

Now, about me...

I started building my second model in 2009 (the first one was experimental, and I didn’t see the point in finishing it). At that time, there weren’t as many resources available as there are today. I made many mistakes and learned how to correct them. I shared this knowledge on my website and forum. However, due to being busy in 2013, I had to put my project on hold. But as the saying goes, "Every cloud has a silver lining." The war started, borders were closed, and I could no longer travel—something that took up all my free time. I’m a dentist, in case anyone’s curious. And under constant shelling, explosions, and air raid sirens, to keep from losing my mind, I decided to return to my hobby. Exactly 10 years later.

What am I doing here...

First of all, I’d like to say that I found your forum by accident. But! I fell in love with it right away! There’s a warm atmosphere, lots of information, and I’ve really been missing all of this. In my journal, I want to share my build, all the knowledge I have, and, of course, ask the questions that interest me. I will be happy to help anyone if you have questions, feel free to reach out. I’m deliberately not posting a link to my website so as not to spoil the build. I want my journal to progress in real time, reaching the current state of the build. Please excuse my English—I will be using Chat GPT for translations to avoid any difficulties.

What I’m building...

As you can see from the title, it’s HMS Victory. I created the framework of the model using plans from a Mantua kit. I didn’t buy the kit itself. I printed the plans in A0 format and built the frame (the skeleton) based on them. That was the end of my work with the Mantua kit. All further work was based on John McKay’s anatomy of the ship. In this journal, I want to take you through the whole process, from the kit plans to the anatomical upgrade.

View attachment 475811

I would also like to share my experiments: Working with blueprints. Aging and painting wood. Aging copper. Making and painting ropes and rigging. 3D modeling and integrating 3D printing into wooden shipbuilding. And much more. It will be fun, and I hope it will be informative for you. I’m sure I will learn a lot from you as well. Thanks in advance for that!

View attachment 475812

Let’s get started!

P.S. Рідною.

Хочу звернутися до всіх українців, що виїхали до, чи під час війни. Не слухайте нікого. Кожна людина прагне щастя та безпеки собі та своїм близким. І я щиро сподіваюся, що у вас все добре і ви у безпеці. А всім, хто залишилися, хочу побажати перемоги, мирного неба, сил та здоров'я все це пережити. Бережіть себе, все буде Україна! Слава ЗСУ!
Так Ласкаво просимо -))
 
Так Ласкаво просимо -))
Дякую))
Hello
You've got yourself quite challenging project. Good job with this build log, going into details and describing them will be helpful for many.
I'm also pulling up a chair. You mentioned adding 3d parts, do you intend on changing dummy half canons for full scale with carriages?
Thank you for the high praise. I believe my build log will be helpful to many. Due to some translation difficulties, I didn't fully grasp your question, but based on my understanding, here's my response. Later in the log, I’ll be describing how I modeled various ship components in Blender, such as cannons, carriages, the ship's wheel, intricate columns, and many other details that are difficult to craft at a small scale. All these parts will be painted, so it won't be noticeable that they’re not made of wood, which is the intention. But to avoid spoilers, I’ll cover this later in the log.

If you have urgent questions on this topic and can't wait, feel free to message me directly, and I’ll try to help. Alternatively, you can wait until I reach that point in the log. Since this is a large topic, I might even create a separate thread that I'll run in parallel. That thread will be in the 3D modeling section.
 
Part 4

10.2010


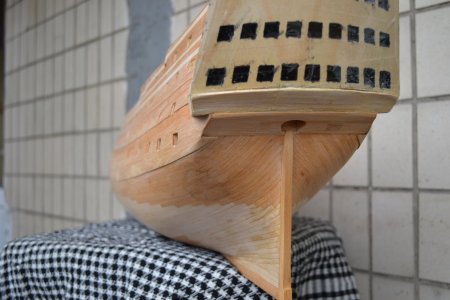
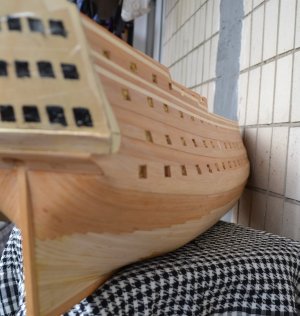
My entire build progressed in intervals. There were times when I would work non-stop for days, and then there were long breaks. After the first major pause of about six months, I resumed planking the lower part of the hull with inserts. The inserts were made of balsa wood. This wood is easy to work with yet strong enough to withstand sanding without warping.
HMS Victory 071.jpg

Step by step, all the gaps were filled.
HMS Victory 072.jpg
HMS Victory 073.jpg
HMS Victory 074.jpg
HMS Victory 075.jpg
HMS Victory 076.jpg

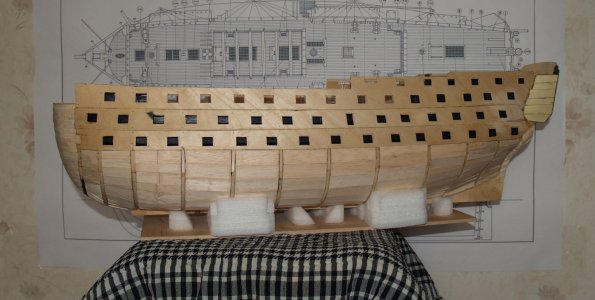
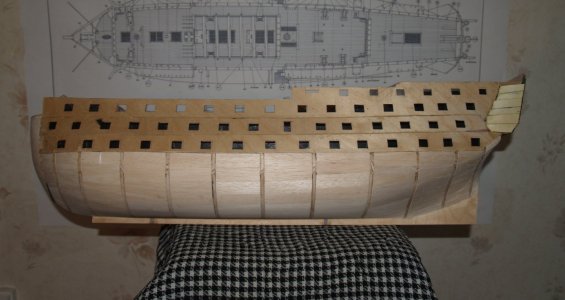
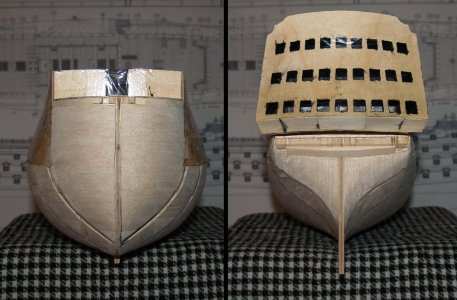
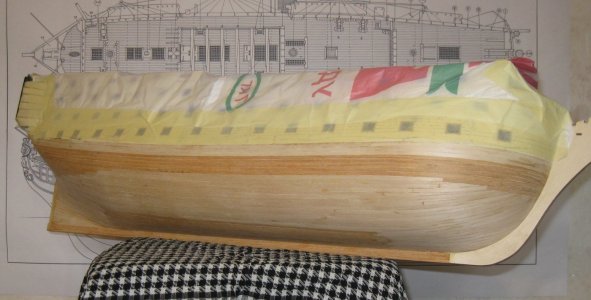
After completing the filling, I covered the large openings with tape and began shaping this faceted structure into smoother, rounded forms.
HMS Victory 078.jpg
HMS Victory 079.jpg
HMS Victory 080.jpg

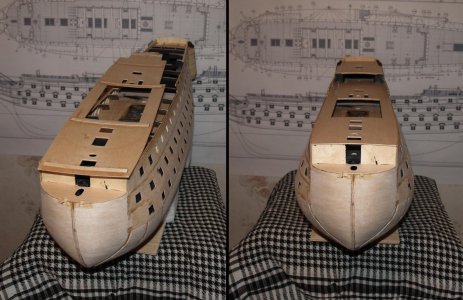
This was just an intermediate step before the puttying and final sanding. However, even at this stage, I was already satisfied with the result.
The hull now consists of 700 parts and weighs over 2.1 kg—definitely not something you can carry around for long!
...
 
10.2010

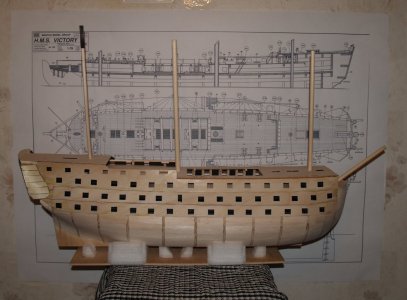
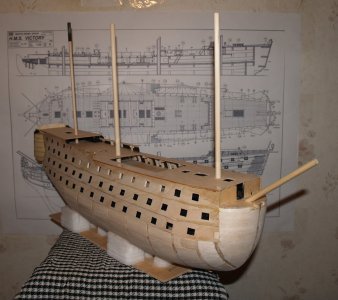
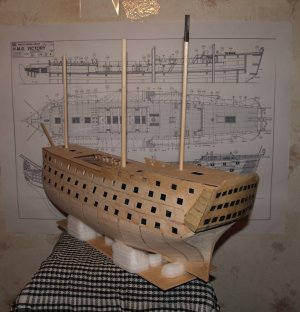
The rough planking is nearing its logical conclusion, and before temporarily installing the decks, I decided to center the masts. For now, they are just for fitting purposes. I'd like to remind you that a warship’s masts have different inclinations: the foremast is at 90 degrees, the mainmast leans back by +2 degrees, and the mizzenmast leans back by +3 degrees. The bowsprit is angled 30 degrees upward in relation to the waterline. Unfortunately, this important detail is often overlooked in many kits!
HMS Victory 081.jpg
HMS Victory 082.jpg
HMS Victory 083.jpg

Regarding the ship's longitudinal axis, all parts of the rigging must be perfectly vertical.
HMS Victory 084.jpg

After ensuring that everything was aligned properly, I proceeded to work on the decks.
...
 
10.2010

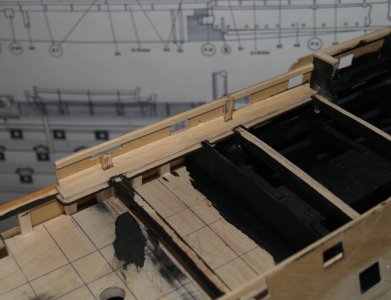
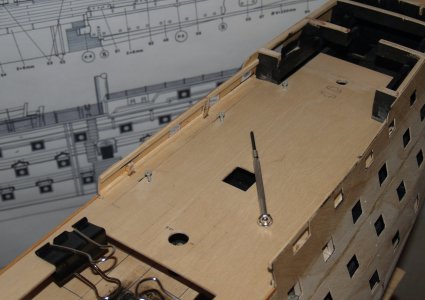
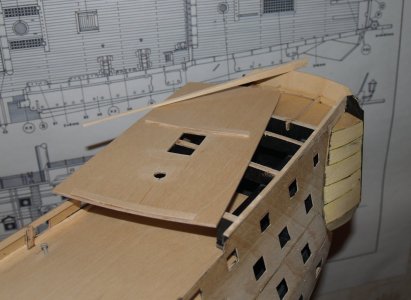
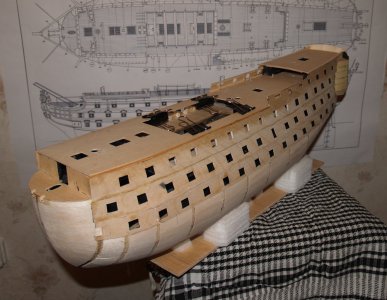
The middle deck will be removable. Therefore, I prepared special slots for it to fit into securely.
HMS Victory 085.jpg
HMS Victory 086.jpg

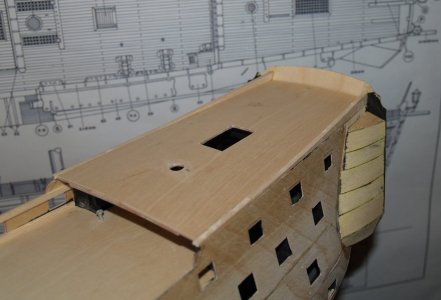
In the middle section, I made a cut in the deck and designed it to be composite. A small part will be fixed to the hull, while the larger part will be removable. Later, it will become clear why I chose this approach.
HMS Victory 087.jpg
HMS Victory 088.jpg
HMS Victory 089.jpg

I added curvature to all the decks with internal inserts, as shown on the upper deck.
HMS Victory 090.jpg
HMS Victory 091.jpg
Side supports were also made for the upper deck. They serve as a small railing.

HMS Victory 092.jpg
HMS Victory 093.jpg

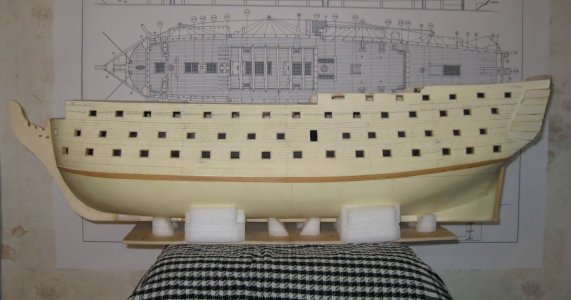
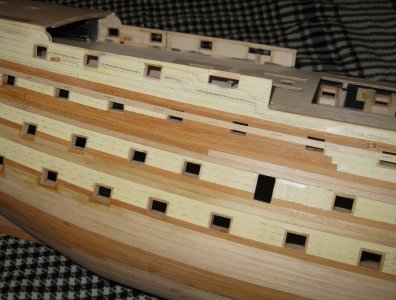
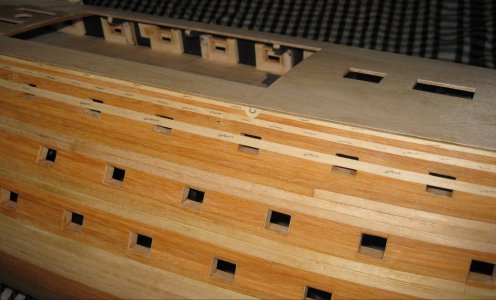
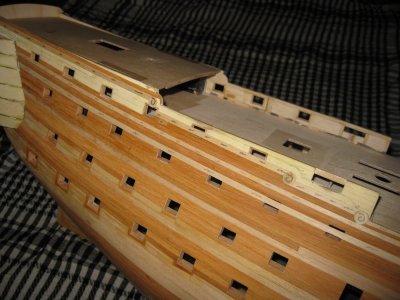
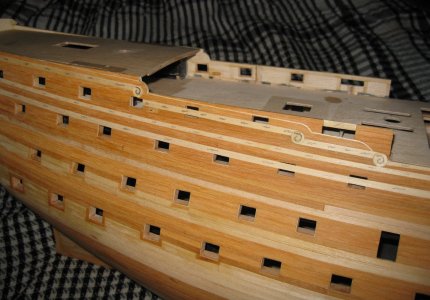
This huge stage of the rough sheathing is complete. Ahead lies the fixation of over 100 gun ports. It will be a long, monotonous task before the smoothing and sanding of the hull.

There are 720 parts on board... Let's continue!
 
Part 5

10.2010


To avoid delaying the process, while there's time and motivation, I’ll be accelerating the submission of new material.
Before diving into the repetitive work with the ports, I tackled a few other tasks. I calculated the rudder area.
HMS Victory 094.jpg

And I finished the work on the inner side of the hull.
HMS Victory 095.jpg

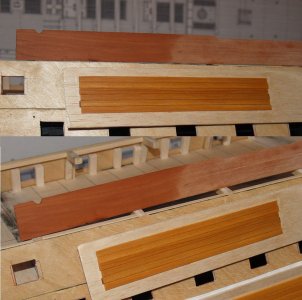
But for the production of the gunports, I needed the final finish wood. I didn't want to paint the ship yellow, so I initially searched for wood with a pleasant natural color, close to an orange-yellow hue.

After some time searching, I came across a few parquet planks made of a wood I had never even heard of before. It's called Daru (or Garu). Incredibly dense, almost like stone. When working with it, the wood had a wonderful scent, so much so that it was a real pleasure to work with. The color varied between the different planks, which allowed me to play around with combinations to create an interesting look.

The second discovery was pink pearwood. It was exactly what I was looking for—a dark, rich color that completely captivated me. And just to jump ahead a bit, in 15 years I haven’t found anything quite like it. Since I didn’t have much of this pearwood, I decided to use it only for decorative elements, railings, and similar details.

HMS Victory 110.jpg

The color turned out like this after applying oil. And again, looking ahead, I regret not leaving gaps in the planking. It would have looked really good. I thought I could carve out those gaps later, but once everything was glued, I realized it was impossible without having beveled the edges beforehand.

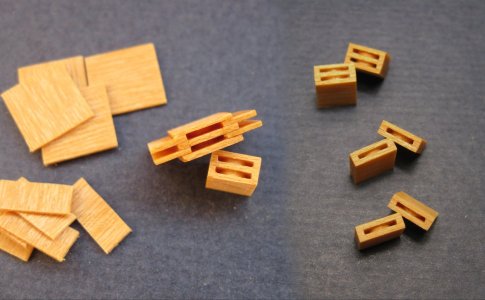
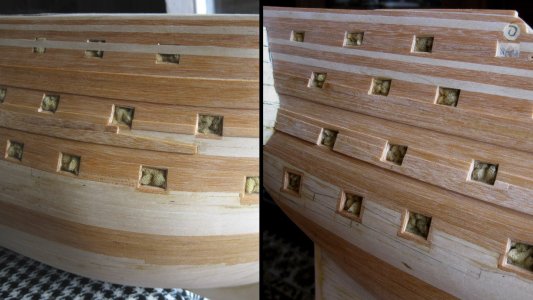
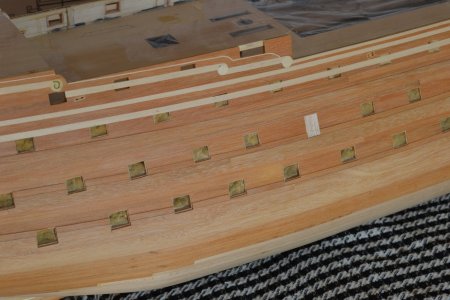
So, I cut the blanks for the gunports and began working on them. First, I set the horizontal level.
HMS Victory 096.jpg

Then I cut the walls, glued them together, and attached them to the hull.
HMS Victory 097.jpg
HMS Victory 098.jpg
HMS Victory 099.jpg

And I repeated this process over 100 times! )))
HMS Victory 100.jpg
HMS Victory 101.jpg
HMS Victory 102.jpg

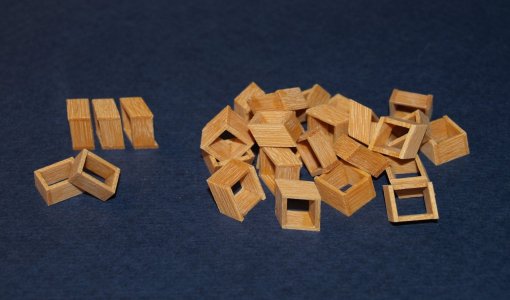
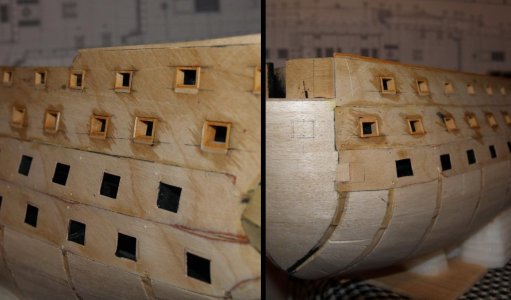
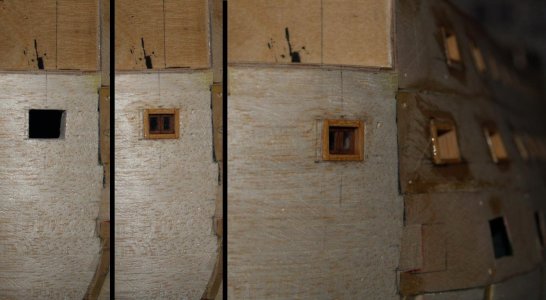
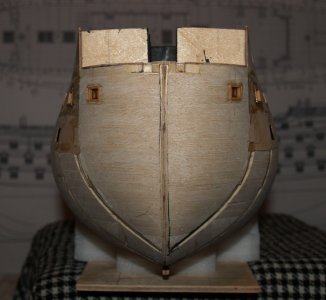
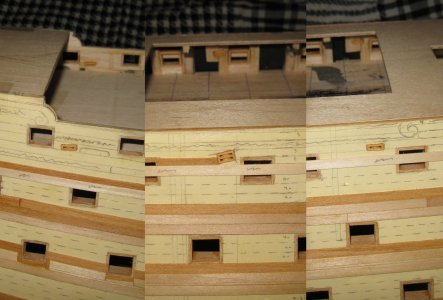
Then I created a port with a window. However, I should mention that I will redo it because I am not satisfied with the result at the moment.
HMS Victory 104.jpg

From this angle, it has such a cute little face with a smile.
HMS Victory 105.jpg

In total, I spent about 20 days working on the ports, and finally, everything was ready.
HMS Victory 106.jpg
HMS Victory 107.jpg
HMS Victory 108.jpg

And all that was left was to putty everything and perfect the outlines.
...
 
10.2010

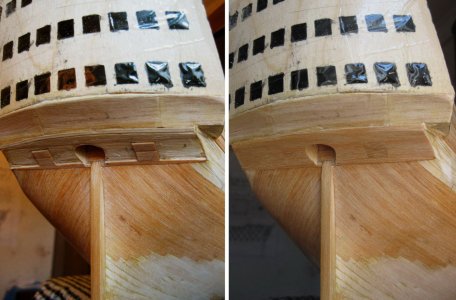
But before that, it was necessary to close all the ports to prevent dust from entering the hull.
HMS Victory 109.jpg

Next, I applied an even layer of wood filler to the hull and then shaped it to the desired profile.
HMS Victory 111.jpg
HMS Victory 112.jpg

On top, I marked the lines for the hull planking.
HMS Victory 113.jpg
HMS Victory 114.jpg

I want to respond immediately to all those who are skeptical about this, specifically regarding the thickness of the layer of putty. To jump ahead, after 14 years, not a single planking strip has come loose. There are no raised areas, no cracks, and no steps. Everything is holding very securely. I glued the planking using PVA with the help of an iron, but I will discuss that later.

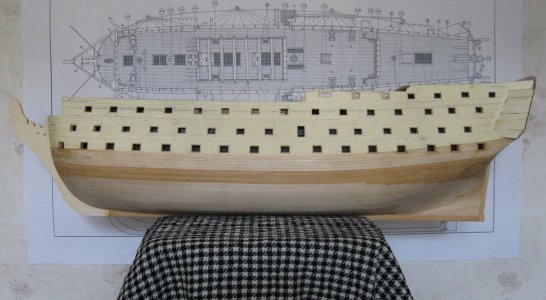
The work on the rough draft has come to an end. The model has just under 1,340 details and weighs about 2.4 kg. Ahead lies a very labor-intensive, important, and responsible stage – the final planking of the hull!
 
Part 6

11.2010


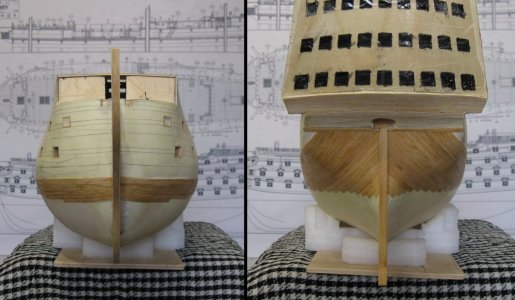
Before the planking, I secured the stem. The only thing is that significant adjustments will be made to it. For now, it’s as it came in the kit, but later I will shape it according to the anatomy.
HMS Victory 118.jpg

I also finished the rear part.
HMS Victory 122.jpg

02.2011

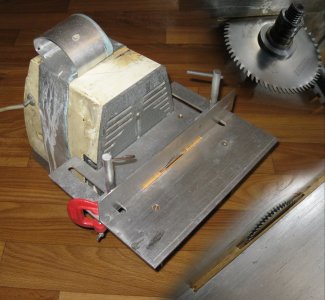
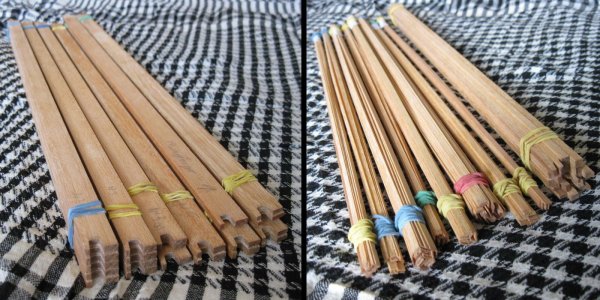
So, after a short break, I took out my old saw and began cutting strips for the planking.
HMS Victory 119.jpg
HMS Victory 120.jpg
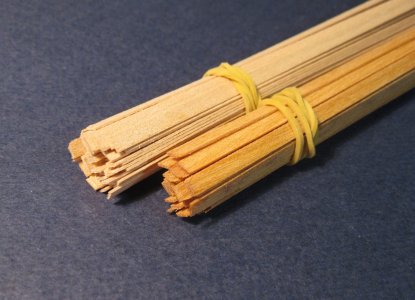
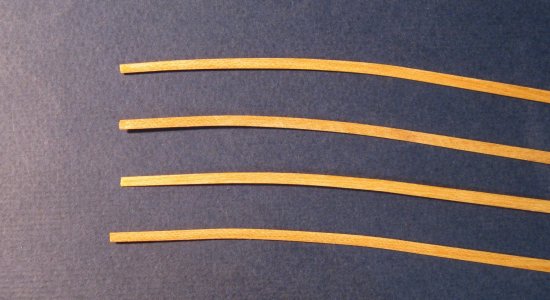
Since I didn't have much Daru, I used birch for the inner layer of velvet and for the planking below the waterline.

For the first layer of planking, I made a layer under the velvet. This layer will be covered with black paint, so I used Daru with a pattern that I didn't particularly like. The one that was very beautiful I used in the area that won't be painted.
HMS Victory 123.jpg
I preheated the strips with an iron to bend them to the desired profile.

HMS Victory 124.jpg

To avoid waiting too long for the glue to set, I used the method of "welding" the strips with an iron. The principle is quite simple. PVA glue is applied to the strip, then it is positioned and pressed against the surface with a hot iron. After a few seconds, the glue heats up and "welds" the strip to the surface. The same method can be used to detach it. Therefore, when using this method, you need to listen for the hissing sound to determine when the strip has adhered properly. If you leave it too long, it may come loose again, and if you don’t leave it long enough, it won’t stick. The skill comes with experience. However, it is a very effective way to quickly adhere strips.

All the strips were glued using this method. Starting from the bulwarks down to the underwater part, which will be covered with copper sheathing, and continuing throughout the entire hull, as described below.

HMS Victory 125.jpg
HMS Victory 126.jpg
HMS Victory 127.jpg
HMS Victory 128-131.jpg

05.2011

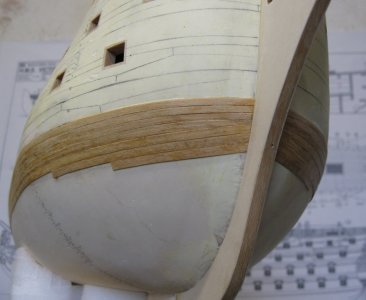
Slowly but steadily, the sheathing progressed, and by summer, I had covered the entire underwater part.
HMS Victory 132.jpg
HMS Victory 133.jpg
HMS Victory 134.jpg

This is not the final sanding yet; everything will still be refined to perfection. There was a small defect in the rear part, but I fixed it. Since this will be painted, I didn't redo everything but only addressed the indentation.
HMS Victory 135.jpg

There are 1,700 details on board... let's continue!
 
I believe originally was a gunport with sideways opening covers, but be sure to check because I can't find a reference right now.
Yes, this is a window with two doors. It's small for a cannon, likely serving a viewing function or ventilation. Although it's possible that a barrel could fit there as well. I plan to redesign this window according to the anatomy.
 
Part 7

06.2011


As I mentioned, I made the bulwarks in two layers. Where the edge could be visible, I glued Daru, while the inner layer was entirely made of birch.
HMS Victory 136.jpg
HMS Victory 137.jpg
HMS Victory 138.jpg

09.2011

After finishing the preparations, I once again started preparing the strips.
HMS Victory 139.jpg

Then I glued all the remaining barhouts in the same way, specifically their inner layer.
HMS Victory 140.jpg
HMS Victory 141.jpg

HMS Victory 142.jpg
I tried to work from both sides simultaneously to maintain symmetry.

HMS Victory 143.jpg

...
 
09.2011

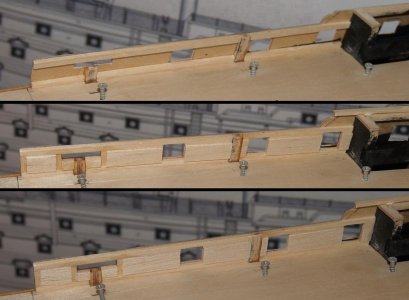
For further cladding, it was necessary to pre-make the blocks located inside the hull. From the photo, I think the principle is clear.
HMS Victory 144.jpg
HMS Victory 145.jpg

The strip marked with a pencil is a temporary strip. It will be removed after sanding, and a rail will be glued in its place.

HMS Victory 146.jpg

Step by step, I covered all the space under the rails, and after that, I could sand everything down.
HMS Victory 147.jpg

I would like to clarify once again that the light-colored strips marked with a pencil are temporary strips. They will be removed and replaced with the railings, as well as the scrolls and thin decorative strips.

HMS Victory 148.jpg
HMS Victory 149.jpg
HMS Victory 150.jpg

Today is an exclusive date: 11.11.11 at 11:11:11.111. There haven’t been as many ones since the year 1111! Did everyone manage to make a wish?

Now, back to business. I have finally finished the cladding on the second side. Now there are 2,135 parts on board.

After sanding, I could install the outer layer of the bulwarks.
...
 
Last edited:
09.2012

After nearly 10 months of pause, I’m back.

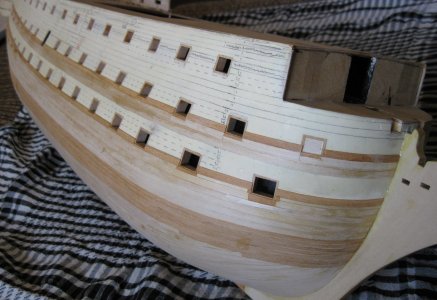
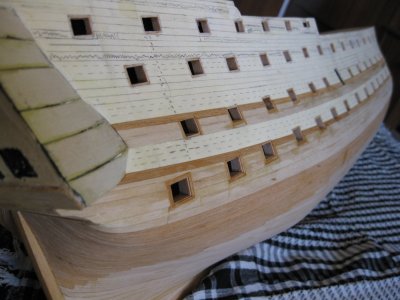
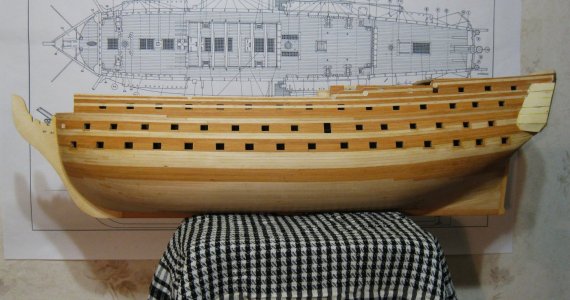
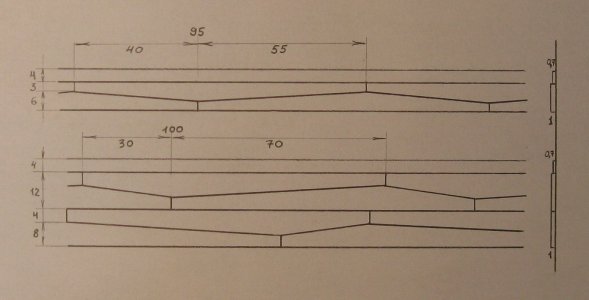
Regarding the barhoots: the upper ones are straightforward—three planks, each 4 mm thick. The middle barhoots consist of two parts. The upper part follows the principle of the upper barhoot (one plank, 4 mm thick), while the lower part is a locking piece. This part is slightly thicker, creating a small step with the upper part, measuring 9 mm in thickness. The lower barhoot is similar to the middle one, with one 4 mm thick plank on top and a locking piece below. The only difference here is that there are two locking belts. After the last one is mounted, everything will be sanded down, and the cladding will acquire a distinct texture and relief.

HMS Victory 151.jpg

HMS Victory 152.jpg

HMS Victory 153.jpg

HMS Victory 154.jpg

10.2012

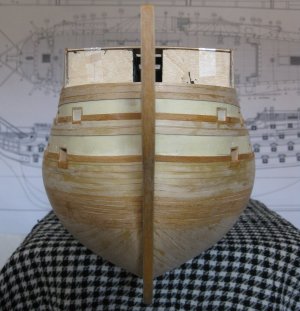
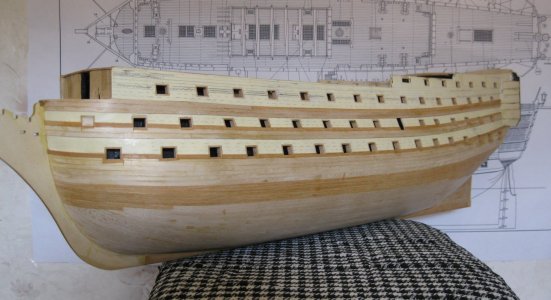
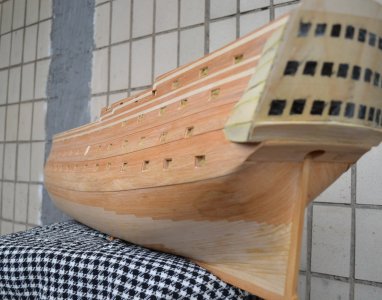
After a long and dusty work of sanding the surface, I finally finished the final cladding. Well, almost. I took the model outside into the sunlight and took several photos with the best possible white balance. And here’s how beautifully the Daru looks in high resolution... I like it, do you?

HMS Victory 155.jpg
HMS Victory 156.jpg
HMS Victory 157.jpg
HMS Victory 158.jpg
HMS Victory 159.jpg
HMS Victory 160.jpg

HMS Victory 161.jpg
HMS Victory 162.jpg

This is not yet the final sanding, but I couldn't wait to show the result! :p

There are 2,300 parts on board... to be continued.
 
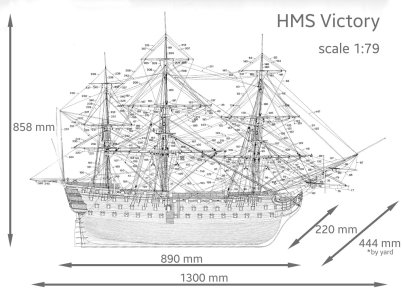
I forgot to clarify the dimensions of the future model. The image clearly shows all the proportions. A few words about why I chose such an unusual scale, 1:79, and why it differs from the standard kit scale. This is because I printed the Mantua blueprints on A0 format, calculating the dimensions to achieve the length I needed. As a result, after adjusting the finished hull size to match the anatomy, I printed the blueprints from the anatomy book in full-scale. So now, I can say with certainty what the final size of the ship will be.

Габариты .jpg
 
Back
Top