Hms Victory by Caldercraft - Build Log

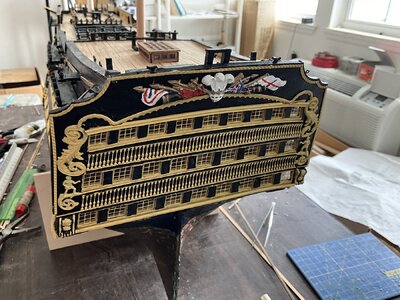
I think it is time for another update, I got the stern fascia mostly done, I am happy with the results, but again a lot of frustration to “do it the way the picture shows”. I didn’t get the yellow highlight pain right around the windows in retrospect, and struggled with what was right and how it all fit, but in the end I think it came out okay. I will start on the side galleries now. I am still working on the victory nameplate, trying to decide if I want to use the plate in the kit, or try to apply individual letters like the real ship has. I am planning ahead and realized my hobby lathe is not big enough to turn the main and fore mast, so I am going to have to get creative with that. Not sure if it is worth a new lathe.
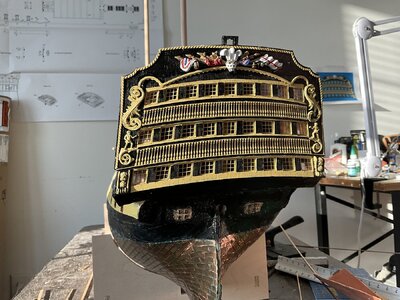
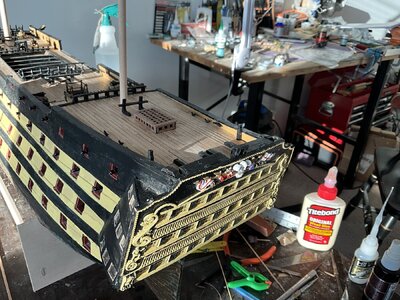
image.jpg

image.jpg
 
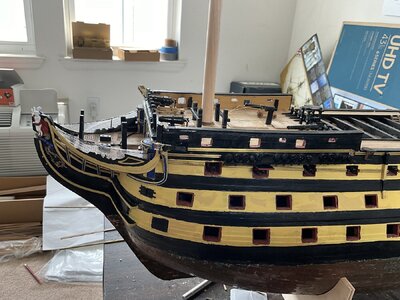
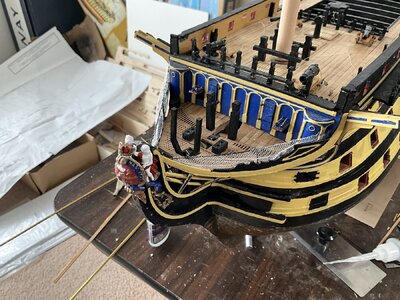
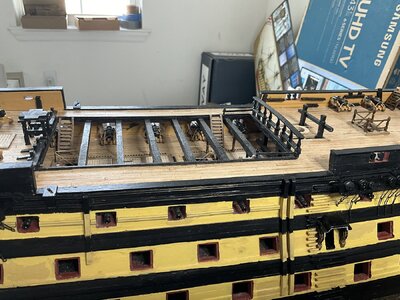
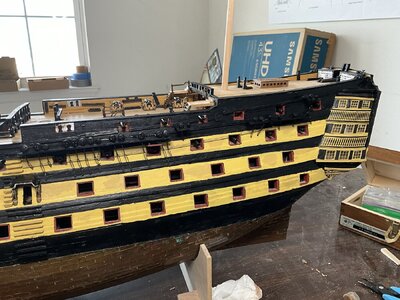
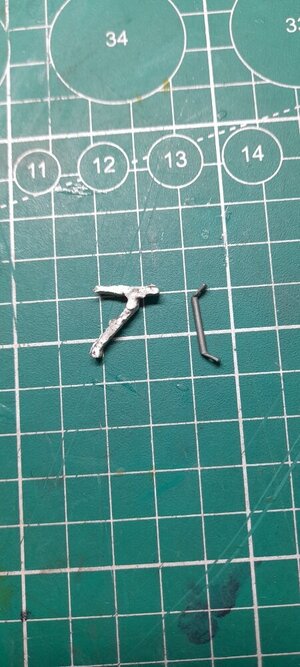
So I think I have the stern done except for the final touchups as I get closer to being done. I managed to bend the brass rails minimally, and am okay with the outcome I guess. I am not sure how all the stuff was suppose to fit but I think it came out okay. I got the fenders on but had to use some fill to fill in some gaps. I am going to turn the boat around now ( nice turn around cruise like the constitution) and work out the forward two gunports that have to be carved out of the hull and then try to figure out how to bend the brass rails for the bow continuation. I have no idea how I will do that but I will try. I have a propane torch I could use to heat them but afraid I can’t handle them when they are that hot, maybe put in boiling water???? It would be something at least..

image.jpg

image.jpg

image.jpg
 
To bend brass (or straighten it) it is best to anneal it. This is basically softening, and in brass or copper it works the other way to tempering steel which can be hardened by heating and sudden cooling. Heat the brass very briefly to just about red hot. As soon as you do that drop into cold water. You will find that it becomes relativel soft an pliable. It will naturally re-harden over time. Practice on a bit of spare brass wire first, and be careful to keep the 'red hot' part of the process very very short or you might melt some brass alloy mixes.
 
All right, here we go,, I finishing up my Amati Vanguard now as my “learning” ship and am now taking on the Victory which has been my dream for build for the last 30 years since before medical school. I did not make a log of the the Vanguard as I was afraid to show my mistakes and was afraid of what it would look like if I didn’t complete it. I will try to keep this up,,, any warnings in advance of what I am doing well be greatly appreciated. I had to go out and get larger clamps to get the keel set up….

View attachment 344311

View attachment 344312
Hallo @traumadoc
we wish you all the BEST and a HAPPY BIRTHDAY
Birthday-Cake
 
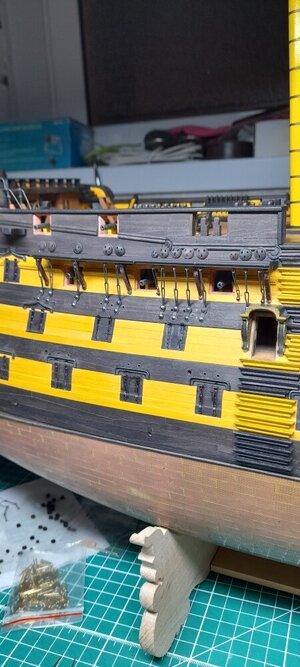
for another update. I have the channels on and am working on the hull moldings/rails now. I am sad that I lost the bag of black dome head nails for the chain plates. I tried to order replacement through Jakarta but they sent me brass regular nails rather than black ones (although labeled correctly on bag) so I will make do I think. I have to figure out how to turn the main mast and foremast bases as my lathe is too small to accommodate. I hate to buy a new bigger lathe just for two turns. Overall things are okay, I need to learn how to do a better job with hull painting as I don’t seem to be able to keep it the way I want it. I have tried the airbrush, but it seems like a lot of cleaning/work for touch up things and I have avoided it. Thanks for support and comments, always happy to learn new things, entertain new ideas. Lastly I still need to get the fire buckets up on the racks but I need to figure out how to drill holes in the brass buckets without a drill press. I may try and find alternative fire buckets that would fit. Thoughts?????

image.jpg

image.jpg

image.jpg

image.jpg
 
I still prefer OcCres rounded stern. Looks so much nicer. For such a detailed ship, it seems a shame. Correct me if I’m wrong.
 
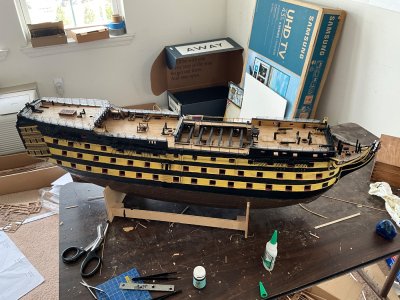
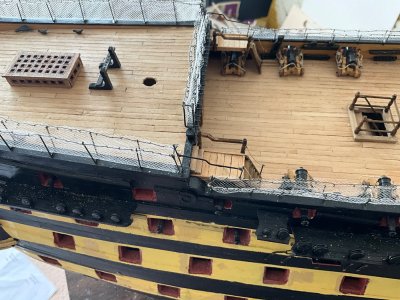
Things are going slowly, but making some progress, feeling a little disheartened as I see so many “mistakes” particularly with the paint. But I have the chain plates on now,, I will work on the other side next, I noticed in the plans and on the real victory, there are some support struts on the channels, but they are not mentioned anywhere in the directions. Nor are there parts listed for them. I do see them on the schematics as straight lines so I wam wondering what others have done for this.

IMG_0037.jpeg

IMG_0038.jpeg

IMG_0039.jpeg
 
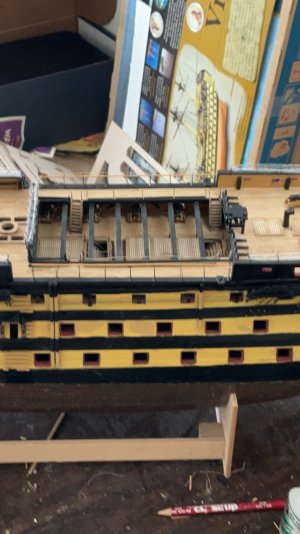
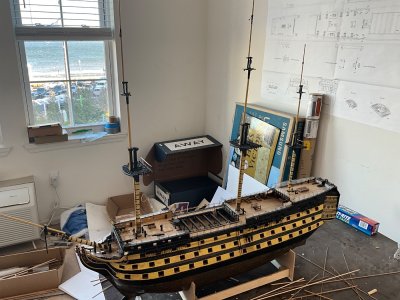
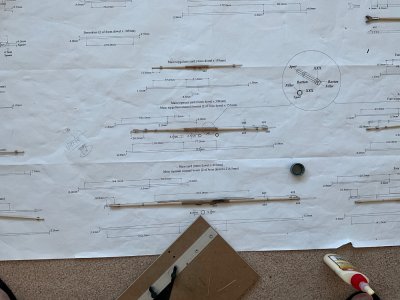
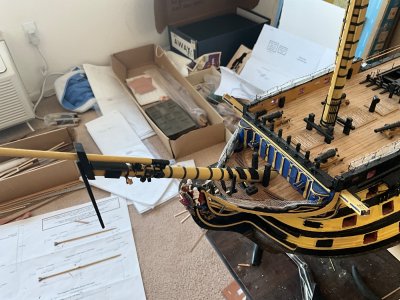
Making some progress,, I got the hammock cranes done and after a few starts and aborts retry, I got the hammock netting in.. I am still not crazy about the result, but it is consistent. The railings are done,, I will hold off on doing the gun port covers because I know I will just knock them off working on the rigging and get mad at myself. I am starting to turn the masts now and working on the lathe which I enjoy.. (very zen). I am still struggling with Humbrol yellow paint,, it seems every “tinlet” I get has a slightly different color so I am getting blotches when I try to “touch things up”. would hate to have to redo the entire yellow stripes, but it may come to that…we will see..

309A3BB3-E37D-4236-B422-16E5A0B96D9D.jpeg

813C9613-A034-46D0-AD32-C5DAA68C8C10.jpeg

19852EAF-351B-4DE3-864C-91AFE81D9C01.jpeg

image.jpg

image.jpg

image.jpg
 
So the starboard side is pretty much done except for a few small pieces at the waterline that I prefer to wait untill both sides are done so I see how many plates I have left to work with rather than cutting multiple scraps from a single piece. Most of it came it out well in my mind, still struggle with the bow/stem transition. (Only my second boat so still learning). time to flip it and start the other side, which will take a few weeks again for sure at my rate of progress

View attachment 379340

View attachment 379341
Congratulations, a beautiful job. I'm making the same ship and I have to glue the platelets. What glue did you use? Thanks
 
Back
Top