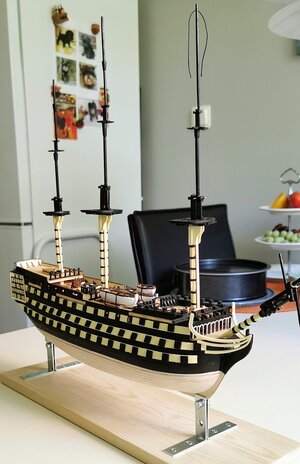
HMS Victory Scale 1:150 (another construction project) [COMPLETED BUILD]

Joined
Jan 2, 2021
Messages
48
Points
68

Location
Torshalla, Sweden
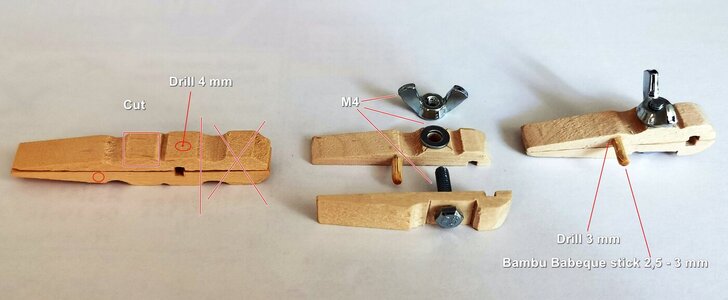
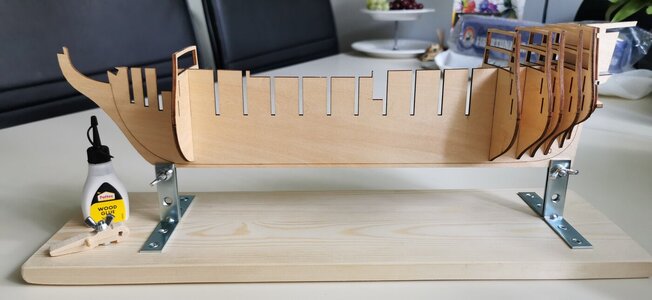
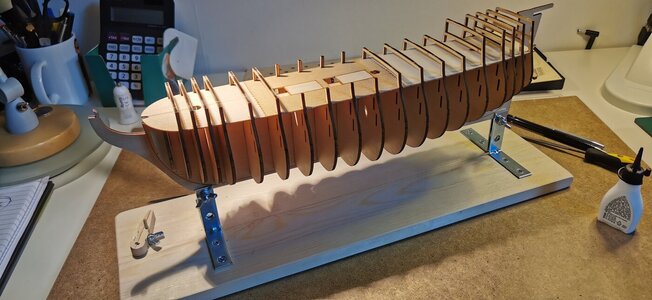
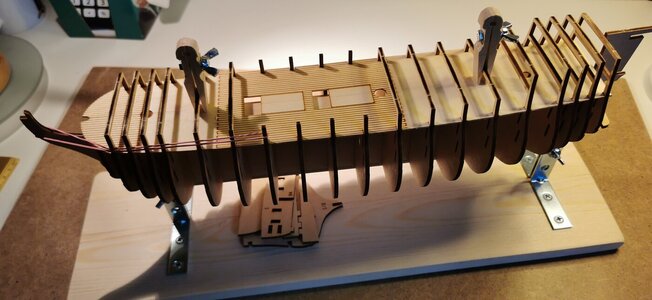
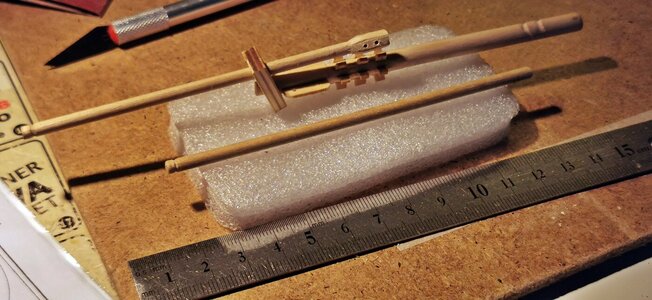
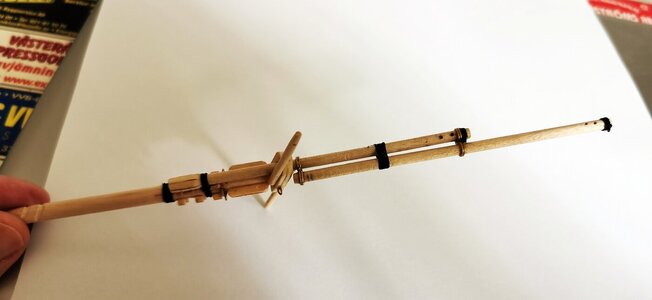
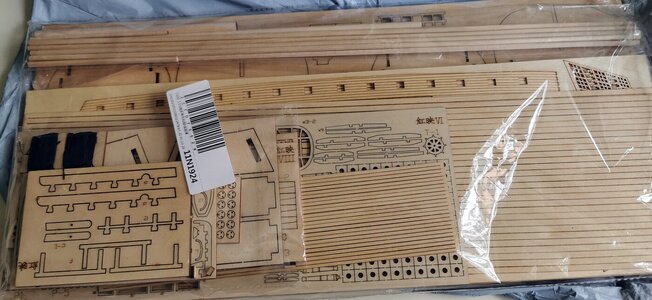
Hi friends hope everyone is well and has been vaccinated. Now I am waiting for the heat wave to retreat to a more normal temperature. After my construction of Halcon and Harvey, I was inspired to continue with another project. "HMS Victory" I ordered a kit from China (Aliexpress) for under $ 30 incl. Shipping. I was very suspicious of this purchase, but it was not so much money. I had found a couple of kits in scale 1: 150, which was not so common. Anyway, the kit came faster than expected and I was clearly surprised by the size, content and richness of detail. As usual, it was a Chinese description with many guesses. But I have obtained a number of construction descriptions so the interpretation of the instructions should not be a problem. I have promised my wife not to start building until autumn has come. Now it's summer and there are a few trips and tours left. I have started reading the drawings and thinking about solutions and aids. I have also copied some tools that I have seen online. But the clip made of clothespin is my own construction. It is equipped with a wing nut and an abutment so that the "planks" sit like mountains. I made 20 pieces which has taken its time. Now I am creating a bracket for the keel, so that the ship will stand firm at the same time as it should be easy to unload. I will return when construction begins and wish everyone a continued pleasant summer.
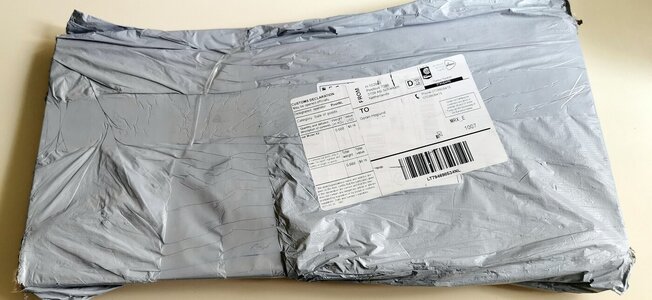
Paketet från China.jpg

Byggsatsen.jpg

DIY Tools.jpg
 
Last edited:
I like that rig that you have with the clothes pins. Do you have any more photos of it? Did you buy that bending jig or is it scratch buit?
 
Hi Grant
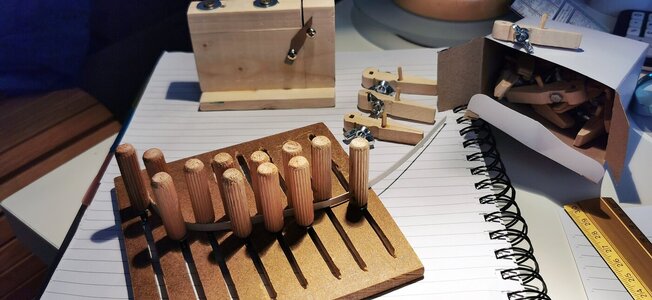
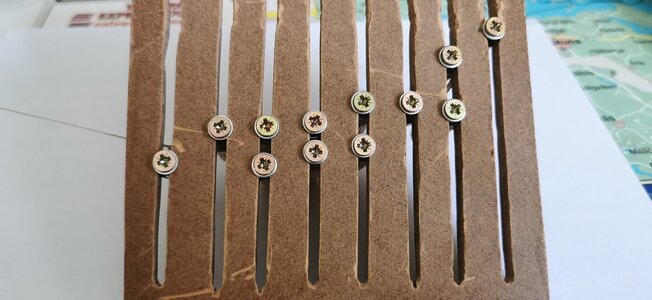
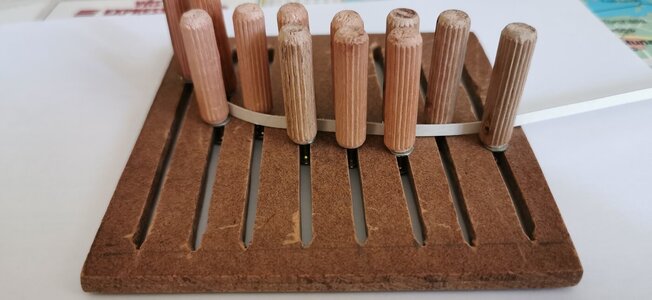
Here are some pictures of my clamps and "plank Jig".
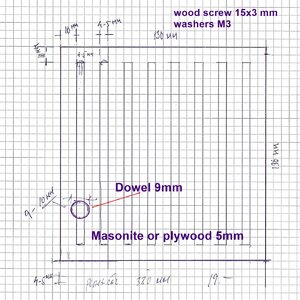
My Plank jig needs to be updated with a few millimeters longer screws and with slightly larger washers. It works pretty well to make the setting from the bottom. I saw the original online and decided to do something similar. At first I tried with plastic plugs but it did not work so it became wooden plugs that I drilled holes 3 mm

My Clothes pins clamps_1.jpg

Plank Forming jig_1.jpg


Plank Forming jig_2.jpg


Plank Forming jig_3.jpg
 
Last edited:
Ok now I have started a little calmly with the autumn project. Has many problems that need to be solved. As I do not speak Chinese, I have to rely on other instructions with other scales. But I have found a program that converts other dimensions and scales to my kit that is 1: 150.
Victory_Pic_1.jpg
 
Last edited:
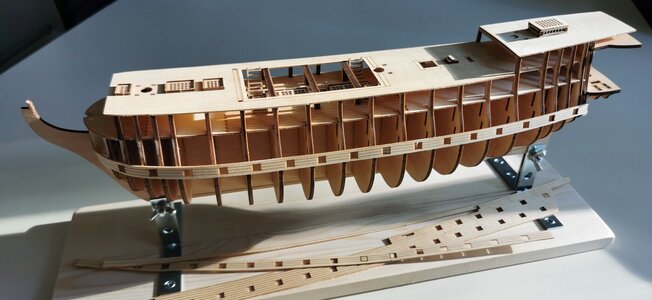
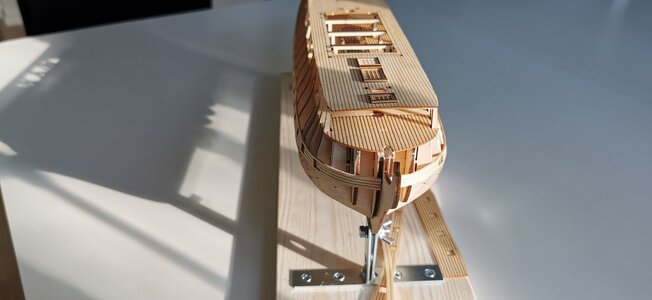
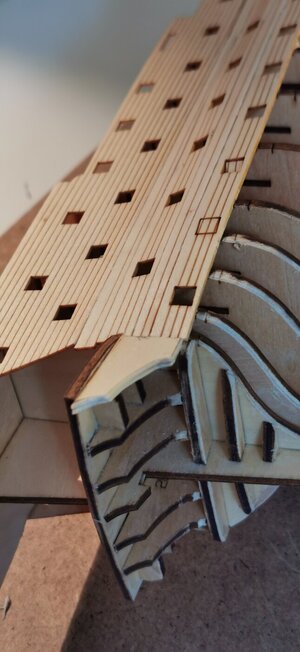
All frames are now glued. It was impossible to bring in the 3 rd deck without dividing it in length, but it became completely invisible. It has taken a few days to think about how to proceed. The description can be likened to cave people's wall paintings. In step V (5) "planking the Gundeck" I did the opposite of what is meant in the description. There were markings in the frames and with careful measurement it turned out that the distance to the top deck side matched exactly mm. I'm surprised that the kit was so high quality (except the discription). All parts fit exactly and the material seems to be high quality plywood.

Victory_Pic_2.jpg

Victory_Pic_4.jpg

Victory_Pic_5.jpg

Victory_Pic_6.jpg
 
Last edited:
Now the 3 cannon decks are in place. It turned out pretty good and I will not need filling (maybe a little somewhere). I have started preparing for the next step with continued "planking". Has sanded down the front frames to fit planks. If I continue after the "school book" to let the planks show the way, I will have to start with "stealers" in the bow or should I force the first plank towards the bottom cannon deck, then I will at least have to put in stealers further down. Anyone can give me some advice ??

Victory_Pic_7.jpg
 
Hello and "help"
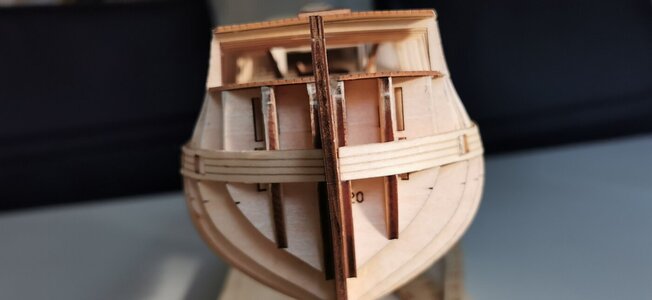
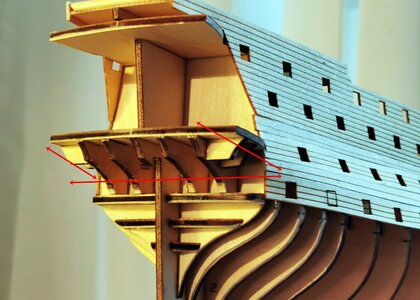
Does anyone have an idea of how the planking should be in the stern. (See image below with the arrows).
I can not find a logical solution. I understand the horizontal part, but how does the right and left side handle towards the hull.
Does anyone have a solution to the problem ??
Eternally grateful for suggestions.

Victory_Pic_10_2.jpg
 
Last edited:
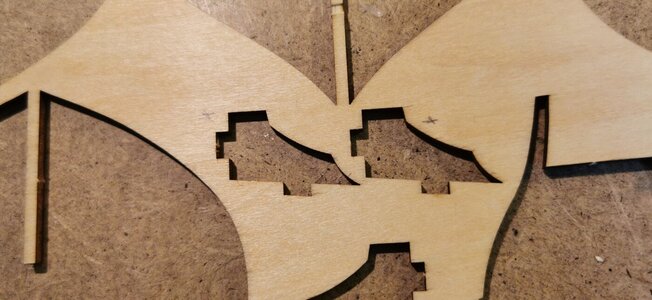
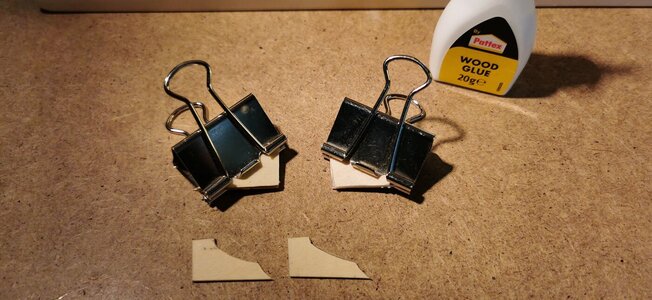
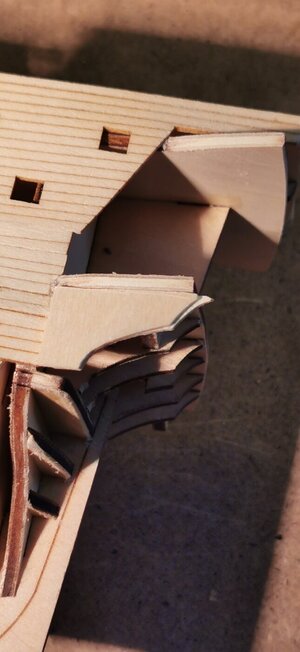
I found my solution to the problem at "HMS Victory by Y.T.-Mamoli 1:90 Scale". I used the figures after previously cut pieces as a template and glued them together to double the thickness. I wait to glue the pieces to the sides until I have planked the whole hull. In the pictures, the pieces are only in place to test the fit.

Victory_Pic_11.jpg
Victory_Pic_12.jpg
Victory_Pic_13.jpg Victory_Pic_14.jpg
 
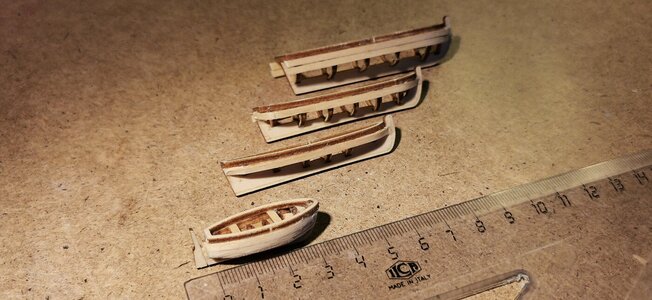
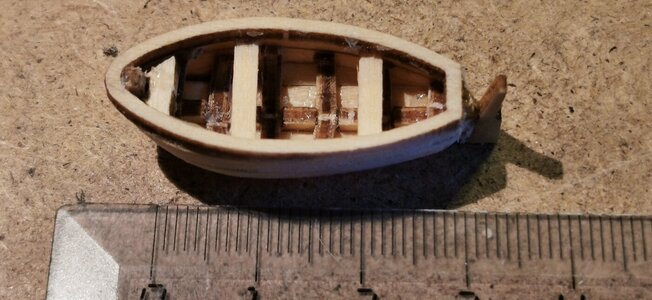
Hello Gorhog. You did a wonderful job on that little lifeboat. I struggle with life boats 100mm in size, so I have no idea how one even approaches building one that is only 25mmj long!
 
Hello and thanks for the comments.
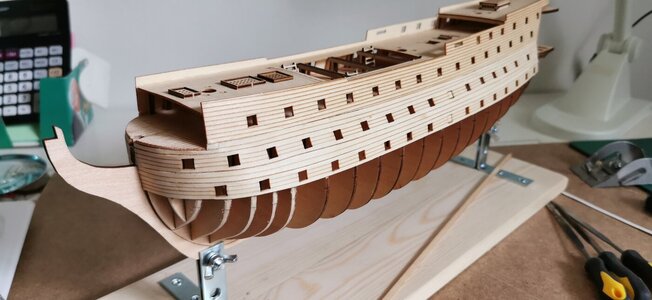
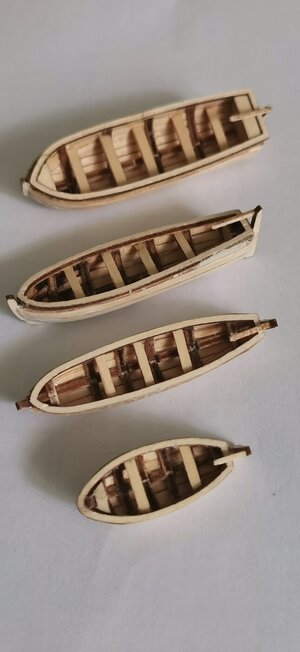
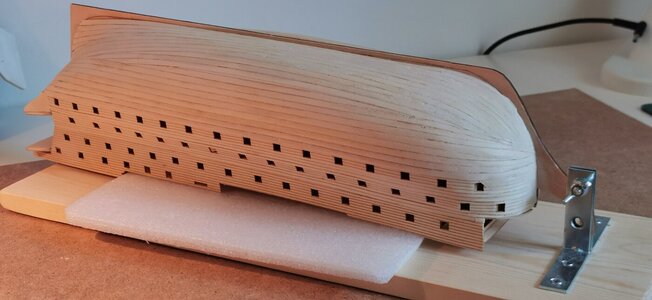
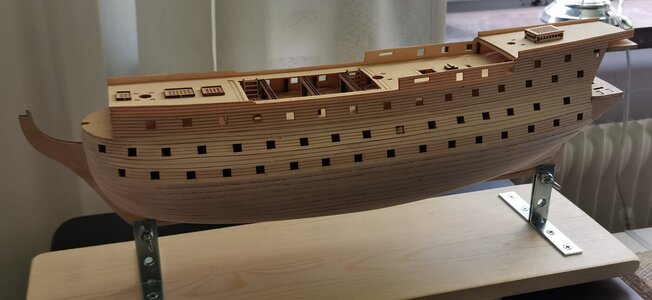
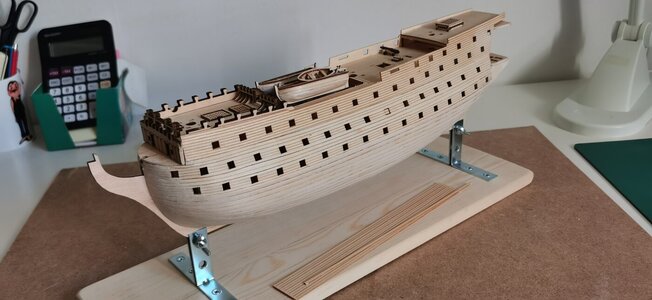
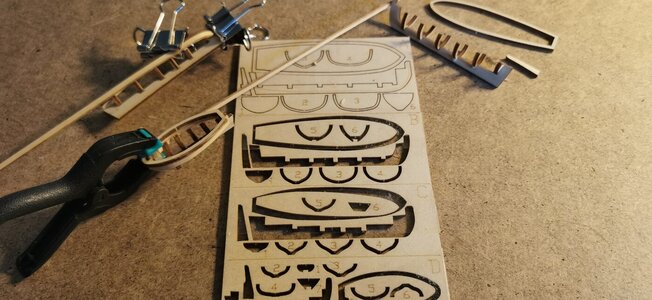
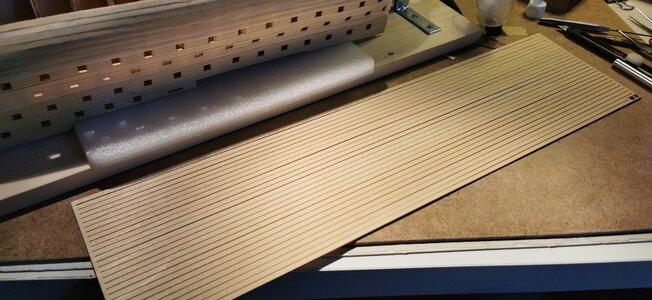
Has now come a bit on the road so you can see that it will be a ship. First I want to comment on the kit from Aliexpress, "HMS Victory, Scale 1: 150" price including shipping was under 30 dollars, but the quality has really surprised me. You can ignore the instructions and follow others, as there are several. When it comes to planking, I have only used less than 3/4. There was no risk of making a mistake because it was just taking new ones. Now I have a larger number left. The lifeboats were a problem as the planks were 1 mm thick, but it turned out pretty well in the end. Here, too, I have half left. The hull is finally finished. There is a little finishing touches left. It worked well to use my bracket for planking and sanding.

Victory_Pic_18.jpg
two large flats with planks

Victory_Pic_19.jpg
The lifeboats were a problem

Victory_Pic_20.jpg
The hull is finally finished. There is a little finishing touches left. It worked well to use my bracket for planking and sanding.

Victory_Pic_21.jpg
Have tested the placement of the lifeboats and some additional parts. Will not glue until I have decided to paint before or after assembly. I'm grateful for any advice.

Victory_Pic_22.jpg
 
Hi.
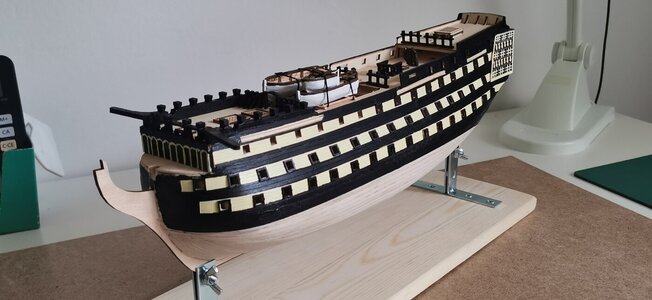
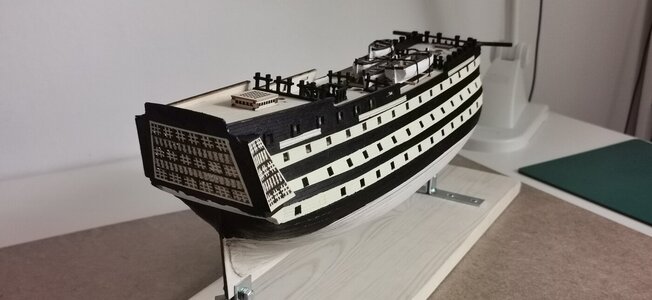
I have now painted part of the hull and mounted some details as well as the stern castle. The fit of the details works quite well. The lifeboats are loose and just lined up. The bottom will be painted with copper paint. A lot of detail work remains. I have painted 100 frames for the cannon gates and mounted a number. Now it remains to paint the doors. (Have seen that a number have painted these black, which I will also do). Have started to check bowsprit and the material for the masts. As you can see, I have not painted "the chanwales" where these should sit. I will return when there is something more to tell.

Victory_Pic_23.jpg

Victory_Pic_24.jpg
 
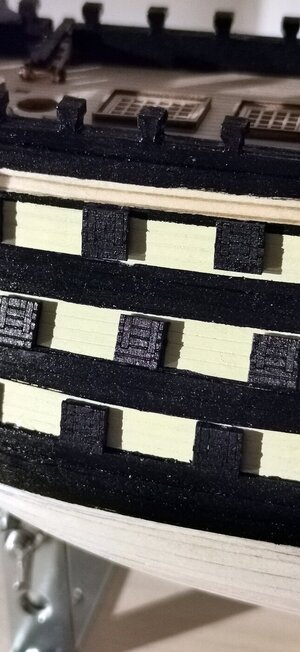
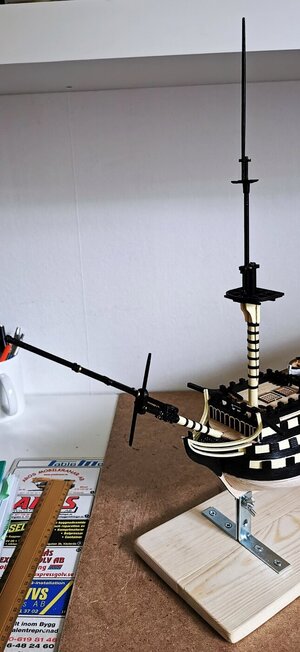
Hey! 100 frames around the cannon gates and 80 doors have been painted and glued in place. (Puuh !!) But I think it turned out well with a little more powerful expression. I have also started with the "Bowsprit" where I try to get it as authentic as possible with my limited knowledge and tools and shaky hands.

Victory_Pic_26.jpg

Victory_Pic_25.jpg
 
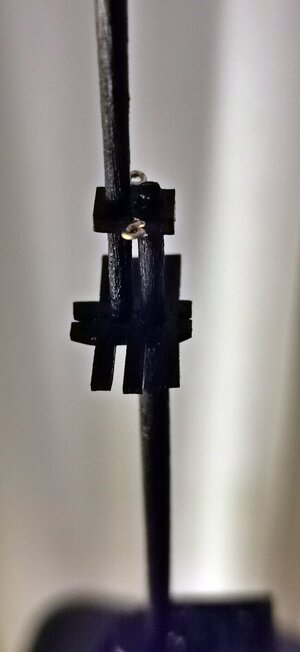
Now the bowsprit is almost finished, there is some thread and color left. It took me the next 4 days to succeed with the details. I tested a number of times to get nice brass wire holders for Flying Jibboom, but it never worked out. So when I was out with the dog I realized that I could make two loops and solder these together and it became acceptable. Have now started to think a bit about "the fore mast" I wait with the assembly of bowsprit and masts until everything is ready with all the loops, holes and blocks. I have trouble finding the right rig thread. The thread that came with the kit is useless. Must try to find a good supplier of wire and blocks.

Victory_Pic_27.jpg
 
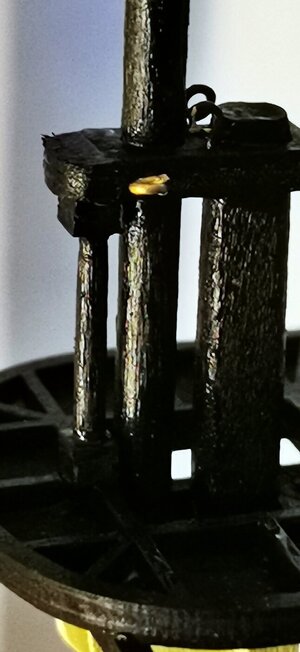
Now I'm done with the masts and have started thinking about what the rig should look like. I leave the master and Bowsprit without glue until the last minute. There are still some small crafts left around the bowsprit and all the "yard´s". I have copied "kit`s chainwales to a little stronger and intend to use" Mantua "rigging plan which also means a completely different sequence for" the Deadeyes "I am quite happy with the result as the kit is one of the simplest. I have not painted the bottom with copper yet, but it now stands as No. 1 in my project plan.

Victory_Pic_31.jpg
 
Back
Top