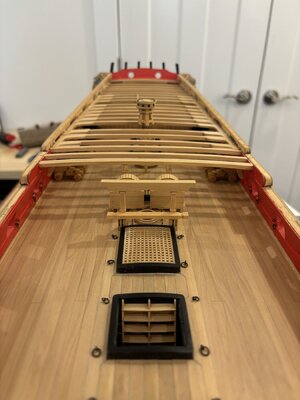
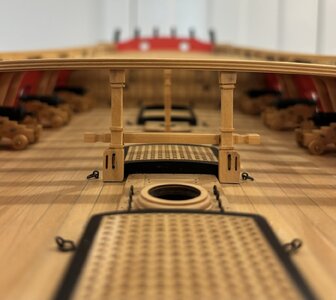
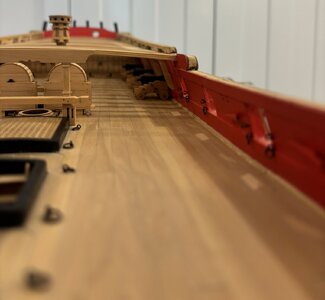
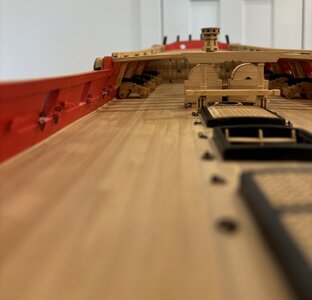
HMS Winchelsea 1764, 32 gun Frigate 1:48, Syren Ship model by Trussben

Well the move was completed after our new home was built on Oak Island.
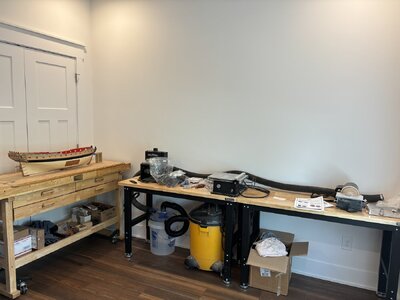
The new model workshop/office is far smaller than my previous one at only 13x13 but I’m using shelving and other things to maximize space which is ongoing.
Winchelsea is now waiting for me to start Chapter 7 on the Quarter Deck hopefully in the next couple of weeks as soon as I find all the parts!
IMG_6663.jpeg
 
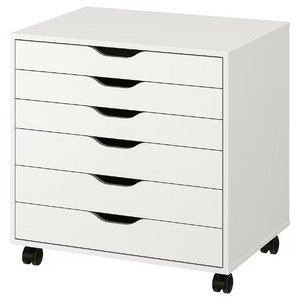
... so Winchelsea got a new home! Nice shipyard setup. You can maximize the storage by using that wheeled drawers, I bought some in IKEA. They available in three colors.

1715028691652.png


Quick question: what is the device name next to the vacum cleanener. I know it is trap and cleans the air.
 
... so Winchelsea got a new home! Nice shipyard setup. You can maximize the storage by using that wheeled drawers, I bought some in IKEA. They available in three colors.

View attachment 446167


Quick question: what is the device name next to the vacum cleanener. I know it is trap and cleans the air.
It’s a dust deputy low pro cyclone that traps 98% of dust in it instead of in your shop vac.
They work really well so your vac filter lasts much longer.
The low pro is just a shorter unit than their normal one so it would fit under the desk.
 
I am looking forward to see in some time your new progress on the beautiful ship model
 
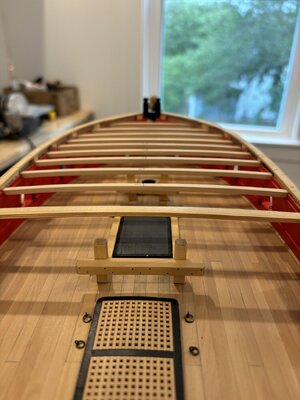
Work has restarted on Chapter 7, all of the beam positions were checked again and numbered 1-30, #25 was permantly installed and I have started adjusting the bulkheads and doors into position, I really happy to be back building again.
IMG_6744.jpeg
 
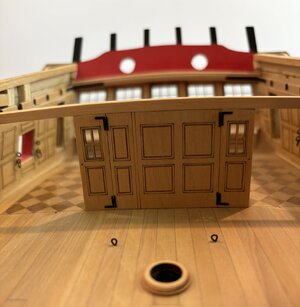
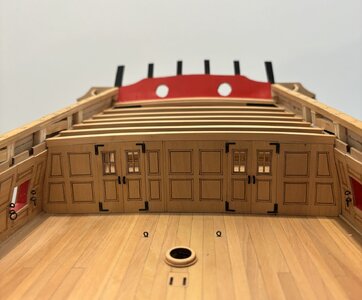
IMG_6786.jpegCompleted the Aft Bulkhead and installed the QD beams behind it.
You can see I used the laser cut door handles from Syren, I think they look much nicer than the normal knobs.
Now on to the next Bulkhead.
 
Thanks for all the likes and nice comments.

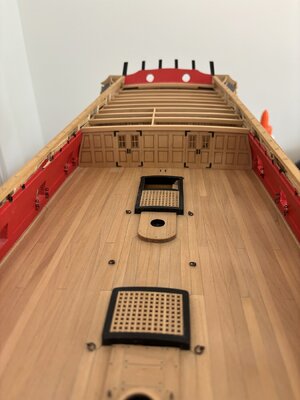
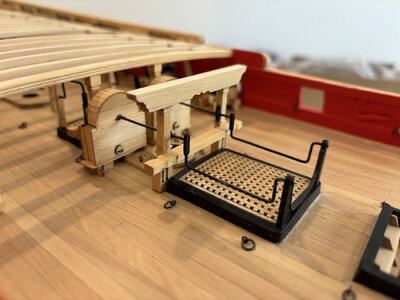
I’m making good progress on the QD beams and knees, all the way down to where I now have to start fitting the chain pumps in place.

The pumps were built as per the instructions without much issue along with the Capstans, columns, Main Jeer Bitts and Gallows.

Lets see how this final part of chapter 7 goes!


IMG_6867.jpegIMG_6870.jpegIMG_6869.jpegIMG_6868.jpeg
 
The details such as the gratings, pump housings and so many other things are outstanding. Little things like having the strake of spirketting thicker than the lining (quickstuff) is a detail that puts your model far above the norm.
Allan
 
Completed Chapter 7 with the completion of the Chain pumps and their associated cranks.
I won’t install the elm tree pumps until much later as I’m bound to knock them off.
Just a little bit of sanding to do on the QD beams and knees to flatten them down for their margin planks and then to install the QD carlings.

IMG_6873.jpeg
 
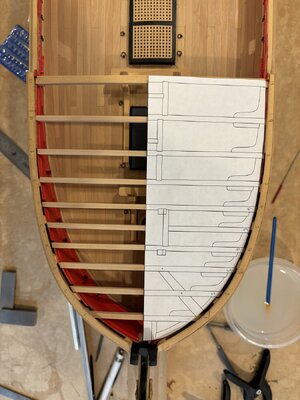
Chapter 8 has begun by adjusting the positions of the Forward six FC deck beams as per the layout plan, they all needed to be moved forward to some degree.
Also both sets of the riding bitts were built and installed.


IMG_6899.jpegIMG_6900.jpeg
 
Back
Top