-

Win a Free Custom Engraved Brass Coin!!!
As a way to introduce our brass coins to the community, we will raffle off a free coin during the month of August. Follow link ABOVE for instructions for entering.
-

PRE-ORDER SHIPS IN SCALE TODAY!
The beloved Ships in Scale Magazine is back and charting a new course for 2026!
Discover new skills, new techniques, and new inspirations in every issue.
NOTE THAT OUR FIRST ISSUE WILL BE JAN/FEB 2026
You are using an out of date browser. It may not display this or other websites correctly.
You should upgrade or use an alternative browser.
You should upgrade or use an alternative browser.
HMS Winchelsea 1764, 32 gun Frigate 1:48, Syren Ship model by Trussben
- Thread starter trussben
- Start date
- Watchers 58
-
- Tags
- winchelsea
- Joined
- Nov 10, 2020
- Messages
- 257
- Points
- 323

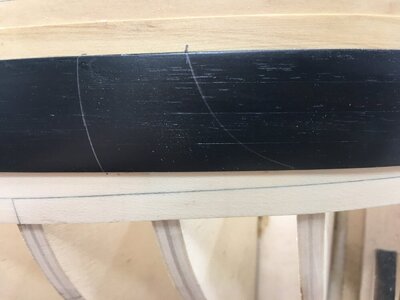
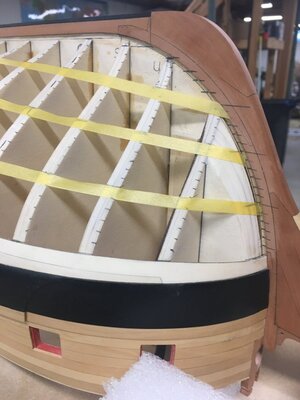
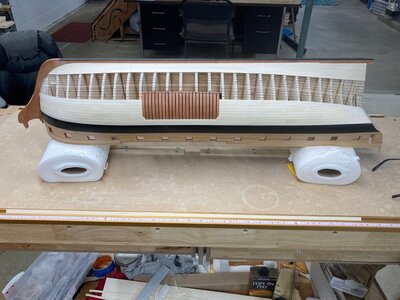
Working on lining off the lower hull planking underway, my hull is somewhat different than the prototype as we all fair a hull slightly differently so the supplied tick strips are not quite perfect but pretty darn close in my case for lining off. You can see the downloaded tick strips in the first picture, just print them out and hold against you hull at the correct bulkhead and copy the ticks over. This is the first time Ive ever seen a kit manufacturer help us line off the hull.
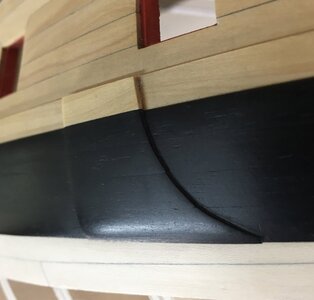
I keep adjusting the belt lines to get the best overall flow to the hull and to make sure that the all important stem planking has a gentle upward slope that is so hard to get just right IMO.
I think I may just line off the whole hull for every belt and strake.
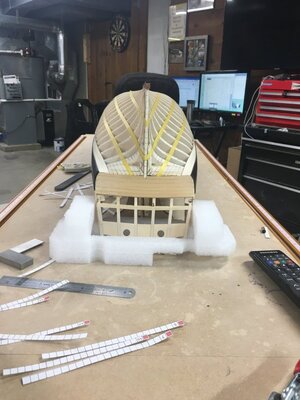
I keep adjusting the belt lines to get the best overall flow to the hull and to make sure that the all important stem planking has a gentle upward slope that is so hard to get just right IMO.
I think I may just line off the whole hull for every belt and strake.

Last edited:
- Joined
- Nov 10, 2020
- Messages
- 257
- Points
- 323

- Joined
- Nov 10, 2020
- Messages
- 257
- Points
- 323

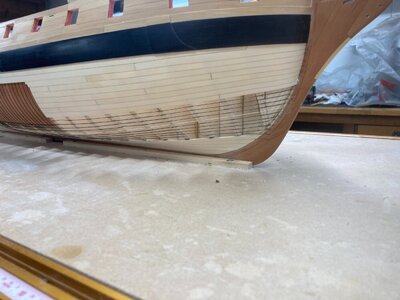
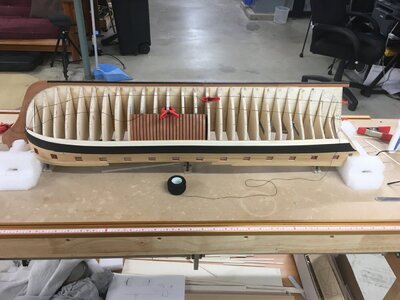
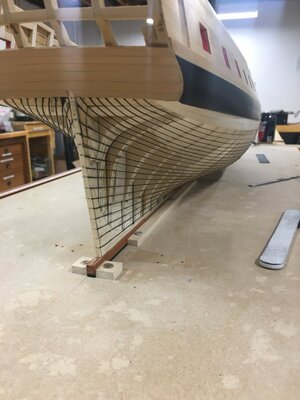
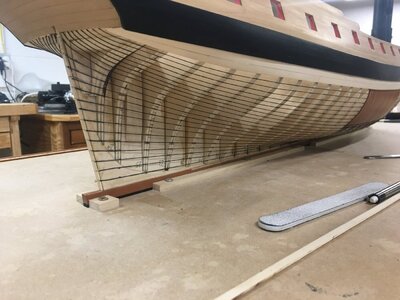
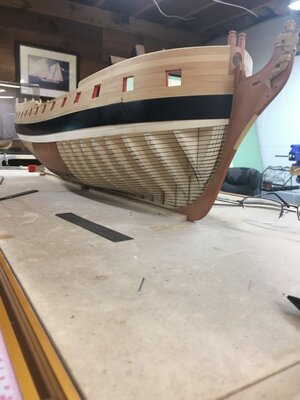
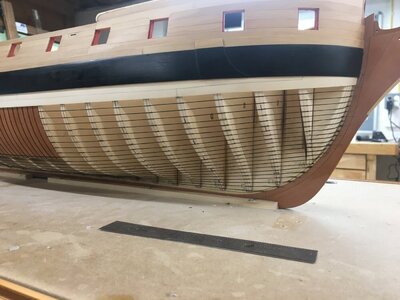
Managed to get back to the Winnie, I decided that I really wanted to learn how to line off the lower hull entirely to ensure my planking runs are good so I have taken a friends advice and will line off EVERY single planking run with black string so as to see how good I can do this, As Im back travelling for work all the time now this could take me a few weeks before I show any progress.

Last edited:
- Joined
- Nov 10, 2020
- Messages
- 257
- Points
- 323

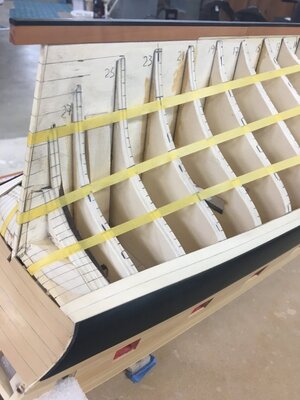
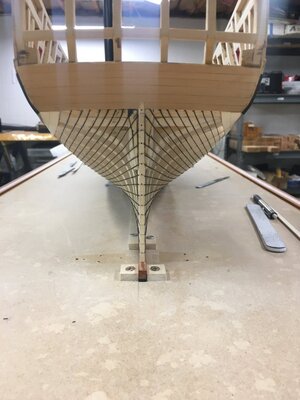
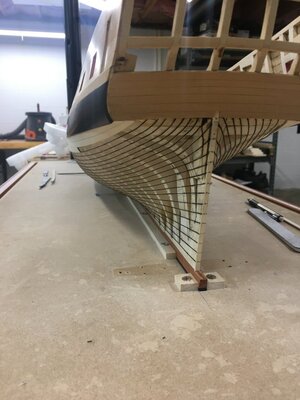
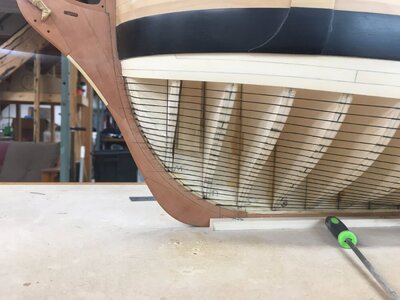
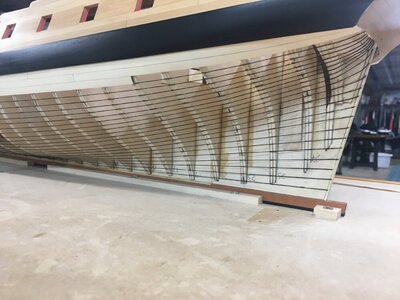
So I have added lines for all the hull planking, you will be able to see where it differs from the original markings and I still have a LOT of tweaking to get it just the way I want it, especially at the bow, this has been a big and time consuming learning experience for me that I had to go through and I will show more pics when I have finished adjusting and playing with it.


- Joined
- Nov 10, 2020
- Messages
- 257
- Points
- 323

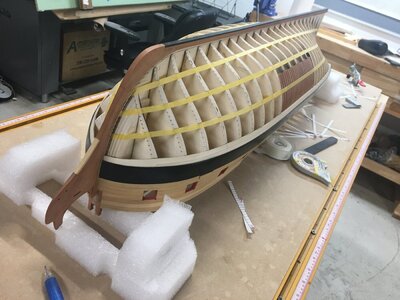
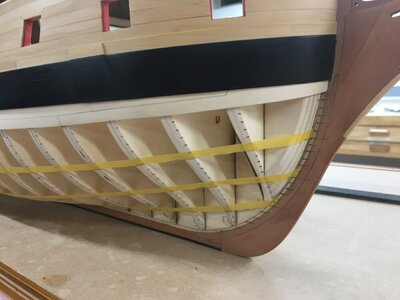
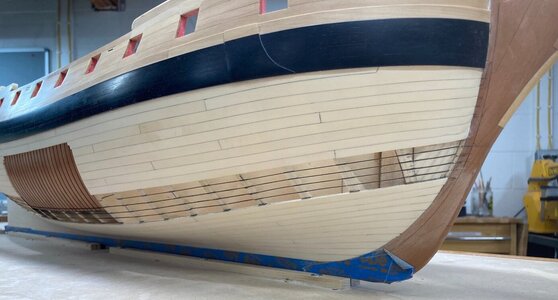
So I still wasn’t completely happy with the bow so I took the lines back to the 6th bulkhead and did some more fairing to the bow fillers and the first three bulkheads and I also tore off the drop planks and installed some narrower ones that match the other plank widths in the first belt, this really helped the flow of the planking in that gentle upwards curve after I lined back off again.
The white string/tape is showing each of the belts of 6 strakes.
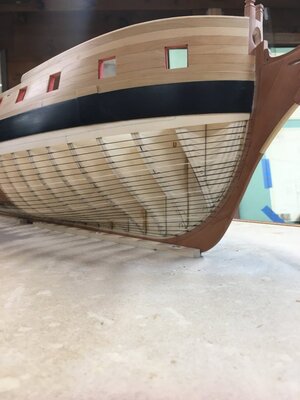
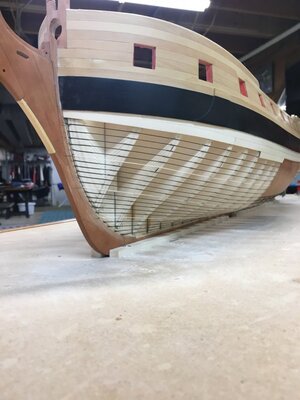
The white string/tape is showing each of the belts of 6 strakes.


Wow Ben! Thanks for posting this log of a great project/kit from Syren, you sure have some tenacity and patience and it is really showing- really like your choice of woods and the execution is bordering on perfection! Hopefully some more members here will take up this build - seems to be a great introduction to scratch building or extreme kit bashing, and with Syren’s great instructions/practicum too! Have you used/going to use the available laser cut kits from Syren or are you mostly scratch building? (Besides chapter 3 stuff)
Last edited:
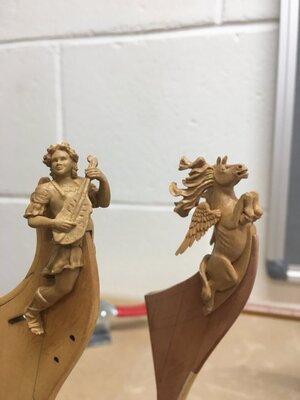
Lovely figureheads. Is Pegasus cast or carved?Had to clean off a little bit of casting flash and glue the arms on, starting to add some color, its a very nice figurehead that Syren supplies, Its the one on the left. The horse is off my HMS Pegasus POF scratch build.
View attachment 266858
- Joined
- Nov 10, 2020
- Messages
- 257
- Points
- 323

Thanks for all the “likes”.
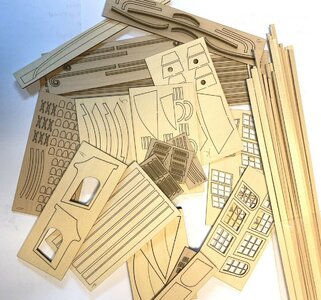
Lou - I would say that I will be using at least most of the laser cut parts for the mini kits that would be difficult to scratch, Most of them are made out of Boxwood anyway as they need to be made from a harder wood to survive the cutting and assembly as they are so intricate. Some others i may use as templates to cut out of a different wood like the rudder, as I will want to make it out of matching swiss pear, but the laser cut gudgons/pintals which I will blacken anyway so I will use as delivered.
Gennaro - Pegasus is carved from English Boxwood. Winnie's is cast resin and looks awesome close up too as you can see - it just needed to be stained using the fruitwood jel stain to match my boxwood planking.
Ben
Simply beautiful.
- Joined
- Nov 10, 2020
- Messages
- 257
- Points
- 323

Thank You Paul.
We are almost caught up to where I am currently on the build.
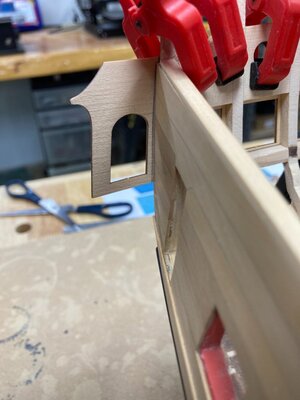
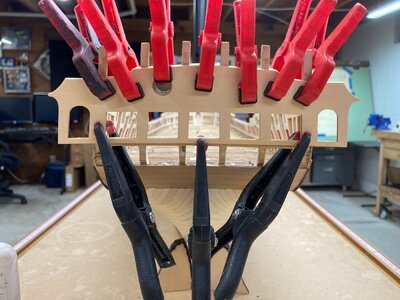
First of all is installing the transom correctly, following the instructions and plans to make sure that the piece is centered evenly athwartships so that the aft windows will be in the correct place and the building of the QG's goes correctly.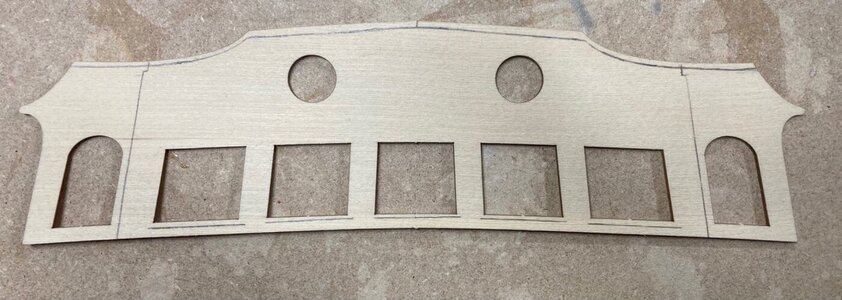
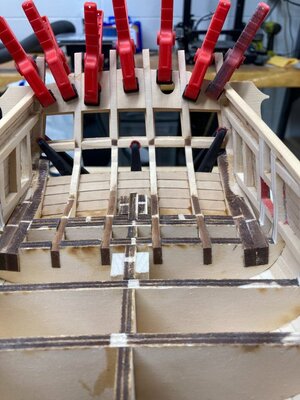


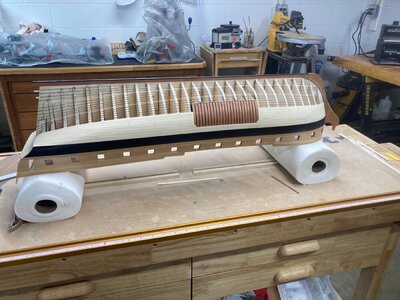
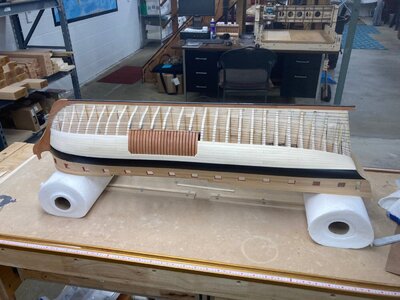
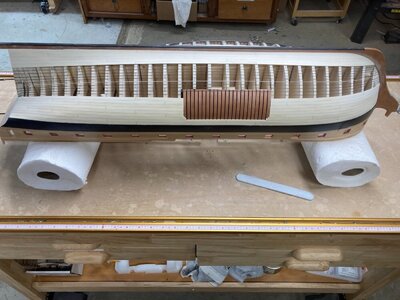
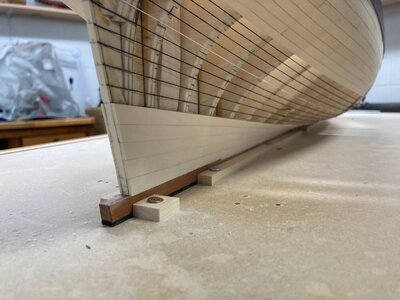
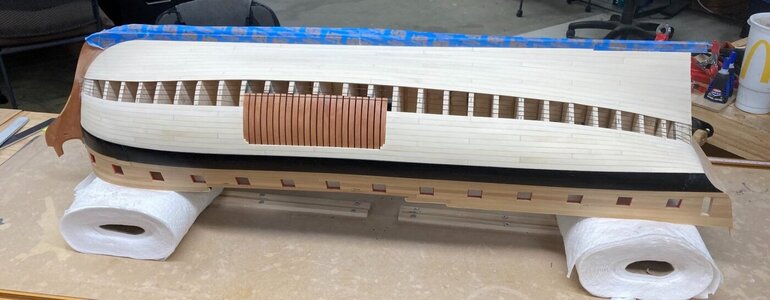
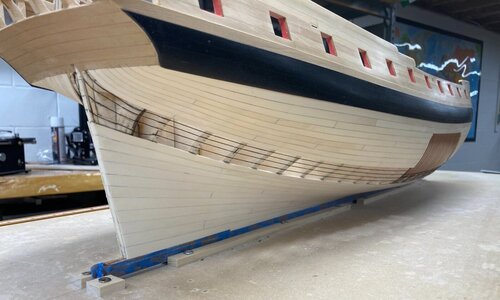
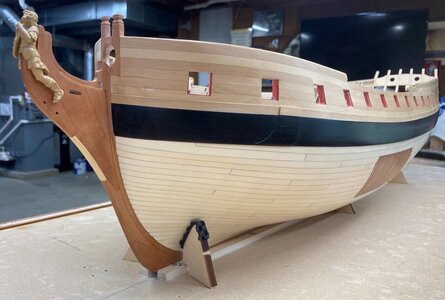
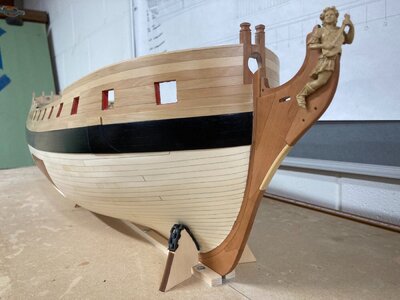
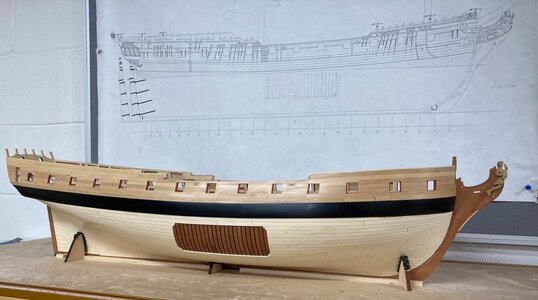
Planking doesn't get better than this. Outstanding. Thanks for sharing.Planking completed, Now onto the Transom and then the Quarter Gallerys.View attachment 267121View attachment 267122View attachment 267123View attachment 267124
- Joined
- Nov 10, 2020
- Messages
- 257
- Points
- 323

Thanks Gennaro, to achieve planking runs and not having to use Steelers and lots of drop planks means you really have to have a plan and take lots of time lining off your hull properly.
Syren model supplies premade tick strips that will get you 90% of the way and far better than what typical kits give you, I have seen people get really nice results just using those, BUT nothing beats lining off your own hull and sticking to it while you lay the planks, that’s the only way I see to achieve really good results.
Ben
- Joined
- Nov 16, 2018
- Messages
- 145
- Points
- 88

What a beautiful piece of ship-art! I particularly like the special section exposing some of the frames.

 lining marked out and installed from individual pieces of ebony.boxwood.