-

Win a Free Custom Engraved Brass Coin!!!
As a way to introduce our brass coins to the community, we will raffle off a free coin during the month of August. Follow link ABOVE for instructions for entering.
-

PRE-ORDER SHIPS IN SCALE TODAY!
The beloved Ships in Scale Magazine is back and charting a new course for 2026!
Discover new skills, new techniques, and new inspirations in every issue.
NOTE THAT OUR FIRST ISSUE WILL BE JAN/FEB 2026
You are using an out of date browser. It may not display this or other websites correctly.
You should upgrade or use an alternative browser.
You should upgrade or use an alternative browser.
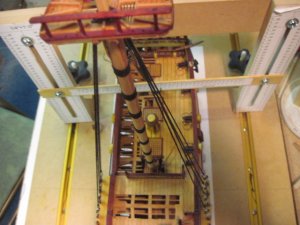
They are looking very good - and we can see that you can never have enough of these magnets !
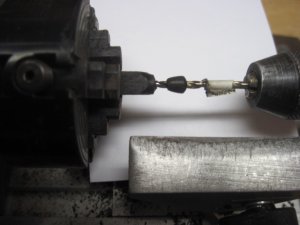
I have also to order this tool !!!!
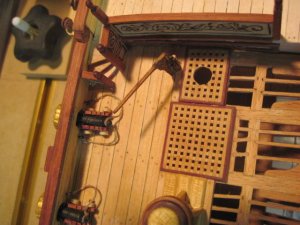
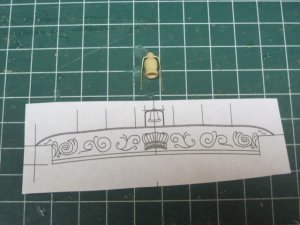
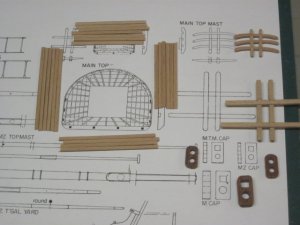
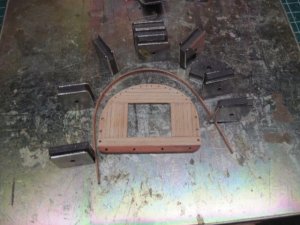
One question to the second photo:
Did you glue two planks one over the other , or did you sand them down to half of the thickness?
BTW: it is real good small tutorial - thanks for sharing the different working steps
I have also to order this tool !!!!
One question to the second photo:
Did you glue two planks one over the other , or did you sand them down to half of the thickness?
BTW: it is real good small tutorial - thanks for sharing the different working steps
- Joined
- Aug 10, 2017
- Messages
- 1,706
- Points
- 538

Hi Uwe,
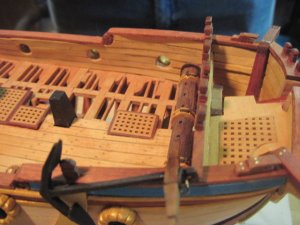
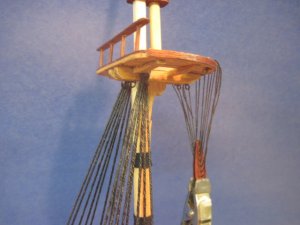
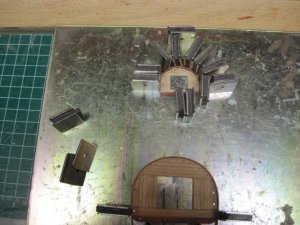
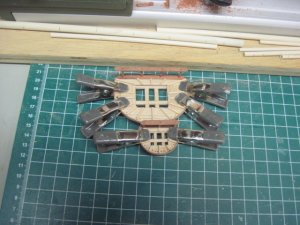
I have found the magnets very useful when building small deck items like the tops, well and shot locker etc. I do have a lot of them.
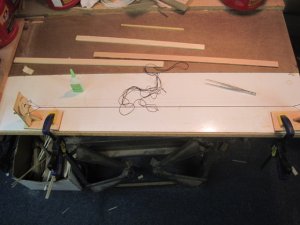
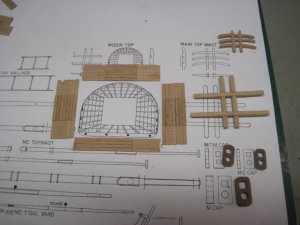
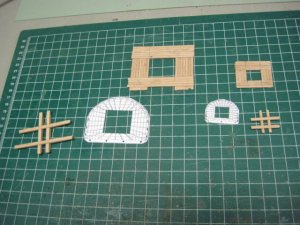
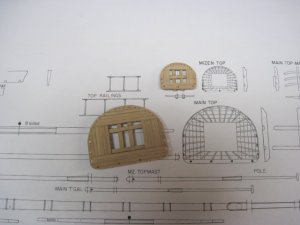
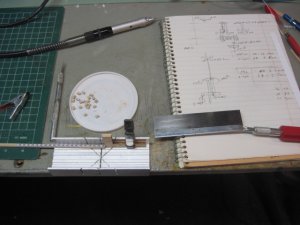
This is the procedure I use making the tops.
I have found the magnets very useful when building small deck items like the tops, well and shot locker etc. I do have a lot of them.
This is the procedure I use making the tops.
- Cut planks to length plus 1/8” (for trimming) and glue up the four sections.
- Mark the center section on each side of the top.
- Using a small table saw (Proxxon) cut half lap at the ends of the sides and clean the joints with a file as shown in photo two and glue the rectangle together.
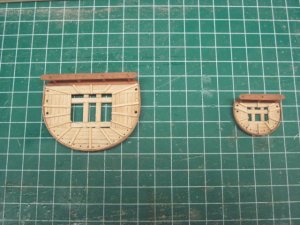
- Using a pattern, I drill the holes and trim the top to size and add the banding.
Looking good Brother, How you like the Magnetic Table. I had one awhile back for plane building. sure made things easier to hold parts in place and way more durable then sheet rock and wax paper. and I didn't have a million pin holes in my wood from holding the parts down. The sheet metal got rusted when My basement flooded and I have been wanting to build another mag table.
Thanks for the Info. I tossed the Plate for the table as well as the magnets they were rusted badly. The Wax is a great idea and should also help prevent glue sticking to it. I'll have to run to the local sheet metal shop on Monday and grab a piece of sheet metal and get my table working again. I bought a bunch of the magnets last year, they are sitting on my bench.
- Joined
- Aug 10, 2017
- Messages
- 1,706
- Points
- 538

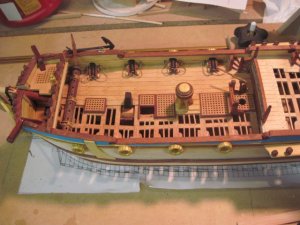
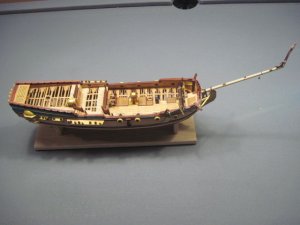
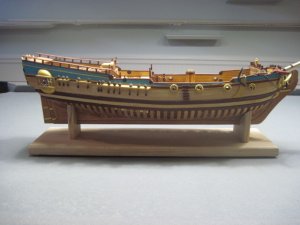
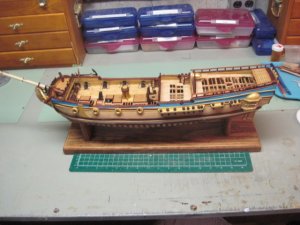
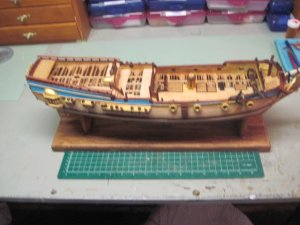
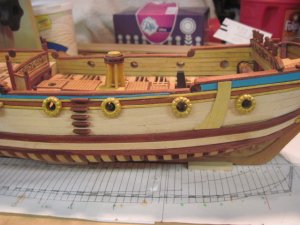
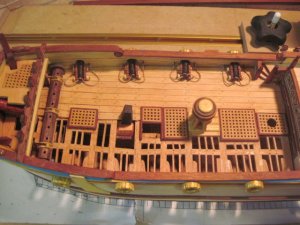
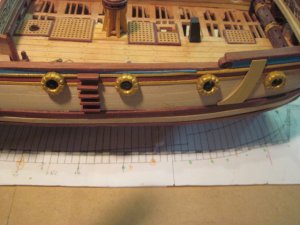
A fine looking model and a great presentation.
Nice look build, I love all the openings very nicely done
- Joined
- Aug 10, 2017
- Messages
- 1,706
- Points
- 538

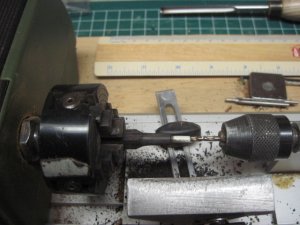
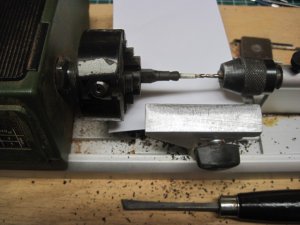
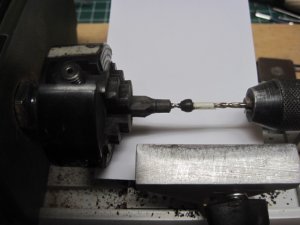
Mike: What model lathe did you use to turn the cannons and mice? I have a Delta midi lathe better suited to full size turnings, but would consider smaller “model sized” one, or a mill.
- Joined
- Jun 19, 2013
- Messages
- 968
- Points
- 393

Fantastic work.
Rob
Rob
- Joined
- Aug 10, 2017
- Messages
- 1,706
- Points
- 538

Hi Dave,
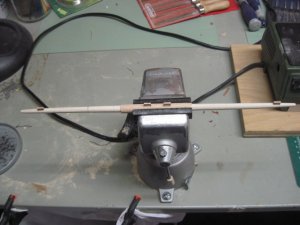
I use a Proxxon DB 250 for small model ship parts, it works fine if you don’t overload the motor, it is very small. If something looks to big for the Proxxon it is. It is a lot of fun to use. I have an old Craftsman I use for larger stuff.
I use a Proxxon DB 250 for small model ship parts, it works fine if you don’t overload the motor, it is very small. If something looks to big for the Proxxon it is. It is a lot of fun to use. I have an old Craftsman I use for larger stuff.
- Joined
- Aug 10, 2017
- Messages
- 1,706
- Points
- 538

Thanks Rob, this has been an interesting build.Fantastic work.
Rob
- Joined
- Jun 19, 2013
- Messages
- 968
- Points
- 393

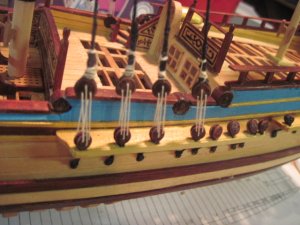
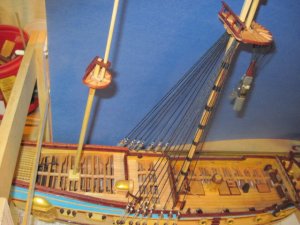
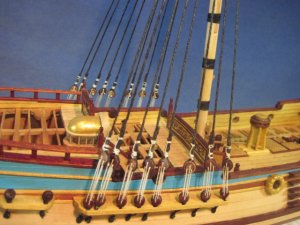
And now all the wonderful rigging begins.....


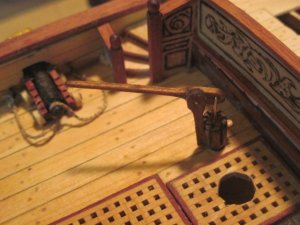
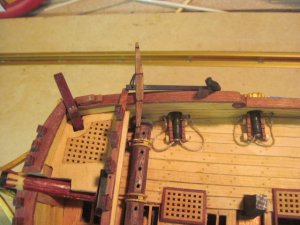
 Pump and Ship Bell: