So, where did things go wrong, and what did it take to put things right?
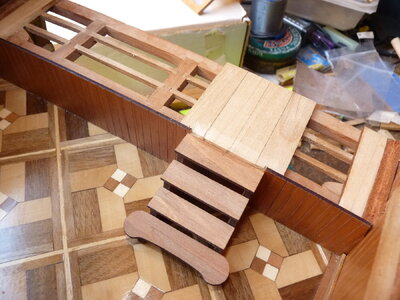
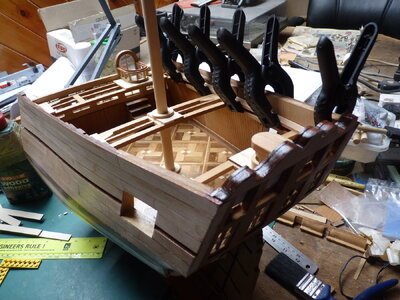
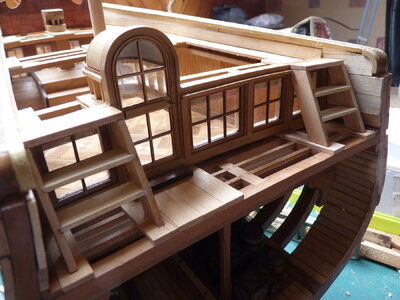
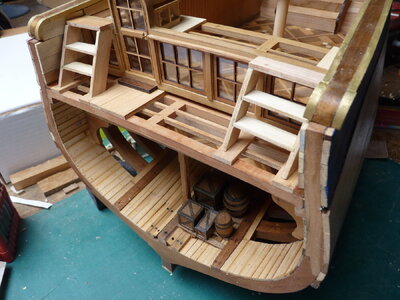
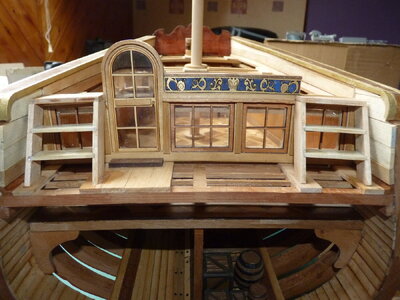
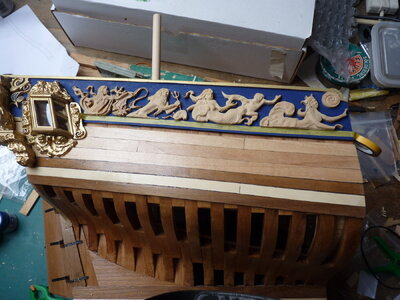
Where it went wrong is shown in picture 1403. Why it went wrong is a bit harder to answer.
For some reason I decided that the top of the poop deck planking should be level with the top of the bulkhead break. That meant the forward set of poop deck beams fitted up against the bulkhead break as shown here:
PICT_F_2301
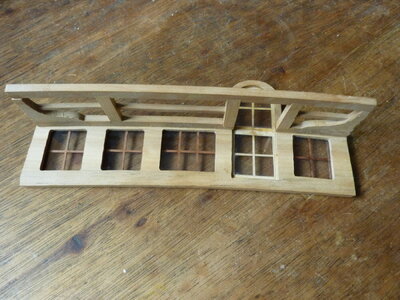
This positioning didn’t obstruct the bulkhead break windows. It also determined the locations of the forward ends of the poop deck clamps.
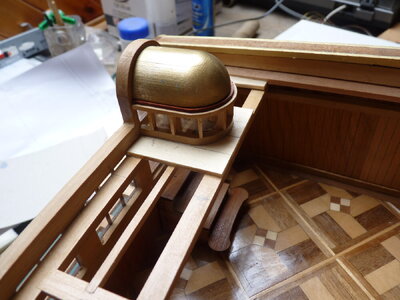
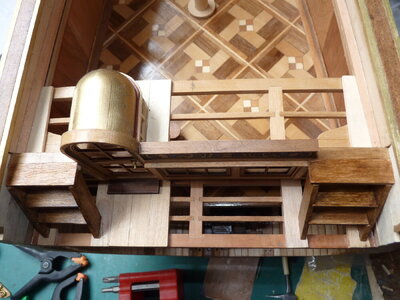
At this point I thought all was well – then I built the entryway:
PICT_F_2302
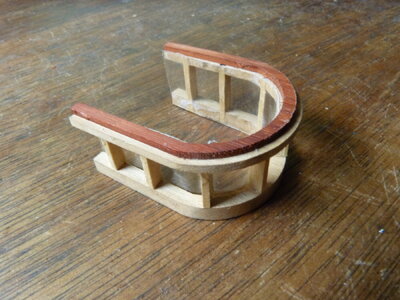
A dry fit of the parts, including the entry way, is shown in the last picture (2204) in my previous post and shows the problem.
The first part of the required response was easily identified, separate the poop deck beams from the bulkhead break. A following dry fit including the entryway showed where they should have been fitted together:
PICT_F_2303
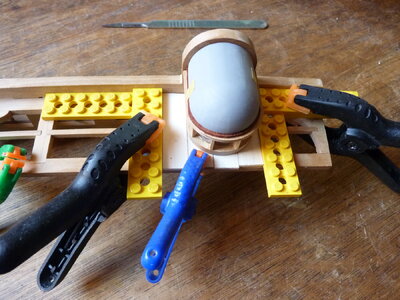
Note: I do remember seeing some discussion about the position of the entryway – whether it was built directly on the poop deck beams or on the poop deck planking.
I opted for the latter.
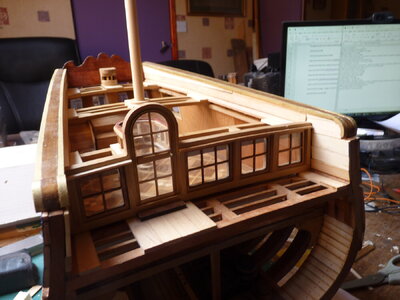
The thing I found odd was that the poop deck beams now ran across the top of the bulkhead break windows.
PICT_F_2304
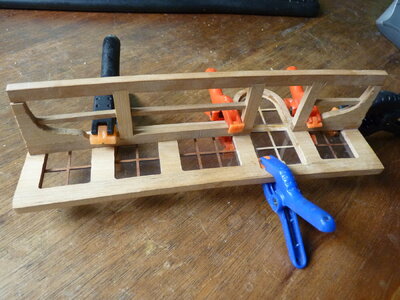
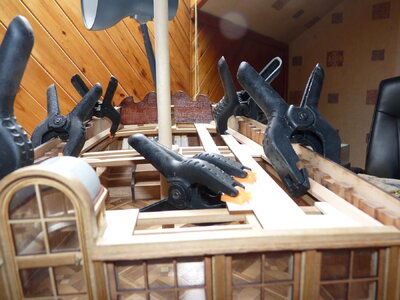
At this point, the bulkhead break no longer fitted! The fore poop deck beams had been lowered and the forward ends of the poop deck clamps were now too high. It took a while, but soaking the clamps, forward of the widows, released them from the hull.
PICT_F_2305
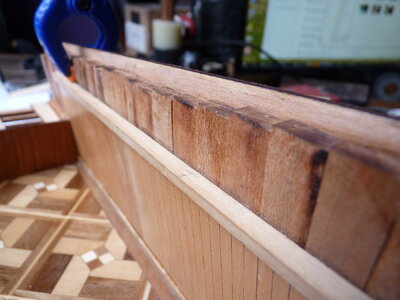
Although I could now spring the poop deck clamps out of the way and fit the bulkhead break, I couldn’t glue the clamps in their new position as the top edge of the panelling was now in the way – but not for long!
PICT_F_2306
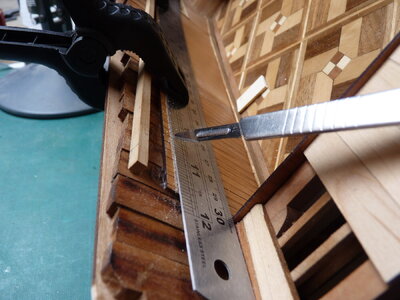
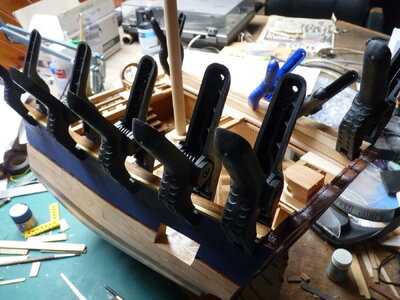
With the panelling trimmed to the correct height, the poop deck clamps could now be glued in their new positions:
PICT_F_2307
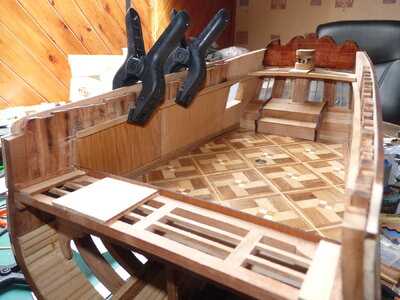
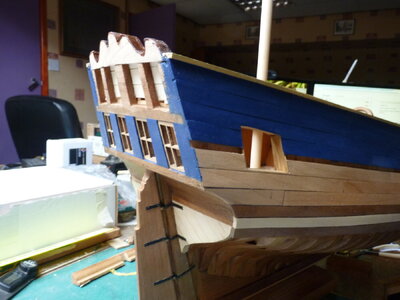
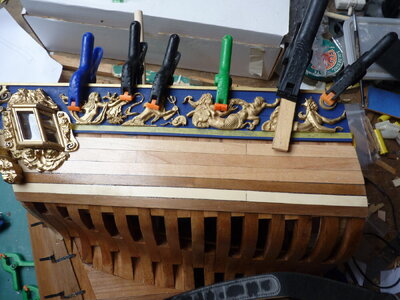
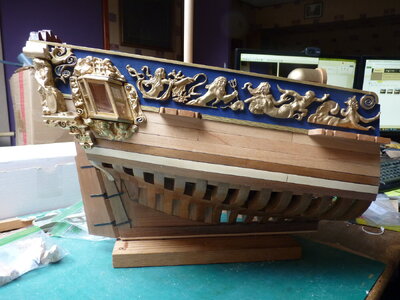
The following picture shows a dry fit of the bulkhead break:
PICT_F_2308
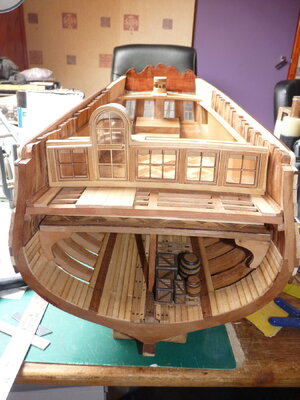
Hopefully, things are now back on track.
Where it went wrong is shown in picture 1403. Why it went wrong is a bit harder to answer.
For some reason I decided that the top of the poop deck planking should be level with the top of the bulkhead break. That meant the forward set of poop deck beams fitted up against the bulkhead break as shown here:
PICT_F_2301

This positioning didn’t obstruct the bulkhead break windows. It also determined the locations of the forward ends of the poop deck clamps.
At this point I thought all was well – then I built the entryway:
PICT_F_2302

A dry fit of the parts, including the entry way, is shown in the last picture (2204) in my previous post and shows the problem.
The first part of the required response was easily identified, separate the poop deck beams from the bulkhead break. A following dry fit including the entryway showed where they should have been fitted together:
PICT_F_2303

Note: I do remember seeing some discussion about the position of the entryway – whether it was built directly on the poop deck beams or on the poop deck planking.
I opted for the latter.
The thing I found odd was that the poop deck beams now ran across the top of the bulkhead break windows.
PICT_F_2304

At this point, the bulkhead break no longer fitted! The fore poop deck beams had been lowered and the forward ends of the poop deck clamps were now too high. It took a while, but soaking the clamps, forward of the widows, released them from the hull.
PICT_F_2305

Although I could now spring the poop deck clamps out of the way and fit the bulkhead break, I couldn’t glue the clamps in their new position as the top edge of the panelling was now in the way – but not for long!
PICT_F_2306

With the panelling trimmed to the correct height, the poop deck clamps could now be glued in their new positions:
PICT_F_2307

The following picture shows a dry fit of the bulkhead break:
PICT_F_2308

Hopefully, things are now back on track.


