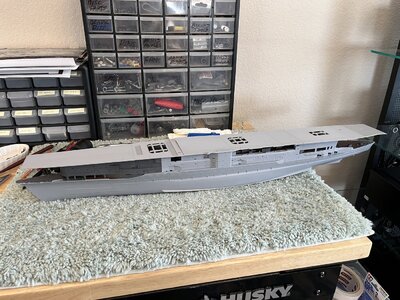
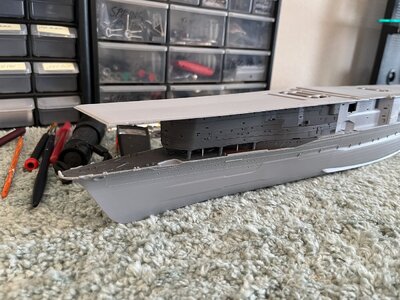
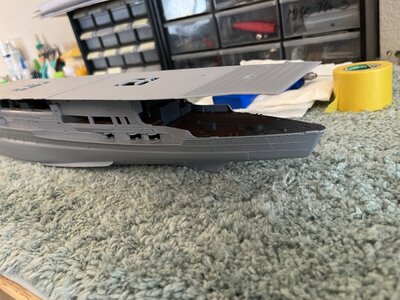
IJN AKAGI 1/350 by Hasegawa [COMPLETED BUILD]

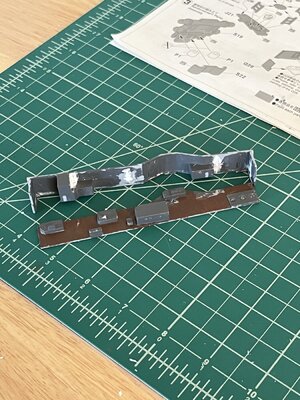
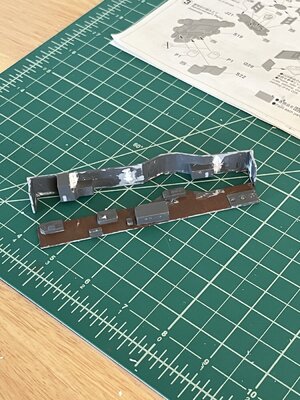
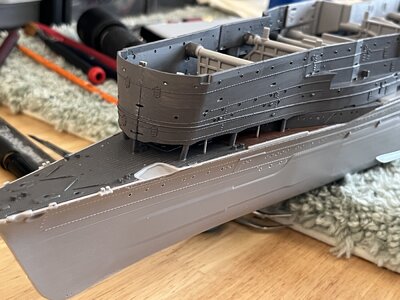
Whoops! While reading through the Eduard pdf instructions I noticed PE columns on the part which looked like a Barbie dollhouse. Parts # 14, 15, and 23 had moulded columns that needed to be removed. I took parts #29, 28, 14 & 15 apart to facilitate removing the moulded columns. After removing the columns an opening was left to fill. Using plastic putty I filled the openings sanded the parts smooth in preparation for painting and reassembly.
IMG_1197.jpegN

Next paint the individual parts and then reassemble waiting for the PE columns
 
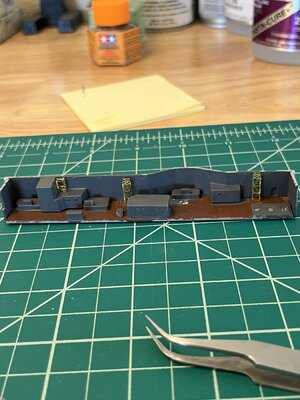
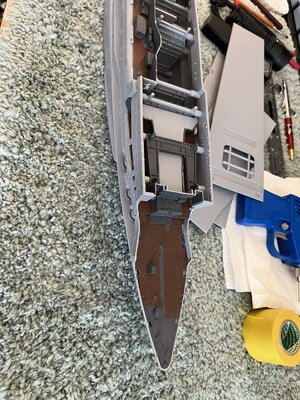
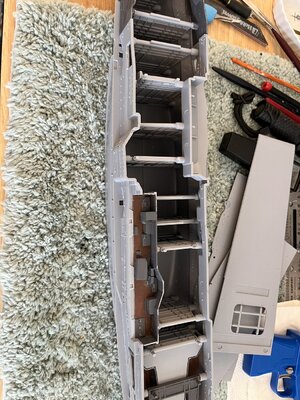
Folded up the PE columns that replace the moulded columns. Painted the parts grey and the linoleum brown ready to attach the PE columns, stairs, platforms and doors.
Ready to paint
IMG_1197.jpeg

Painted with PE columns in place ready to paint after making stairs, landing and doors.
IMG_1198.jpeg
This ship is going to be fun as I already am having fun building.
 
Hi Will

Not fitted these columns on my build yet as I suspect they may need the deck above trial fitted to ensure they line be up with the ironwork on the underside of the flight deck

Kind Regards

Nigel
 
Waiting for my eduard PE to arrive so in the interim I've spent my time viewing logs, YouTube, and locating the SSmodel parts vs the Hasegawa Super Detail PE. Dry fitting the model made me realize that I needed to paint internal structures and decking as spraying them would be beyond me. I painted the forward and aft decks where half of the deck was bamboo color with textured steel decking on the balance. In the video I've been watching the Mr Surfacer 1000 by Mr. Hobby is used and I'm not familiar with the product so if anyone has used this I like to know the results. I think I'll order some to test.
Done reading watching videos trying to match PE parts I resumed dry fitting the model. I thought I'd show some photos.
IMG_1199.jpegIMG_1200.jpegIMG_1201.jpegIMG_1202.jpegIMG_1203.jpegIMG_1204.jpeg
Next I'll continue matching SSmodel under deck PE to Hasegawa Super Detail PE kit. I still continue my search for the Hasegawa Akagi Detail Ip Super set 40071
 
Hi Will

Mr hobby surfacer is brilliant.I would go for the 1500 though for normal priming if you are Airbrushing.Thin with either Mr Hobby slow or Tamiya Orange top Laquer thinners 50/50 ratio.

Kind Regards

Nigel
 
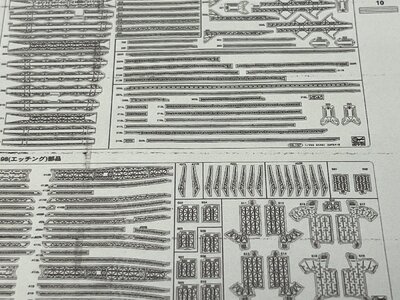
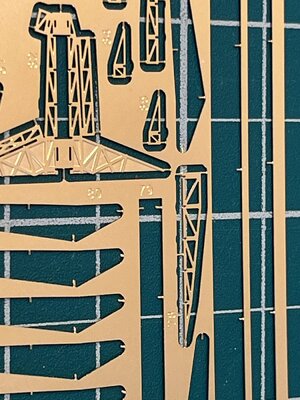
Well one thing I've learned is "procrastination doesn't lead to completion" so I started the under deck structures. I have a copy of the Hasegawa detail up super set instructions (many thanks to NMBROOK) to compare with the SSmodel PE. Without a common system to find the parts (SSmodel is 12 PE sheets and appears to include Hasegawas A, B, C and super set) I had to search until finding the needed part.
This is enlarged image of Hasegawa instructions showing the parts needed for the read deck
IMG_1207.jpeg

SSmodel PE which is on sheet "E". Fortunately is seems that parts are grouped on individual sheets rather than helter skelter. You can see the numbers don't match Hasegawa numbering.
IMG_1205.jpeg

Finding the parts necessary to start the structure the fun begins.
IMG_1206.jpeg
 
Well one thing I've learned is "procrastination doesn't lead to completion" so I started the under deck structures. I have a copy of the Hasegawa detail up super set instructions (many thanks to NMBROOK) to compare with the SSmodel PE. Without a common system to find the parts (SSmodel is 12 PE sheets and appears to include Hasegawas A, B, C and super set) I had to search until finding the needed part.
This is enlarged image of Hasegawa instructions showing the parts needed for the read deck
View attachment 385996

SSmodel PE which is on sheet "E". Fortunately is seems that parts are grouped on individual sheets rather than helter skelter. You can see the numbers don't match Hasegawa numbering.
View attachment 385998

Finding the parts necessary to start the structure the fun begins.
View attachment 385997
Kudos to you Will. A very brave undertaking. Cheers.
 
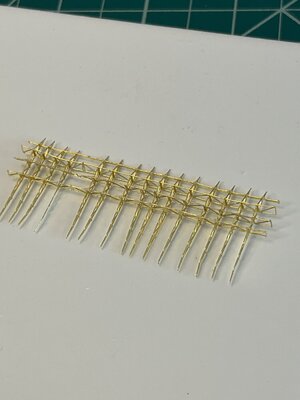
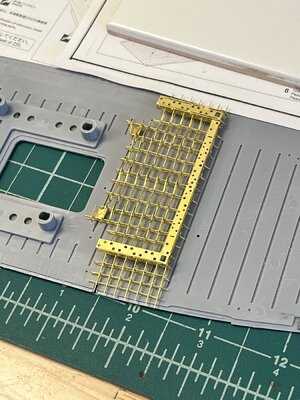
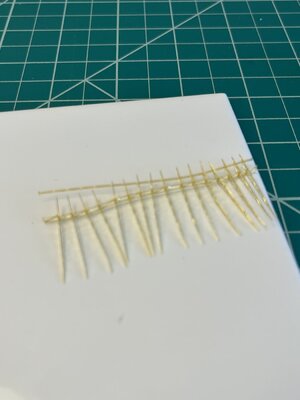
I want to thank everyone for the kind comments and likes. I started build the lattice work for under the aft deck separation. What a learning experience. Time to take off so I'll finish tomorrow.
Started with one cross piece and added the second.
IMG_1209.jpeg
Four rows complete and one dropped off which will be no problem. Now with the shorter pieces being aligned with cross pieces they really just drop in place.
IMG_1210.jpeg
 
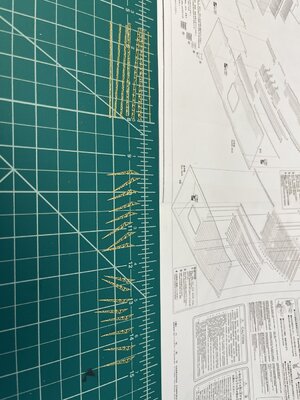
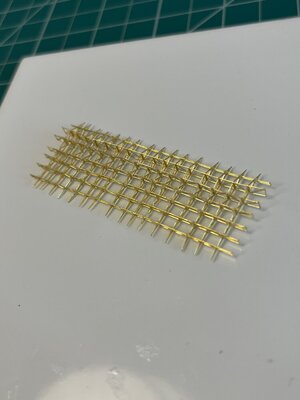
Finished the first section of under deck PE lattice structure with many lessons along the way. My Eduard PE kit arrived. I started preparing the PE sheets by rubbing them with sanding in one direction with 600 wet-n-dry and then rubbing with acetone. I'll go back to the doll house tomorrow adding the Eduard PE.
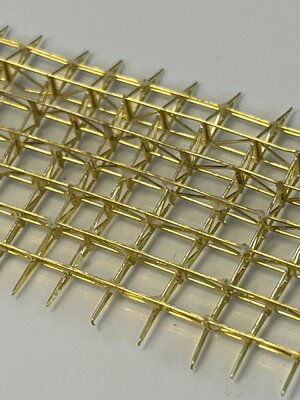
Finished read under deck lattice.
IMG_1214.jpegIMG_1216.jpeg
Tried very hard to make the ca small dots at the individual joints hopefully when painted the won't be obvious.
 
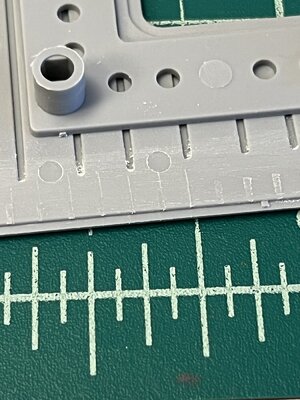
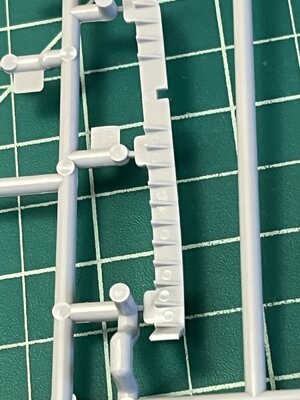
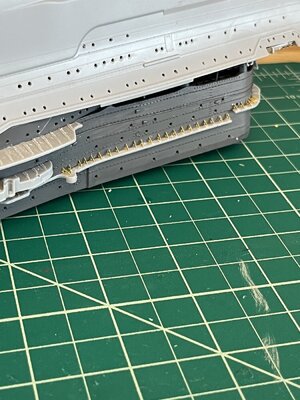
The saga of PE lattice continues with the section aft of the above completed. I thought it best to prepare the underside of the deck before continuing. After carefully reviewing the assembly drawings of what had to be removed making room for the PE. Using my sprue snippers I cut the cast triangle supports and then carefully sanded them to be level with the surface. I tried to make sure that I left an image as reference to where the PE supports attach.
IMG_1223.jpeg
You can see in the above picture that I had been to aggressive and had to scribe lines giving me the PE locations.
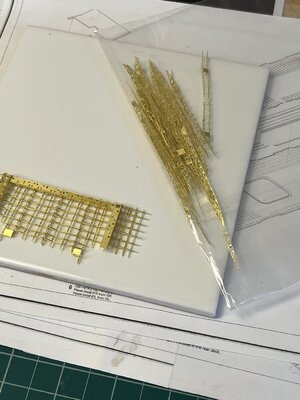
Practice helps my second lattice network came out much better than the first.
IMG_1221.jpeg
After an evening of thought I decided to make another attempt at the forward lattice network. Using a shallow flat bowl, my admiral wasn't home, filled with acetone I soaked the lattice array. 15 minutes and the CE was dissolved and the parts readily fell apart. Some minor powder residue left behind to clean up and bag the parts until later.
IMG_1220.jpeg

Taking a change of direction I decided to complete the doll house with the Eduard PE. After painting the plastic and the PE everything was assembled. Eduard added doors, ladders, railing along with support columns completing the doll house.
IMG_1224.jpeg
I like the looks of the PE and with a little touchup painting it'll be ready.
 
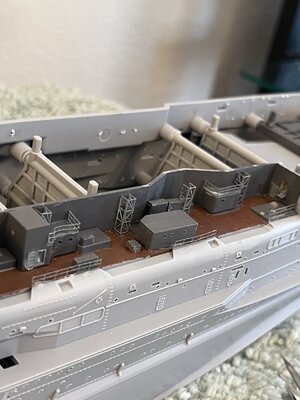
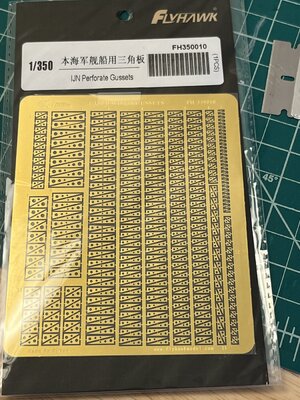
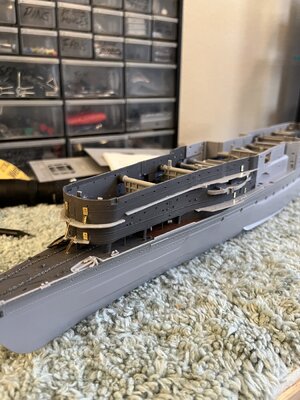
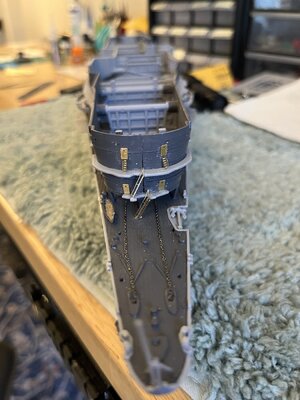
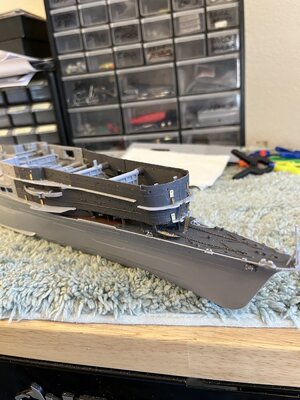
Needed to take a break from the lattice PE so I went back to the plans completing the fore structure. Before adding the structures I completed the fore deck fittings. After adding the fore structure some decks were added with a few ladders and doors. I saw a beautiful Akagi model by NSBROOK that had PE gussets under the extending decks so I bought IJN gussets from Flyhawk Model PE. Both with holes and without were offered so I bought with holes.
IMG_1230.jpeg
Adding the PE gussets required removing the moulded gussets as shown in the below picture.
IMG_1231.jpeg
With the gussets removed the fore structure extension decks were added along with the PE doors and ladders. Once the gussets are added the railing will be added.
IMG_1227.jpegIMG_1226.jpegIMG_1225.jpeg
Next is back to the flight deck lattice structures.
 
A lot going on so I only got to spend a couple hours with gussets. I'm glad I only had a few hours as my hands started shaking with so much tweezer work and my eyes are tired so enough for today.
Just an idea of how it'll look
IMG_1233.jpeg
You can't see the nasty work under the above decks. Hard to see under there and hard to align the gussets. I'm thankful that the rest appear to be more accessible.
 
Needed to take a break from the lattice PE so I went back to the plans completing the fore structure. Before adding the structures I completed the fore deck fittings. After adding the fore structure some decks were added with a few ladders and doors. I saw a beautiful Akagi model by NSBROOK that had PE gussets under the extending decks so I bought IJN gussets from Flyhawk Model PE. Both with holes and without were offered so I bought with holes.
View attachment 387941
Adding the PE gussets required removing the moulded gussets as shown in the below picture.
View attachment 387945
With the gussets removed the fore structure extension decks were added along with the PE doors and ladders. Once the gussets are added the railing will be added.
View attachment 387942View attachment 387943View attachment 387944
Next is back to the flight deck lattice structures.
Probably i would replace the whole platform not just the supports using a thinner material like 0.30 - 0.50mm plastic strip
 
Back
Top