• Ships of Scale has incorportated an extra level of security when you log In. Please follow on-screen prompts to acknowledge that you are not a robot via a "Check Box" or a "Pictorial Check Box Puzzle". This is needed due to higher level of AI Activity Security.
  • SUBSCRIBE TO SHIPS IN SCALE TODAY!

    The beloved Ships in Scale Magazine is back and charting a new course for 2026!
    Discover new skills, new techniques, and new inspirations in every issue.

    NOTE THAT OUR NEXT ISSUE WILL BE July/August 2026
  • Win a Free Custom Engraved Brass Coin!!!
    As a way to introduce our brass coins to the community, we will raffle off a free coin during the month of August. Follow link ABOVE for instructions for entering.

IJN Pre-Dreadnought Battleship Mikasa by Merit 1:200 with Pontos and KA Models

Good morning, Paul and Chris.

First of all, thank you very much, Paul—that’s very kind of you.

Chris:
No, as far as I know, Zeiss Jena did not supply rangefinders to the Imperial Japanese Navy for the Battle of Tsushima. Instead, coincidence rangefinders from the Scottish firm Barr & Stroud are credited with the Japanese forces' superior targeting accuracy.

However, there is indeed a connection to Zeiss Jena—not involving rangefinders, but rather the admiral's binoculars: during the battle, Japanese Fleet Admiral Tōgō Heihachirō wore a famous Carl Zeiss Jena "naval turret binocular" around his neck. These binoculars were a top-tier personal instrument and can still be seen today on the museum ship *Mikasa* in Japan. Since Tōgō used them to keep the Russian fleet in sight, the Zeiss name was frequently mentioned prominently in reports.

I imagine that is how this piece of misinformation might have originated.
 
Last edited:
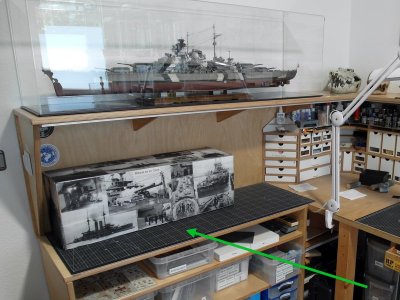
Before I can turn my attention to the masts, I have to attend to a mundane but necessary task.

The model still needs protection against dust, as it will be several weeks before I finish the *Mikasa*.

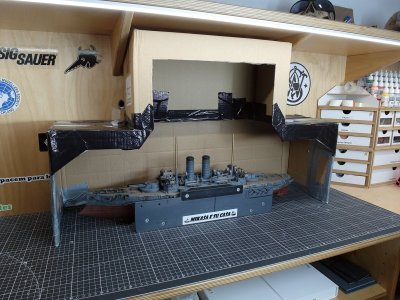
Up to now, it has been sitting under a simple, custom-cut cardboard cover. For a project spanning over two years, this is essential.

109.JPG

Now that the masts are to be installed, more vertical clearance is required. So, I got a second piece of cardboard, cut both to size, and joined them together. Everything is held in place and reinforced with duct tape.

109a.JPG

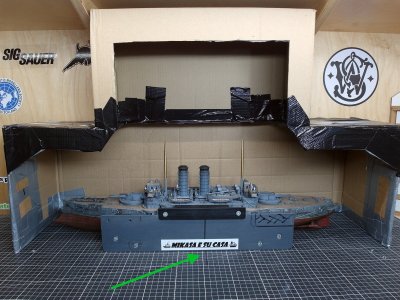
Of course, it is important to measure everything precisely beforehand—to avoid any contact between the masts and the cardboard later on. I’ve marked the positions on both the model and the tabletop using a permanent marker. This ensures the model is in the right spot when I slide the dust cover over it.

109b.JPG

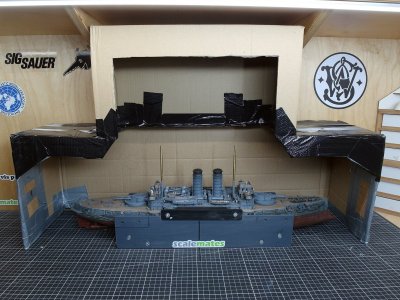
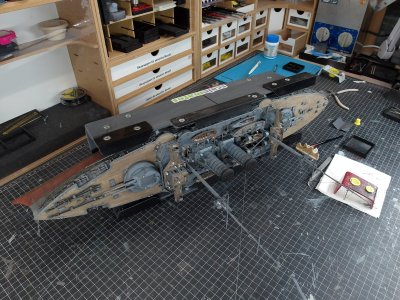
As you can see in the following picture, the ship’s layout isn't perfectly symmetrical. That explains the markings and the generous cutout in the cardboard. This way, there shouldn't be any issues once the masts are fully installed.

109c.JPG

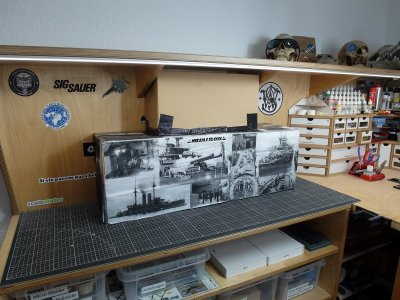
And so, I believe the model is well-protected against the looming threat of dust bunnies while it awaits completion.

109d.JPG
 
Before I can turn my attention to the masts, I have to attend to a mundane but necessary task.

The model still needs protection against dust, as it will be several weeks before I finish the *Mikasa*.

Up to now, it has been sitting under a simple, custom-cut cardboard cover. For a project spanning over two years, this is essential.

View attachment 631440

Now that the masts are to be installed, more vertical clearance is required. So, I got a second piece of cardboard, cut both to size, and joined them together. Everything is held in place and reinforced with duct tape.

View attachment 631441

Of course, it is important to measure everything precisely beforehand—to avoid any contact between the masts and the cardboard later on. I’ve marked the positions on both the model and the tabletop using a permanent marker. This ensures the model is in the right spot when I slide the dust cover over it.

View attachment 631442

As you can see in the following picture, the ship’s layout isn't perfectly symmetrical. That explains the markings and the generous cutout in the cardboard. This way, there shouldn't be any issues once the masts are fully installed.

View attachment 631443

And so, I believe the model is well-protected against the looming threat of dust bunnies while it awaits completion.

View attachment 631444
Beautiful and stunning modelling.
 
With those masts in place, she’s really starting to look like a proper pre-dreadnought. Beautiful work! Can’t wait to see her finished.
 
My dear Wieslaw, thank you. In that case, I'll go ahead and continue working on the masts.

After a forced break due to illness, I can finally get moving to it. Let's start with the mainmast; it’s more complex than the foremast because the derrick boom needs to be installed on it.

Here is the first quick update.

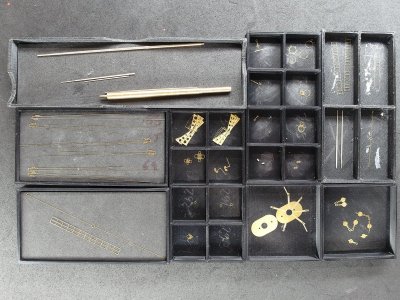
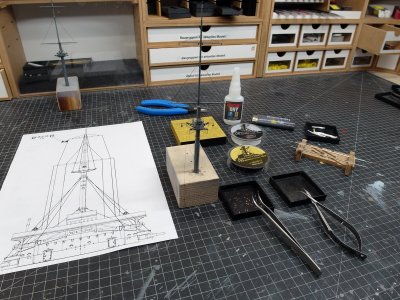
I’ve got everything prepped and laid out for the job.

109.JPG

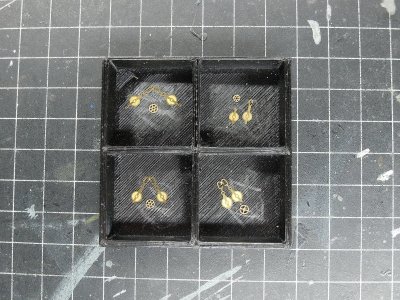
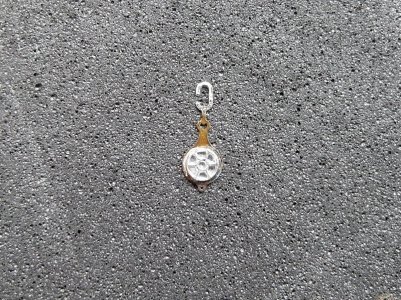
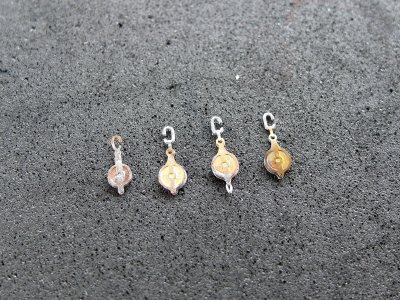
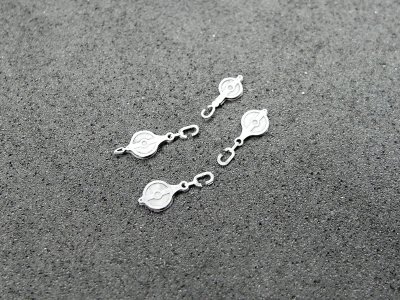
The intricate block-and-tackle assembly—featuring those photo-etched ropes—is actually really nice, but I can't use it as-is. You might recall that I attached the derrick boom to the lower section of the mast quite a while ago. There were structural reasons for doing that, but it rules out using the photo-etched parts in their current form.

109a.JPG

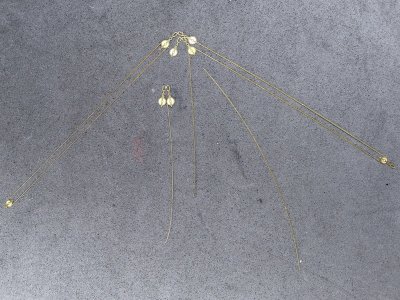
So, I’ve cut everything off and am assembling the pulley blocks without the photo-etched ropes—more on that later. I’ll simply use rigging thread instead.

109b.JPG

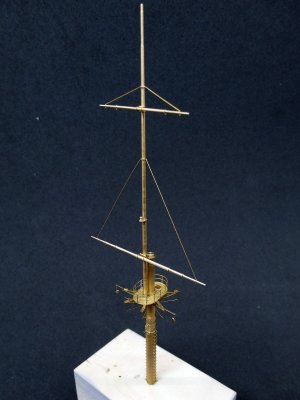
Let's start with the base. It’s straightforward work, thanks to the perfectly fitting rings and well-designed photo-etched ladders from Pontos.

109c.JPG

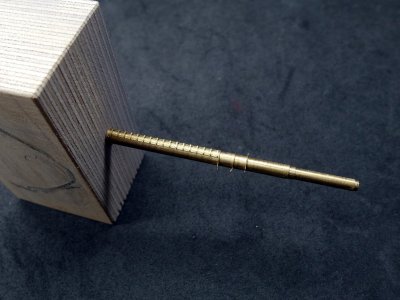
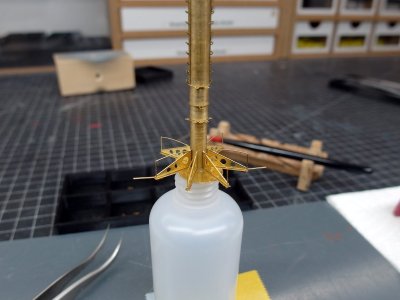
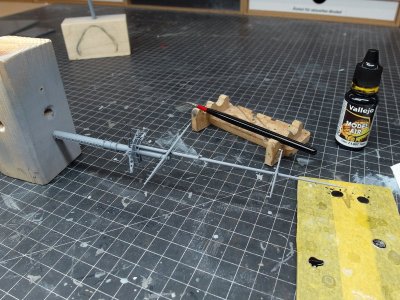
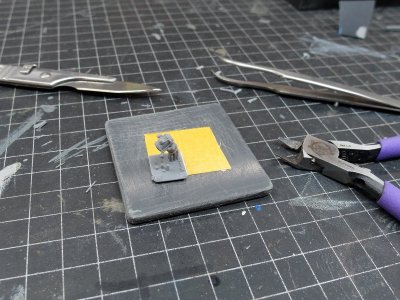
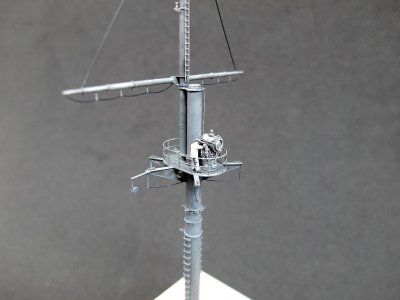
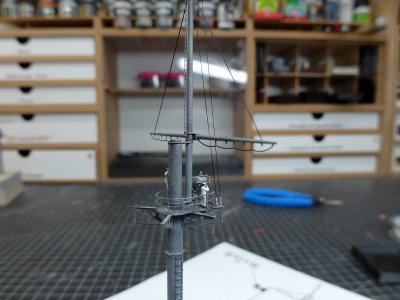
Now for the first delicate assembly step: the gusset plates beneath the platform. I put together a small jig to hold the mast upright while I attach the parts under the platform.

109d.JPG

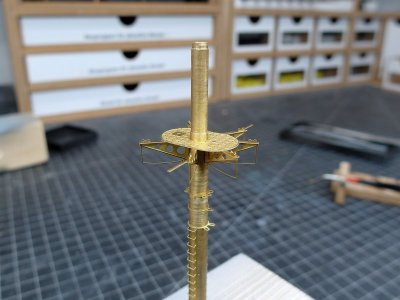
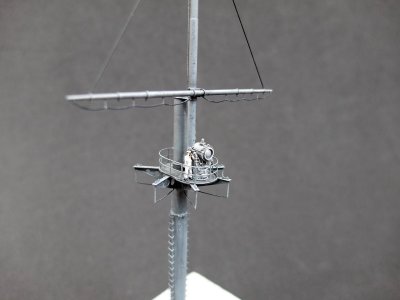
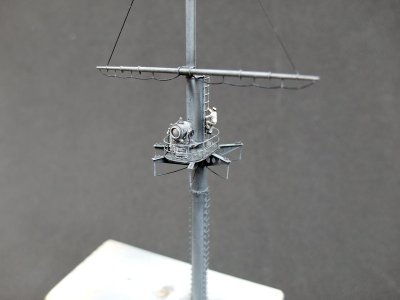
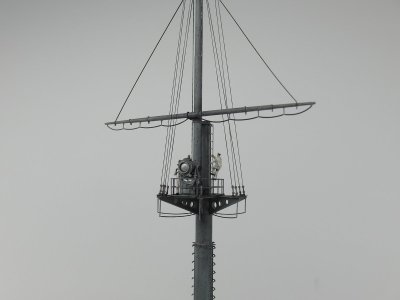
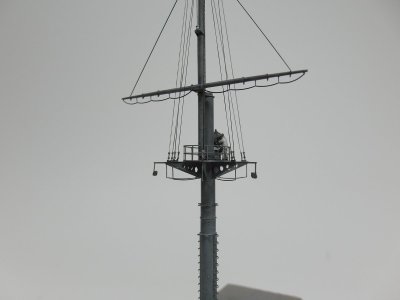
It’s already looking great. I love the level of detail Pontos provides.

109e.JPG

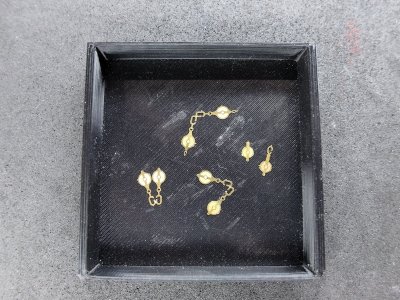
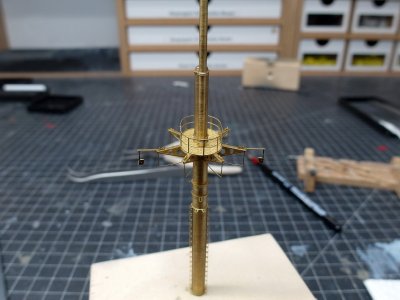
I’ve also installed the pulleys for the rudder angle indicator and the railing.

109f.JPG

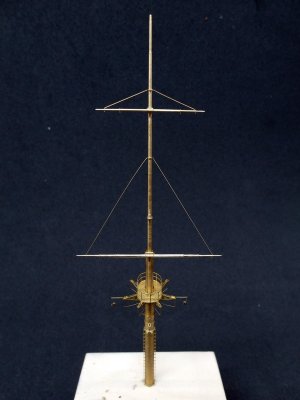
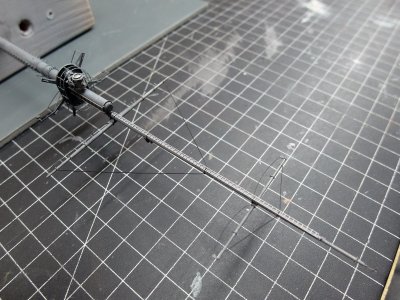
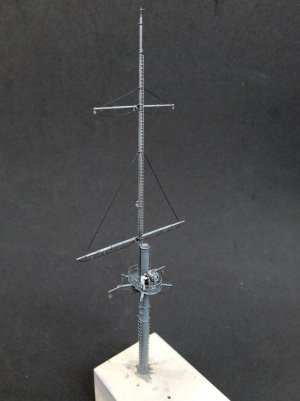
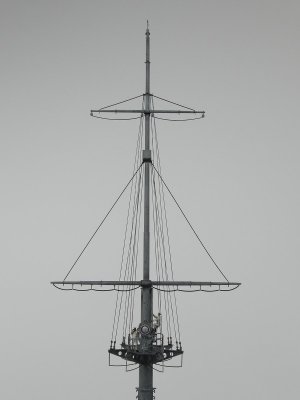
And this is how the two yardarms can be threaded into place.

109g.JPG

That wraps up my quick introduction; now I can admire the fine brass component a bit more before continuing with the build today.

109h.JPG

However, I’m going to assemble the foremast to the same stage first, before the complicated part on the mainmast begins.
 
Thank you so much, wieslaw.

Here is another quick mini-update for today.

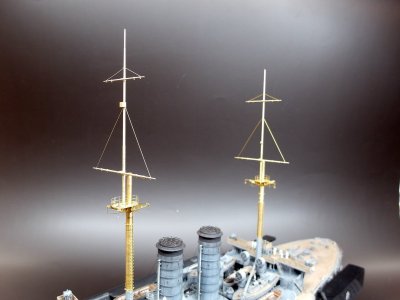
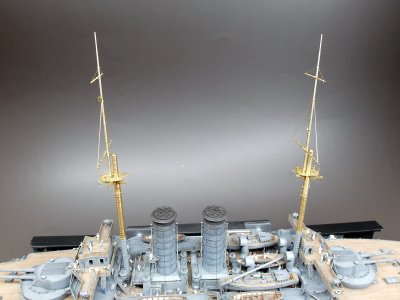
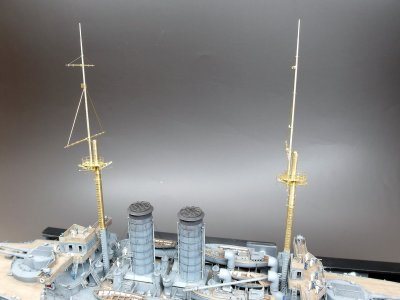
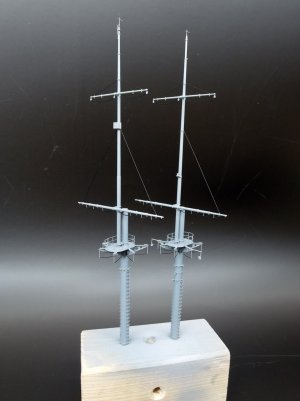
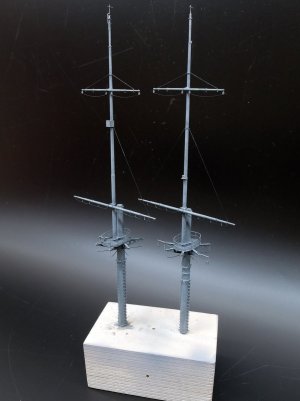
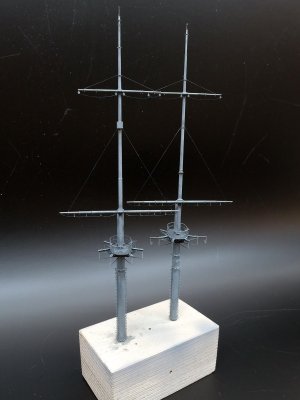
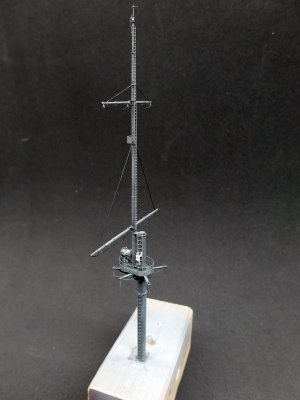
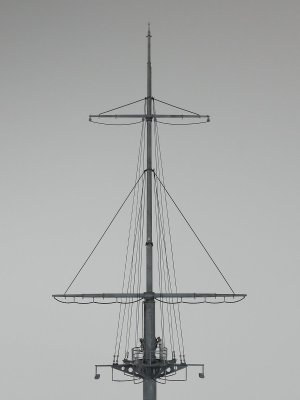
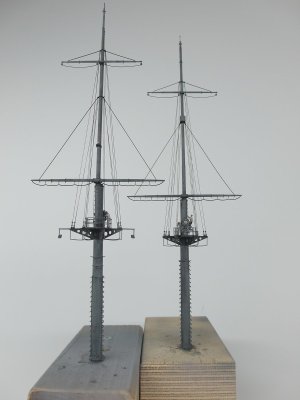
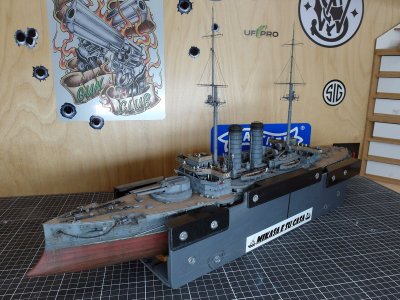
The basic structure of the foremast is essentially complete, meaning the sails could theoretically be set.

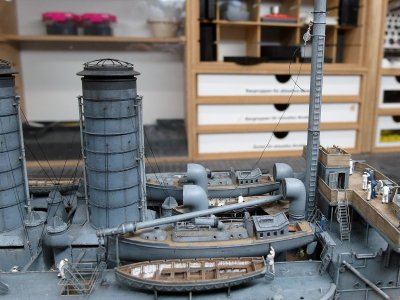
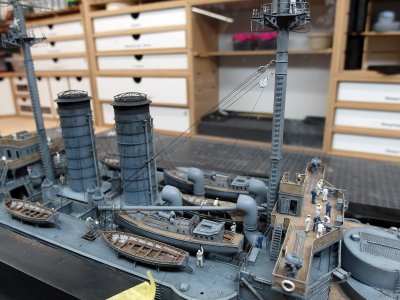
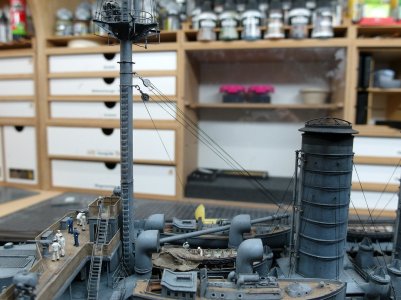
To check that everything is aligned at the correct angles, I’ve positioned the masts in their respective places.

109i.JPG

It looks really good. It gives the ship a towering profile—significantly more mast than on my *Bismarck*, for instance.

109j.JPG

Just as *Archaeopteryx* is to birds, the *Mikasa* represents the missing link for me—bridging the gap between venerable sailing ships and the modern steel behemoths of the twentieth century.

109k.JPG

Now for the finer details.
 
Back
Top