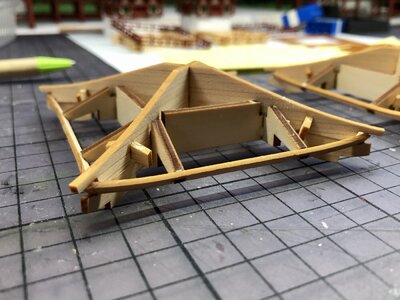
Hello,
After some small additions, the first floor of the left wing is ready. Only some beams on top of the roof tiles need to be added, but they will be build after the tower is completed.
Here is the latest picture.

Now I'll start with the right wing. It should be quite straight forward since I have found most of the solutions for the different elements of the construction. When I'm ready I will be back...
to be continued...
Gijsbert
After some small additions, the first floor of the left wing is ready. Only some beams on top of the roof tiles need to be added, but they will be build after the tower is completed.
Here is the latest picture.
Now I'll start with the right wing. It should be quite straight forward since I have found most of the solutions for the different elements of the construction. When I'm ready I will be back...
to be continued...
Gijsbert


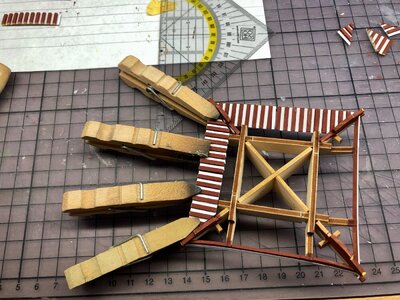
") and no one will ever see that except me, haha.
and no one will ever see that except me, haha.