Wow, fascinating watching all the pieces come together.
Jan
Jan
 |
As a way to introduce our brass coins to the community, we will raffle off a free coin during the month of August. Follow link ABOVE for instructions for entering. |
 |
 |
The beloved Ships in Scale Magazine is back and charting a new course for 2026! Discover new skills, new techniques, and new inspirations in every issue. NOTE THAT OUR FIRST ISSUE WILL BE JAN/FEB 2026 |
 |
Hi John,View attachment 237154
This shows the build up of the superstructure, everthing went together just perfectly,
View attachment 237155
this when you need a few clamps,
View attachment 237156
View attachment 237157
the only things that had to be trimmed were the window panels,
View attachment 237158
View attachment 237160
View attachment 237163
View attachment 237161
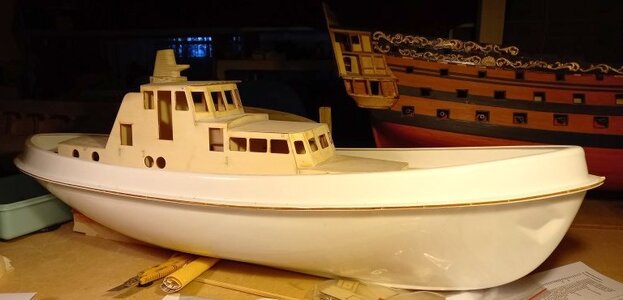
well this is where I am up to at the present, so things will slow down a little from now on, there is a lot of filling and
sanding to smooth and blend everything in together,
again thank you for visiting my build,
best regards John,
.
I have not seen plastic work before and am interested in following the melding of wood and plastic for this model The photo of the finished one is a great insight to where you will be heading. Nice work. RichHi John,
I hope you have fully recovered.
Lovely looking build, should make a great working model.
Cheers,
Stephen.

 o
o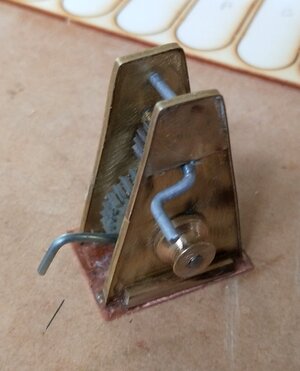
Thats what Pat said,he was going to leave it un painted,This is a very nice therapy, pitty you have to paint it. I would screw it up by painting it
...agree with Pat, I would leave it unpainted.Thats what Pat said,he was going to leave it un painted,
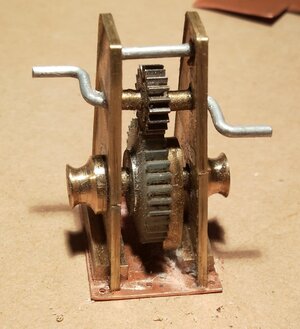
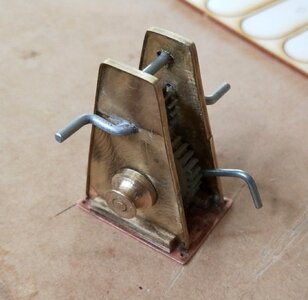
With the narrow flange piece I though that you had used resistance soldering to place it without visible overflow of the solder. Neatly done., I respect those of SoS with metal machining abilities. Rich (PT-2)Here is the winch, its not any particular winch, just something I made up from stuff in my scrap box,
View attachment 237410
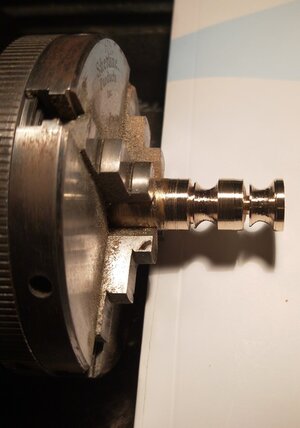
I turned up both the side drums at the same time, its easier to keep a visual check on there size,
I had already drilled the hole through the centre for the main shaft to go through,
View attachment 237411
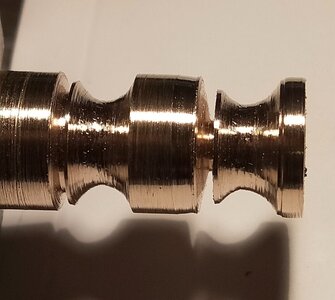
close up view,
View attachment 237412
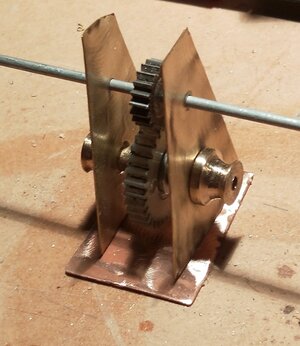
over the years I have collected all sorts of cogs and bits of brass and copper, the large nylon cog
came out of some printer,
View attachment 237413
its a non working winch, nothing is soldered, it is all super glued together,
View attachment 237414
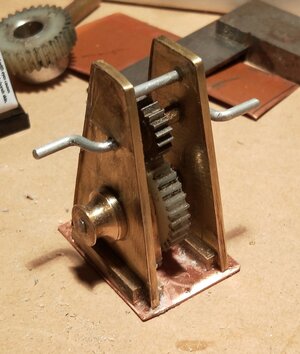
I super glued some square brass supports to the copper base on the inside, then I glued the sides to it
and then added another piece of brass support to the outside, you can see another nylon and aluminum
cog in the background this is what I turned to size for the lower cog, I was lucky with the upper it was
just the right size,
View attachment 237415o
after bending the winder I added a brake drum and some reinforcing trim over both sides and drilled
six holes for fixing in place,
View attachment 237416
then I added a locking handle,
View attachment 237417
all Pat has to do now is paint it, it was a nice relaxing bit of therapy for me,
thanks for looking in,
best regards John,
.


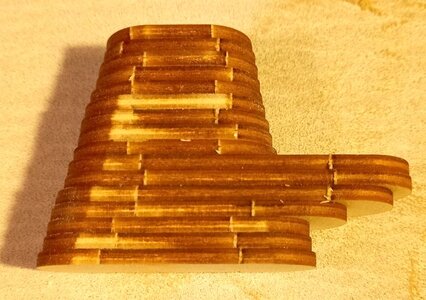
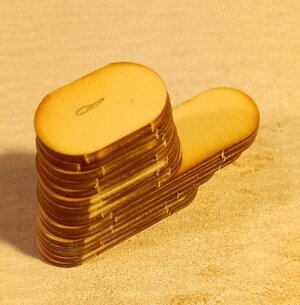
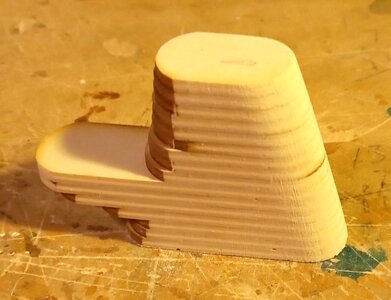
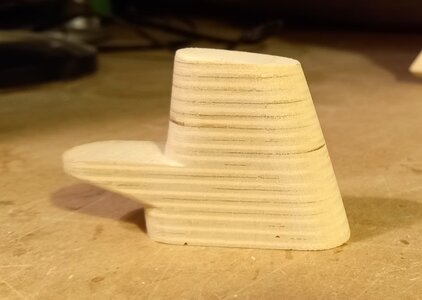
Thank you for the nice comment, I bought mine from Germany, I think it was approx $350 including postage and took two weeks to arrive, a good deal,Looking really good, makes me even more keen to acquire a Krick kit.
Pleased to hear the new sander performed well, at that price it has to be a bargain I think I will get one.
