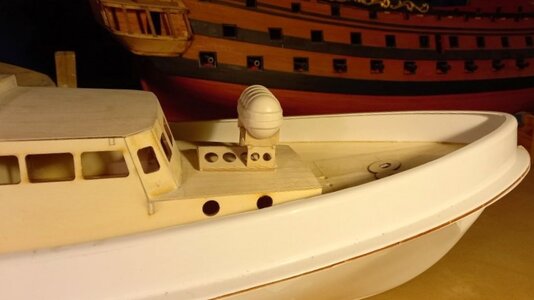
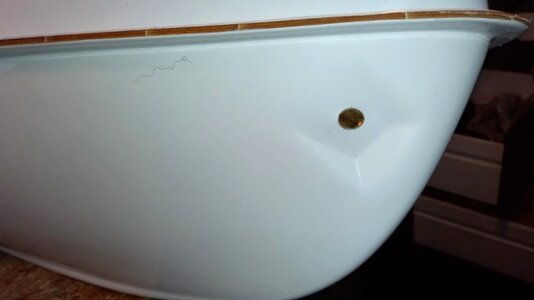
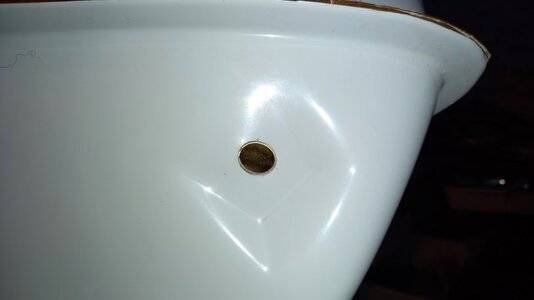
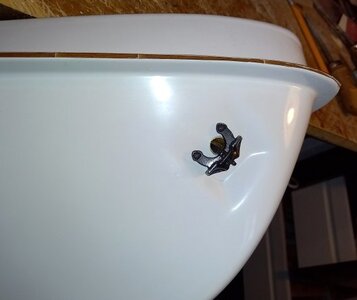
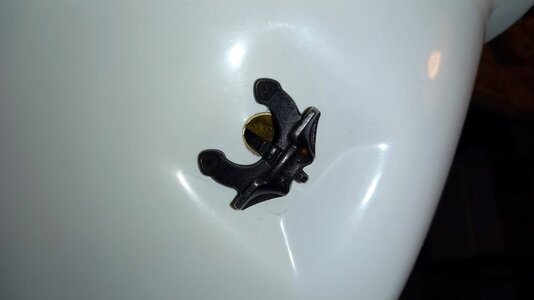
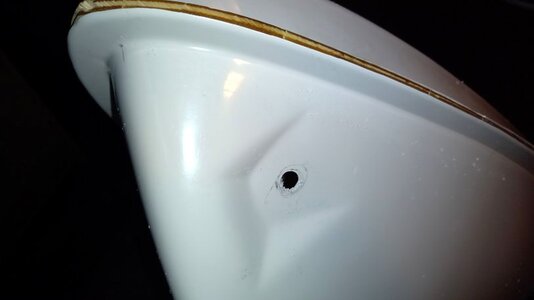
G'day Doc, if you mean the area up at the bow, it is the recess for the anchor, or if it is the area lower down by the keel it is just a reflection,Hi John,
Is the hull 'dented' or is that just reflection off something?
best regards John,
 |
As a way to introduce our brass coins to the community, we will raffle off a free coin during the month of August. Follow link ABOVE for instructions for entering. |
 |
 |
The beloved Ships in Scale Magazine is back and charting a new course for 2026! Discover new skills, new techniques, and new inspirations in every issue. NOTE THAT OUR FIRST ISSUE WILL BE JAN/FEB 2026 |
 |
G'day Doc, if you mean the area up at the bow, it is the recess for the anchor, or if it is the area lower down by the keel it is just a reflection,Hi John,
Is the hull 'dented' or is that just reflection off something?
Did you get it from the Krick site https://www.krickshop.de/e-vendo.php?shop=krick_e&SessionId=&a=search&SearchStr=Grimmershorn when I looked it seemed they only shipped to Europe. When trying to register their is no option for Australia as an address.
Thank you for the nice comment, I bought mine from Germany, I think it was approx $350 including postage and took two weeks to arrive, a good deal,
best regards John.
I had also tried that site but had no luck, here is a link to the company I bought it from, they sell some nice models, I also bought the Borkum Steam launch,Did you get it from the Krick site https://www.krickshop.de/e-vendo.php?shop=krick_e&SessionId=&a=search&SearchStr=Grimmershorn when I looked it seemed they only shipped to Europe. When trying to register their is no option for Australia as an address.
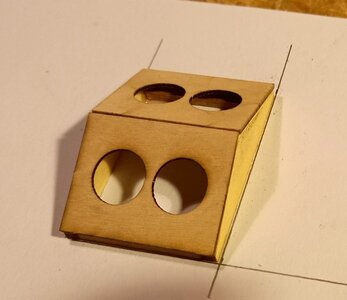
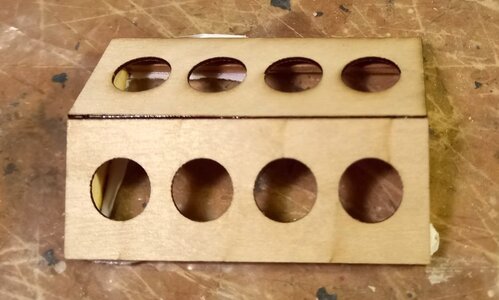
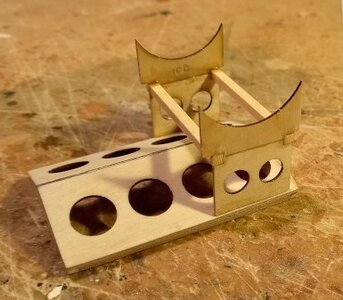
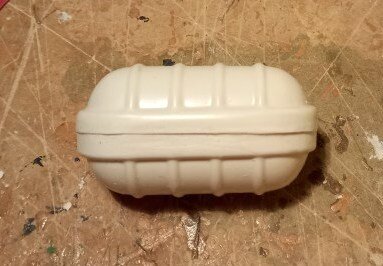
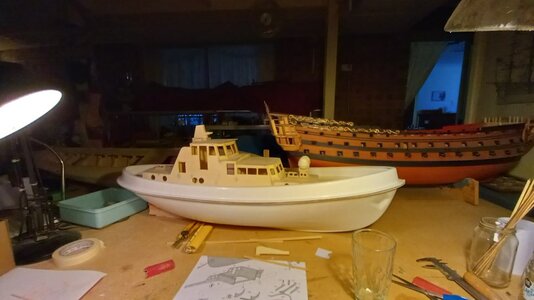
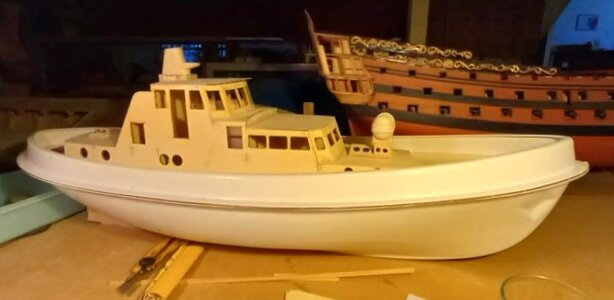
Thanks for that link John.I had also tried that site but had no luck, here is a link to the company I bought it from, they sell some nice models, I also bought the Borkum Steam launch,
mhm-modellbau
hope this helps you,
best regards john,
Happy birthday John and Johns son.On my birthday weekend some of the Family came to visit and my eldest son likes Egg and Bacon pies, and seeing
that his birthday is coming up soon I thought I would make him some,
View attachment 243872
I cooked up 3 kilo of bacon approx 6.5 lbs, enough to make six pies or flans whichever you want to call them,
my Admiral and I had one, which left five for Gary to take home with him,
View attachment 243873
after cooling down,
View attachment 243874
and a close up, they were yummy,
thanks for looking in,
best regards john.
.


Hi John,View attachment 244436
These are the mouldings for the emergency boat, which looks a bit chunky to me,
View attachment 244437
at the local hobby shop i found this one which seems a little bit more detailed, what do you guy's think,
View attachment 244438
another view,
View attachment 244439
and a view of the underneath,
best regards john.
.
The details work much better. RichView attachment 244436
These are the mouldings for the emergency boat, which looks a bit chunky to me,
View attachment 244437
at the local hobby shop i found this one which seems a little bit more detailed, what do you guy's think,
View attachment 244438
another view,
View attachment 244439
and a view of the underneath,
best regards john.
.
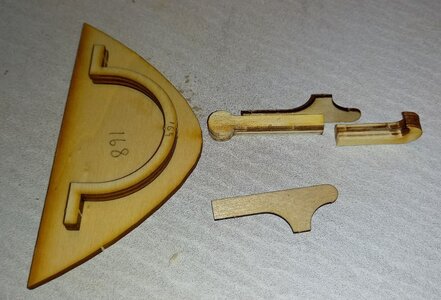

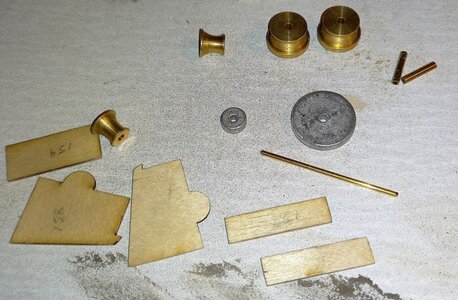
Very nice upgrade and metal work.. RichBuilding up the hand winch,
View attachment 244945
These are the parts supplied for the hand winch, my first disappointment with the kit, the two white metal disc's
are supposed to be the gear wheels for the winch,
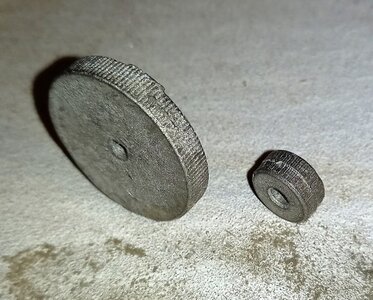
View attachment 244946
a close up view, in the parts list they are marked as being Brass,
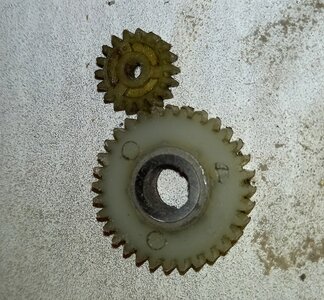
View attachment 244947
so it was off to my scrap box to see what I could use to replace them with and I came up with these two gear wheels
the same as what i used on Pat's winch, I had to turn down the thickness of the large one on the lathe,
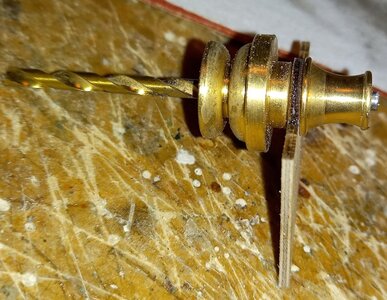
View attachment 244948
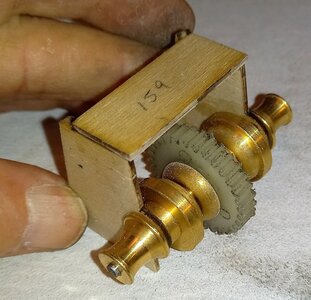
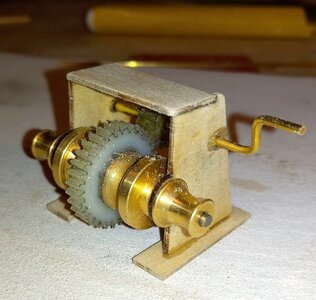
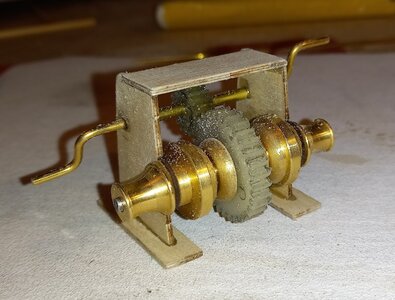
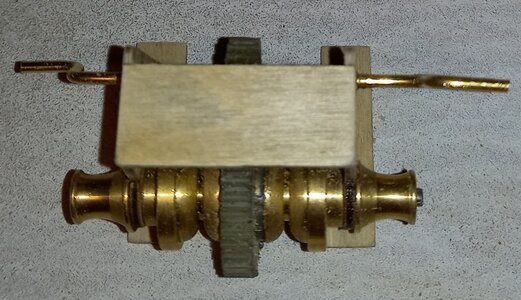
They supply nice turnings for the remainder of the winch, in reality there would be a small gap between the winch
drums and the vertical side of the winch body, but for security I decided to glue the drums to the side, once painted
you will probably not notice anything, also there is supposed to be a piece of 3mm brass wire for the drums but it
was missing, and seeing it was night time I used a couple of 3mm drill bits that were blunt, they worked out quite
well,
View attachment 244949
these next three pics show the winch all glued up waiting for a coat of paint,
View attachment 244950
View attachment 244951
View attachment 244952
.
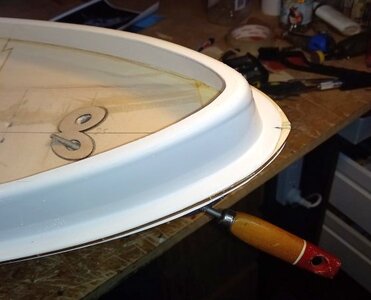
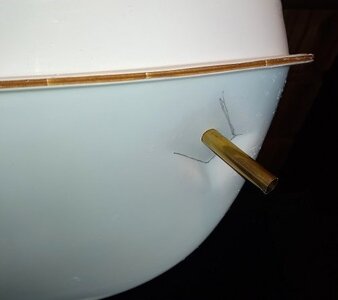
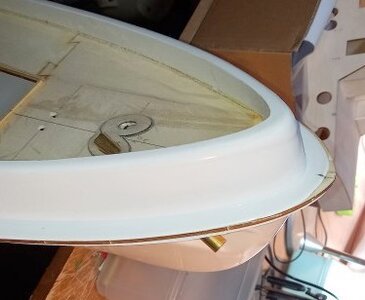
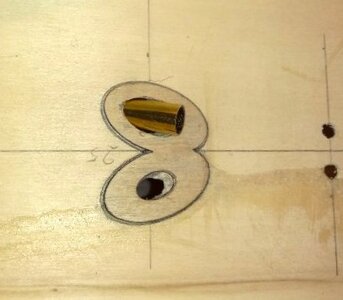
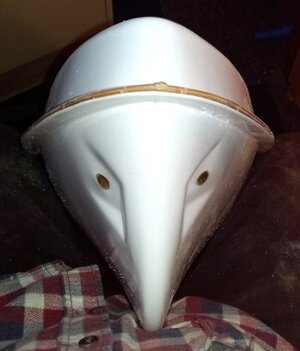
Beautiful work! That is one mean-looking whale face!
Your metal details are outstanding and they add authenticity to your model.View attachment 244939
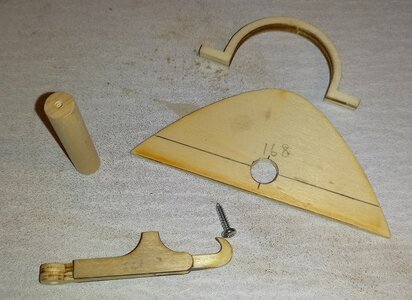
Making up the towing hook assembly,
View attachment 244940
the towing hook all glued up and sanded to shape, I have been trying to find some photo's of the towing hook
on the real ship, but cannot find any, the shape of the hook seems really shallow and there isn't any device to
hold the hook in place when towing,
View attachment 244943
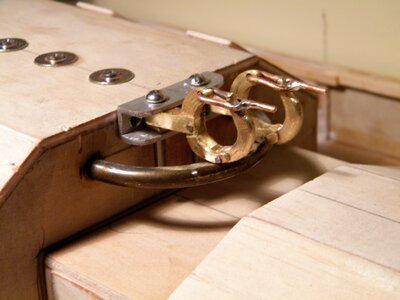
these two pics show what i mean, these are the towing hooks that I built for my River Tug, maybe the Grimmershorn had a different locking system,
View attachment 244944
and with the handles in place locking the hooks shut,
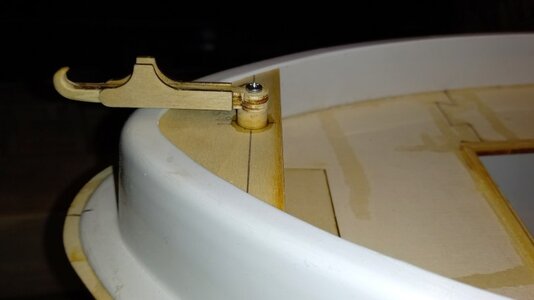
View attachment 244941
the towing hook being test fitted,
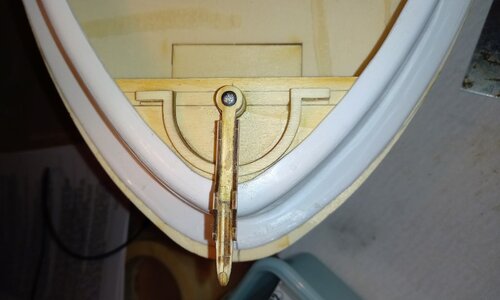
View attachment 244942
overhead view, showing the towing hook surpport fitted if I cannot find any Information I might redo the hooks the way I built them for the River Tug,
any suggestions welcome,
best regards John.
.
