-

Win a Free Custom Engraved Brass Coin!!!
As a way to introduce our brass coins to the community, we will raffle off a free coin during the month of August. Follow link ABOVE for instructions for entering.
-

PRE-ORDER SHIPS IN SCALE TODAY!
The beloved Ships in Scale Magazine is back and charting a new course for 2026!
Discover new skills, new techniques, and new inspirations in every issue.
NOTE THAT OUR FIRST ISSUE WILL BE JAN/FEB 2026
You are using an out of date browser. It may not display this or other websites correctly.
You should upgrade or use an alternative browser.
You should upgrade or use an alternative browser.
La Belle - Caf Model 1:48 by Thomas Marocke [COMPLETED BUILD]
- Thread starter Thomas Marocke
- Start date
- Watchers 63
That’s a truly beautiful finish Thomas. Well done!
Awesome results, love it!
Yep that is a true story. Perfect.Perfect !!!!
Daniel
Excellent job Thomas!
That's a SLAM DUNK for final presentation, Thomas. Very nicely done!
Thanks for the likes and comments!
The "La Belle" is not ready yet.
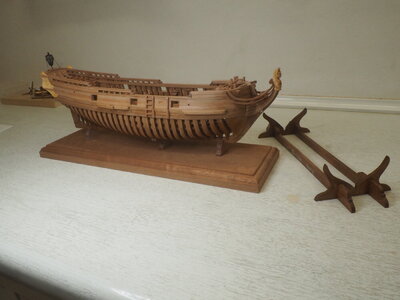
It still needs a worthy präsentation stand. The assembly stand of the kit is too simple.
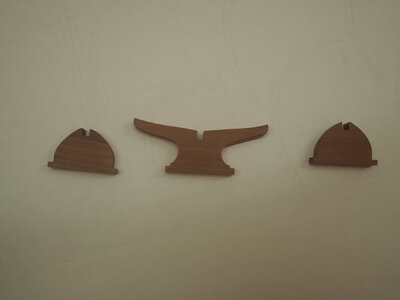
Three holders of 8 mm pear wood were made. In the progress, I discovered that I absolutely need new wood files. Laser-cut components are easier to work on, since only the char must be removed.The middle support lies exactly under the three-part middle frame and protect the model against tipping over.
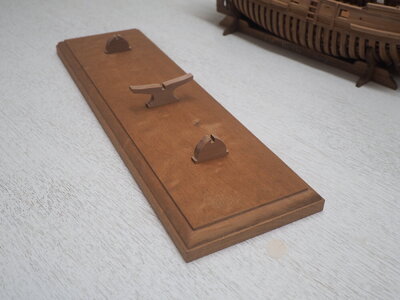
Now I have to assemble all components and paint the presentation board colorless, so that the beautiful wood grains look better.
All a nice weekend
Thomas
The "La Belle" is not ready yet.

It still needs a worthy präsentation stand. The assembly stand of the kit is too simple.

Three holders of 8 mm pear wood were made. In the progress, I discovered that I absolutely need new wood files. Laser-cut components are easier to work on, since only the char must be removed.The middle support lies exactly under the three-part middle frame and protect the model against tipping over.

Now I have to assemble all components and paint the presentation board colorless, so that the beautiful wood grains look better.
All a nice weekend
Thomas
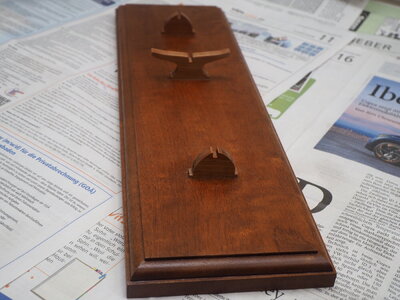
The presentation board is ready assembled and painted. First a primer with a model building brush. Then a light intermediate sanding with 240 sandpaper in wood fiber direction. Now a colorless varnish with the brush. Again an intermediate sanding with sandpaper. And finally some varnish atomizations with varnish with the airbrush from 20 centimeters distance.
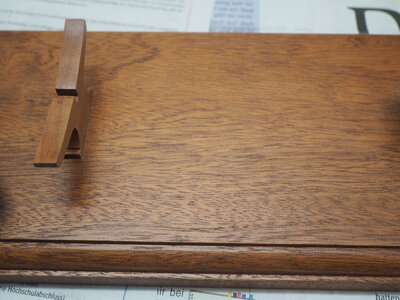
The beautiful wood grain comes out well.
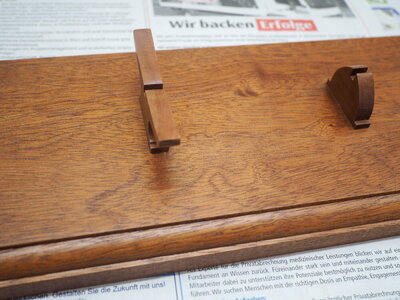
So clean und seamless I can rarely paint only with a brush.
Best regards
Thomas
The rigging of the starboard anchor.
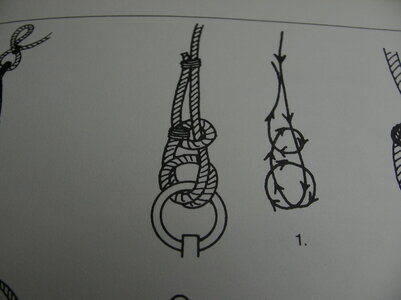
Rope guide for lighter anchors. . .
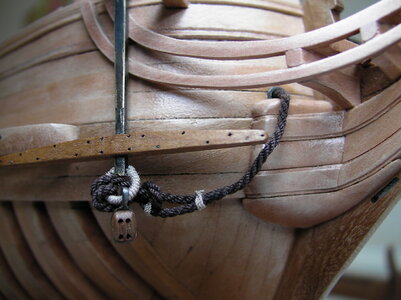
. . . and the implementation on the model with hooked block with double sheave for the tackle.
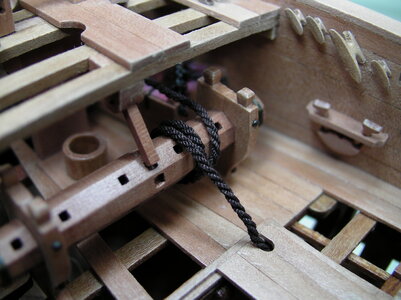
The guidance of the rope on the windlass.
Following pictures show the production of a double sheave with hooks, as any modeler can easily make them yourself.
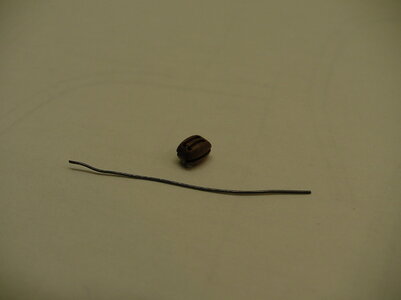
5 mm double sheave from Dry-Dock Models & Parts and a piece of 0,4 mm blackened brass wire.
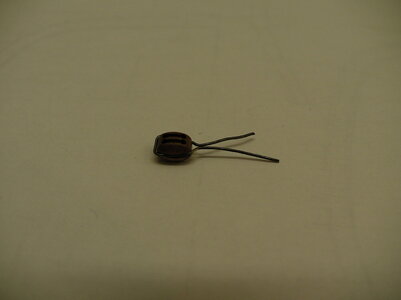 The wire is bent around the double sheave.
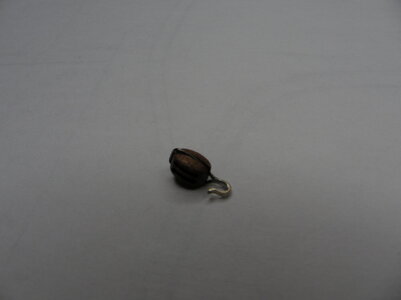
The wire ends are soft soldered, bent into a hook and then filed into shape with needle files.
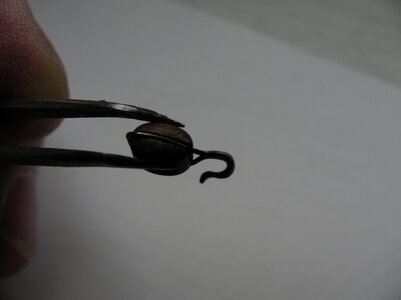
After chemical blackening it looks like this. Really any modeler with a little patience can recreate this.
Best regards
Thomas

Rope guide for lighter anchors. . .

. . . and the implementation on the model with hooked block with double sheave for the tackle.

The guidance of the rope on the windlass.
Following pictures show the production of a double sheave with hooks, as any modeler can easily make them yourself.

5 mm double sheave from Dry-Dock Models & Parts and a piece of 0,4 mm blackened brass wire.
 The wire is bent around the double sheave.
The wire ends are soft soldered, bent into a hook and then filed into shape with needle files.

After chemical blackening it looks like this. Really any modeler with a little patience can recreate this.
Best regards
Thomas
Last edited:
Your “La Belle” is like her name: “The Beautiful”. That is what you made her!And the final varnish is applied.
View attachment 268613
View attachment 268614
View attachment 268617
View attachment 268616
View attachment 268615
View attachment 268618
View attachment 268619
View attachment 268612This is how "La Belle" looks in daylight.
Best regards
Thomas
Regards, Peter
- Joined
- Jul 27, 2021
- Messages
- 451
- Points
- 323

Great job, but a minor correction  The cable on the windlass needs to be the other way round. Even if it fits worse with the hole on deck it is wound up towards the "thinner" part of the windlass.
Hi Dubz!
I was guided by the "Ancre" monograph.
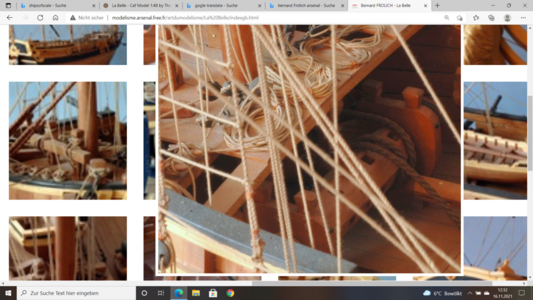
Image from the website of Bernard Frölich.
In the book "Anatomy of the ship", Alert, Peter Goodwin, Page 39, picture below you can see the course of the anchor cable as you describe it.
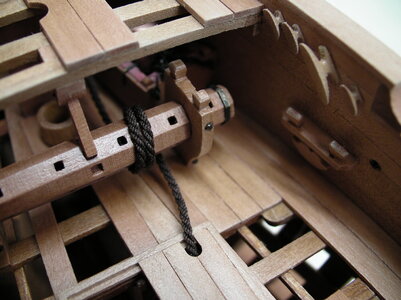 Since everything is loosely mounted, a change is possible at any time.
Thank you for the hint!
Best regards
Thomas
I was guided by the "Ancre" monograph.

Image from the website of Bernard Frölich.
In the book "Anatomy of the ship", Alert, Peter Goodwin, Page 39, picture below you can see the course of the anchor cable as you describe it.
 Since everything is loosely mounted, a change is possible at any time.
Thank you for the hint!
Best regards
Thomas
There must be some hook making school in Germany. Outstanding work Thomas!The rigging of the starboard anchor.
View attachment 269765
Rope guide for lighter anchors. . .
View attachment 269768
. . . and the implementation on the model with hooked block with double sheave for the tackle.
View attachment 269769
The guidance of the rope on the windlass.
Following pictures show the production of a double sheave with hooks, as any modeler can easily make them yourself.
View attachment 269760
5 mm double sheave from Dry-Dock Models & Parts and a piece of 0,4 mm blackened brass wire.
View attachment 269761The wire is bent around the double sheave.
View attachment 269762
The wire ends are soft soldered, bent into a hook and then filed into shape with needle files.
View attachment 269763
After chemical blackening it looks like this. Really any modeler with a little patience can recreate this.
Best regards
Thomas
C'est superbe,Bonjour!
Avec du bois supplémentaire et un peu d'expérience, vous obtenez "La belle", "La Belle".
View attachment 150364View attachment 150365View attachment 150366View attachment 150367View attachment 150368View attachment 150369View attachment 150370View attachment 150371
View attachment 150359View attachment 150360View attachment 150361View attachment 150362View attachment 150363.
Je le voulais et je l'ai eu grâce à la CAF !
Avec mes meilleures salutations
Thomas
Oh Ja - when we take a look at the metal works from @archjofo or also Thomas here - very good qualityThere must be some hook making school in Germany. Outstanding work Thomas!

I hope to learn a little bit from them next March in Augsburg, when I meet them
The sktech shown is I think printed in Rödings book - I realized, that we can not find so much information about horizontal windlass in the web, so we have to check here printed publications ..... at it seems that you are right with the revised order of the cable around the drum (in and out above) - many Thanks for showing us this detailNow you produced a new error .. sorry for the hazzle ... cable must come in and go out from above.
Hi HMS Terror, thanks for the hint!
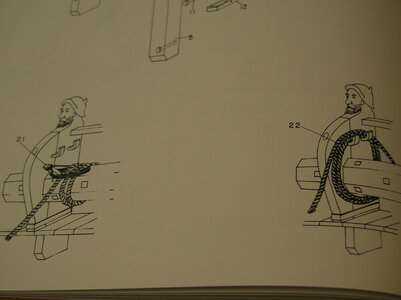
First I can't find any clues, then I do. Source: Anatomy of the ship, Endeavour, Karl Heinz Marquardt, Page 74. Now the anchor cable is mounted correctly.
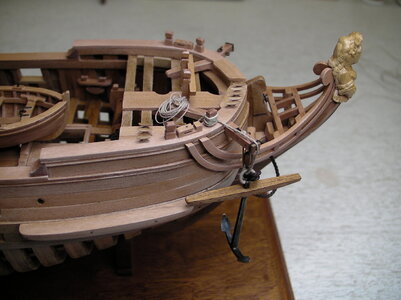
Hopefully no carpenter falls over the cordage.
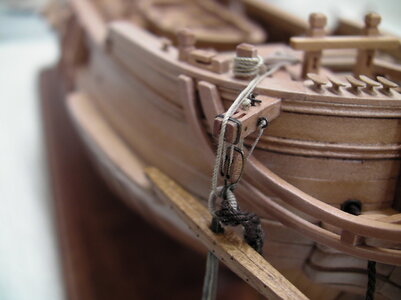
The rest of the rigging of the anchor!
Gennaro, just try it once, it certainly works out with the hook making!
Uwe, I am also looking forward to Augsburg 2022. Finally once the ship models and their builders live to see!
Best regards
Thomas

First I can't find any clues, then I do. Source: Anatomy of the ship, Endeavour, Karl Heinz Marquardt, Page 74. Now the anchor cable is mounted correctly.

Hopefully no carpenter falls over the cordage.

The rest of the rigging of the anchor!
Gennaro, just try it once, it certainly works out with the hook making!
Uwe, I am also looking forward to Augsburg 2022. Finally once the ship models and their builders live to see!
Best regards
Thomas
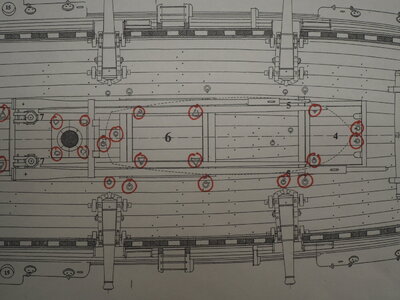
Now all construction drawings are searched for eyebolts, round and triangular rings and missing fasteners are drawn in addition.
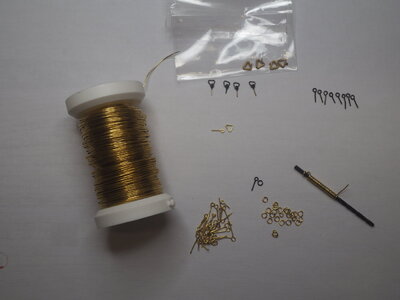 The kit contained four triangular rings (above in plastic bag). But as soon as I start, I make all the rings myself. In the case of round rings, the wire is wound on a corresponding drill and cut open with the side cutter. After completion of the eye screws and rings, the openings are bent shut, soft soldered and the components blackened.
Best regards
Thomas


