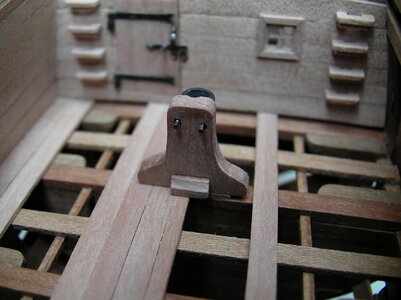
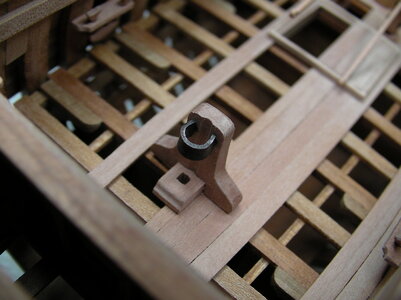
La Belle - Caf Model 1:48 by Thomas Marocke [COMPLETED BUILD]

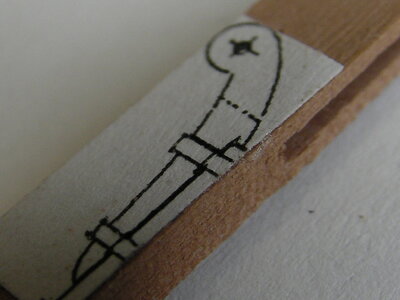
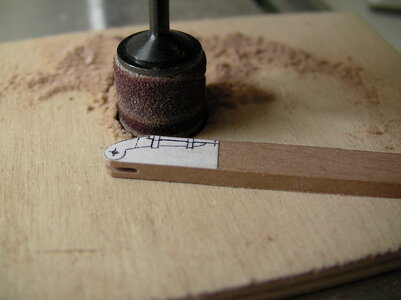
Construction of the staghorns or kevels.
SANY0838.JPG
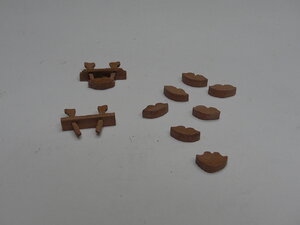
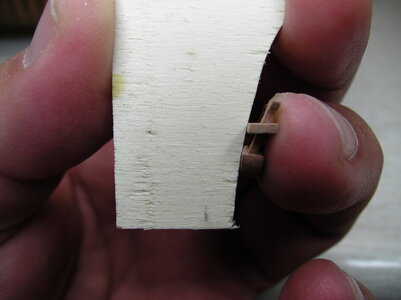
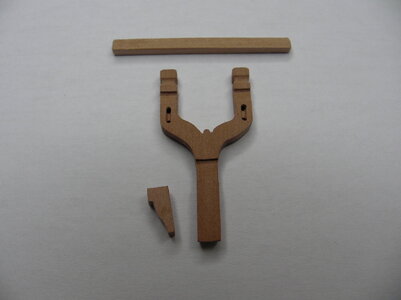
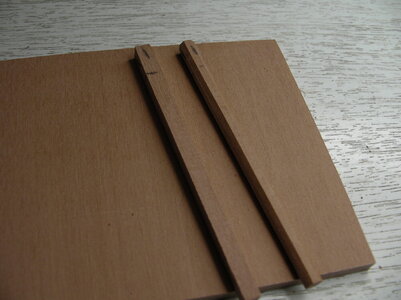
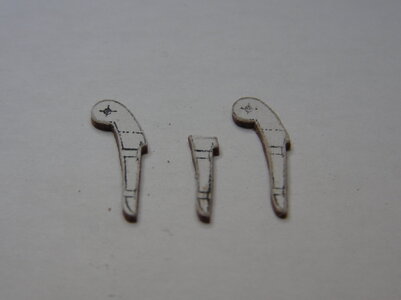
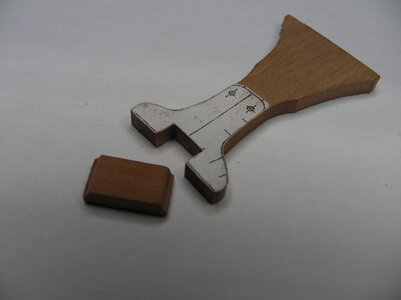
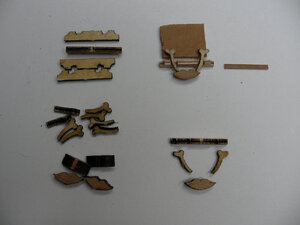
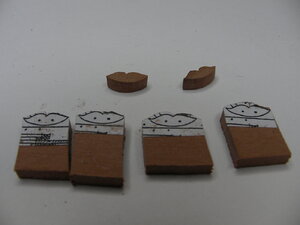
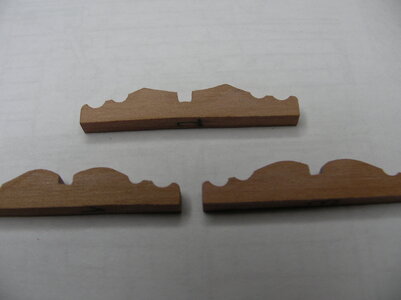
In the kit are the parts from cherry and plywood. On the top right of the picture a cleaned version.
SANY0840.JPG
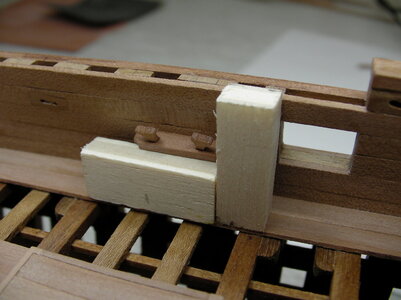
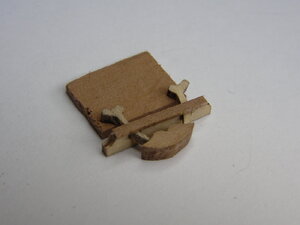
The horizontal plate should still be closed with a bar, like in the picture. The plywood can also be stained in cherry. Modelers without any experience will gratefull accept these parts.
SANY0843.JPG
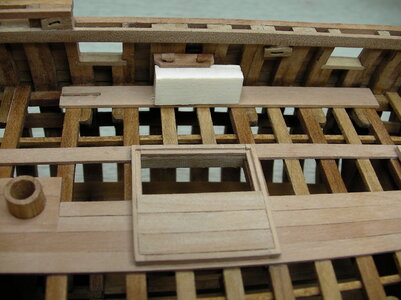
My extensions are in pear. Therefore I have to build the staghorns myself.
SANY0857.JPG
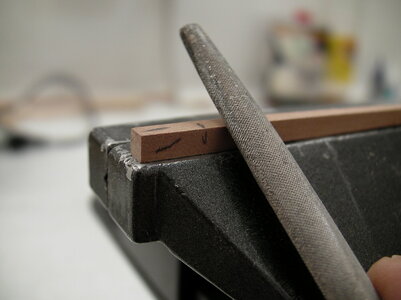
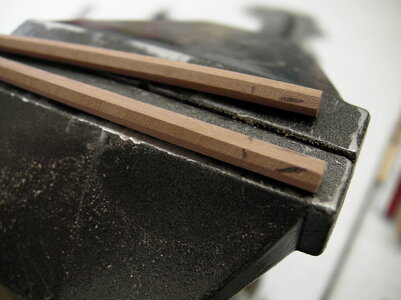
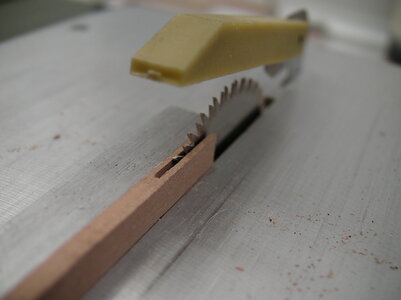
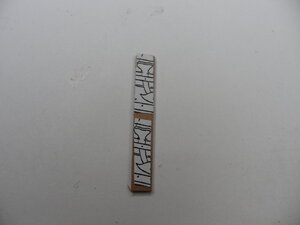
Saw out and file.

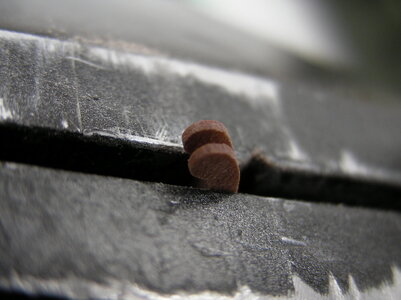
SANY0847.JPGTop left first try with heart glued on. On the bottom right side thicker heart like on the Hermione.
P7050058.JPG
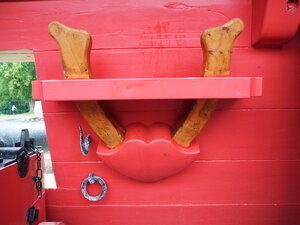
The boudriot hearts were drawn somewhat flat. On the Hermione I had seen beautiful round hearts, which are also easier to drill without drilling through them.
SANY0844.JPG
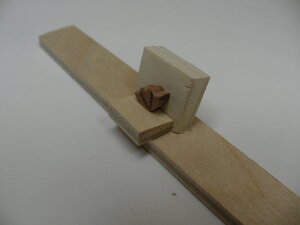
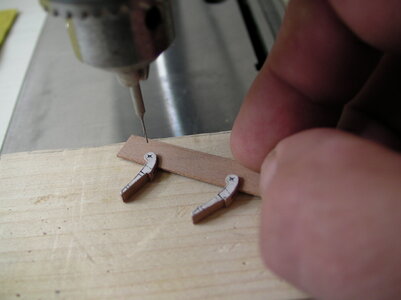
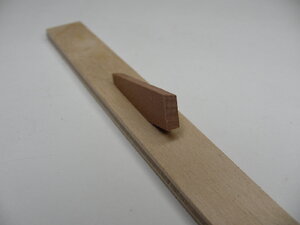
Drilling device for horizontal wood with ground angles.
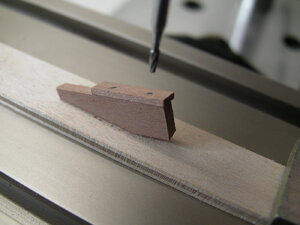
SANY0851.JPG
After the first drilling, the underside of the board to be drilled is turned upwards and again by 180 degrees. In this way both drillings are done with one template.
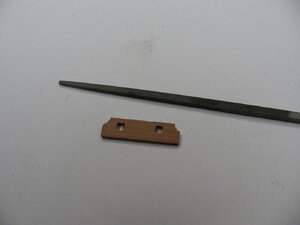
SANY0858.JPG
Now file the drill holes squarly.

SANY0849.JPG
The heart with drilling template with angles.
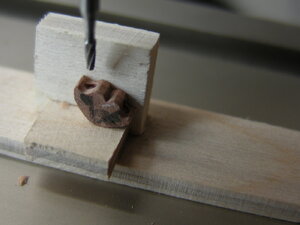
SANY0850.JPG
If drills are not clamped briefly, they bend and drill incorrectly. Therefore I drilled with a milling cutter.
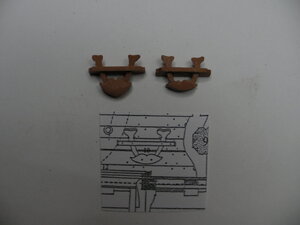
SANY0852.JPG
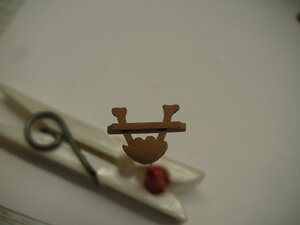
Left staghorn after Hermione, right after drawing from the Boudriotplan.
SANY0856.JPG


SANY0855.JPG

SANY0859.JPG
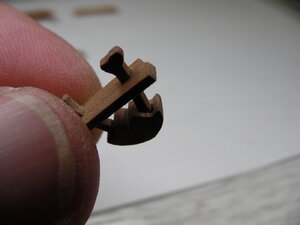
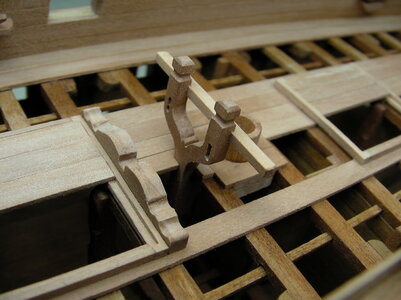
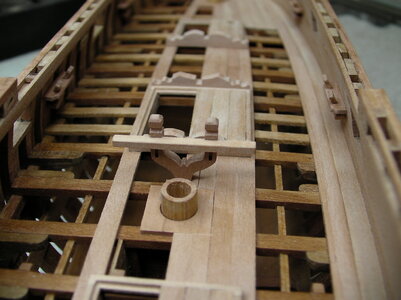
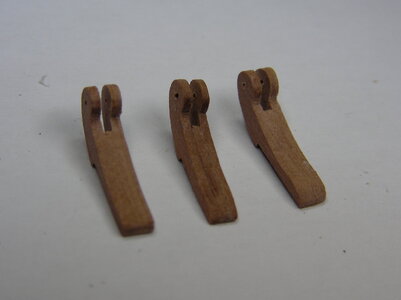
The staghorn is not yet glued and already holds and fits like one piece without gaps.

The next days I have to make five more pieces.

With best regards
Thomas
 
Construction of the staghorns or kevels.

View attachment 180956
In the kit are the parts from cherry and plywood. On the top right of the picture a cleaned version.

View attachment 180957
The horizontal plate should still be closed with a bar, like in the picture. The plywood can also be stained in cherry. Modelers without any experience will gratefull accept these parts.

View attachment 180976
My extensions are in pear. Therefore I have to build the staghorns myself.

View attachment 180977
Saw out and file.

View attachment 180959Top left first try with heart glued on. On the bottom right side thicker heart like on the Hermione.

View attachment 180971
The boudriot hearts were drawn somewhat flat. On the Hermione I had seen beautiful round hearts, which are also easier to drill without drilling through them.

View attachment 180981
Drilling device for horizontal wood with ground angles.

View attachment 180979
After the first drilling, the underside of the board to be drilled is turned upwards and again by 180 degrees. In this way both drillings are done with one template.

View attachment 180982
Now file the drill holes squarly.

View attachment 180984
The heart with drilling template with angles.

View attachment 180983
If drills are not clamped briefly, they bend and drill incorrectly. Therefore I drilled with a milling cutter.

View attachment 180985
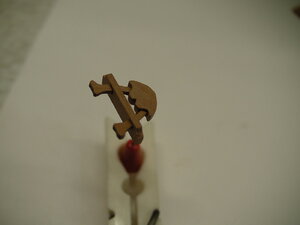
Left staghorn after Hermione, right after drawing from the Boudriotplan.
View attachment 180988


View attachment 180989

View attachment 180990
The staghorn is not yet glued and already holds and fits like one piece without gaps.

The next days I have to make five more pieces.

With best regards
Thomas
Really well done. The finished staghorn is quite nice. The color and grain makes me guess walnut? If so, great job on your final sanding, no "fuzzy grain hairs"!
 
Assembly of the staghorns from pear wood.

SANY0860.JPG
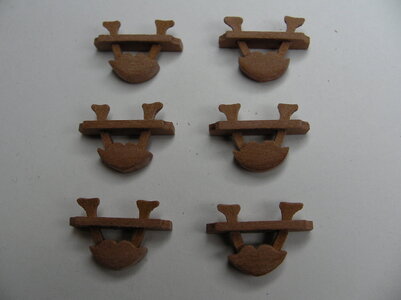
The six staghorns ready for assembly.

SANY0866.JPG
Angularity control on a testboard.

SANY0861.JPG
Starboard.

SANY0865.JPG
Port side.

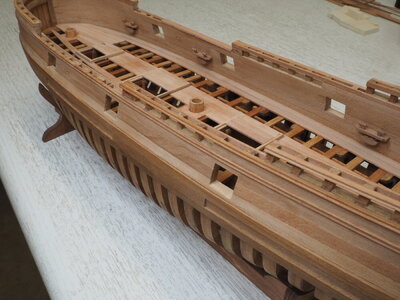
You may have noticed that I always use spacers. They are almost as helpful as a good construction plan.

PA030315.JPG

PA030316.JPG
Port side ready.

PA020313.JPG

PA020314.JPG
And the finished starboard side - the chocolate side.

SANY0863.JPG

I thank you for your kind comments and wish you a happy modelling.

With best regards
Thomas
 
Hallo Thomas,
once more, and sorry that I repeat myself also once more...... It is looking very good
Such spacers are helping that you get everywhere the same and correct height.
In our models sometimes 1mm difference can be easily seen -> Thumbsup
 
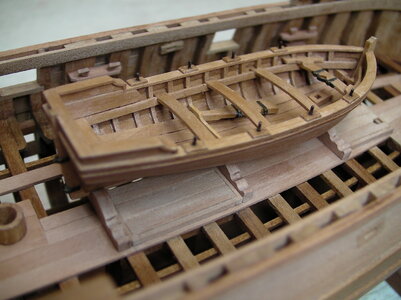
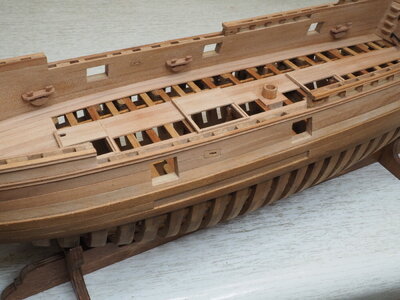
In many model kits the boats are missing and have to bought separately. I waited for a long time, but there was no suitable boat for the La Belle. So you have to build the boat and the stand yourself.

SANY0867.JPG
Upper boat-chock in the middle, lower boat-chocks towards bow and stern.

SANY0868.JPG
In the boat-chokes are the hollows for the reserve yards and topmasts.

SANY0869.JPG
Now the boat finally has a secure footing.

With best regards
Thomas
 
Last edited:
Many thanks for the birthday wishes!!!

After two weeks of back pain I could finally build again.

SANY0877.JPG
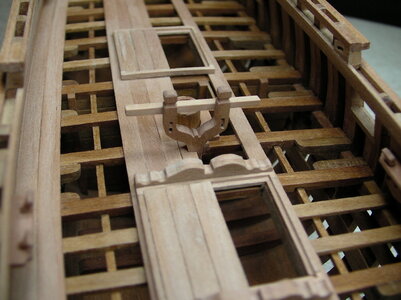
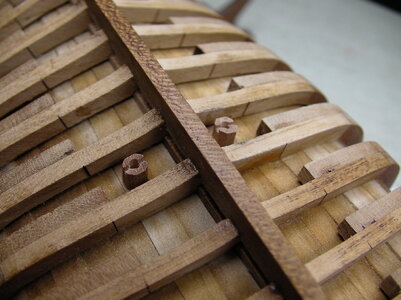
Main topsail sheet-bitts with holder under the deck beam. The roles are only imitated and were probably also on the original made of wood. They are so small that it was not worth turning them on the lathe.

SANY0878.JPG

SANY0879.JPG

SANY0880.JPG

With best regards
Thomas
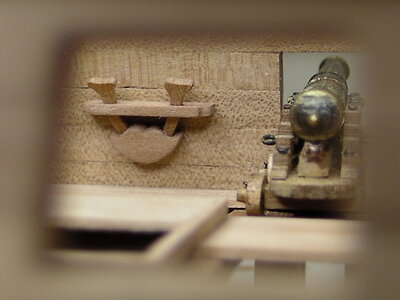
 
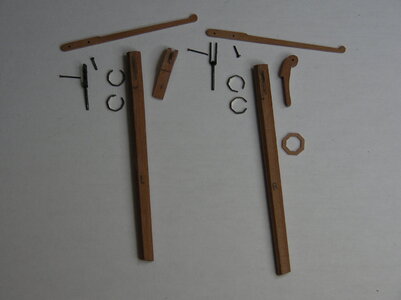
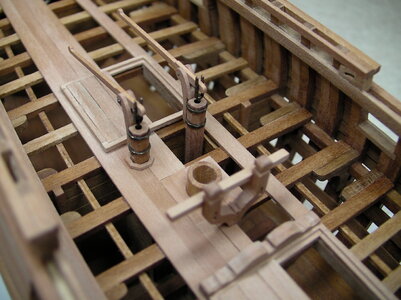
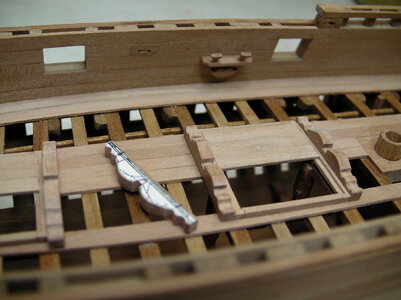
The construction of the pumps.

SANY0882.JPG
Sawing the conical pump tubes.

SANY0883.JPG

SANY0885.JPG
Filing the square to 45 degrees.

SANY0901.JPG

SANY0902.JPG
First try attempt to build the lever holder from three parts. Disadvantage: each holder must be made three times.

SANY0894.JPG

SANY0896.JPG


SANY0897.JPG

SANY0903.JPG
Second attempt to build the holders from one piece.

SANY0904.JPG
The middle holder is the sandwich holder.

SANY0906.JPG
All parts of the pumps.

SANY0907.JPG

SANY0908.JPG
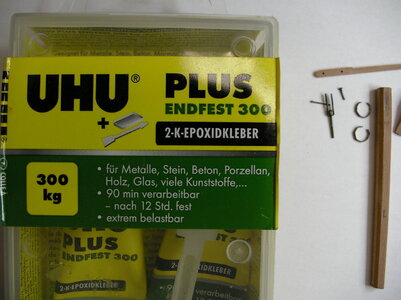
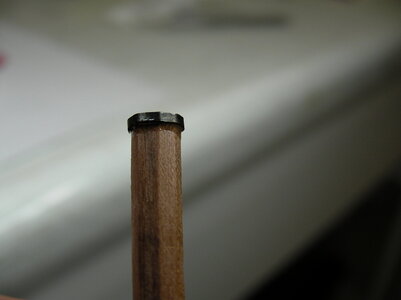
Put some glue under the tire and then push the tire onto the glue.

SANY0910.JPG

SANY0911.JPG
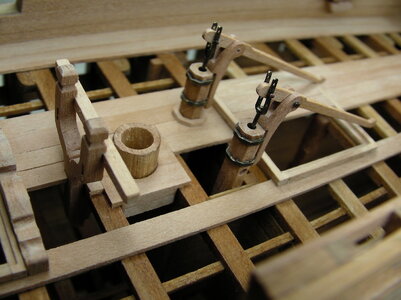
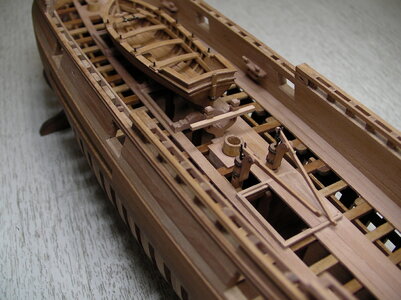
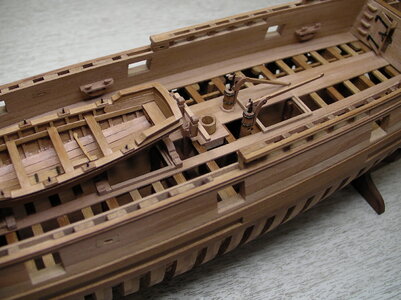
The mounted pumps.

SANY0909.JPG
View under the ship.

SANY0912.JPG

SANY0913.JPG
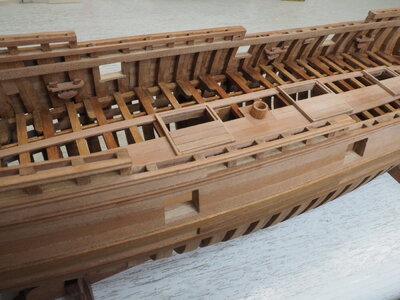
Slowly the deck is filling.

With best regards
Thomas
 
Last edited:
It was time to be a blacksmith again next to the carpenter. The foot for the mizzenmast was built.

SANY0921.JPG
Wooden parts.

SANY0930.JPG

SANY0931.JPG
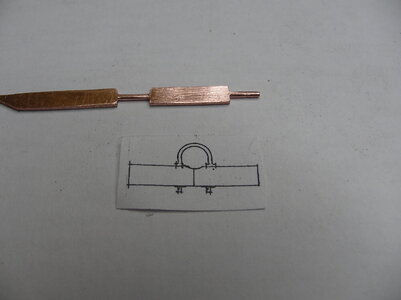
For the tire of the mast copper was used.

SANY0932.JPG
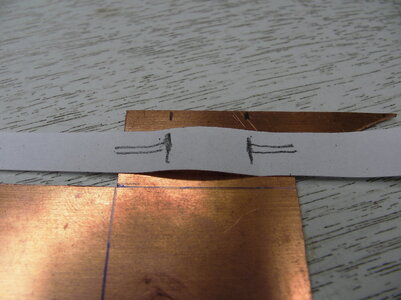
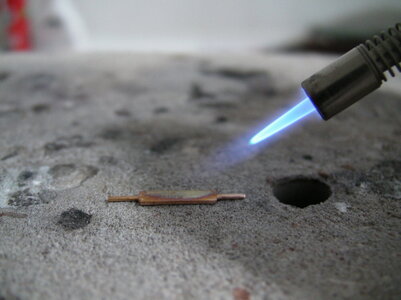
By a short annealing the copper becomes soft and can be bent well. After bending it is again as tough as before. After heating, put it in vinegar for 20 minutes, then clean it with water, blacken it and wash it again with water. Wipe again briefly with a cloth to remove any black dust that might contaminate the wood. Cold formed brass can crack later, therefore copper.

SANY0935.JPG

SANY0936.JPG

With best regards
Thomas
 
Back
Top