- Joined
- Dec 9, 2019
- Messages
- 964
- Points
- 403

DziękiDobra robota, Mirek!! Podoba mi się twoja broń!
 |
As a way to introduce our brass coins to the community, we will raffle off a free coin during the month of August. Follow link ABOVE for instructions for entering. |
 |
 |
The beloved Ships in Scale Magazine is back and charting a new course for 2026! Discover new skills, new techniques, and new inspirations in every issue. NOTE THAT OUR FIRST ISSUE WILL BE JAN/FEB 2026 |
 |

DziękiDobra robota, Mirek!! Podoba mi się twoja broń!

Dzięki lawety są malowane mieszanką dwóch szelaków rubin i miodowy . Pozdrawiam MirekWspaniała robota Mirek, bardzo ładny kolor drewna

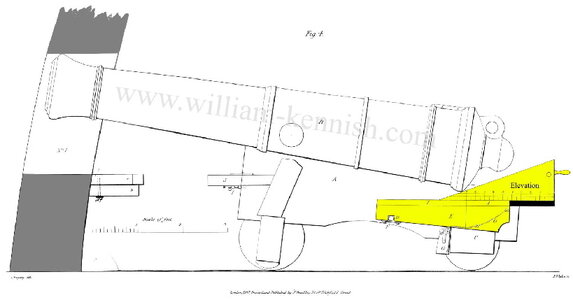
Witaj. Piękne zdjęcie kliny są bardzo dobrze widoczne . Jeśli miałbyś jakie zdjęcia la belle to prześlij Pozdrawiam MirekOto obraz, który przedstawia moje pytanie. To jedyne źródło, jakie znalazłem dla tego typu klina
View attachment 332072

Witaj. Dziękuje za zwrócenie uwagi przegapiłem te ośki teraz będzie wyglądać tak Pozdrawiam MirekBardzo dobrze wyglądająca praca na działach i powozach
Proponowałbym tylko trochę skrócić osie - wydają się być za długie po bolcu
View attachment 332018 View attachment 332019
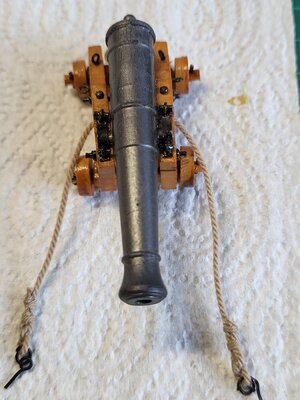
Now I understoodHere is the image that depicts my question. This is the only source I found for this type of wedge
View attachment 332072
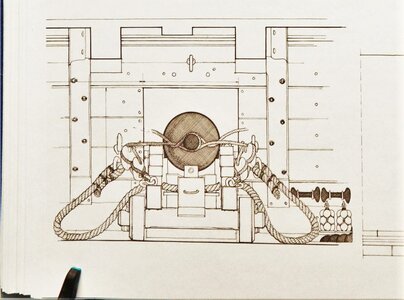
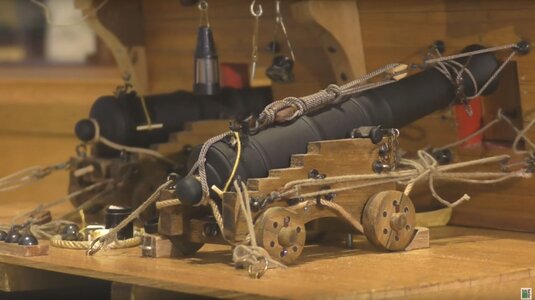
It is the La Belle Poule and not the La BelleWitaj. Piękne zdjęcie kliny są bardzo dobrze widoczne . Jeśli miałbyś jakie zdjęcia la belle to prześlij Pozdrawiam Mirek
Hello. The beautiful photo of the wedges is very clearly visible. If you have any pictures of la belle, please send it. Regards Mirek

Witaj nic mi nie przeszkadza wręcz przeciwnie wiedzy nigdy za dużo. Teraz zastanawiam się nad liną do kotwicy jaka powinna być prawidłowa grubość bo nie znalazłem nic w monografii chyba że przeoczyłem . Też liny na wanty która jest na str. 101 pierwsze mają 125 fi czyli w skali 1:48 2,6 mm drugie 135 czyli w skali 2,8 wydaje mi się trochę za gruba chyba że źle obliczam skale. Mam tyle wątpliwości i proszę o pomoc , Pozdrawiam MirekZnalazłem ten szkic przedstawiający również narożnik na górze łóżka - oba w kolorze żółtym (przepraszam Mirek: mam nadzieję, że te informacje są dla ciebie w porządku w dzienniku budowy?)
View attachment 332112
To La Belle Poule, a nie La Belle
Greetings, mon ami. On the sketch, you found, showing Brit (Engish) carriage. Construction are different in principal for English and continental carriadges. In English design, the quoins goes on top of stool bed, while French has wadge and quoins, perhaps this might be reffreing to that same name.I found this sketch also showing the quoin on top of the bed - both in yellow (sorry Mirek: I hope these info are ok for you inside your building log?)
View attachment 332112
It is the La Belle Poule and not the La Belle

Nie potrzebnie przeliczasz 125mm to już rozmiar w 1/48. Na końcu jest tabelka przedstawiająca rzeczywiste rozmiary w calach i mm a na następnej stronie masz kolejną tabelkę która przelicza oryginalne wymiary na mm w 1/48Też liny na wanty która jest na str. 101 pierwsze mają 125 fi czyli w skali 1:48 2,6 mm drugie 135 czyli w skali 2,8 wydaje mi się trochę za gruba chyba że źle obliczam skale. Mam tyle wątpliwości i proszę o pomoc , Pozdrawiam Mirek
![DSC_0461[1].JPG DSC_0461[1].JPG](https://shipsofscale.com/sosforums/data/attachments/316/316303-8832d099b90ce81f06e07c523ebbfb6e.jpg?hash=iDLQmbkM6B)
![DSC_0001_BURST20221004174633710[1].JPG DSC_0001_BURST20221004174633710[1].JPG](https://shipsofscale.com/sosforums/data/attachments/316/316302-7ba7bdd94c4a427c63a78c2f6216d79c.jpg?hash=e6e92UxKQn)

Witaj . Bardzo ci dziękuje Wojtas teraz wszystko rozumiem .Pozdrawiam MirekNie potrzebnie przeliczasz 125mm do już rozmiaru w 1/48. Na końcu jest która tabela8 ma rzeczywiste rozmiary w mm a na stronie internetowej oryginalnej ma miejsce tabelakę
Nie musisz przeliczać 125mm, to już rozmiar w 1/48. Na końcu znajduje się tabela pokazująca rzeczywiste rozmiary w calach i mm, a na następnej stronie masz kolejną tabelę, która konwertuje oryginalne wymiary na mm w 1/48
Stół w wymiarach 1/1
View attachment 332174
Tabela z przeliczonymi wymiarami
View attachment 332173
Nie znam wagi twojego statku. Tutaj masz bardzo fajny kalkulator skali lub kogoś połączonego wcześniej na SOS
Scale Conversion Calculator-Scale Converter tool
Easily calculate scale factor size or real scale. You can also calculate map scale, distance on map and distance in real life .scalecalculator.com

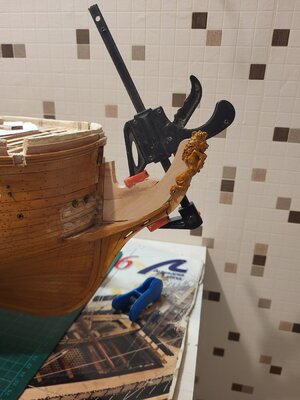 pracę na
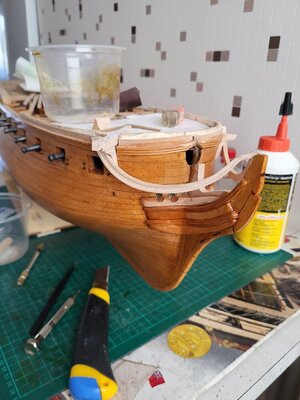 prace przy koszu
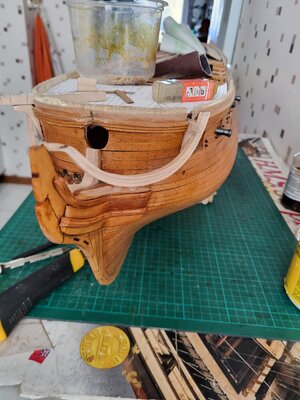
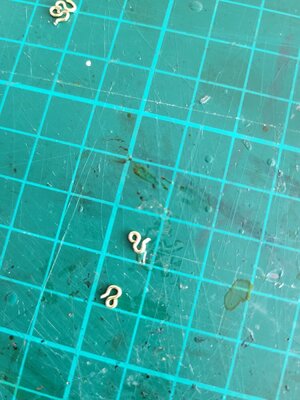 robiłem haczyki do wiązania armat
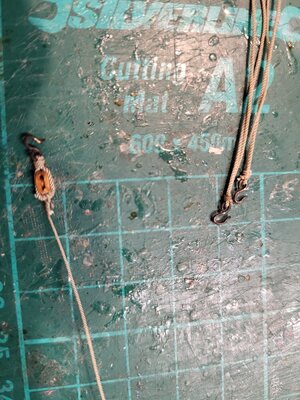
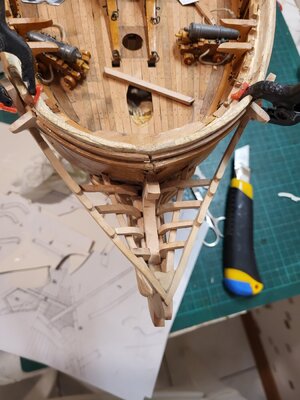 dalsze prace przy koszu
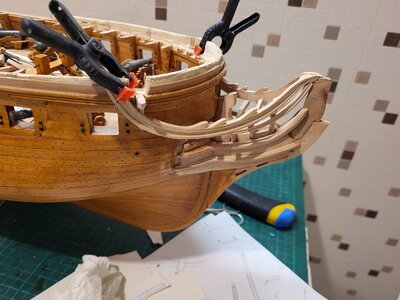
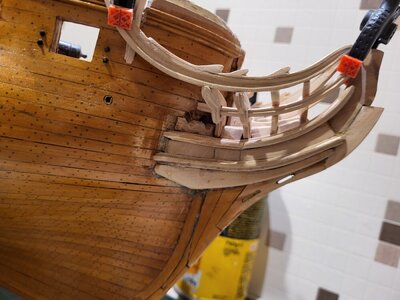
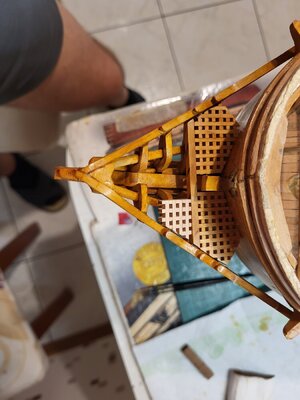 przymiarka gretingów
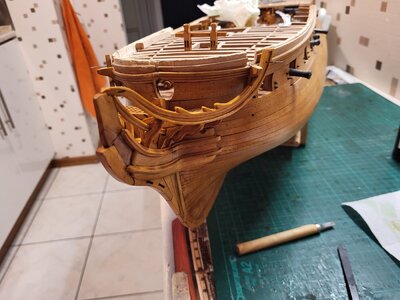
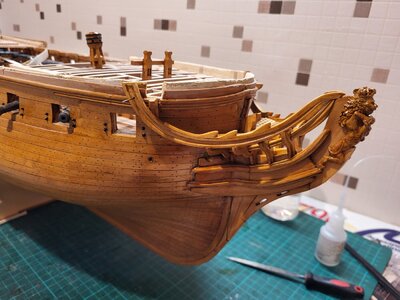
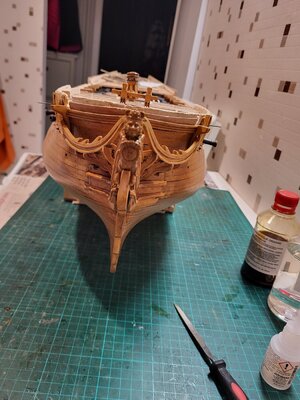 figurka lwa nie jest przyklejona będzie sciągana pry pracach na rufie łączenie miejsc będzie zrównane papierem ściernym iszelakiem
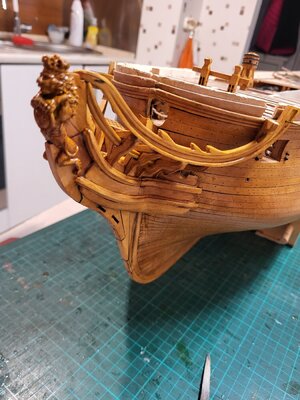
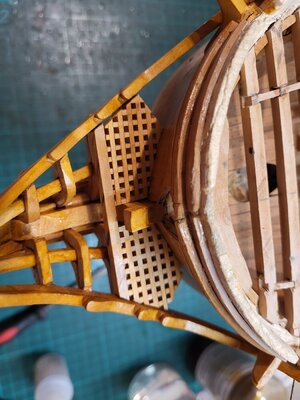 montowanie gretingów na gotowo
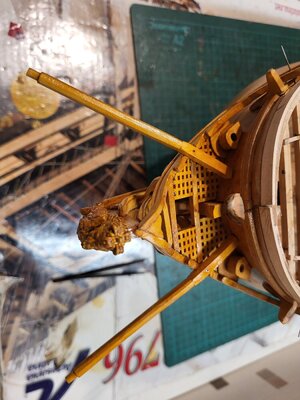 dorobiłem wąsy i kibelki dla marynarzy no i prawie gotowe
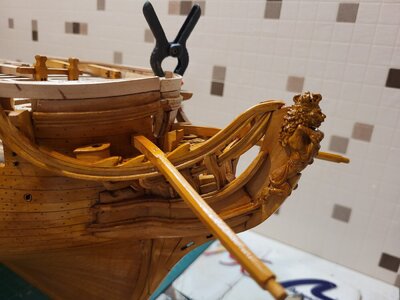
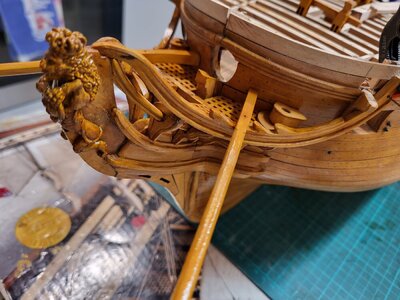 wąsy są nałożone tylko do zdjęć
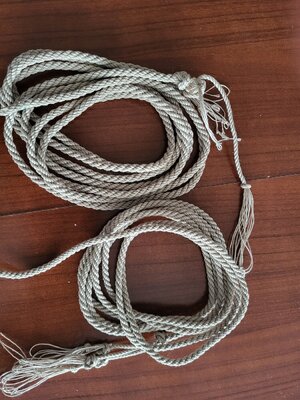 dzięki dobrym radom Mateusza naszego kolegi z forum udało mi się zrobić line do kotwic kabel .Mati zaproszenie aktualne, Pozdrawiam Mirek
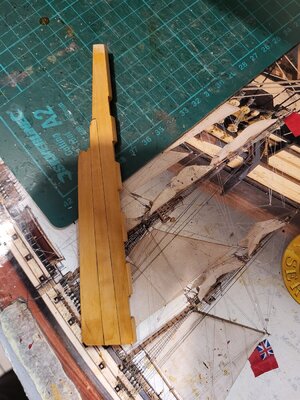
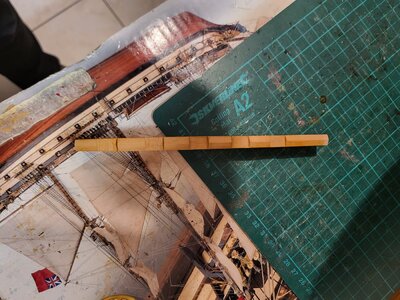
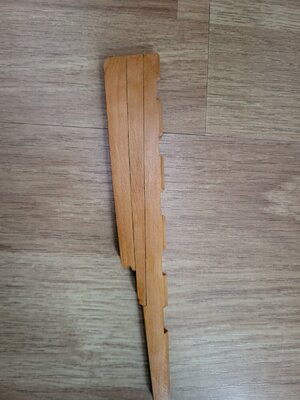
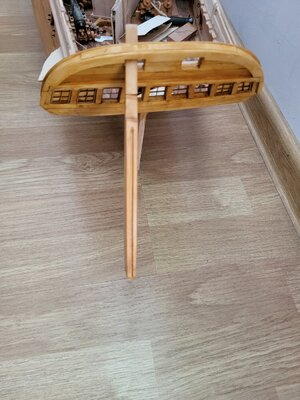
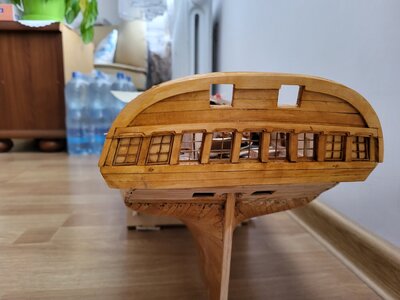
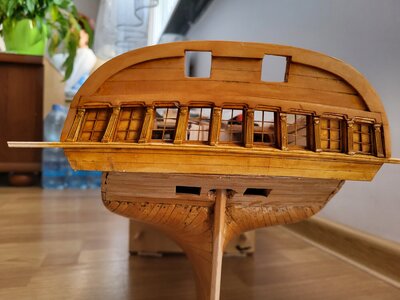
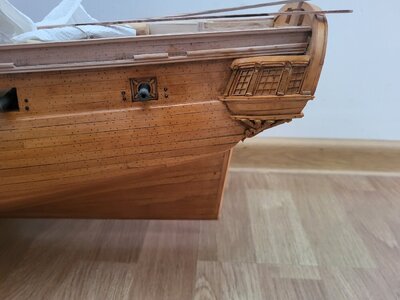
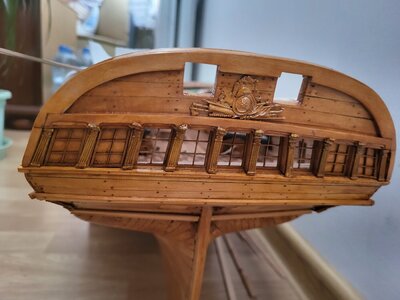
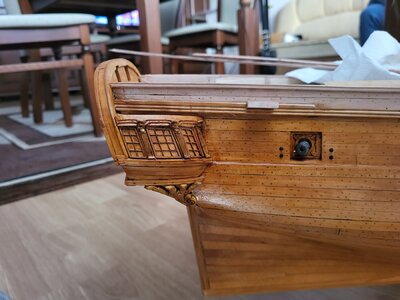
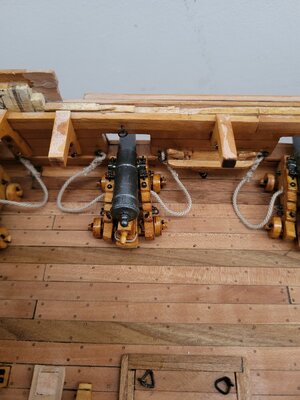
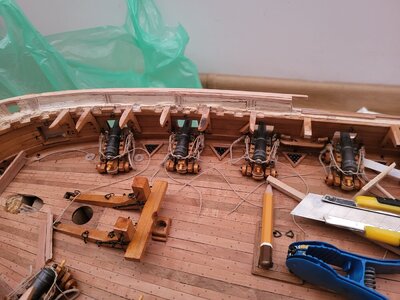 wiązanie dział i dodawanie osprzętu na pokład

wonderful workWitam aktualizacja moich prac
Hello, update of my works
View attachment 346736
ster zrobiony zamówiłem materiał na okucia i czekam
the rudder is done, I ordered the material for the fittings and I'm waiting
View attachment 346737View attachment 346738View attachment 346739
prace na rufie plus ster
work on the stern plus rudder
View attachment 346740View attachment 346741View attachment 346742View attachment 346743
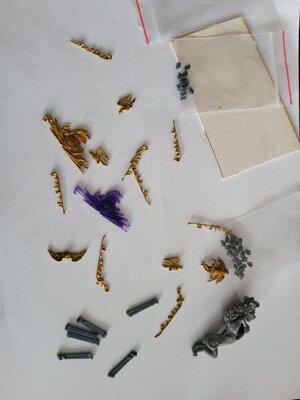
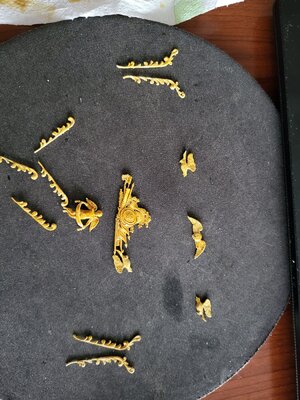
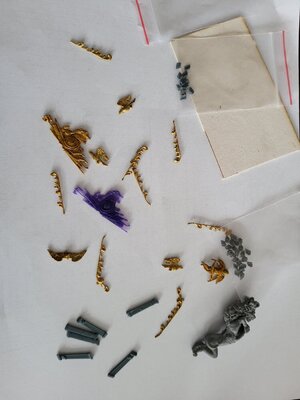
resztę ornamentów będę dodawał później żeby nie zniszczyć
tying up guns and adding equipment to the deck
View attachment 346744View attachment 346745wiązanie dział i dodawanie osprzętu na pokładView attachment 346746
malowanie ornamentów
painting ornaments
View attachment 346747View attachment 346748
na dzisiaj tyle .Bardzo dziękuje za zainteresowanie moją pracą i polubienia WESOŁYCH ŚWIĄT. Pozdrawiam Mirek
that's all for today. Thank you very much for your interest in my work and for liking me. MERRY CHRISTMAS. Regards, Mirek


Witaj UwekWOW - bardzo dobra robota
Ozdoby prezentują się imponująco. Czy wszystkie są wykonane z żywicy i pomalowane?
Może możesz nam pokazać, jak to robisz, aby uzyskać ten wygląd „bukszpanu”….
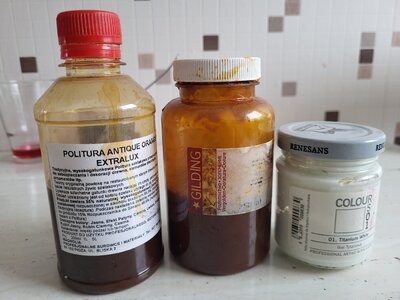
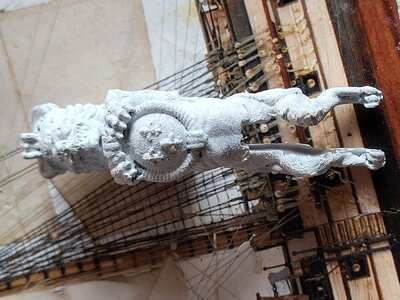 to jest pomalowane akrylem jako podkład jak najcieniej żeby były widoczne wszystkie detale
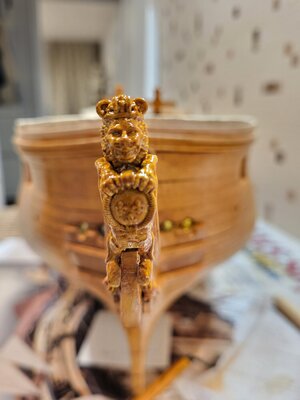

Bardzo dziękujewspaniała pracaDobra

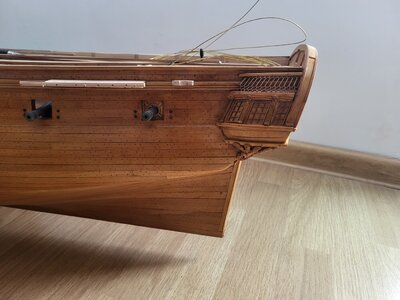
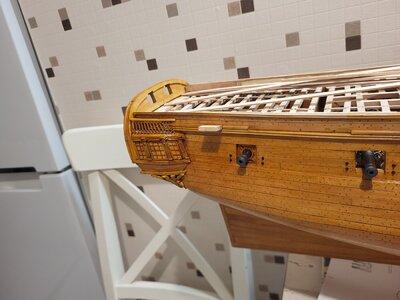 balustrady nad boczną galerią wklejone
 ławy tlaprerów wklejone
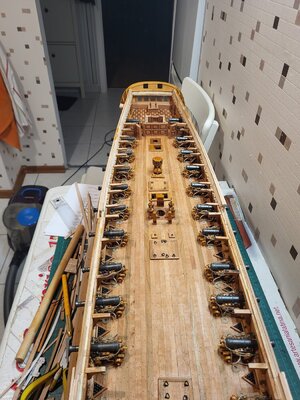 ścianka wykończenie pod oknami gotowe armaty powiązane
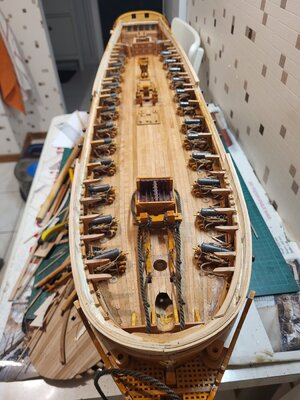
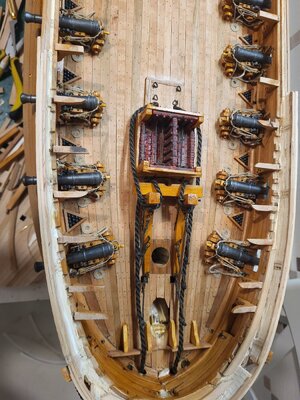
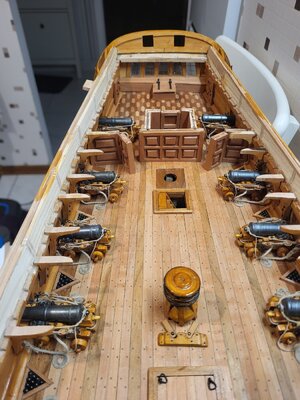
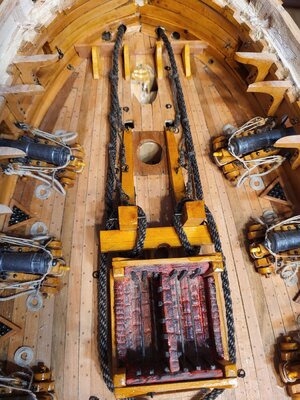
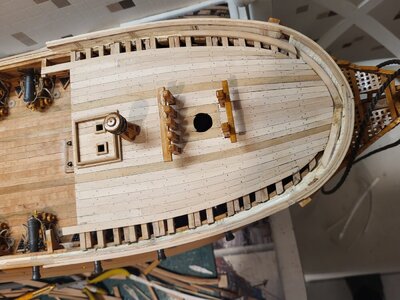 zaczynam powoli robić górny pokład
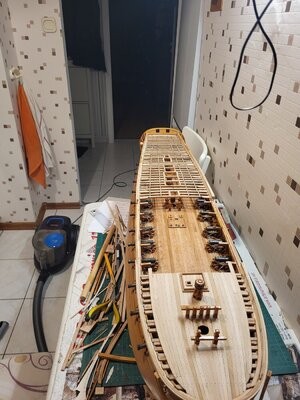 dziękuje i pozdrawiam Mirek