@Holger.Schwarz
@GrantTyler
Many thanks to both of you for your interest and kind comments.
And many thanks to the others for the likes, too.
Iron Davits with Boat Hoisting Gear
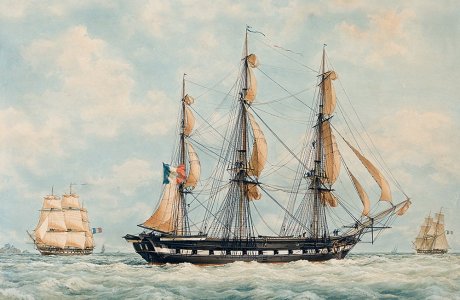
Since I needed another "timeout" from rigging my French corvette, La Créole - as it can be quite tedious at times - I tried to clear up a question that was still wide open.
The rigging of the iron davits on La Créole:
A solved mystery between technological upheaval and historical reality.
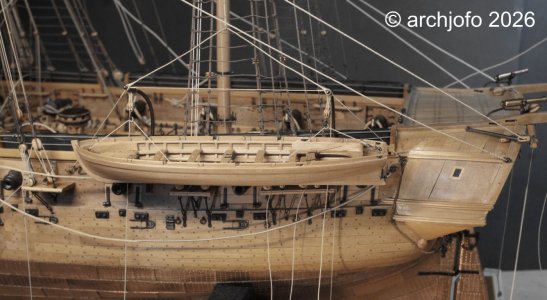
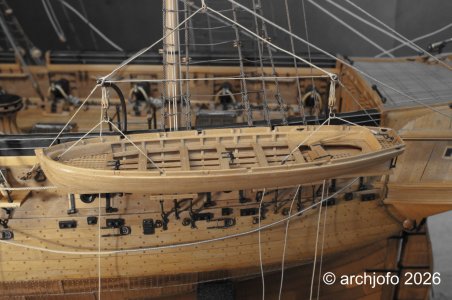
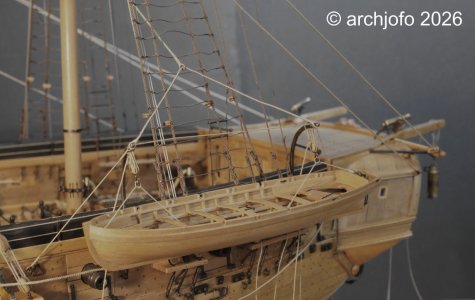
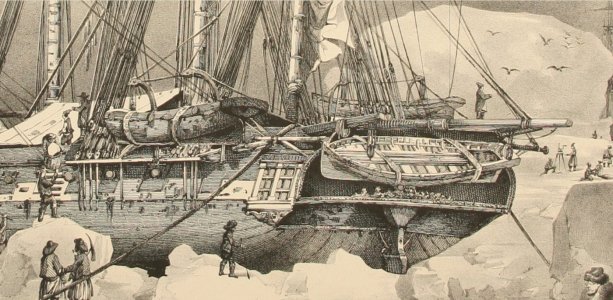
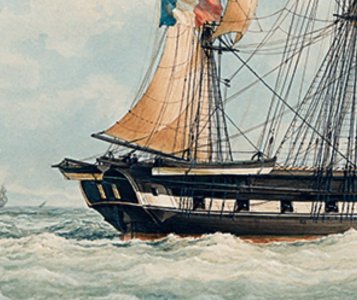
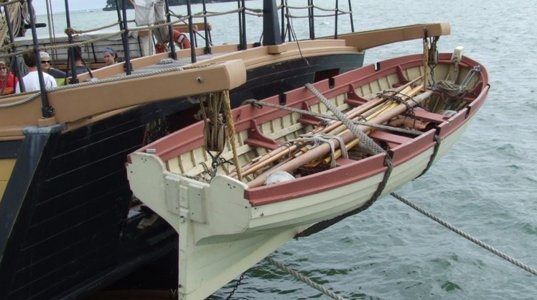
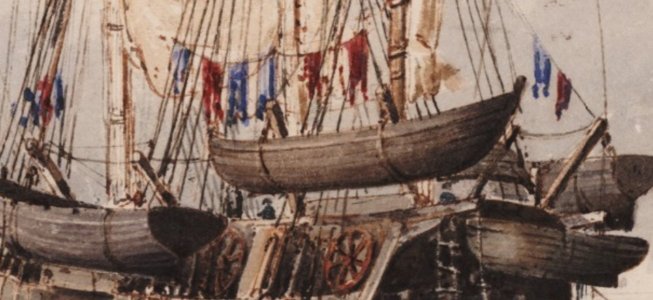
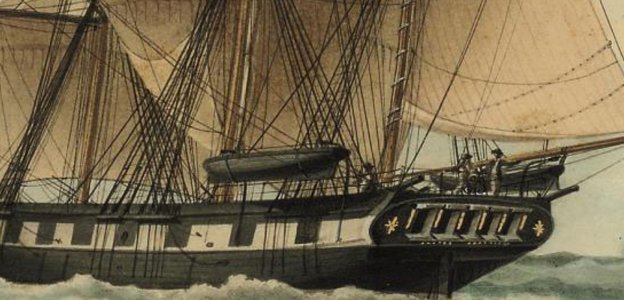
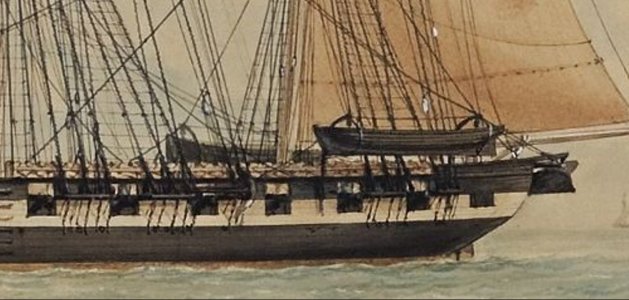
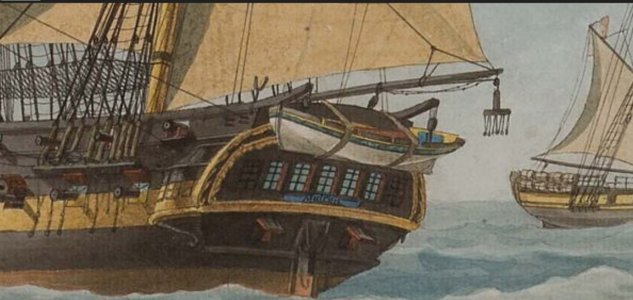
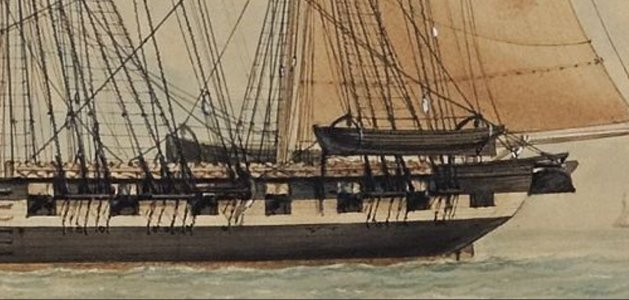
In the quarterdeck area, one encounters a small but fascinating detail: iron davits for the two smaller ship's boats (petits canots).
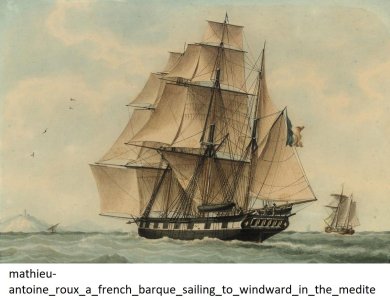
La Créole perfectly represents the era of early industrialization in France. While just shortly before, clumsy wooden derrick booms served as boat davits and dominated the view around the quarterdeck, technological progress now paved the way for highly modern designs. Thanks to the puddling process, which was developed in the late 18th century and by then well-established in France, a completely new material became available to the navy: wrought iron (puddled steel).
In contrast to brittle cast iron, this material was tougher, more flexible, and more resilient—the perfect prerequisite for manufacturing the elegantly curved, delicate iron davits, which I crafted from brass for my model and described a long time ago.
Jean Boudriot’s monograph leaves the practical ship modeler with a certain degree of ambiguity regarding the execution, particularly concerning the rigging of the boat davits. His interpretation of the rope lead raises questions that cannot be resolved beyond doubt based solely on his work.Only a targeted research in contemporary sources yielded the decisive results:
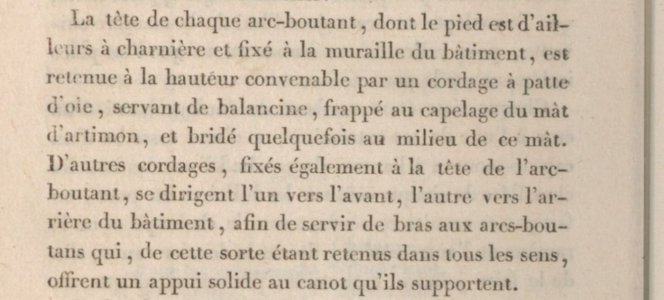
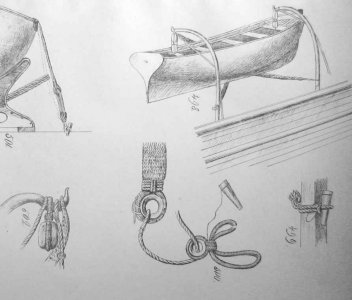
The system recorded in Frédéric-Albert Coste’s "Manuel de gréement" (1829) in the chapter "Installation et gréement des embarcations" starting on page 250 deviates from Boudriot’s description.
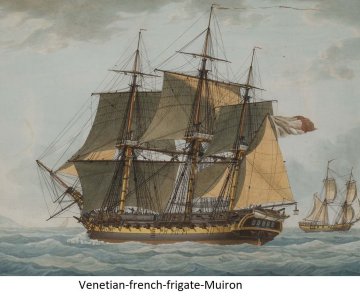
View attachment 624741
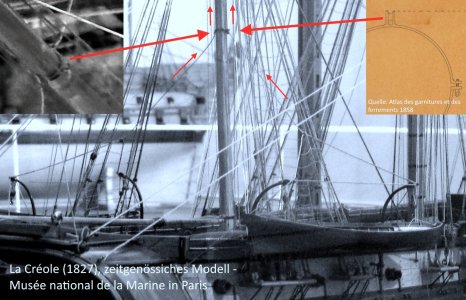
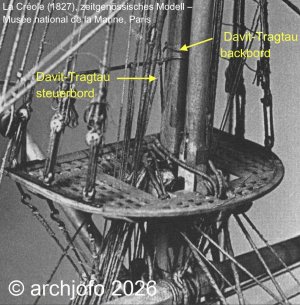
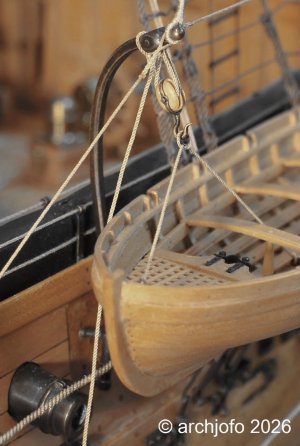
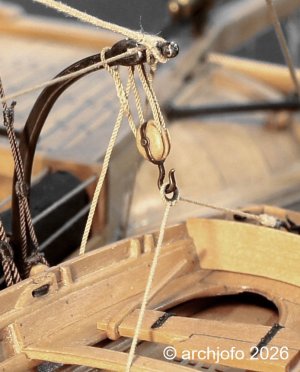
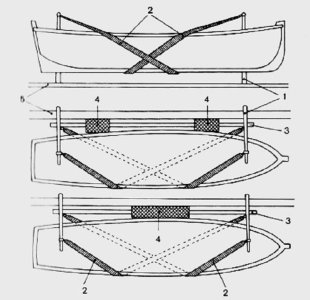
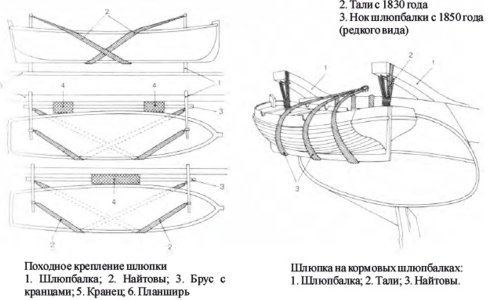
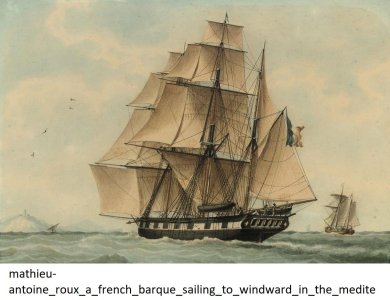
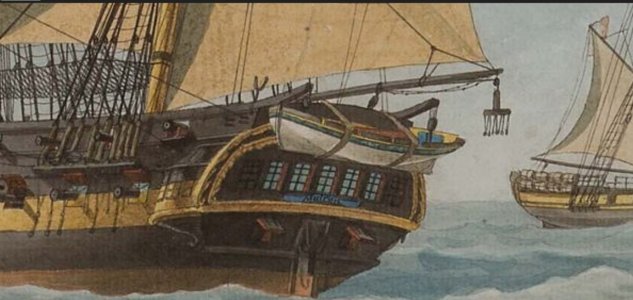
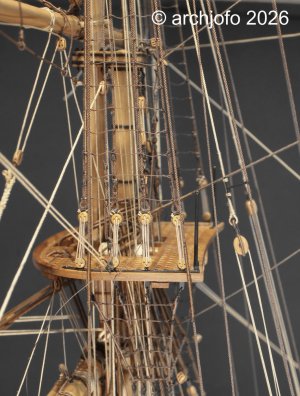
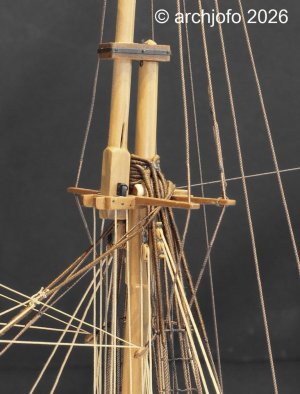
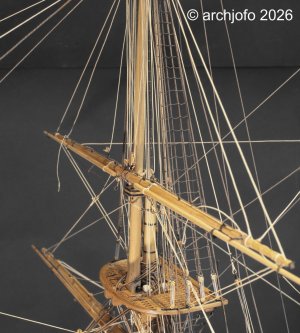
It states that the head of each davit (la tête de chaque arc-boutant), the foot of which is hinged to the ship's side, is held by a span rope. This rope functions as a topping lift, is bent on above the plaiting ( hounds) on the mizzen masttop, and is sometimes lashed down halfway up this mast.The most unbribable witness of this era ultimately proves that this description was by no means just gray theory: The original, contemporary shipyard model of La Créole in the Musée national de la Marine shows exactly this rigging arrangement, featuring a guy/hanging rope leading down from the masthead with a stropped thimble.
View attachment 624739
View attachment 624740
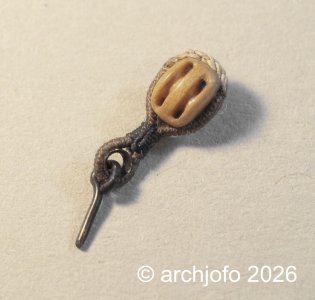
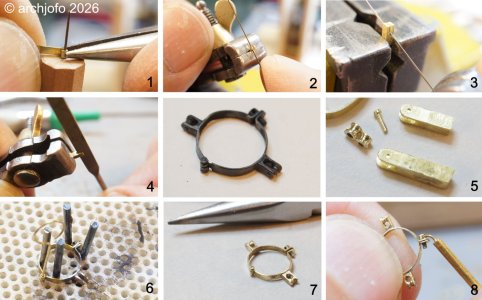
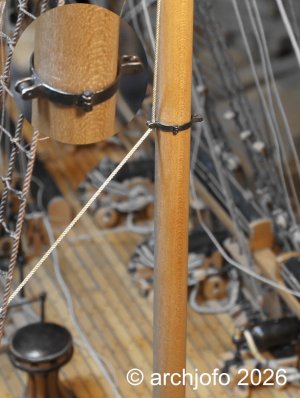
The entire immense tensile load of the boat davits along with the boats (totaling up to 1 ton in weight) is thus transferred via a rigidly fixed triangular geometry directly above the mizzen top platform into the massive lower mast. Technically, the ropes acted as permanently fixed davit pendants. A mast hoop with integrated rollers forces these ropes close to the mast shaft at about half the height of the lower mast. A detailed drawing in the Atlas des garnitures et des ferrements (1858) shows a comparable fitting - mechanically obvious, since the full weight of the boats must be redirected through these guy ropes with minimal friction.
This perfect match between the historical textbook and the original model not only resolves the contradiction found in the modern monograph.
In contrast, according to Boudriot's description, these guy ropes would be treated as running rigging, meant to be belayed on deck.For the final securing of the guy ropes to the mast, both the contemporary original model in the Musée national de la Marine and Coste’s description consistently show a wrapping around the mizzen masthead.
An explicitly labeled Atlas plate ("Agrès des Arcs-boutants d'embarcations", c. 1850) confirms the fundamental principle of French practice during this period; i.e., the davits were adjusted to the appropriate height once and permanently secured to the mast, presumably depending on the width of the boat.
Why the French forced the davit guy ropes close to the mast shaft by means of an iron ring with rollers is something I can only surmise as follows:
The boat weight represents a constant load that remains present during wind pressure on the sails or heeling, while at the same time one side of the shrouds slackens - a direct, robust binding into the mast shaft itself ensures that this load is more reliably absorbed further down the mast shaft, independent of the changing tension states of the shrouds.
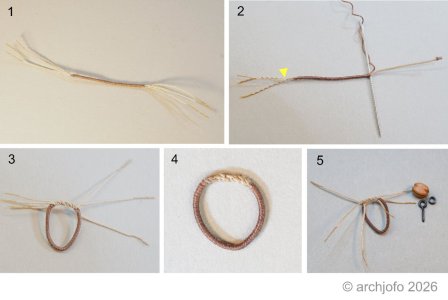
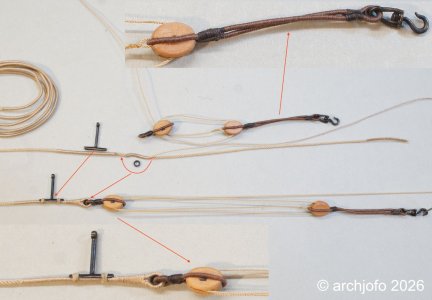
The following photo collage shows the individual steps of manufacturing the mast hoop.
View attachment 624738
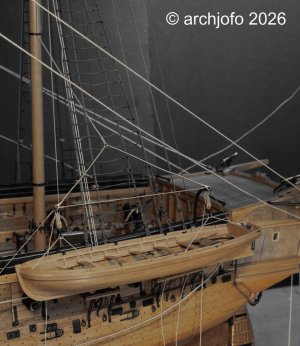
The actual lowering or hoisting of the boats was carried out exclusively via the separate boat tackles attached to the ends of the davit heads.For the model, I have fitted the entire arrangement on one side of the ship to see how it works. The final installation of the davits with the boats will not take place until the rigging of the mizzen mast is fully completed.
View attachment 624731
View attachment 624732
View attachment 624733
View attachment 624734
View attachment 624735
View attachment 624736
View attachment 624737
To be continued ...