Brad, I am using Rustins Danish oil, although Watco is also available in Australia. It’s the natural one with no stain, but it definitely brings out the colour of the wood. Thanks for the tip about gluing. The finish is a little tacky initially, but hardens nicely after a while.
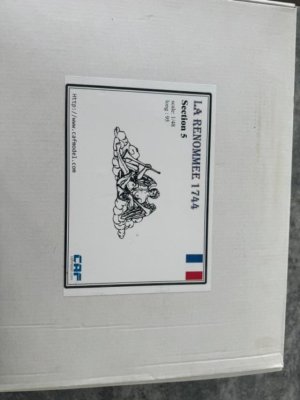
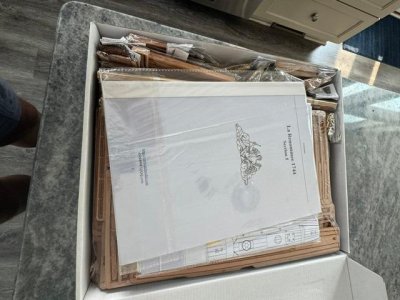
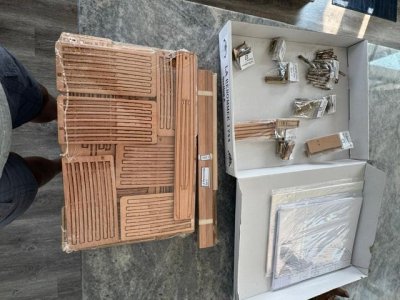
Paul, great news. I must confess that I haven’t opened my kit, so thanks for your photos. I think I can see a few packets of cannons which will be a challenge for my fat fingers. Your Jabeque/Xebec is looking very nice as well.
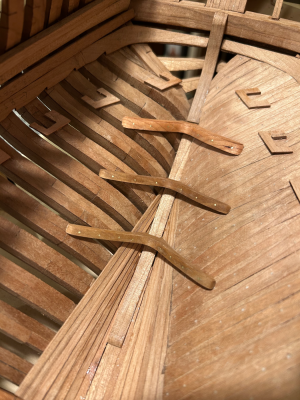
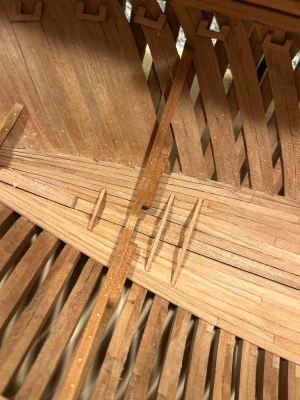
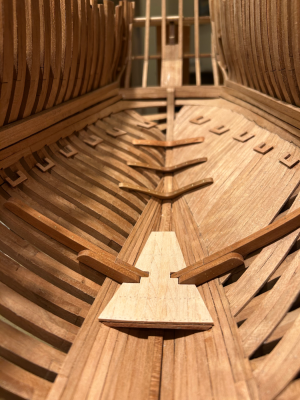
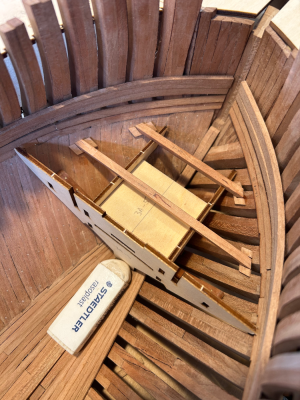
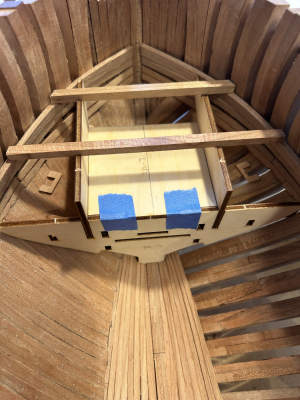
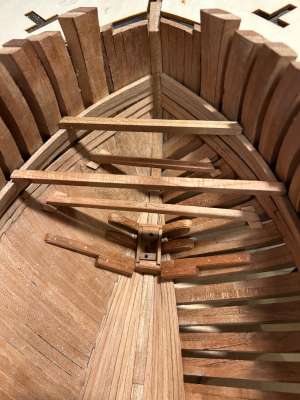
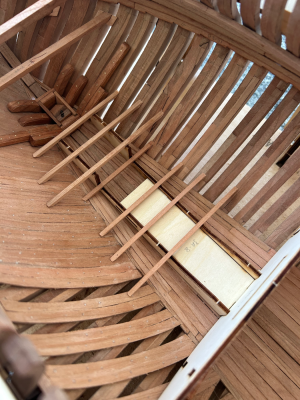
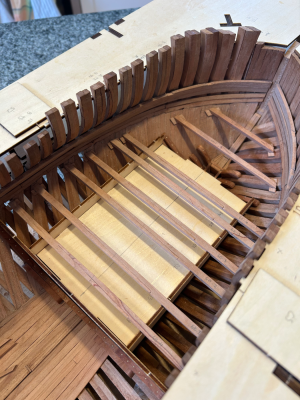
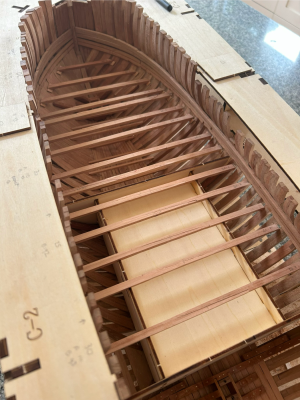
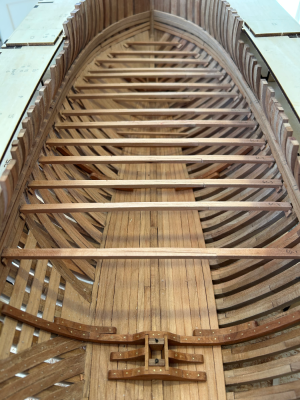
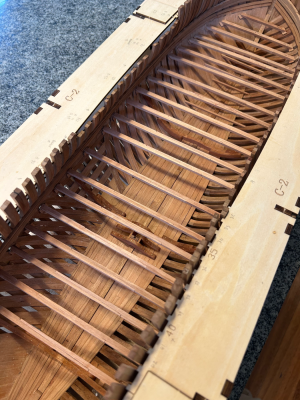
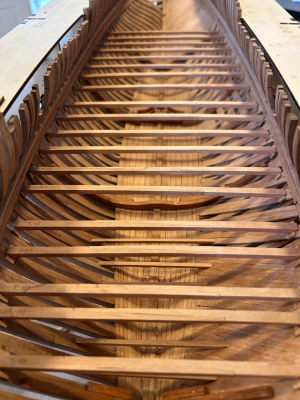
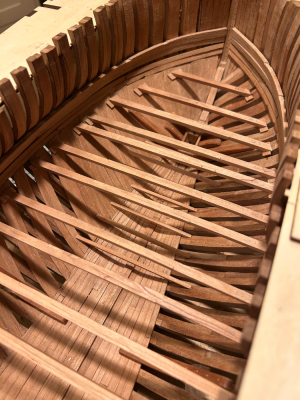
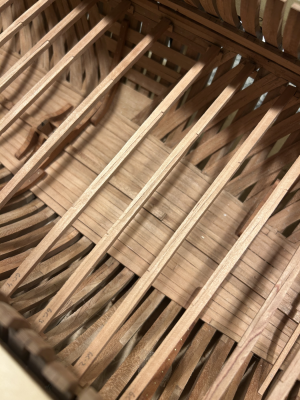
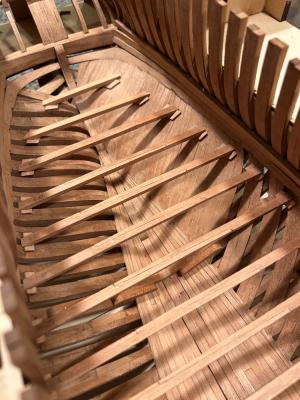
The next few steps involve setting the position for the deck beams. Plywood templates are supplied to help. At this stage, the only the brackets for the lower deck beams are installed as there is still a lot of detail to be fitted underneath.
This is for the lower deck:
View attachment 606172
View attachment 606173
View attachment 606174
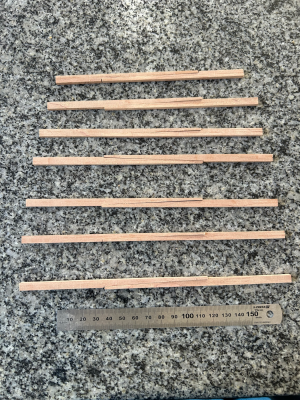
Sort of straight forward, at least by ship building standards. The beams are CNC cut, but the ends had to be beveled to fit the curve of the hull. Even with the plywood templates, the instructions say to check with the plan. Thankfully, it all looks right, although there’s very little room between the beams and the foremast.
On the ship, it must have been pretty cramped below, with only about five feet of headroom on the lower deck and even less when passing under a beam of the deck above.
The plan is to cut the frames away from just under the lower deck down to the top of the longitudinal ceiling planking.
Kind regards
Salty







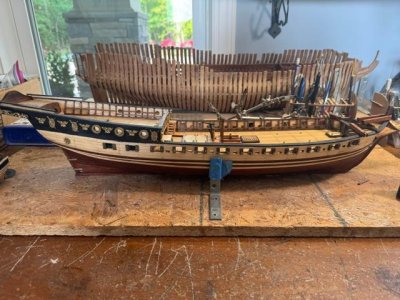
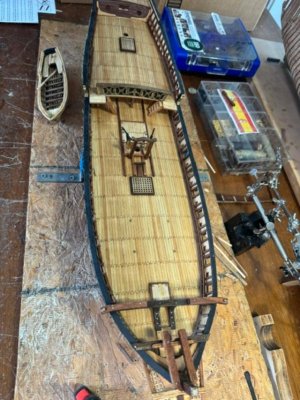


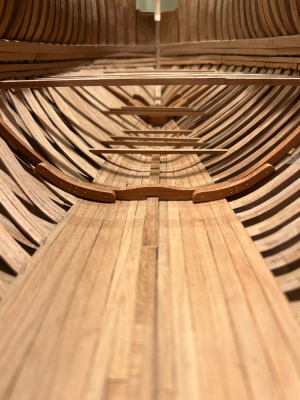


 . I redid mine a few times before that test spirit bubble finally decided to behave itself. Cheers Grant

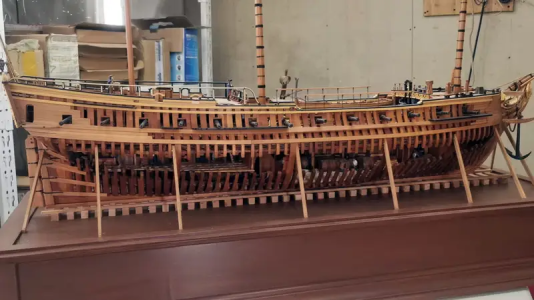
 . Cheers Grant