• SUBSCRIBE TO SHIPS IN SCALE TODAY!

    The beloved Ships in Scale Magazine is back and charting a new course for 2026!
    Discover new skills, new techniques, and new inspirations in every issue.

    NOTE THAT OUR NEXT ISSUE WILL BE MARCH/APRIL 2026
  • Win a Free Custom Engraved Brass Coin!!!
    As a way to introduce our brass coins to the community, we will raffle off a free coin during the month of August. Follow link ABOVE for instructions for entering.

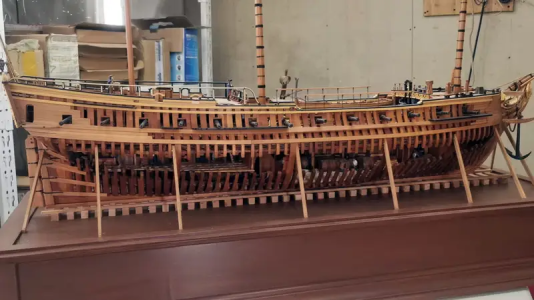
La Renommee 1744 1:48. (CAF) by Salty

Paul, I am very much looking forward to you restarting your La Renommee. It’s a super kit and I’m a little surprised there aren’t more examples of her on SoS.

Brad, yes, slowly does it. The instruction manual is like a box of chocolates - sometimes one picture can take a week, while other times it can take just a day.

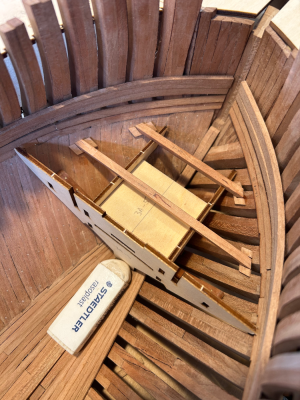
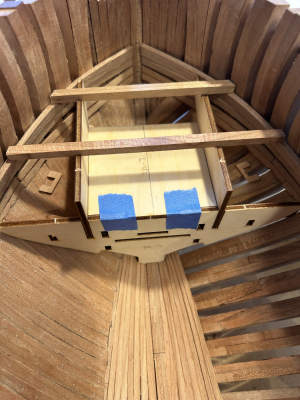
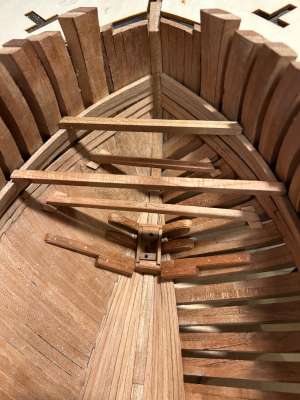
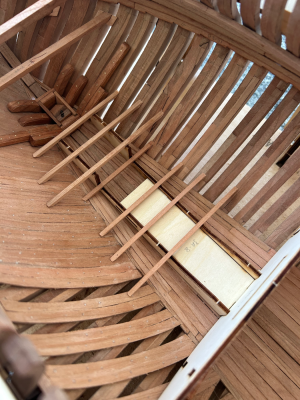
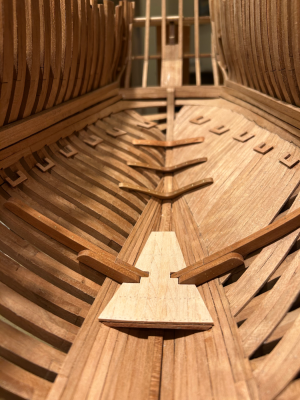
I have been working on the mast steps and internal braces:

View attachment 605538

View attachment 605537

View attachment 605541

I’ve gone for Brass Black on the eye bolts and rings and quite like the effect!

I’ve also stained the wood with Danish oil. At first I didn’t like it because I thought the finish was too shiny. I think this was because the finish wasn’t smooth enough and I used too much oil. After sanding back with 600 grit sandpaper and reapplying the oil more sparingly, I think it looks better. I might leave the ceiling planking unpainted at this stage as I probably need to keep the inside as light as possible. A penny for your thoughts?

Finally, CAF kits constantly surprise me with their attention to detail. The mortises in the mast steps were cut at a slight angle so that the connecting pieces slope inward at the same angle as the chocks. The wonders of CAD and CNC never cease.

Kind regards

Salty
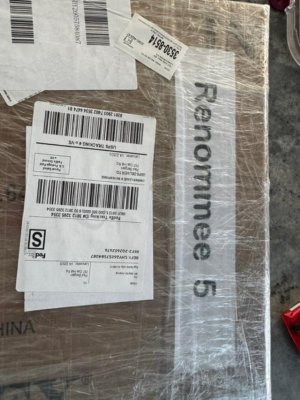
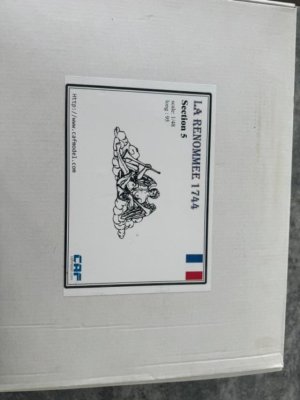
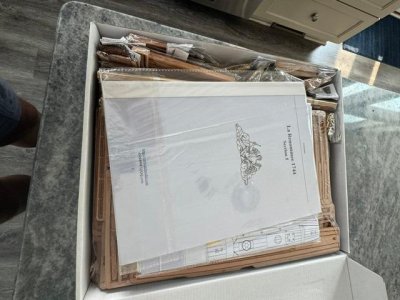
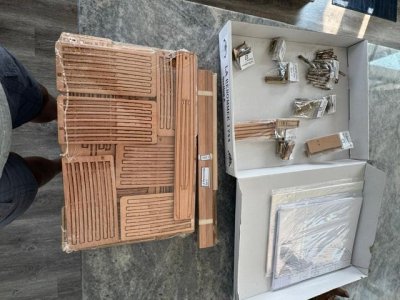
Beautiful Work!! Section 5 has arrived! I need to finish up the masting and rigging on OcCre Jabeque, and then I'll begin Section 5

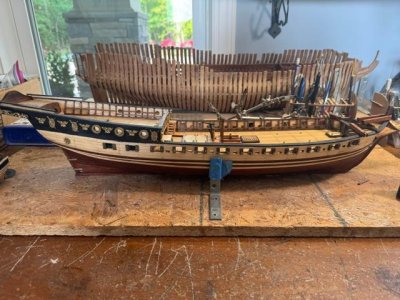
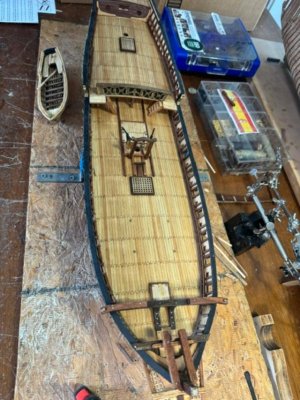
ren1.jpg

ren2.jpg

ren3.jpg

ren4.jpg

occre.jpg

occre2.jpg
 
Brad, I am using Rustins Danish oil, although Watco is also available in Australia. It’s the natural one with no stain, but it definitely brings out the colour of the wood. Thanks for the tip about gluing. The finish is a little tacky initially, but hardens nicely after a while.

Paul, great news. I must confess that I haven’t opened my kit, so thanks for your photos. I think I can see a few packets of cannons which will be a challenge for my fat fingers. Your Jabeque/Xebec is looking very nice as well.

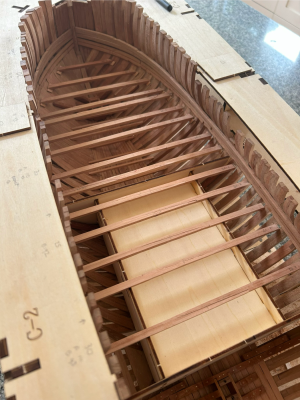
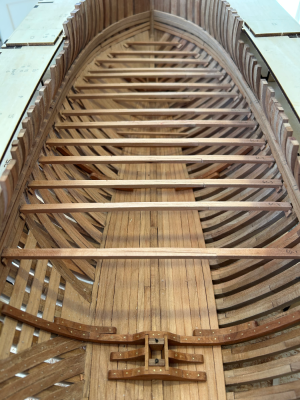
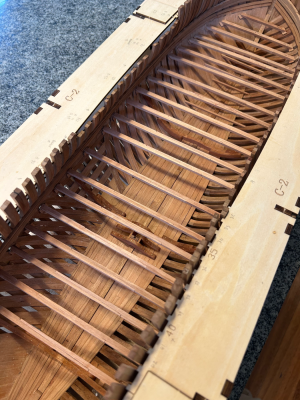
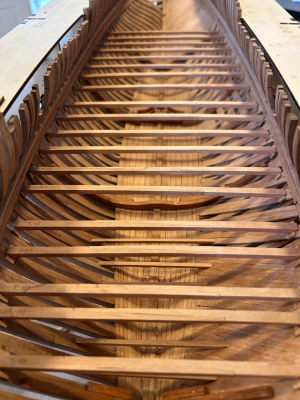
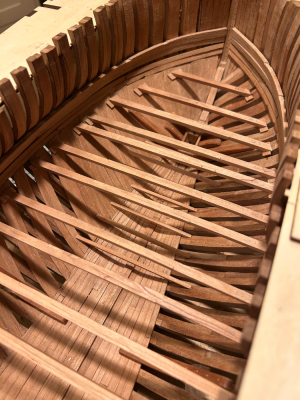
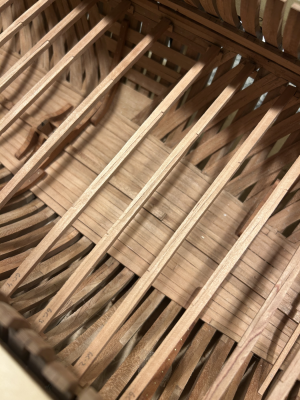
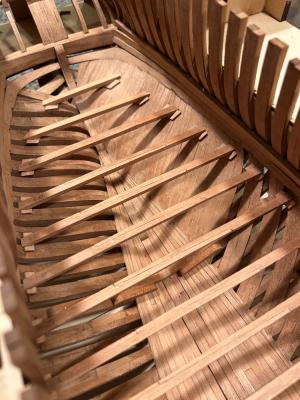
The next few steps involve setting the position for the deck beams. Plywood templates are supplied to help. At this stage, the only the brackets for the lower deck beams are installed as there is still a lot of detail to be fitted underneath.

This is for the lower deck:

IMG_4295.jpeg

1779503950328.png

IMG_4300.jpeg

Sort of straight forward, at least by ship building standards. The beams are CNC cut, but the ends had to be beveled to fit the curve of the hull. Even with the plywood templates, the instructions say to check with the plan. Thankfully, it all looks right, although there’s very little room between the beams and the foremast.

On the ship, it must have been pretty cramped below, with only about five feet of headroom on the lower deck and even less when passing under a beam of the deck above.

The plan is to cut the frames away from just under the lower deck down to the top of the longitudinal ceiling planking.

Kind regards

Salty

 
Brad, I am using Rustins Danish oil, although Watco is also available in Australia. It’s the natural one with no stain, but it definitely brings out the colour of the wood. Thanks for the tip about gluing. The finish is a little tacky initially, but hardens nicely after a while.

Paul, great news. I must confess that I haven’t opened my kit, so thanks for your photos. I think I can see a few packets of cannons which will be a challenge for my fat fingers. Your Jabeque/Xebec is looking very nice as well.

The next few steps involve setting the position for the deck beams. Plywood templates are supplied to help. At this stage, the only the brackets for the lower deck beams are installed as there is still a lot of detail to be fitted underneath.

This is for the lower deck:

View attachment 606172

View attachment 606173

View attachment 606174

Sort of straight forward, at least by ship building standards. The beams are CNC cut, but the ends had to be beveled to fit the curve of the hull. Even with the plywood templates, the instructions say to check with the plan. Thankfully, it all looks right, although there’s very little room between the beams and the foremast.

On the ship, it must have been pretty cramped below, with only about five feet of headroom on the lower deck and even less when passing under a beam of the deck above.

The plan is to cut the frames away from just under the lower deck down to the top of the longitudinal ceiling planking.

Kind regards

Salty

Looking very nice!!
 
More deck beams, this time in the area immediately behind the foremast.

IMG_4301.jpeg

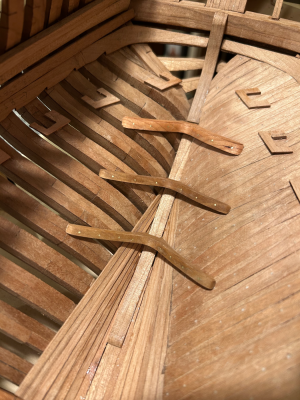
The beams for the lower deck are getting wider and are now made of two pieces scarfed together. This is what they look like when they come out of the billet:

IMG_4302.jpeg

In some beams, the scarf is not deep enough and the shoulder protrudes. I’ve decided to keep the shoulder the same height and adjust the depth. A little bit fiddly and no one will see it, but at least I know all the scarfs are the same.

Here they are in place with the scarfs fixed with their U shaped brackets:

IMG_4305.jpeg

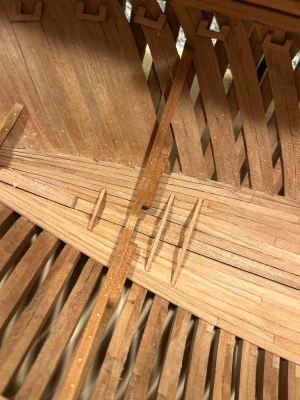
And here is everything in place:

IMG_4310.jpeg

Even with the templates, it’s been tricky. It’s a tight fit getting the template in place and I had to keep checking it hadn’t slipped. In addition, the tops of the beams aren’t supposed to be parallel to the top of the ceiling planking as distance is greater in the bow and narrows as you go aft. I really struggled with this for a while as it didn’t seem natural, but the plans clearly show it. Despite all this, the beams seem level, although I think the port side is marginally - about 2 millimetres - higher.

Kind regards

Salty
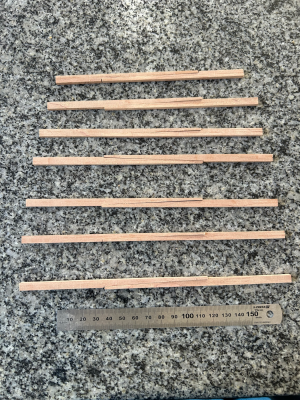
 
More deck beams, this time in the area immediately behind the foremast.

View attachment 606817

The beams for the lower deck are getting wider and are now made of two pieces scarfed together. This is what they look like when they come out of the billet:

View attachment 606818

In some beams, the scarf is not deep enough and the shoulder protrudes. I’ve decided to keep the shoulder the same height and adjust the depth. A little bit fiddly and no one will see it, but at least I know all the scarfs are the same.

Here they are in place with the scarfs fixed with their U shaped brackets:

View attachment 606819

And here is everything in place:

View attachment 606820

Even with the templates, it’s been tricky. It’s a tight fit getting the template in place and I had to keep checking it hadn’t slipped. In addition, the tops of the beams aren’t supposed to be parallel to the top of the ceiling planking as distance is greater in the bow and narrows as you go aft. I really struggled with this for a while as it didn’t seem natural, but the plans clearly show it. Despite all this, the beams seem level, although I think the port side is marginally - about 2 millimetres - higher.

Kind regards

Salty
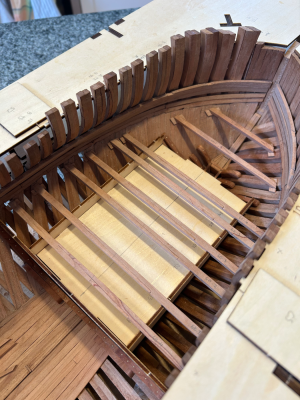
yes, I remember all the "fun" I had with these as well! but yours look very good!!
 
More deck beams, this time in the area immediately behind the foremast.

View attachment 606817

The beams for the lower deck are getting wider and are now made of two pieces scarfed together. This is what they look like when they come out of the billet:

View attachment 606818

In some beams, the scarf is not deep enough and the shoulder protrudes. I’ve decided to keep the shoulder the same height and adjust the depth. A little bit fiddly and no one will see it, but at least I know all the scarfs are the same.

Here they are in place with the scarfs fixed with their U shaped brackets:

View attachment 606819

And here is everything in place:

View attachment 606820

Even with the templates, it’s been tricky. It’s a tight fit getting the template in place and I had to keep checking it hadn’t slipped. In addition, the tops of the beams aren’t supposed to be parallel to the top of the ceiling planking as distance is greater in the bow and narrows as you go aft. I really struggled with this for a while as it didn’t seem natural, but the plans clearly show it. Despite all this, the beams seem level, although I think the port side is marginally - about 2 millimetres - higher.

Kind regards

Salty
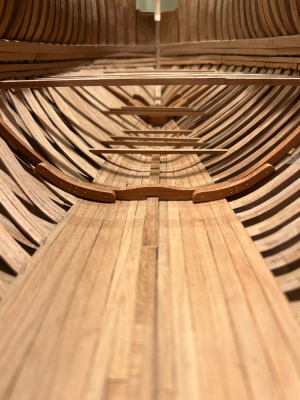
Looking mighty fine Salty. Kudos. Don’t talk to me about deck beams…. ROTF . I redid mine a few times before that test spirit bubble finally decided to behave itself. Cheers Grant

 
Back
Top