FROM ME TOO, and many more. Don
-

Win a Free Custom Engraved Brass Coin!!!
As a way to introduce our brass coins to the community, we will raffle off a free coin during the month of August. Follow link ABOVE for instructions for entering.
-

PRE-ORDER SHIPS IN SCALE TODAY!
The beloved Ships in Scale Magazine is back and charting a new course for 2026!
Discover new skills, new techniques, and new inspirations in every issue.
NOTE THAT OUR FIRST ISSUE WILL BE JAN/FEB 2026
You are using an out of date browser. It may not display this or other websites correctly.
You should upgrade or use an alternative browser.
You should upgrade or use an alternative browser.
Happy Birthday, Liberto! Many more years to come! 

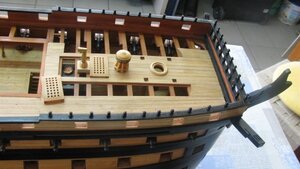
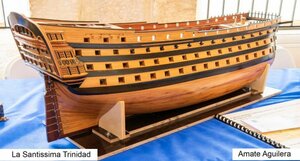
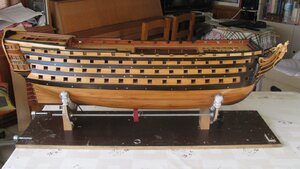
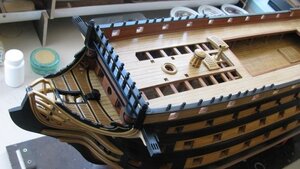
tratando en todo momento de aproximar al máximo a la imagen que pudo ofrecer este emblemático navío en el período de tiempo comprendido entre la última reforma a la que fue a veces en la Carraca 1797 y su triste final en la Batalla de Trafalgar 1805.
Liberto
trying at all times to get as close as possible to the image that this emblematic ship could offer in the period of time between the last reform to which it was sometimes in Carraca 1797 and its sad end in the Battle of Trafalgar 1805.
Liberto
Liberto
trying at all times to get as close as possible to the image that this emblematic ship could offer in the period of time between the last reform to which it was sometimes in Carraca 1797 and its sad end in the Battle of Trafalgar 1805.
Liberto
Last edited by a moderator:
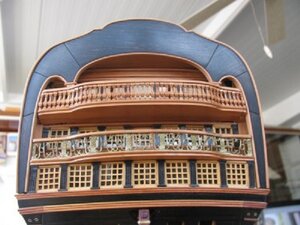
Estimados compañeros, gracias por vuestros generosos comentarios ... ya estoy aquí de nuevo, y espero ser más constante a la hora de enviar imágenes de los adelantos que se van produciendo, en mi Santísima Trinidad 1797 - 1805.
Estamos tratando en todo momento de aproximar al máximo a la imagen que pudo ofrecer este emblemático navío en el período de tiempo comprendido entre la última reforma llevada a cabo en la Carraca (Cádiz 1797 y su triste final en la batalla de Trafalgar 1805.
Os paso unas imágenes ...
Salud y bienestar para todos ... cuidaros.
Dear colleagues, thank you for your generous comments ... I am here again, and I hope to be more constant in sending images of the progress that is taking place, in my Holy Trinity 1797 - 1805.
We are trying at all times to get as close as possible to the image that this emblematic ship could offer in the period of time between the last reform carried out in Carraca (Cádiz 1797 and its sad end in the Battle of Trafalgar 1805.
I pass you some images ...
Health and well-being for all ... take care of yourself.
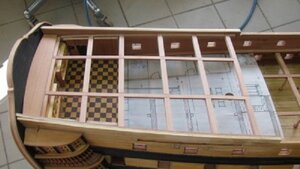
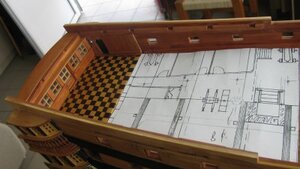
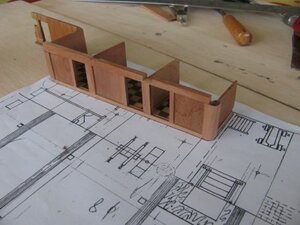
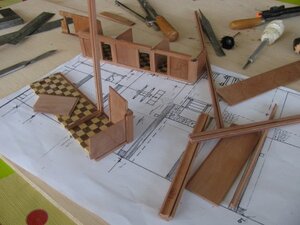
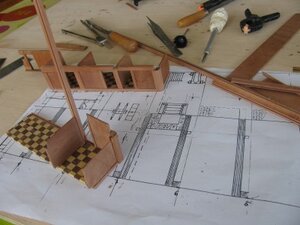
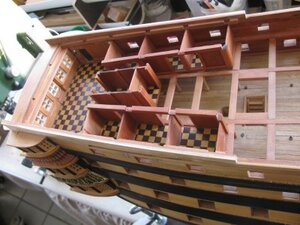
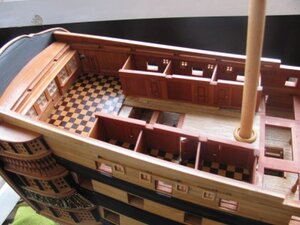
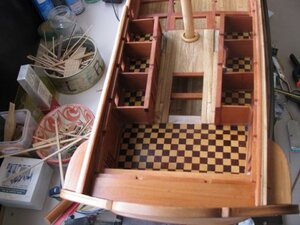
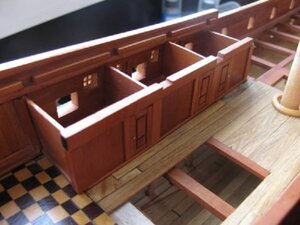
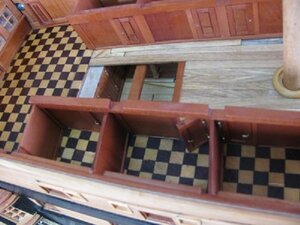
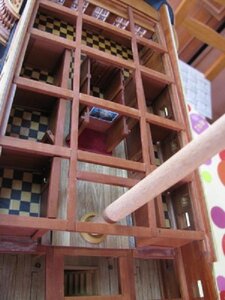
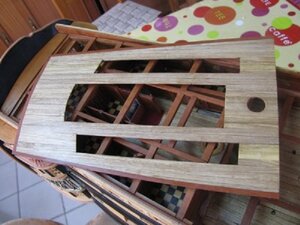
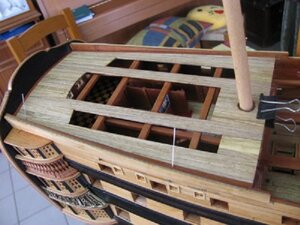
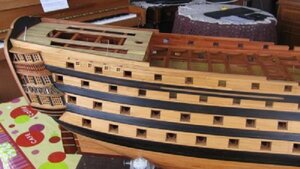


Last edited by a moderator:
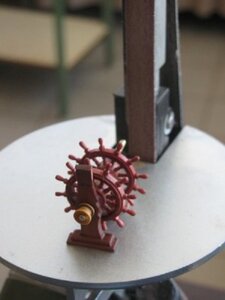
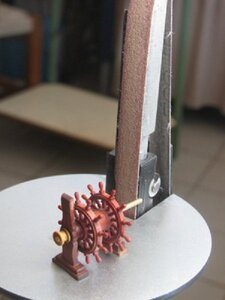
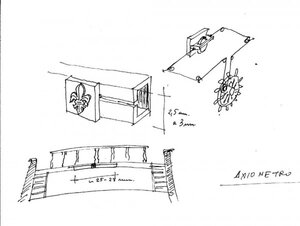
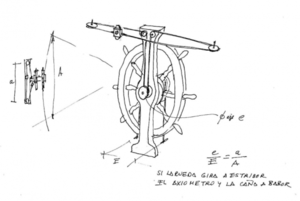
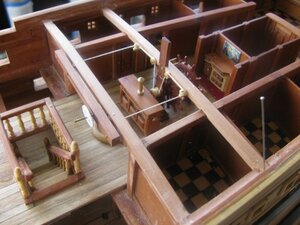
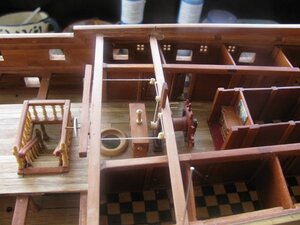
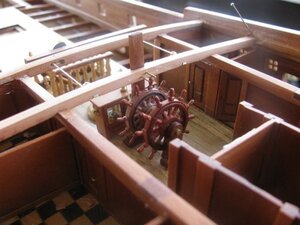
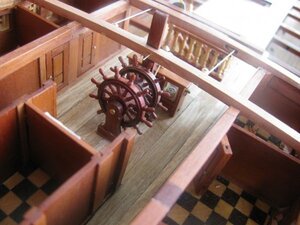
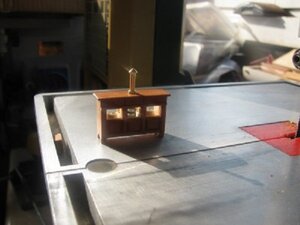
Saludos compañeros… continuo con imágenes de la construcción de la doble rueda del timón, con el axiometro incorporado, escala principal y mueble de bitácora.
Liberto.
Greetings, comrades ... I continue with images of the construction of the double helm wheel, with the built-in axiometer, main scale and log cabinet.
Liberto.
Liberto.
Greetings, comrades ... I continue with images of the construction of the double helm wheel, with the built-in axiometer, main scale and log cabinet.
Liberto.
Last edited by a moderator:
Saludos Hedley… y también a todos los que en silencio pasáis dejando vuestro “Me gusta” gracias a todos.
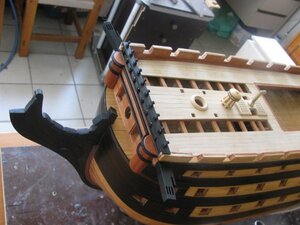
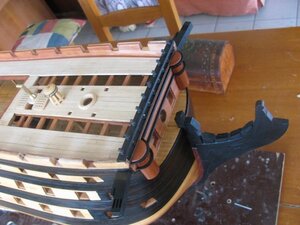
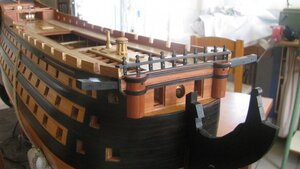
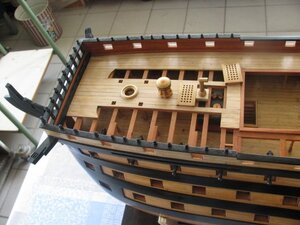
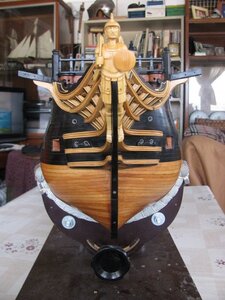
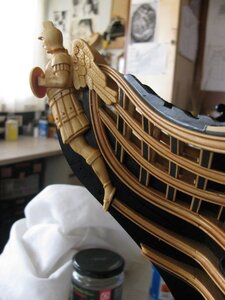
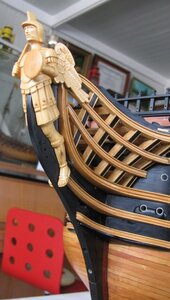
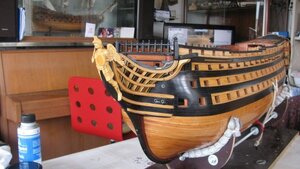
Imágenes dando forma a los brazales, y otras del conjunto del tajamar una vez terminado.
Greetings Hedley ... and also to all those who silently pass by leaving your "I like" thanks to all.
Images shaping the bracers, and others of the whole of the cutwater once completed.
Ya Seguiremos Liberto.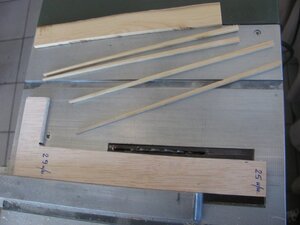
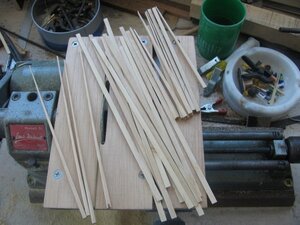
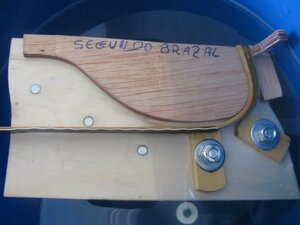
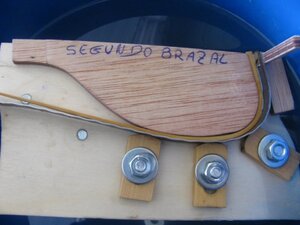
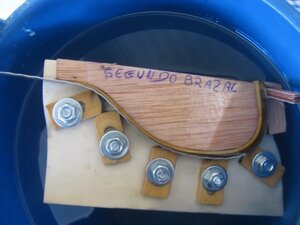
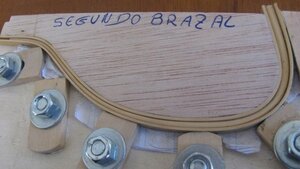
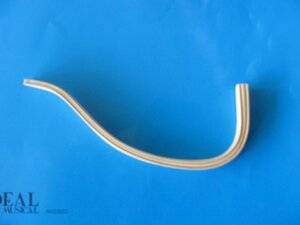
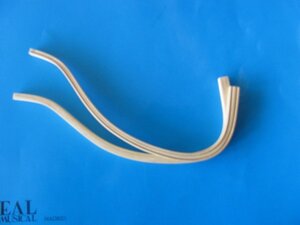
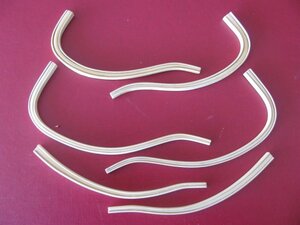
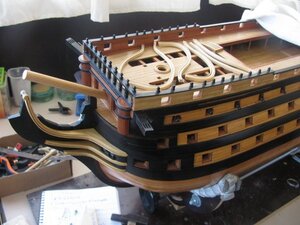

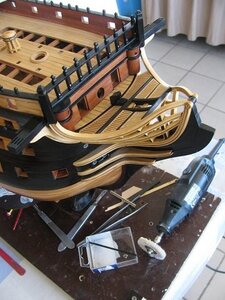
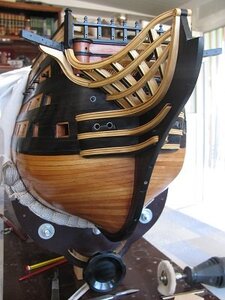
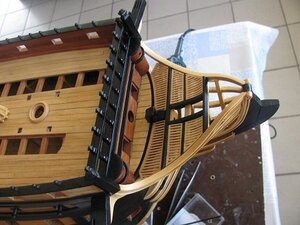
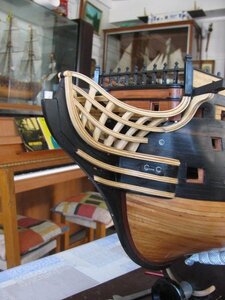
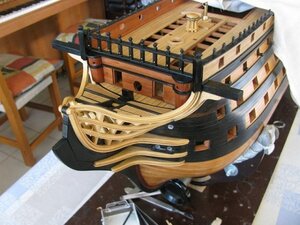
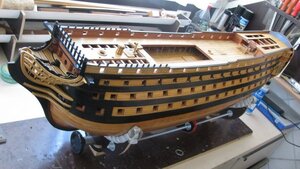
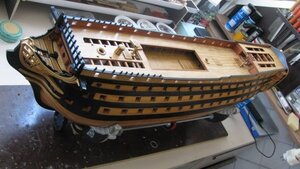
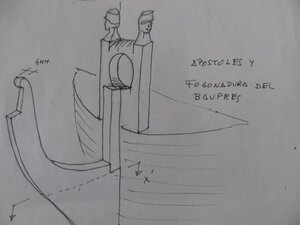
Imágenes dando forma a los brazales, y otras del conjunto del tajamar una vez terminado.
Greetings Hedley ... and also to all those who silently pass by leaving your "I like" thanks to all.
Images shaping the bracers, and others of the whole of the cutwater once completed.
Ya Seguiremos Liberto.


Last edited by a moderator:
Hola compañeros:
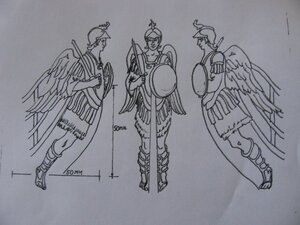
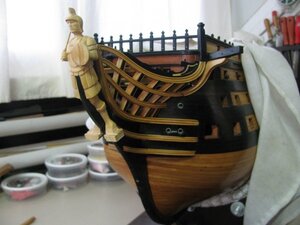
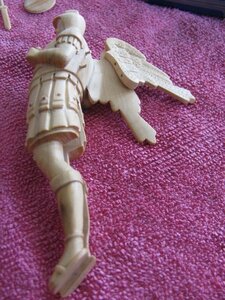
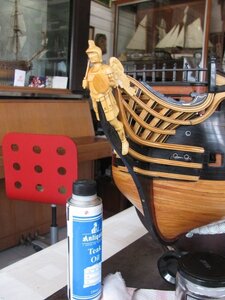
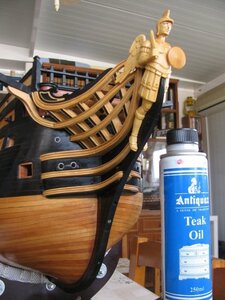
Construcción y montaje del Mascaron…representa a Miguel que junto con Rafael y Gabriel eran los tres arcángeles de “La Santísima Trinidad”
Un saludo Liberto
Hello partners:
Construction and assembly of the figurehead ... it represents Miguel who along with Rafael and Gabriel were the three archangels of "The Holy Trinity"
Greetings Liberto
Last edited by a moderator:
Gran mano de obra, Liberto Cracias!!!
WOW - stunning results - and many thanks for showing us also the different working steps - very good work
We all have nothing against to see much more often your progress on your model
google translation:
WOW - resultados sorprendentes - y muchas gracias por mostrarnos también los diferentes pasos de trabajo - muy buen trabajo
Todos no tenemos nada en contra de ver mucho más a menudo su progreso en su modelo
very nice!!!! thank you for showing us your work!
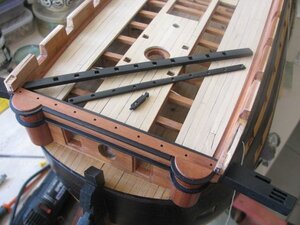
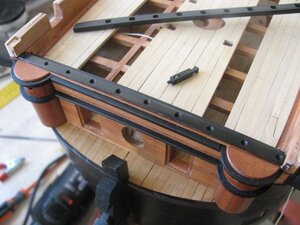
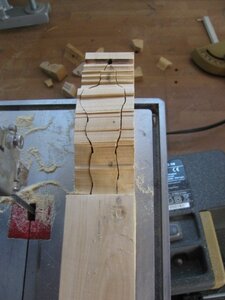
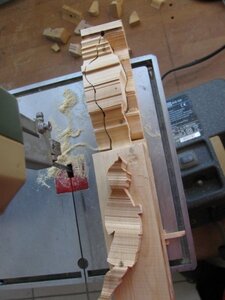
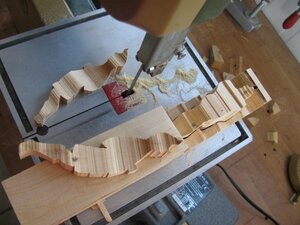
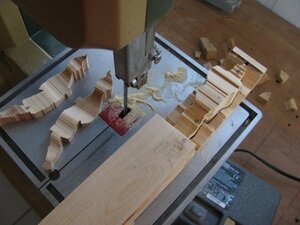
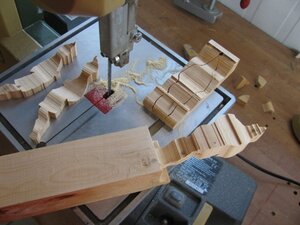
Quite an ingenious method to manufacture head rails. Outstanding work. Please, keep the picture coming.Saludos Hedley… y también a todos los que en silencio pasáis dejando vuestro “Me gusta” gracias a todos.
Imágenes dando forma a los brazales, y otras del conjunto del tajamar una vez terminado.
Greetings Hedley ... and also to all those who silently pass by leaving your "I like" thanks to all.
Images shaping the bracers, and others of the whole of the cutwater once completed.
Ya Seguiremos Liberto.View attachment 154771View attachment 154772View attachment 154773View attachment 154774View attachment 154775View attachment 154776View attachment 154777View attachment 154778View attachment 154779View attachment 154780View attachment 154781View attachment 154782View attachment 154783View attachment 154784View attachment 154785View attachment 154786View attachment 154787View attachment 154788View attachment 154789View attachment 154790
Kind regards ... and thank you all for your kind comments.
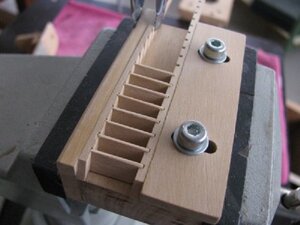
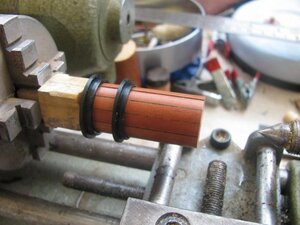
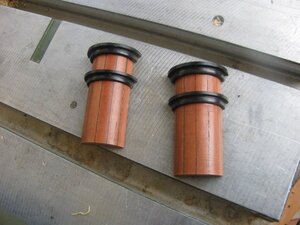
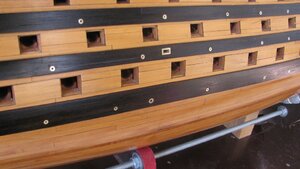
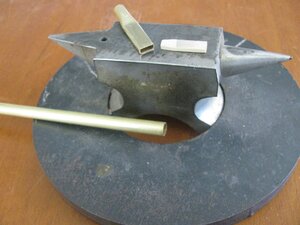
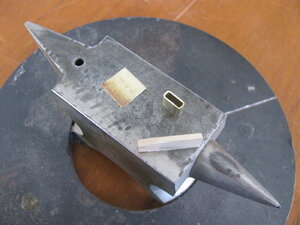
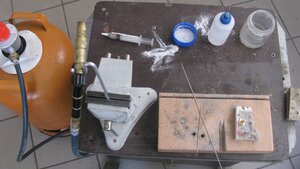
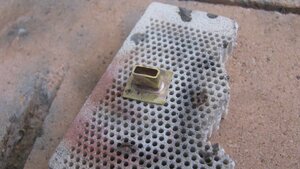
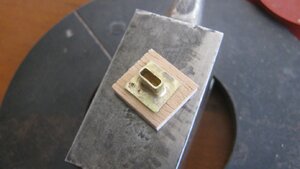
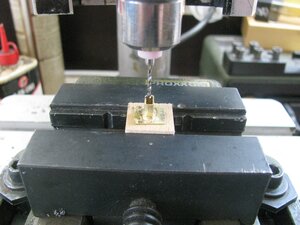
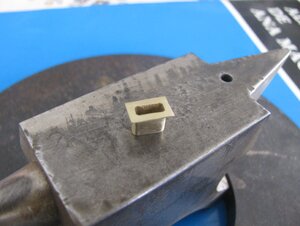
I pass images of the preparation and placement of the scuppers of the second battery, a difference from the scuppers of the first battery these have rectangular section.
He took advantage of the 5m / m brass tube, which he squashed using a small boxwood ribbon to shape it, it can also make a metal plate but it is not necessary.
We will continue ... thanks again.
Liberto
Wow, what a sensational build.
Fantastic Craftsmanship Very Well Done
Saludos compañeros…gracias por vuestro generosos comentarios.
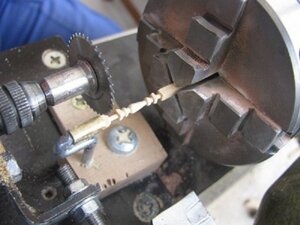
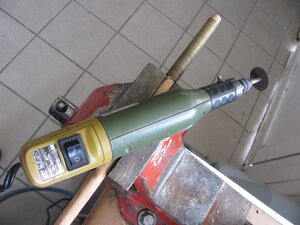
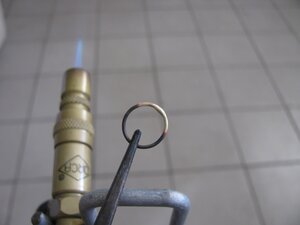
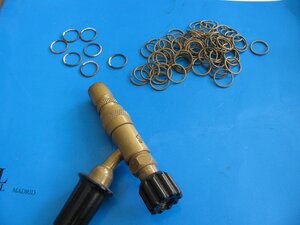
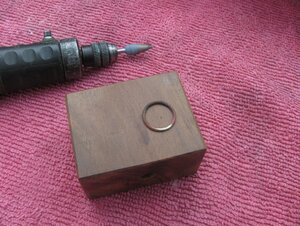
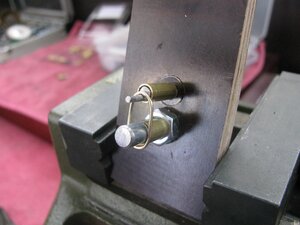
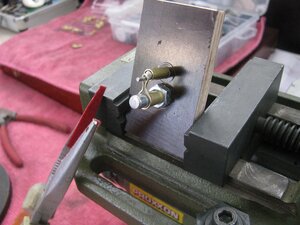
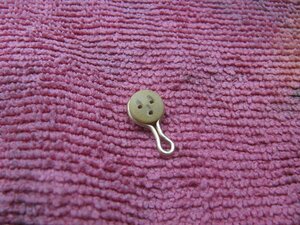
Ya estoy preparando para hacer los cadenotes de las vigotas, normalmente estas argollas no van soldadas, he tenido ocasión de comprobarlo… son muchos y extraordinarios los modelistas que simplemente hacen coincidir el empalme del alambre una vez doblado, con el encastre para su alojamiento en la mesa, queda muy fuerte y no se ve… pueden pasar como soldado.
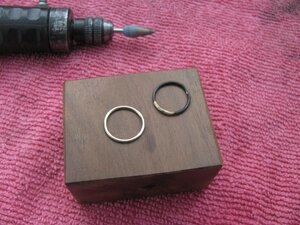
Yo he querido complicarlo un poco más y las he soldado.
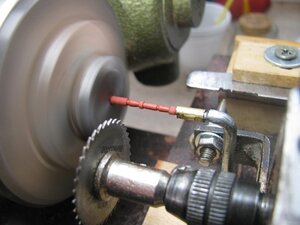
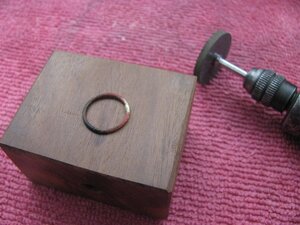
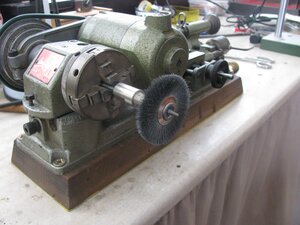
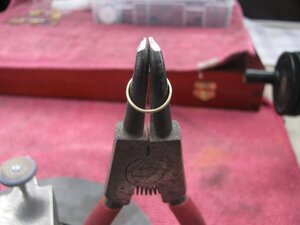
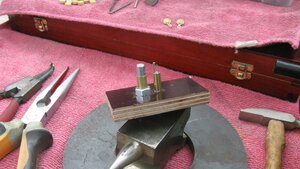
Ha continuación paso unas imágenes donde podéis ir viendo el proceso que he llevado,
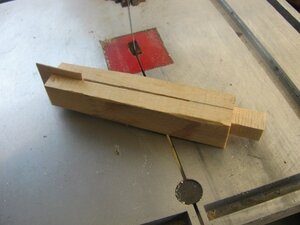
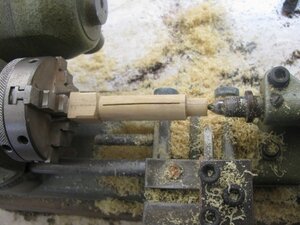
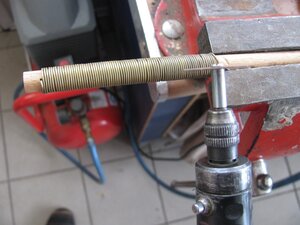
Primeramente formo un muelle con alambre de latón cocido, en este caso 1m/m y con un rotaflex y un pequeño disco… y de esta manera voy sacando los aros.
Una vez soldados repaso solo la soldadura, y los sumerjo en vinagre blanco para limpieza… dos minutos es suficiente para que ablande la suciedad, a continuación los pasáis por un cepillo de alambre y muy rápidamente se quedan que parecen de oro.
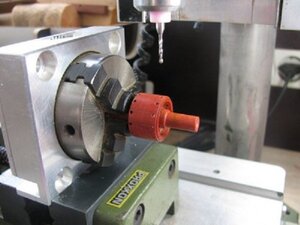
He preparado un pequeño útil y me ha sido de gran ayuda.
Más adelante os presentare el resto de los herrajes.
Como siempre salud y bienestar para todos…Cuidaros¡¡¡
Liberto


Last edited by a moderator:
Very good work.
Karl
Karl


