Late comer HMS Alert 1777 by Glennb17

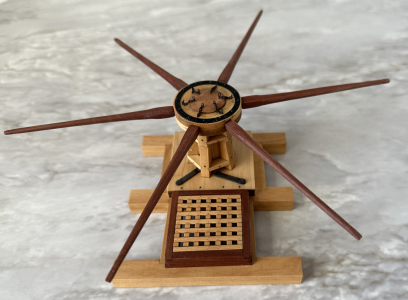
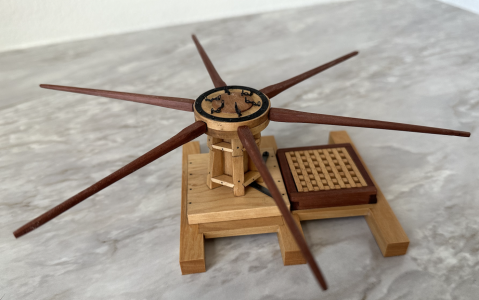
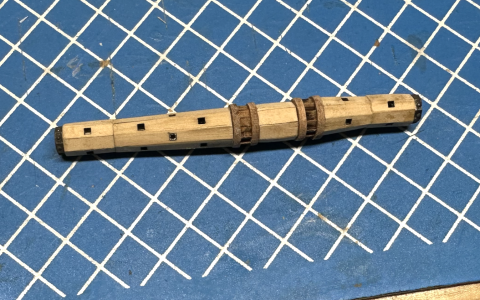
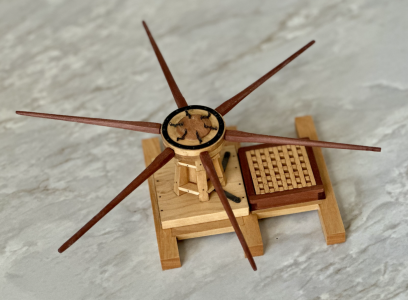
So, I took my break with the capstan project. It's a scratch build of a 1:24 scale capstan circa 1776. I think it turned out well.
1731782704547.png
1731782775205.png
1731782865933.png
Most is made from boxwood while the combing and bars are pear. Making a ten-sided column with every other facet recessed using wedges cut on a tilt arbor saw was tough. Also, milling the combing with my super cheap mill (toy) and applying really small treenails, and finally soldering together eye bolts and then eyebolts to super tiny chain were the main challenges. Custom fitting each cheek was pretty tough too. But it was fun. Plans from Toni Levine in 1:16 scale.
 
Had foot surgery which kept me out of the shop for a few weeks. I'm back now though.
After cutting away the model from the berth, I sanded, filed, and occasionally Dremeled my way to a final fit using the lines from the template.
1731783263303.png
I have to tell you, I looked at the pieces and the instructions for the cap rails and despaired. It just didn't make any sense at all. Not enough pictures and the instructions contain English words, but aren't actually English as far as I can tell. So I sat on this for a while, part of the reason I did another project (that I had already started a while back).
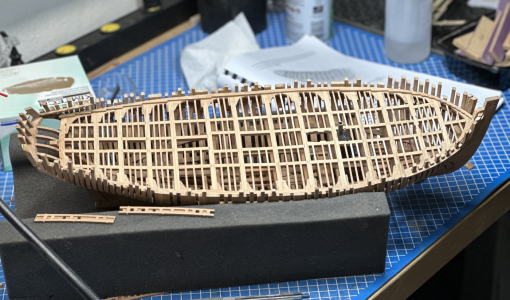
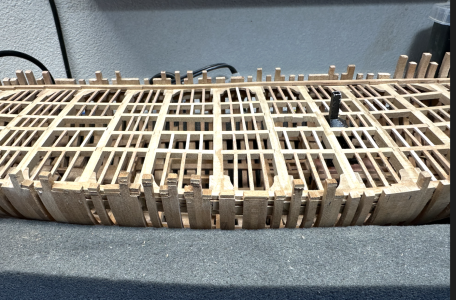
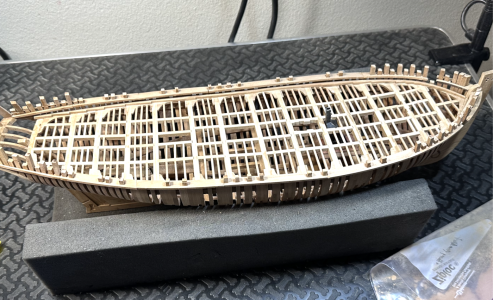
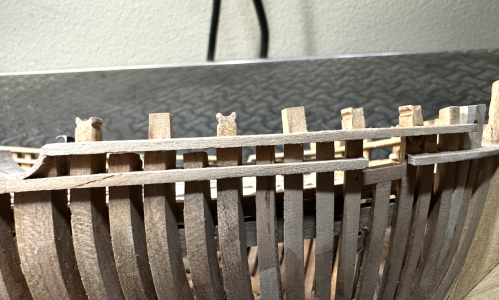
I also noticed that the frames on the starboard side rise above the decking less than the port side for much of midship. I don't know where that error crept in. I have never had good luck with guides for the decking from a jig. In this case on side didn't fit into the hooks well. Sometimes I think it would be better to use a buildng board and to measure from the plans. I have applied all manner of small scrap pieces to the tops of the effected timbers and will sand to shape and length.
 
I can't believe it's been about a year since my first post on building this kit. But it's a substantial project, even without building all the sections below deck. Along the way I did about the first fifth of Model Shipways Syren (I want to learn more about rigging), built a 1:24 scale capstan from scratch, and re-drew all the frames for the Echo practicum, ready for the laser cutter, and gathered all the wood for that.
1732980505891.png
(se my first post on this project)

Onward and sideways. for Alert 1777!
 
I finally regained the courage to continue this kit. For the differences in the top timbers at the deck level, I cut some scrap up to glue onto the tops and then shaped the tops carefully. This is what they looked like before shaping. Like many steps, they start out looking like it will never be right.
1732981170632.png
that poor galley is getting really beat up. I think I should have covered it up and padded it or ignored the instructions and installed it just before I started putting in the elements that rise above the deck. Next time, right?
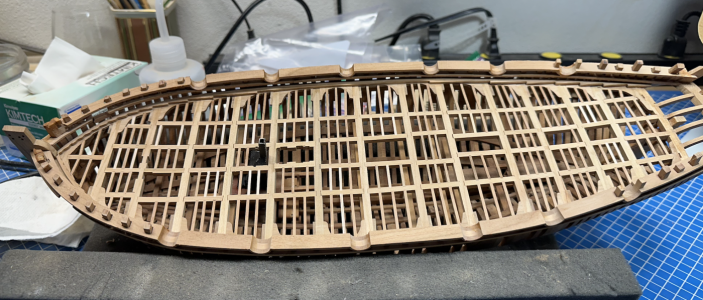
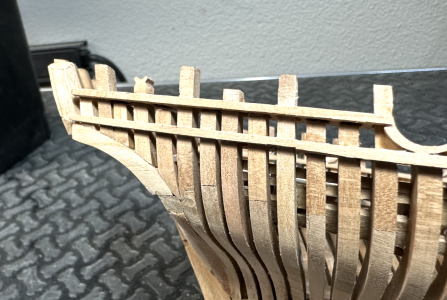
Here's the cap rail installed. It took a lot of fussing with the bow and I ended up not liking the hawse holes and re-did all of that (a very prominent feature on the finished model.
1732981372855.png
That Ziploc on the bottom right is my stash of cherry saw dust to make filler. I'm going to need a good batch for this install.
 
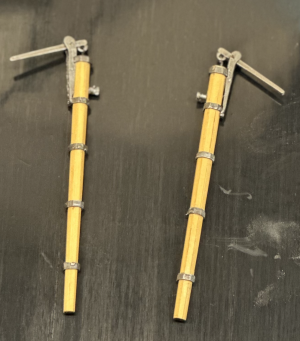
I took a detour from the railing and went back to the ongoing problem solving for the pumps. I tried the parts in the kits the way suggested in the pictures I found from the manufacturer and it was an unmitigated disaster. The pieces splinters on their edges and never looked right. Also, the angles on the back aren't 22.5 degrees like they should be for an octagon. Again, I am working with a kit that is probably well above my skill level, so I'm sure I just didn't have the technique.
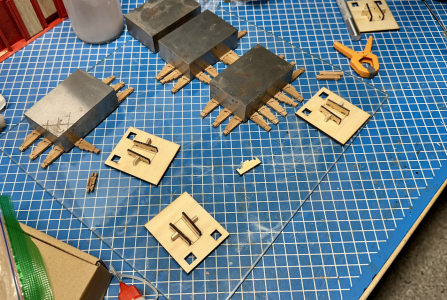
Fortunately I sensed that it might not work out well on my first try so I took measurements of the pieces before I cut anything out. I drew the parts in Illustrator from the measurements and cut them from boxwood on my laser cutter. Boy, that thing is handy for botched parts. I had to try more than once, but finally got two I liked and glued on the zinc parts.
1732981801869.png
 
Progress, but cautionary tale for this kit at my skill level:
It took a while to figure out the next part of the rails. Again, the instructions rely on you to already know how to figure out this stuff.
1732981979859.png
This is one of these times when you complete everything including filling a few small gaps and sanding it down to 400grit, things look like they are coming together and say to yourself "hey, this might actually come out nice".

The problem is that I misinstalled to gunports and would have known it if I had looked over the plans a bit better. The fit for the parts that frame the ports feels like the gunports are meant to point at an angle normal to the side. In fact, all gunports were supposed to be installed in parallel, normal to an axis that runs stem to stern. I tried to do it the right way, but the sanding was making the framing too thin on opposite sides. My bad, maybe the framing pieces were meant to be more staggered. I would go back and fix it, but I would have to refabricate all of these parts without a template. Plus a lot of time invested.

So next time, check the plans. Even if they are pretty sparse, they might have critical information. I'm not sure how I would have done it right with the parts available, but I could have fabricated something earlier.
 
Had the same problem with the windlass as I did the pumps. With some measurements and drawing, I managed to pull it together in boxwood which I happened to have the right dimensions for the job.
1732982543054.png
Still needs some cleaning up and will never be like a real windlass with a shrink ray, but I can live with it.
 
The next step in the build is to install the tafrail. The next 5-6 steps depend on it being in place. However, the part number it calls out is not on the parts sheets. I contacted the seller who is contacting the manufacturer, but it's been 4-5 days and I need to move on. What do you do on a model from the age of sail when you get stuck or need a change of pace? You build the guns.
1732982863977.png
With guns comes mass production. I even burned a little jig for assembly to keep things straight. My test gun had to be unbonded with IPA more than once due to weird angles.
 
Back
Top