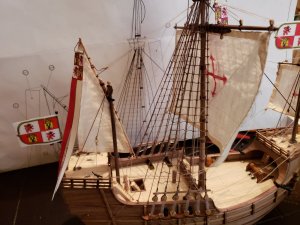
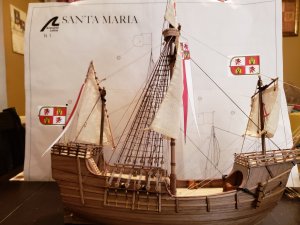
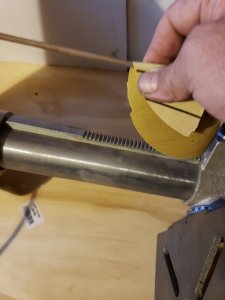
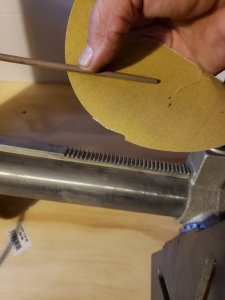
Usually I turned them down on a little hobby lathe from harbor freight but I ended up getting rid of that Machine. I now have a full size Atlas but its really to large for this little stuff so here is how I do it I bought a Drill press I lay the press down so it looks like a lathe. I use a files to rough in the taper because its faster then just sand paper and it doesn't burn your fingers up from the friction. I put the Dowel in the Chuck loosely tightened you don't want to crank down on it and crush the wood or cause it to wobble in the chuck I lay my fingers on the end and then a fine side of a rasp file to remove bulk quickly. Notice the file is at a 45 degree angle to the part this helps prevent gouging the wood out which you never want to do with tiny dowels like we use for ship Models. I keep a file Brush handy for cleaning out any wood that gets lodged in the files teeth, but at the 45 Degree angle there will rarely be any.
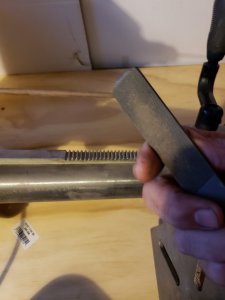
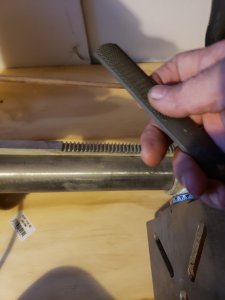
I start at the tip work towards the base I work the first inch with two passes towards the base then go tip up to 2 inches for 2 passes then 3 then 4 and so on this helps build the taper from tip to base I do this until I'm close to my target diameter then I switch to sand paper to finalize and smooth the dowel
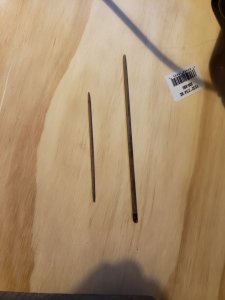
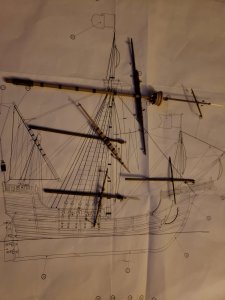
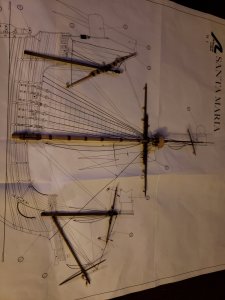
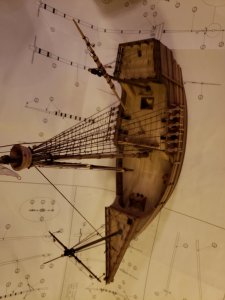
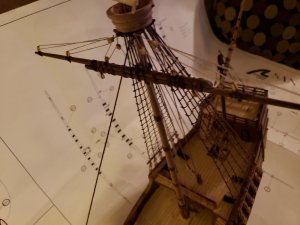
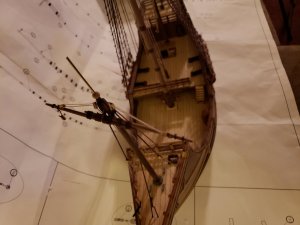
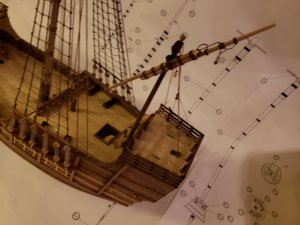
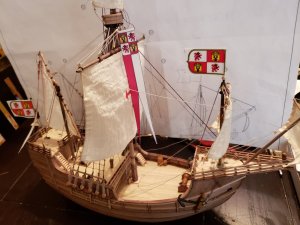
When your done you un-chuck the part and clean the base with sandpaper unless its going through the deck then you can just leave it as you wont see it anyhow. This is the Bowsprit and its yard for the Santa Maria. This is the fastest and easiest way I know to do them without a lathe. You could do this with the Press standing, but its harder and I have done this using a hand drill as well locked into my bench vice. The benefit of using a Drill press over a hand drill is the chuck is deeper so the small yards fit to the half way point for a 1/2" chuck you can do the same if you have a 1/2" hand Drill it should also have a deeper chuck then a 3/8 drill will but 1/2 hand drills are pretty beastly in torque, most Presses have a soft start. I did all the masts and yards for this ship in about 25 min. with this method. You can find bench top drill presses fairly cheep now days. The one I have for the bench is a Ryobi I picked up at home depot for $90 on sale maybe 3 years ago.


I start at the tip work towards the base I work the first inch with two passes towards the base then go tip up to 2 inches for 2 passes then 3 then 4 and so on this helps build the taper from tip to base I do this until I'm close to my target diameter then I switch to sand paper to finalize and smooth the dowel


When your done you un-chuck the part and clean the base with sandpaper unless its going through the deck then you can just leave it as you wont see it anyhow. This is the Bowsprit and its yard for the Santa Maria. This is the fastest and easiest way I know to do them without a lathe. You could do this with the Press standing, but its harder and I have done this using a hand drill as well locked into my bench vice. The benefit of using a Drill press over a hand drill is the chuck is deeper so the small yards fit to the half way point for a 1/2" chuck you can do the same if you have a 1/2" hand Drill it should also have a deeper chuck then a 3/8 drill will but 1/2 hand drills are pretty beastly in torque, most Presses have a soft start. I did all the masts and yards for this ship in about 25 min. with this method. You can find bench top drill presses fairly cheep now days. The one I have for the bench is a Ryobi I picked up at home depot for $90 on sale maybe 3 years ago.


