Le Coureur 1776 CAF Model by OT1138

Practice, practice, practice.

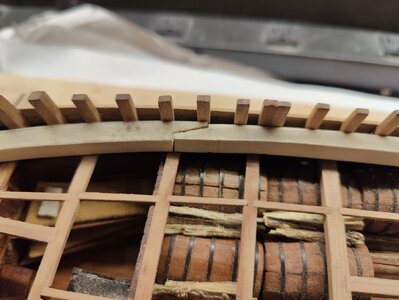
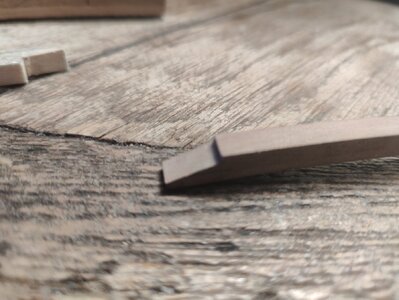
I made another set of waterways from basswood. After three tries, the scarf joint almost looked right (top photo... These pieces will be discarded). It turns out that my vise was too large, so I purchased a small 2" vise and tried again using pearwood. Much better result.

It then occurred to me that I should probably have started from the fore and worked my way aft. So I have begun to fabricate the fore most piece and will attempt to fit the middle waterway in between.
IMG20240311062538.jpg

IMG20240311205306.jpg

IMG20240311205328.jpg
 
If I'm measuring correctly, the waterways are more or less 8mm. I've been tapering starting at the centerline, so about 4mm in. How wide are the planks which sit above?
sorry, but this you have to check in the drawings or you define which type of wooden stripes you use for the inner planking - so you define the thickness
 
You actually answered the question, then... The tapering should start at the width of the plank which sits above. I think that will look pretty nice.
 
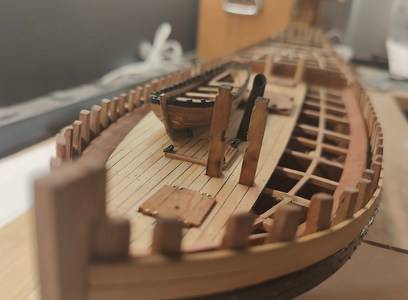
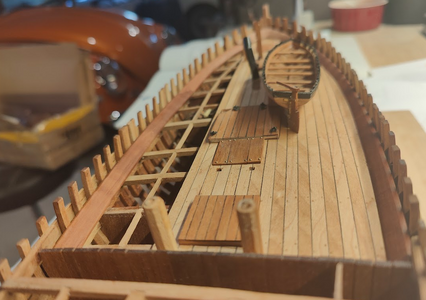
It was quite a learning curve doing the waterways but I perservered and it looks pretty good! The scarf joints are quite visible in the photo below but that's because the pieces are sitting loosely on the top beams. They fit together quite well. I note that the original deck fits perfect with the new waterways midship, but they will need to be cut to fit near the fore.

After carving the bevels into the waterways, I intend to blacken both sides of the scarf joints using Ecoline marker, just as with the deck planks.

Though the wood that came with the kit is quite nice, the pear wood puts it to shame. It would be really something to build a ship from scratch, like those shown in the Boudriot books.

1710619015300.png
 
It's probably too late now, but I wonder if the deck planks should have been cut to varying lengths before gluing them together? Would it be typical for the planks to extend the entire length of the deck?
 
It's probably too late now, but I wonder if the deck planks should have been cut to varying lengths before gluing them together? Would it be typical for the planks to extend the entire length of the deck?
Yea..., you guessed it right. It would be difficult, if not possible, to find a plank for the entire length of the deck.
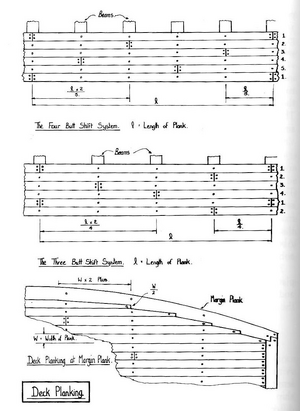
The deck planks of a real ship were laid in lengths of either 6, 9, or 12 feet. The butt joints of the planks were staggered as they were laid along the deck length. The pattern of butt joints depends on the period of the ship. Some research on your model can clarify this for you. Alternatively, you may simply choose to use one particular pattern. The below images show the shift patterns used. The important issue to consider is that neither the deck plank butt pattern, the length of the planks, or the plank width should look too crowded, cramped, or out of place. The overall effect needs to be pleasing to the eye.

Shipwrights use the but patterns. Below is the image from P. Goodma's book: The Construction And Fitting Of English Men Of Wat 1650-1850. The top image shows the 'four butt shift pattern' while the lower image shows the 'three butt shift pattern'.

1710703188208.png

Here is other examples of staggering deck planks.
1710701504129.png

In your case, since you already laid the deck in full-length planks. All you need to do is to identify the pattern applied to your ship, and carefully make butt notches with a very sharp knife or chisel of the width of your planks. make sure the cut is not too deep and too thick, Remember, it should please your eyes.

Good luck!
 
Thanks, Jim.

Unfortunately, the Le Coureur monograph gives no clues, as the nail patterns are shown but no shift pattern. Nor does one clear color photograph of Le Coureur from The Art of Ship Modeling show any butt joints.

IMG20240317171156.jpg
 
Thanks, Jim.

Unfortunately, the Le Coureur monograph gives no clues, as the nail patterns are shown but no shift pattern. Nor does one clear color photograph of Le Coureur from The Art of Ship Modeling show any butt joints.

View attachment 435646
The Courier was a relatively small craft (luger), so I assume a full-length timber was used to form the deck. Here is a screenshot from my Courier monograph.

1710717481838.png

Then, you are safe, no additional tasks, but you might add trunnels (optionally).
 
I made also no butt joints on my Le Coureur - the ship was so small, that the deck could be planked in this way.
Also Boudriot is not showing any butt joint (thanks to Jim)
And definitely the deck is so full of material with guns, ropes, boat etc. that nobody will have any overview about the complete deck planking
Very good, that you changed the decks from left to right, so no wood grain of the sheet is visible from one plank to the neighbouring plank
 
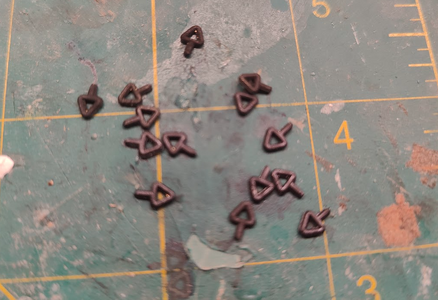
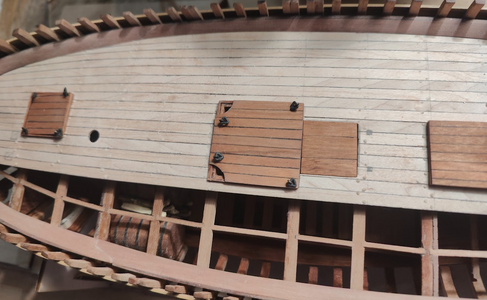
First hatch complete. It's unclear why, but my triangles (bag 6) had arms connected to one side. I could find no other bag with similar looking parts and this bag is the one mentioned in the instructions, so I think these are the right parts. I simply filed off the arm and blackened them.

1711238258044.png

1711238235023.png
 
All hatches finished and cutouts have been transferred to the deck. Time for some treenails. Unfortunately, have to wait for the right size drill bits to arrive because there's no way I'm doing these by hand.

1711319961611.png
 
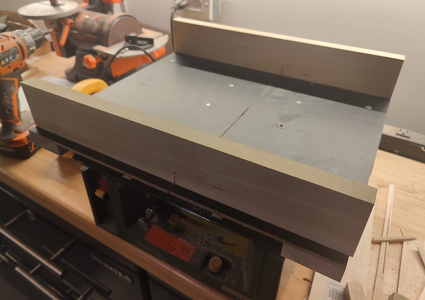
I have a Proxxon tabletop saw but I rarely use it because of how inaccurate it is with small pieces. I decided it was time to rectify this so I spent the day building a crosscut sled. I ended up calibrating it to within .04 degrees of error (!).

As my first test, I replaced the kit piece that is used to support the mast (don't know what it's called) using three planks in the manner of the Boudriot plans. It worked wonderfully. However, the piece is so perfect that it makes the matching cut in the deck look a little sloppy!

With the sled and a fine tooth blade, I'm now able to make perfectly straight cuts to a fraction of a millimeter. This should be a real time saver, not to mention how much it should improve the quality of my work.

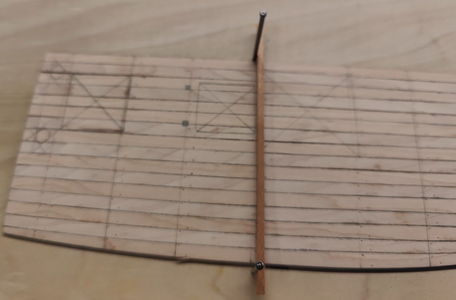
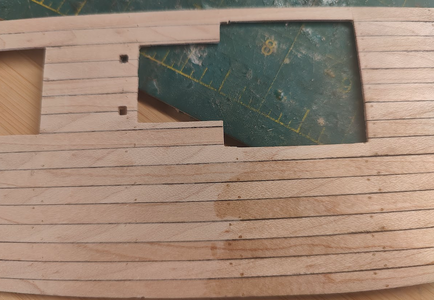
I've found that transferring the holes from plan to deck is a precarious process. I was so careful to measure multiple times and yet, I still ended up missing the water pumps (by a lot). I now have to replace a couple of short pieces of deck to get it where it needs to go.

1711932216794.png1711932264611.png
 
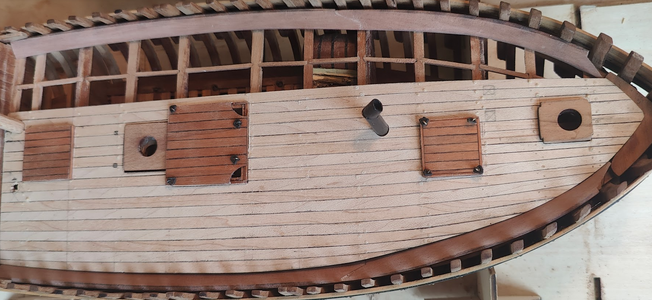
Took awhile to finish cutting the various holes in the deck. This was painstaking work, partly because the plans do not translate precisely to the actual layout but mainly because I am inexperienced with using tiny hand tools.

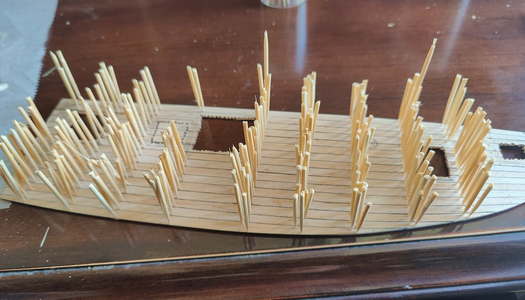
I sanded, scraped and oil the deck (three times). I was glad that I went through the trouble of making the treenails as they really popped with oil.


1712535906486.png
1712536158172.png
1712536055116.png
1712536105453.png
 
Thank you.

As an aside, I'm wondering if there is a guide or other reference about small scale woodworking techniques (mainly working with hand tools)? I can't help but wonder what I don't know about the subject as I struggle with such simple things as cutting straight lines in decks.
 
And here's a specific ask.. is it possible to cut a precise notch in a cylinder using hand tools, ie: in the manner that Uwek did with his windlass?
 
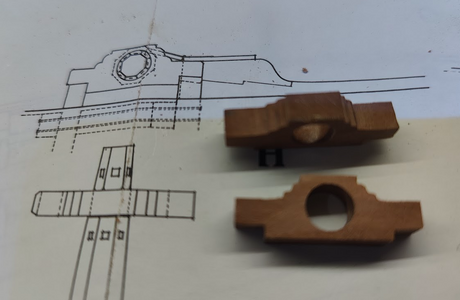
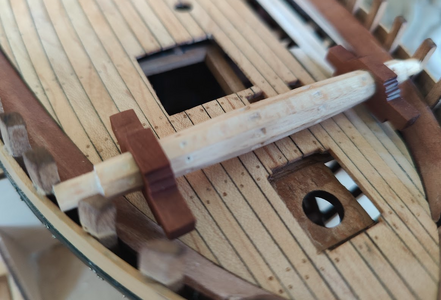
The new upgrades are paying off. I'm able to cut significantly more accurate pieces now. Here are the Boudriot version of the windlass mounts. They were a lot of fun to make with the right tools.

I have a Sherline lathe coming this week.

1713130891267.png
1713130946043.png
 
Back
Top