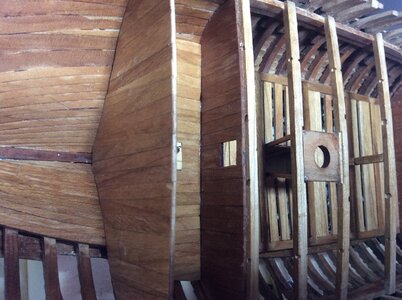
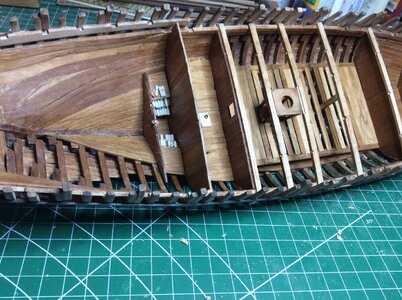
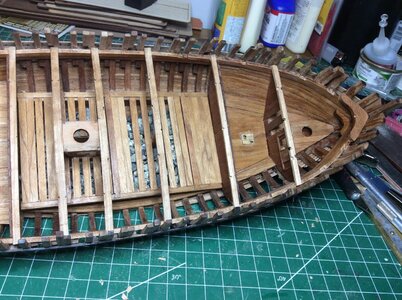
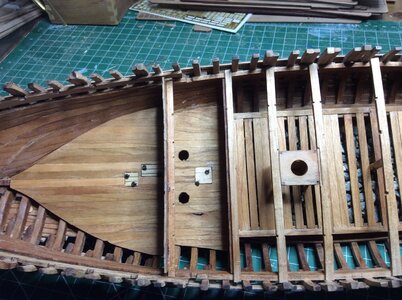
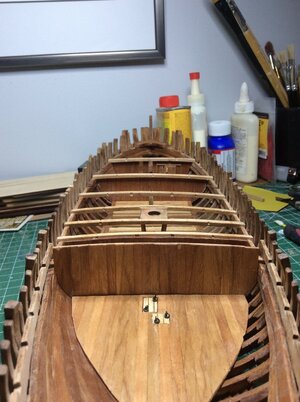
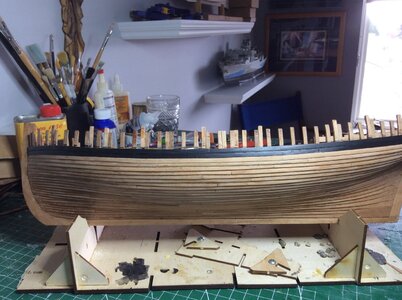
Le Coureur a 1:48 model from CAF by JEEP

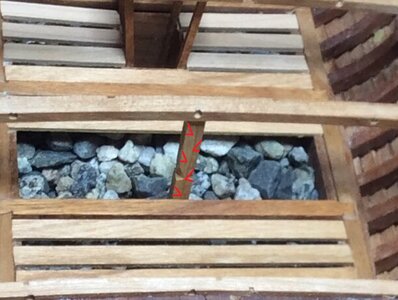
Your stone Ballast is looking very good - and also good progress -> so you overtook my built in the meantime :cool:

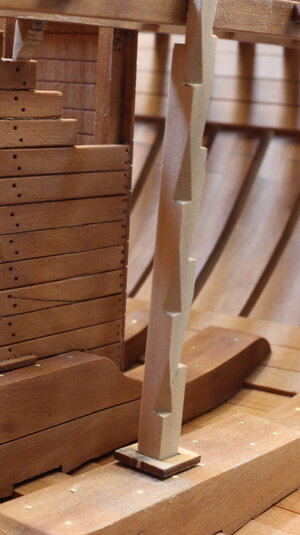
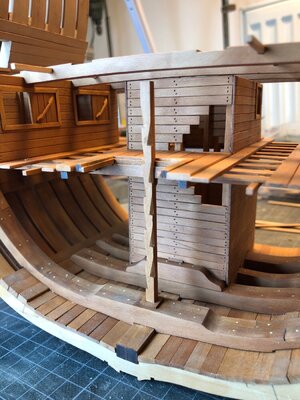
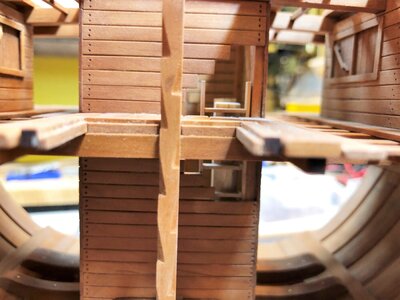
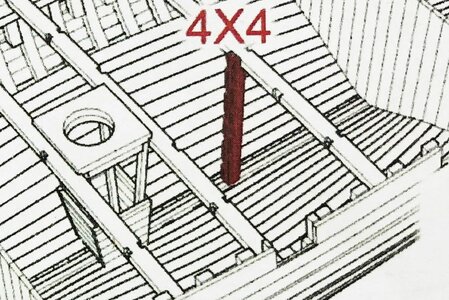
Hope it is allowed to make a short hint related to the pillar with the climbing steps - I marked with red how it would work - Maybe you find the poossibility to correct and remake the pillar - or add some more steps
30.JPG

somehow like this
IMG_5536.JPG 16.jpg 54a.jpg

The steps cut into the pillar are usually on one side only - so that a seaman could climb up and down like a monkey
It is also somehow visble at the manual and in the 3D animations by CAF
IMG-5059.jpg 4.jpg.434af5402537edf1031a4cf6b6aafaec.jpg
 
I love every step you have taken in this project.
Everything looks so perfect and neat.
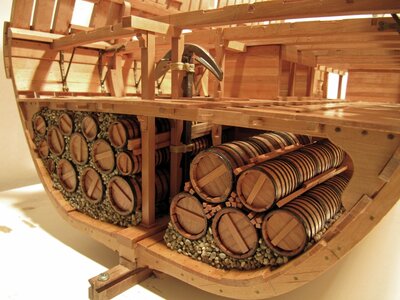
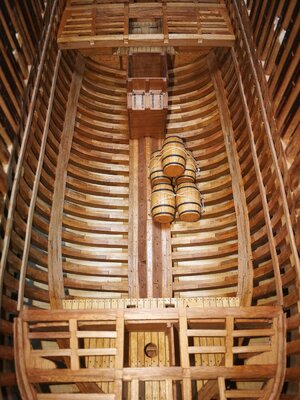
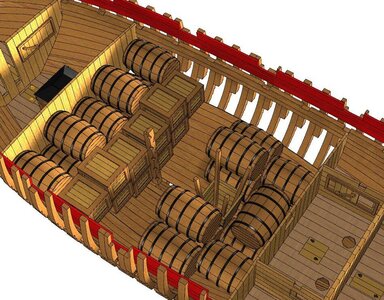
I’m special interested in your last picture since I’m looking for ways of how to rearrange the barrels and other items in the hold.
In your picture I don’t see any form of stopping the barrels from moving and that has been my main concern.
I was planning to arrange the barrels as you showed, but I’m also researching “How to secure them”.
Any ideas?
 
Your stone Ballast is looking very good - and also good progress -> so you overtook my built in the meantime :cool:

Hope it is allowed to make a short hint related to the pillar with the climbing steps - I marked with red how it would work - Maybe you find the poossibility to correct and remake the pillar - or add some more steps
View attachment 218841

somehow like this
View attachment 218855 View attachment 218845 View attachment 218848

The steps cut into the pillar are usually on one side only - so that a seaman could climb up and down like a monkey
It is also somehow visble at the manual and in the 3D animations by CAF
View attachment 218857 View attachment 218856
I feel that you put in more time and detail, on any given step, than I. So, I catch you.
As they say " haste makes waste" or.... " haste makes for a shitty Monkey pole."
I do have to be more patient Uwek and stick with "the plan."
 
I love every step you have taken in this project.
Everything looks so perfect and neat.
I’m special interested in your last picture since I’m looking for ways of how to rearrange the barrels and other items in the hold.
In your picture I don’t see any form of stopping the barrels from moving and that has been my main concern.
I was planning to arrange the barrels as you showed, but I’m also researching “How to secure them”.
Any ideas?
Perhaps by adding weights inside the barrel ie: stones or lead
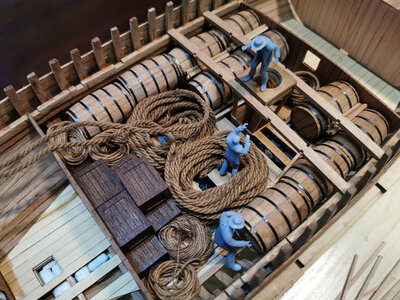
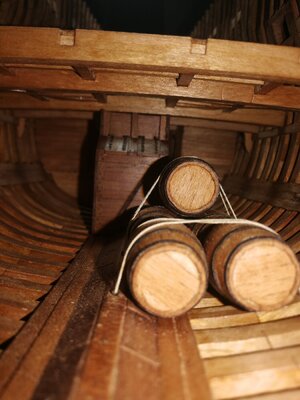
will give them a more realistic feel. In a ships hold these would be lashed with rope when underway. Try adding deadeyes to the flooring and ,or frames.
 
Perhaps by adding weights inside the barrel ie: stones or lead
will give them a more realistic feel. In a ships hold these would be lashed with rope when underway. Try adding deadeyes to the flooring and ,or frames.

Thank you Jeep
That’s great, I’ll do that.
 
I love every step you have taken in this project.
Everything looks so perfect and neat.
I’m special interested in your last picture since I’m looking for ways of how to rearrange the barrels and other items in the hold.
In your picture I don’t see any form of stopping the barrels from moving and that has been my main concern.
I was planning to arrange the barrels as you showed, but I’m also researching “How to secure them”.
Any ideas?
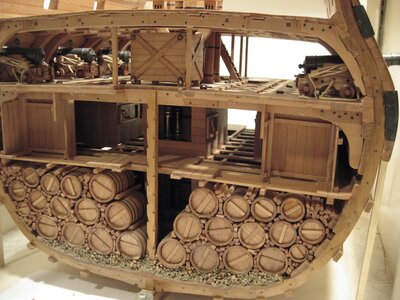
Like @jeep mentioned already - I am pretty sure, that they partly lashed the barrels, but most often, especially usual for transports over a longer trip, the seaman filled the gaps between the barrels with firewood
Like shown here in the amazing Bonhomme Richard section by @Jeronimo on the right side
28. (153).JPG


or even better shown in his 74-gun ship section
23.009.JPG


The idea with timber was also follwed by CAF in his test model
37.jpg
 
Thank You Uwek for the explanatory photos.
Is like they say: “Pictures are better than a thousand words”.
The firewood and lashing is what I’ll do.
I love it how you come alone with the right pictures.
 
More ideas. That’s GREAT.
I’m saving all of this good reference pictures.
I feel more secure now about how to store my barrels in the hold.
I really love the pictures.
I guess that who ever came up with this method had seen it before on some kind of old archive drawings, correct?
 
More ideas. That’s GREAT.
I’m saving all of this good reference pictures.
I feel more secure now about how to store my barrels in the hold.
I really love the pictures.
I guess that who ever came up with this method had seen it before on some kind of old archive drawings, correct?
What I forgot is the topic Methods of stowage - ballast and ground tier in the hold etc. I made once here in our forum - (sorry once more Jeep)

 
Sorry @jeep for once more kidnapping your log, but I wanted shortly send a link to a building log of the building log of the Druid by @wang where he is showing some possibility of lashing the barrels

View attachment 219421 View attachment 219422

This looks more like it. Loose barrels bouncing around in a sea would lead to a very sad outcome. I think sand and sticks would work perfectly for inland waterways but certainly not for open sea. Depends where you want your imaginary ship to sail. :cool:
Thanks for the info.
 
Finished with bulk heads and some flooring. Still needs a little cleaning up though, I cut 2 notches half way up the two verticals of the cradle to give the hull a more workable tilt. I will not be nailing the hull as I feel the nails are a bit of a rip-off. Well over 100 Loons for us Canadians.
 
I will not be nailing the hull as I feel the nails are a bit of a rip-off. Well over 100 Loons for us Canadians.
Well...buying the copper nails is not necessary, IMHO. You can use a core copper wire (can be purchased in local home improvement stores, or internet) 18 gauge or 1.0mm made by Hilman I bought in the Home Depot store.


You can make your own nails for a few Coureurs ;)
 
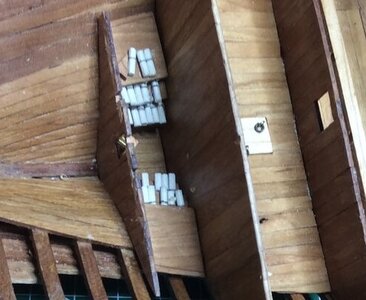
Very good progress and it is looking very good - I like your white powder bags - did you use the dowels and painted them, or did you make them differently?
35.JPG

I agree with Jim refering the copper "nails", wire is also possible to use and to get the same effect. nails have only one advantage with the pointed needle, so it is slightly easier to install......
 
I wonder if sterling silver wire (hard) would be useful for nails? It seems to be quite cheap (apr. 4$ for 1 meter Ø 0.5 mm). Perhaps also MIG welding wire could be an option? This seems to be available in stainless steel and in several different alloys. Anybody having experience with one or the other? Otherwise I think I'll use 0.5 mm brass rod for nails.

I'm thinking , in case of using rod or wire maybe first cut them in double length using a high tapering angle and then a normal 90 degree cut (or roll cut) in the middle to make 2 spikes
silver wire is off course also possible, it will be a pure question of esthetic and taste
For me silver would be no alternative because the nails would be too shiny - because of this I chose the copper as material, because the shiny effect is getting less with time - already after one week the surface of the nails is already dull

Anyone who has inherited silverware from their ancestors knows how badly the stuff tarnishes. in our case, this is desirable. But I will also rather use copper because I think silver nails were rather less used in shipbuilding. ;)
 
I wonder if sterling silver wire (hard) would be useful for nails? It seems to be quite cheap (apr. 4$ for 1 meter Ø 0.5 mm). Perhaps also MIG welding wire could be an option? This seems to be available in stainless steel and in several different alloys. Anybody having experience with one or the other? Otherwise I think I'll use 0.5 mm brass rod for nails.

I'm thinking , in case of using rod or wire maybe first cut them in double length using a high tapering angle and then a normal 90 degree cut (or roll cut) in the middle to make 2 spikes
Hello Poul, Siver wire (hard or soft) is a very good material if you have intentions to blacken the nails, I would say go for it!! This material is the best when using blacken patinas. It holds the patina for a very long time (years) without distorting the timber. Over time, it even oxidizes itself naturally. Silver material is very popular among Russian modelers in the past and still. It somewhat expensive compared to brass or copper wire. Personally, I am a big fan of silver wires. ;)
As Uwe mentioned, it just a matter of personal preferences and taste.
 
I did go ahead and order a role #18 gauge antique brass. It was only 11 loonies so worth a look. The silver sounds like an interesting alternative as well.
Now begins the journey of "a thousand holes", ...........Cautious

Hi Uwek ......... I did use the wooden dowels , painted off-white, scored them with a dull blade, then etched in with carbon pencil. not enough dowel though.
 
Back
Top