Le Mercure ANCRE Plans

Joined
Jul 22, 2019
Messages
87
Points
213

Hi all,

I am scratch building Le Mercure from ANCRE plans.

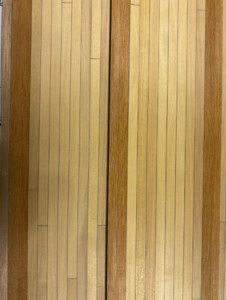
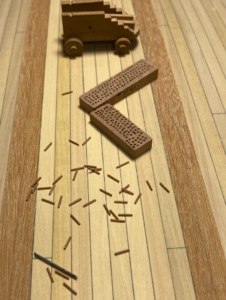
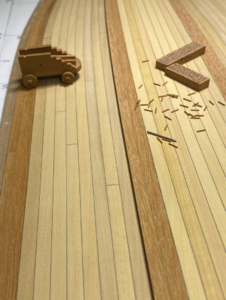
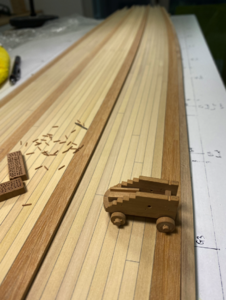
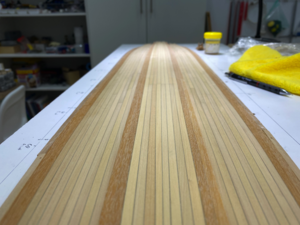
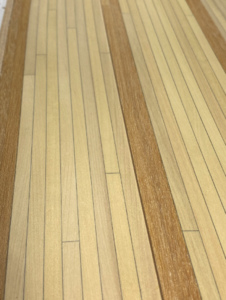
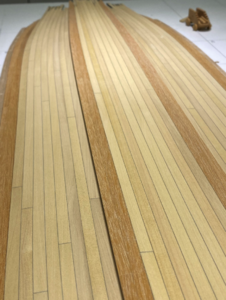
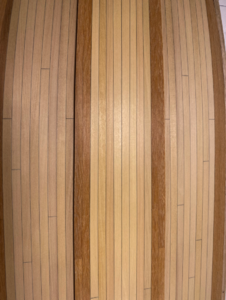
I post some photos of my main deck. This is built off of the model and inserted later which makes working with the deck much easier. I still have further scraping and sanding of the deck - this is only rough at this stage. The centre strip (which will remain raised by about 1mm) is only temporarily held in place with toothpicks (which are not visible). Again, the ability to detach parts as needed (and not applying glue until the very end) makes working with these items far easier.

My main deck is built in 3 separate parts but when joined appears as one.

You will also see nails which I make with a syringe and Pear wood. I have several thousand of these which I will insert in to the deck in the coming days.2020-06-08 16.29.30.png2020-06-08 16.29.46.png2020-06-08 16.47.30.png2020-06-08 16.47.50.png2020-06-08 16.48.48.png2020-06-08 17.25.58.png2020-06-08 17.27.23.png2020-06-08 17.27.40.png
 
Also from my side a warm welcome here on board...... very accurate work on your deck you are showing us.
Can not wait to see more of your model .......
In which scale are you working?
For everybody interested in this ship, please check also the planset review here on SOS
 
Welcome aboard, SOS! Will be very interesting to watch this model built. In my observation, I have seen building the deck outside of the model is used by many Russian modellers, specifically Dr.Mike ( Bezverkhny ). Very clean and accurately made!!! :)
 
Thank you for your comments.

Please let me answer your questions:
> This is a 1:36 scale model.
> The gauge of my syringe needle is g20. I have experimented with g18 through to g22 and for this scale g20 is my preference. I have also experimented with many woods and Pear nails (on a Castello deck) is my preferred option. This gives a subtle nail that is not too noticeable. Making these nails is very easy once you learn how to fashion the syringe tip. I can usually make about 2,000 nails in a day all with an identical and exact diameter and no "ripping" of the outer edges.
> I spent many weeks in St Petersburg with Dr.Mike ( Bezverkhny ) and Alex Dobrenko (who has, very sadly recently passed away). I use many of Dr Mike's techniques in my models although I have modified things for my own style. I keep in regular contact with him and he is an absolute gentleman and perfectionist.

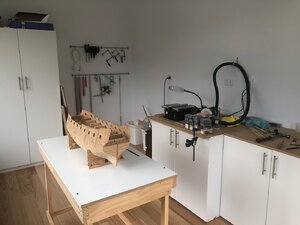
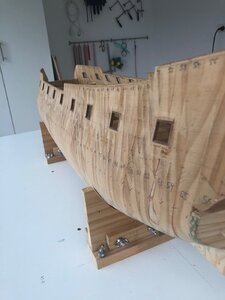
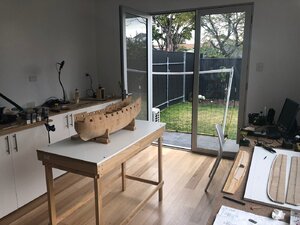
I attach some photos of my hull (yet to be planked) and the initial work on the deck (scraping).

2020-06-08 16.04.45.jpgIMG_3242.jpgIMG_3244.jpgIMG_3246.jpg
 
Yes - it is a very special way Dr.Mike make the models - so I am looking forward to see more of yours and the adjustments you made.
Your hull is looking very promising - Hope to see often some progress and also some description, how you work -> will be very interesting
 
Aside from the great work Anton,the one big observation I would make is that the hull is devoid of any movement cracks,I am familiar with the different techniques employed by various Russian/Ukranian modellers to combat the effect humidity changes and have to say DrMike's system really does work.It must be a good few years since you built the hull and I bet it looks as good now as then.If you follow Dr Mike's work now,you will know he has a new "technology"using Birch ply.

Kind Regards

Nigel
 
I have fond memories watching that video and in particular seeing Alex (with the blue shirt). Those videos were a lot of fun to make. Alex had a dry sense of humour and was a wonderful host. We had many laughs. He was genuinely passionate about ship modelling and anything naval. I do miss him.

I built this hull about 10 years ago and as a consequence of having 3 children put my model to the side. It has, I must say, remained perfect in that period with no cracking or warping at all. The lines remain as they were when I built it. It will be delightful to plank (which will happen very shortly). I started the main deck about 8 weeks ago and worked on it daily during the lock down. The photos I posted were only taken a few days ago.

I will continue to post my techniques. Please note I have 3 very young children and have to work a normal job! However, the model is now a priority for me and I get out to my workshop at least every 2 days.

@NMBROOK : Thanks and I am aware of Dr Mike's new and updated techniques with hull construction and how they have changed.

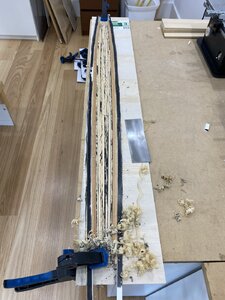
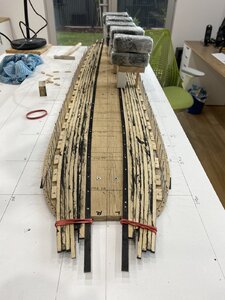
For those who are interested I show a photo of how I attach planks and weigh them down. The deck looks extremely messy prior to scraping but I can assure you everything has been measured extremely carefully.


2020-05-09 17.04.10.jpg
 
Great work you did. An interesting feature is the sidegallery and transom meeting edge. I think about the decor it is too close to the hull in this planset -

Polish_20200611_092938191.jpg
the painting of the dust cover is more to my ideas.

I do like your building style...
 
Back
Top