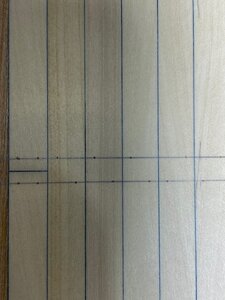
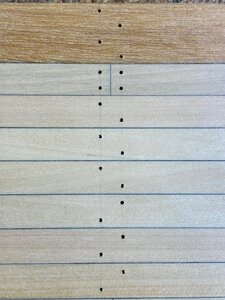
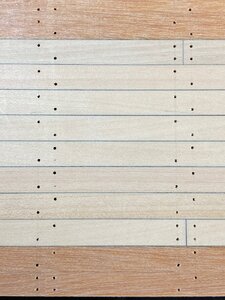
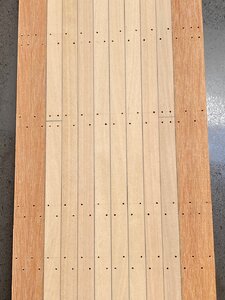
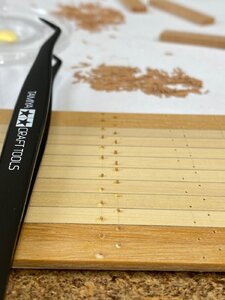
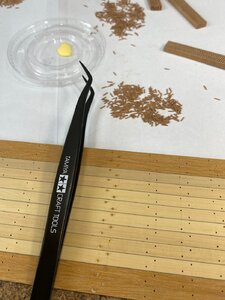
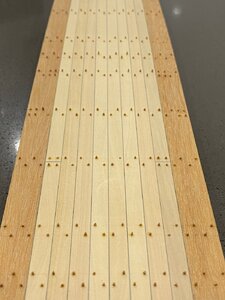
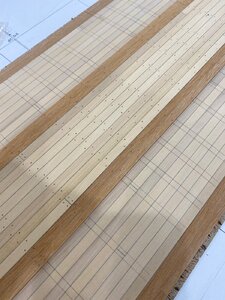
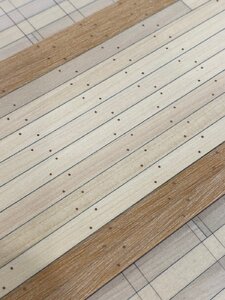
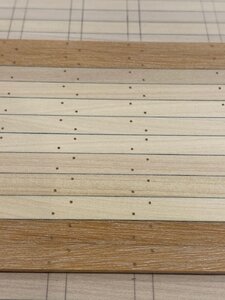
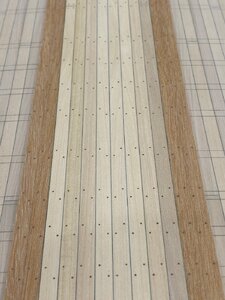
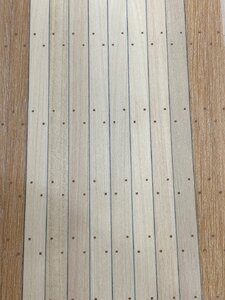
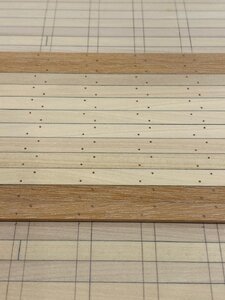
I actually posted my last message in haste as I was making nails.
The nails in my photo were largely all experiments using varying RPM between the Proxxon hand drill and the Proxxon Drill Press and I won't likely use all of them on my model. I was curious to understand the difference in speeds and tools on the end result. I think I now have the ideal combination and my preference is the drill press as it allows you to cut the nail at exactly perpendicular minimising the friction on the nail and the likelihood of burning or breaking it. You do have to move the table every nail (which takes a fraction of a second longer) but this is not an issue to me at all. The Drill Press has the limitation of only 3 speeds but I am finding the fastest speed (8500 rpm) and the middle speed (4200 rpm) both work well. I managed to cut 1200 nails in about 1.5 hours (these are not featured in my photo). This means in a full day you could make all the nails you need for your model.
As I said earlier, the correct profile on the syringe tip is the secret as well as ensuring you never cut deeper than 4-5 mm in to the Pear. Every 200 nails, I remove the syringe and clean it with a pin that has the exact diameter of the internal of the syringe. Every 500 nails I give the syringe tip a quick sharpening on my extra fine flat file and then re-clean the inside to remove burrs and dust.
You must cut in the same direction as the grain of the wood and ensure the wood is absolutely secure when drilling in to it. Any movement of the wood (as the syringe penetrates it) will increase the probability of the nail breaking and ending up in your syringe tip. Some times when this happens it is impossible to remove the nail from the syringe tip and you end up having to make another syringe tip.
The diameter of the nail is about 0.6mm and its length is 4-5mm so it is very fragile when you are drilling and can break very easily.
This method gives a very consistent nail diameter with extremely clean edges.


