- Joined
- Oct 12, 2022
- Messages
- 64
- Points
- 88

for consumers, it is overall a fair tradeof course a donkey can never become a track horse

 |
As a way to introduce our brass coins to the community, we will raffle off a free coin during the month of August. Follow link ABOVE for instructions for entering. |
 |
 |
The beloved Ships in Scale Magazine is back and charting a new course for 2026! Discover new skills, new techniques, and new inspirations in every issue. NOTE THAT OUR FIRST ISSUE WILL BE JAN/FEB 2026 |
 |

for consumers, it is overall a fair tradeof course a donkey can never become a track horse

With a lot of sore fingers probablyLooking very good
- interesting will be how you sand the inner side of the frames because of these supports you have every 10 frames.....
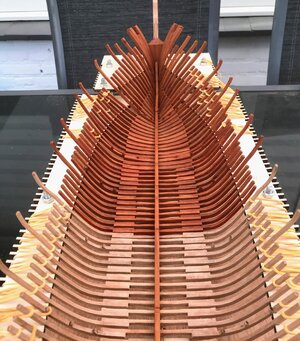
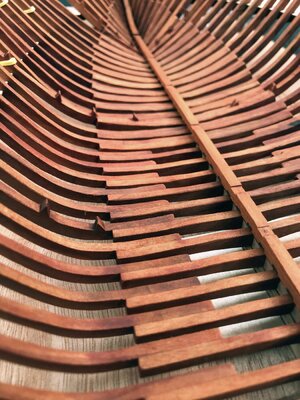
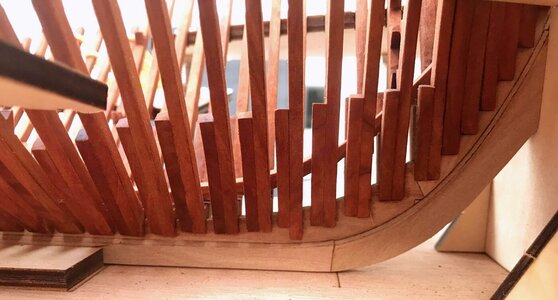
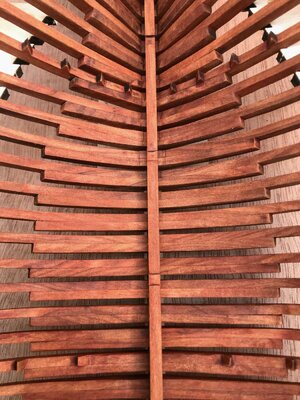
BeautifulFinally, I finished the sanding of the ribs and started with the staining. I have chosen the Royal Teak color (most votes). The real color is tricky to get on a photo, and I think the last one is the closest to reality. I'm considering to make the keel a darker color (maybe even ebonizing). Anyway, my next post will take a while, since I'll be enjoying my summer vacation abroad for a few weeks.
View attachment 385116
View attachment 385117
View attachment 385118
View attachment 385119
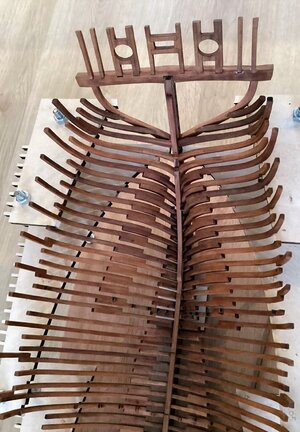
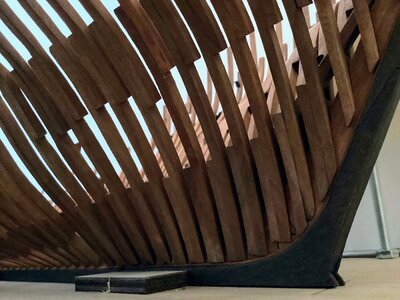

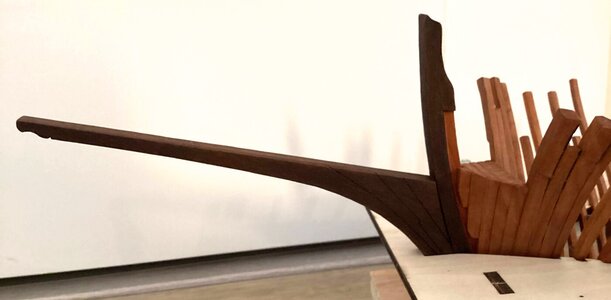
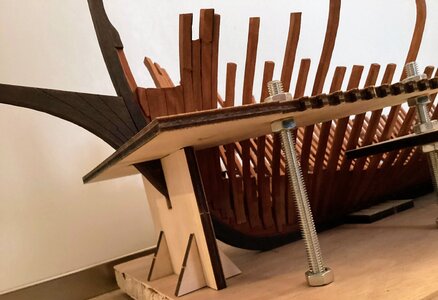
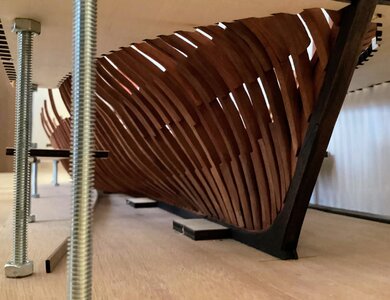

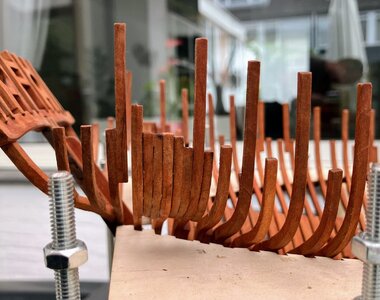
great work it's looks beautifulBack from my vacation!and time for a small update. I have fixed the inner keel and I'm almost finished with the small ribs that need to go in the back. This back part is really tricky, since there are a lot of strange angles connecting the last ribs to the frame.
Also, I have darkened the outer keel. I have added a few drops of black (water-based) ink to the Royal Teak stained solution. I'm happy with the resulting color and it dries up nicely (without staining).
I hope to finish the backside this week, so I can start with the inner planking.
View attachment 388424
View attachment 388425
View attachment 388426
View attachment 388427
View attachment 388428
View attachment 388429
Good morning. Beautiful. I love the black stem and false keel. The contrast is effective. Cheers GrantBack from my vacation!and time for a small update. I have fixed the inner keel and I'm almost finished with the small ribs that need to go in the back. This back part is really tricky, since there are a lot of strange angles connecting the last ribs to the frame.
Also, I have darkened the outer keel. I have added a few drops of black (water-based) ink to the Royal Teak stained solution. I'm happy with the resulting color and it dries up nicely (without staining).
I hope to finish the backside this week, so I can start with the inner planking.
View attachment 388424
View attachment 388425
View attachment 388426
View attachment 388427
View attachment 388428
View attachment 388429
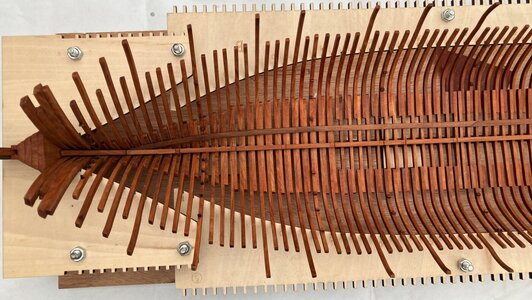
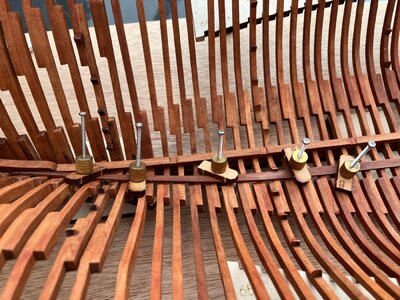
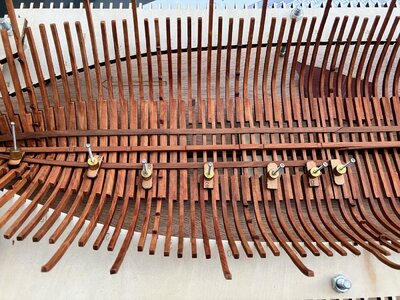
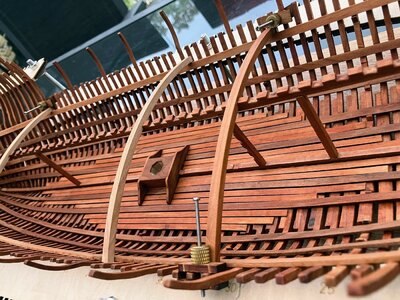
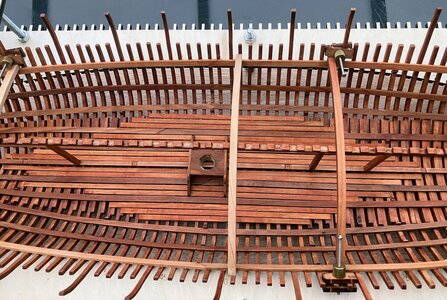
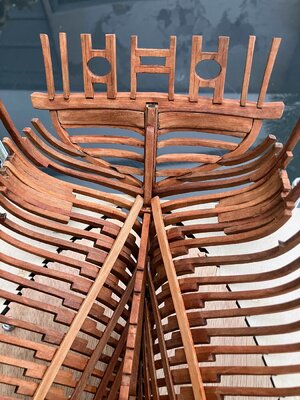
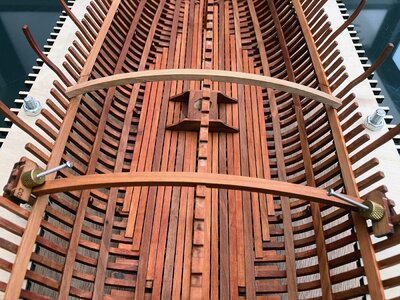
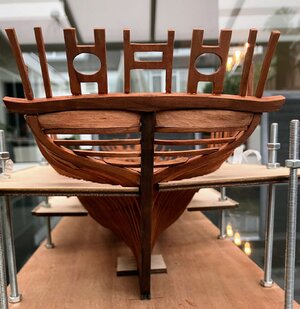
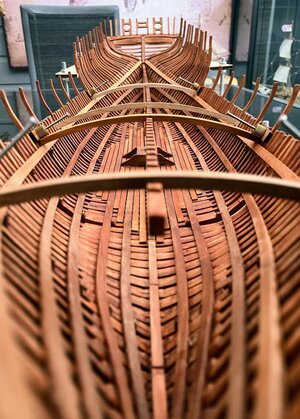
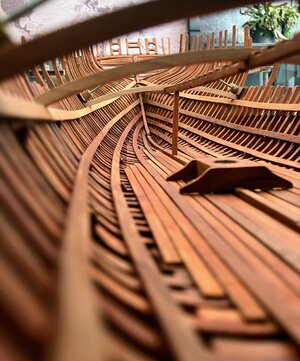
Good morning. Even the skeleton of this ship looks sexy. Very good construction. Cheers GrantThis week, I finished the ribs at the back. They took some time, since they are complex shapes. Also, I did the floor on the lower deck. The manual instructs to do it in your own style and provides a limited amount of 4 mm wooden strips. I put them loosely, but I do not think they will be very visible once the model is complete. The next phase will be to install the main deck. This starts with a center beam, which needs to be installed by 12 vertical posts. To determine the correct height, I have trimmed a few main deck beams and place them on the exact position. All in all, this is a challenging and very rewarding step of the construction of the model.
View attachment 391744
View attachment 391745
View attachment 391746
View attachment 391747
View attachment 391748
View attachment 391749
View attachment 391750
