Very accurate work -> 


 |
As a way to introduce our brass coins to the community, we will raffle off a free coin during the month of August. Follow link ABOVE for instructions for entering. |
 |
 |
The beloved Ships in Scale Magazine is back and charting a new course for 2026! Discover new skills, new techniques, and new inspirations in every issue. NOTE THAT OUR FIRST ISSUE WILL BE JAN/FEB 2026 |
 |


Thanks! Glueing was indeed tricky and it came down to my fingerspitzengefühl.These are not easily assembled! We fabricated similar parts for the "El Terrible" Spanish 74 at the USNA museum workshop. The task of assembling, shaping and coloring them fell to me. It was tedious and fussy in the extreme. Hard to glue up and easy to screw up.
My hat's off to you. Very well done!

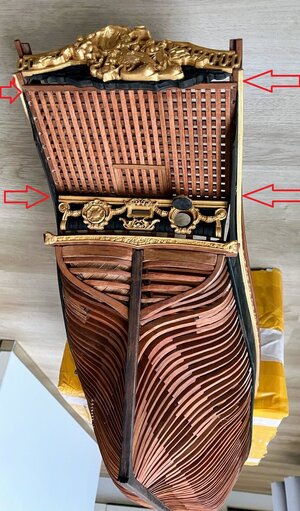
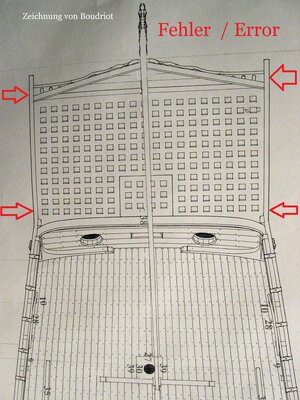
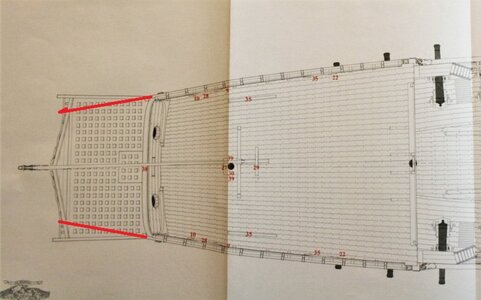
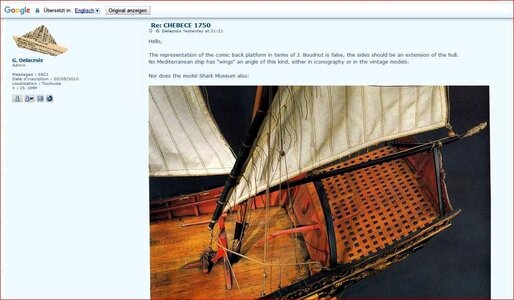
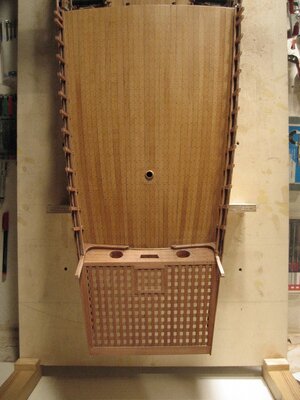
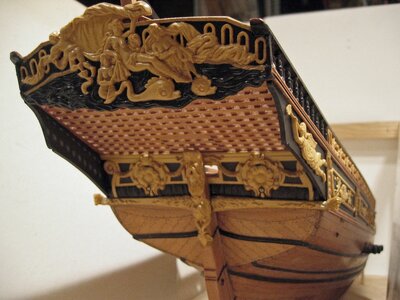
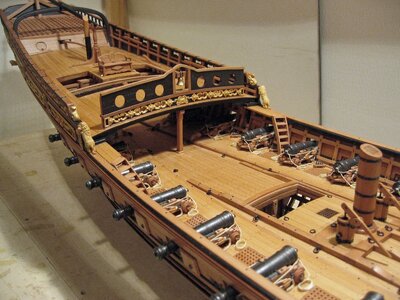
Hi Karl,Hallo Chrypton,
ein sehr schön gebautes Modell,
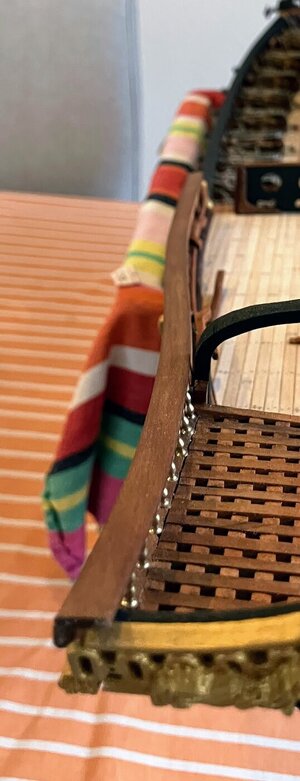
Leider mit einem großen Fehler im Bereichs des Hecks /Gitter.
Siehe Fotos/Bilder im Anhang.
Ich baute das Modell nach den Planzeichnungen von Jean Boudriot/ ANCRE-Verlag/ Frankreich,
und habe den gleichen Fehler gemacht,
konnte den Fehler nach einer Mitteilung von Gerard Delacroix noch rechtzeitig ändern.
Eine Fehlerbehebung ist jetzt in deinem Modell sicher nicht mehr möglich.
Trotz alldem , ein sehr schönes Modell. Gratulation.
Grüße
Karl
View attachment 444030
View attachment 444031
View attachment 444032
View attachment 444033
View attachment 444034
View attachment 444036
View attachment 444035
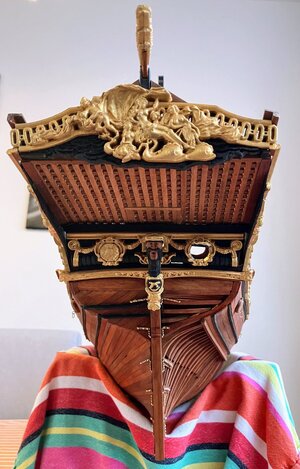
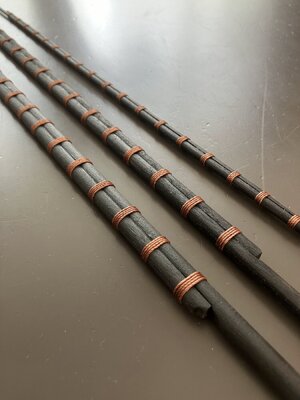
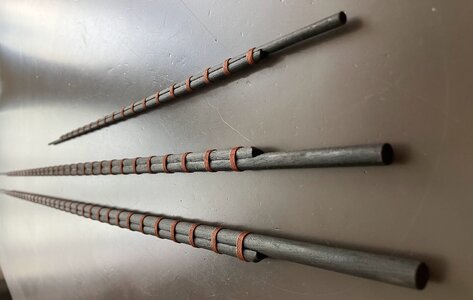
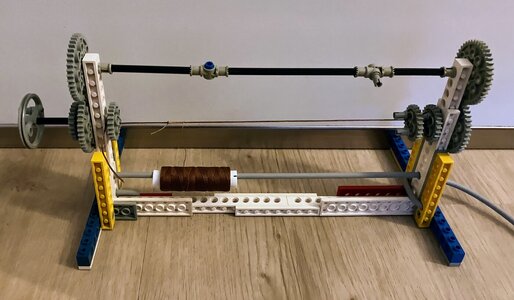
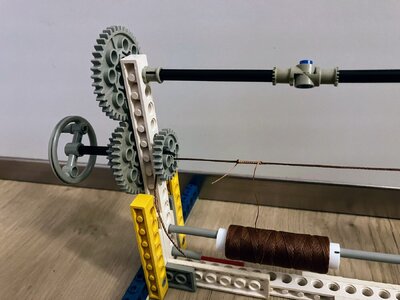
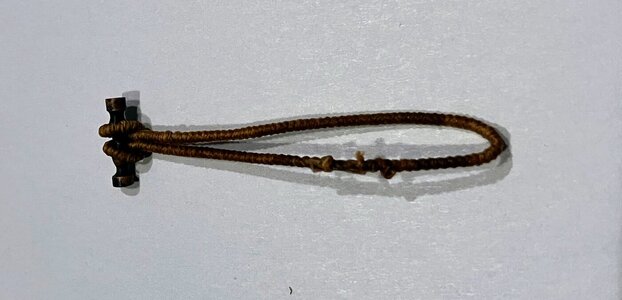
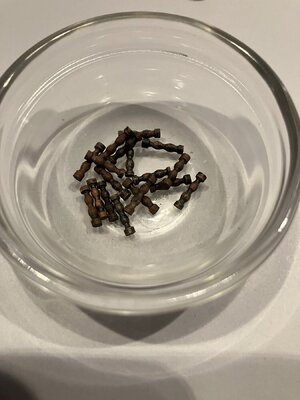
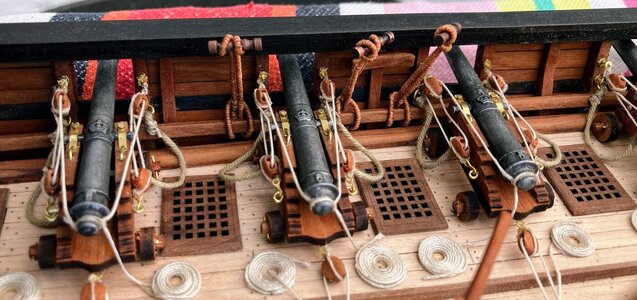

Good morning. Wonderful work. I enjoy your lego rigging machine, Cheers GrantI'm sure the pulleys will finish some day, but in the meantime I have started rigging. First, I rigged the beams, where the sails will be attached to. For the fixation of the mast, I needed to create some thick and stiff rope loops to attach in between the cannons. I built some rigging jig from LEGO to help with this. Also I "blackend" the chrome sticks to give them a more wooden color. All in all, I'm really enjoying the progress.
View attachment 446893
View attachment 446894
View attachment 446895
View attachment 446896
View attachment 446897
View attachment 446898
View attachment 446899
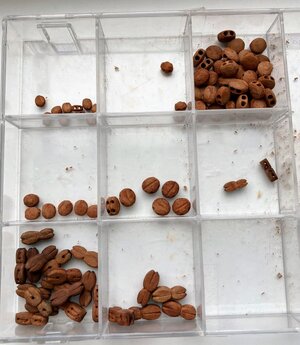
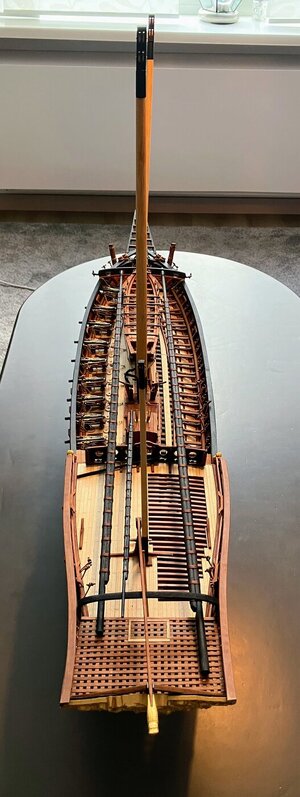
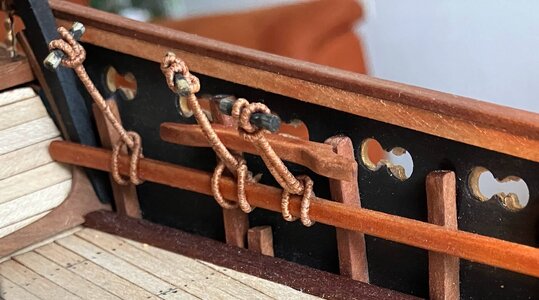
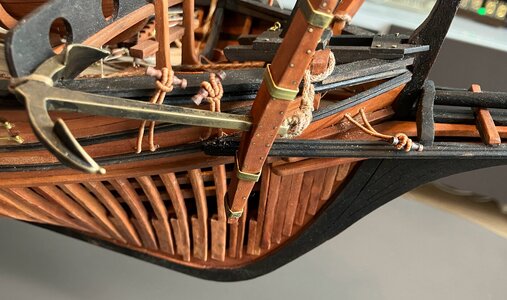
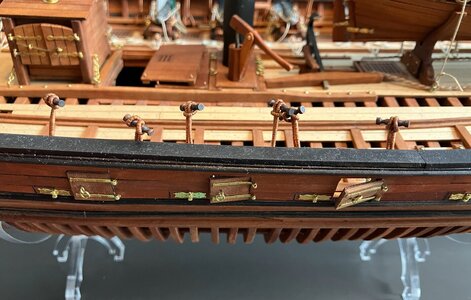
StunningThis week it has been exactly one year ago since I started building this ship. I have not regretted investing my money and time in it for a single moment. I'm very happy with the quality and complexity of the kit and the possibilities it has to improvise and personalize its looks. The only thing that could be improved in my opinion are the ropes that were provided with the kit.
At this moment, I'm finished with most of the woodwork and I expect to finish the rigging by the end of this year. This week, I also finished preparing the pulleys and continued rigging.
View attachment 448383
View attachment 448384
View attachment 448385
View attachment 448386
View attachment 448387
