Fantastic work.
-

Win a Free Custom Engraved Brass Coin!!!
As a way to introduce our brass coins to the community, we will raffle off a free coin during the month of August. Follow link ABOVE for instructions for entering.
-

PRE-ORDER SHIPS IN SCALE TODAY!
The beloved Ships in Scale Magazine is back and charting a new course for 2026!
Discover new skills, new techniques, and new inspirations in every issue.
NOTE THAT OUR FIRST ISSUE WILL BE JAN/FEB 2026
You are using an out of date browser. It may not display this or other websites correctly.
You should upgrade or use an alternative browser.
You should upgrade or use an alternative browser.
Le Requin 1/48 ZHL model [COMPLETED BUILD]
- Thread starter Crypton
- Start date
- Watchers 45
-
- Tags
- completed build le requin zhl
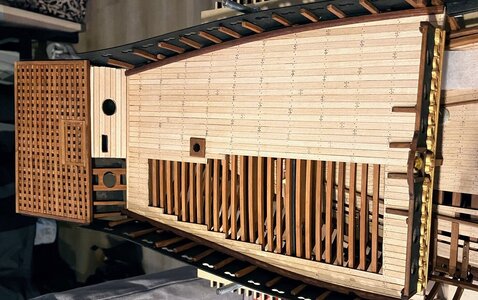
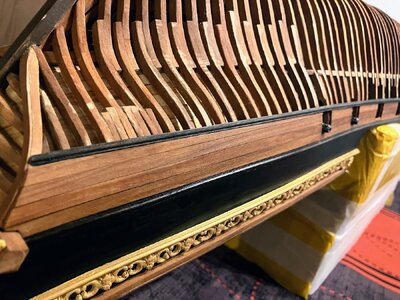
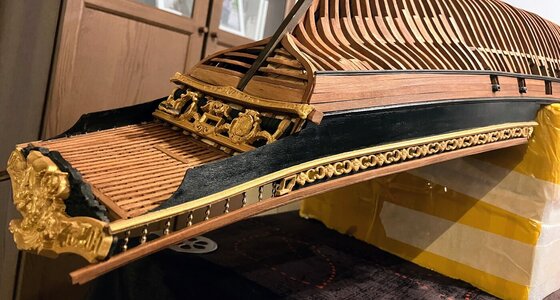
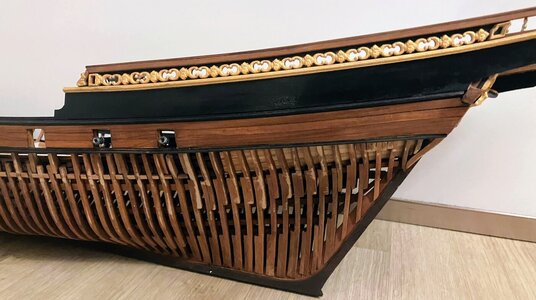
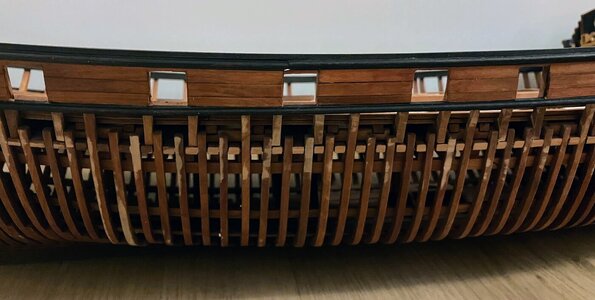
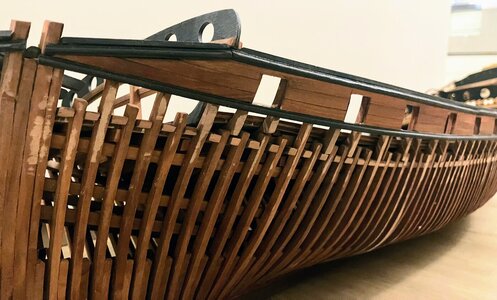
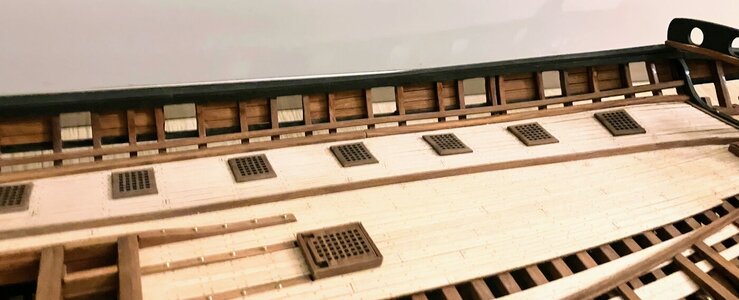
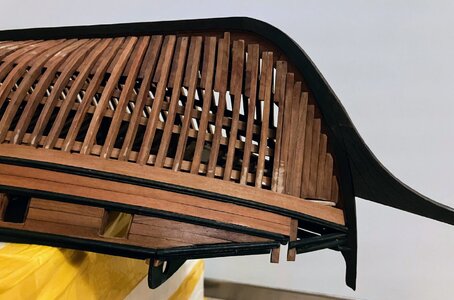
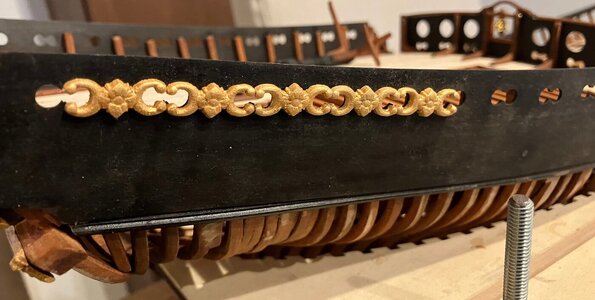
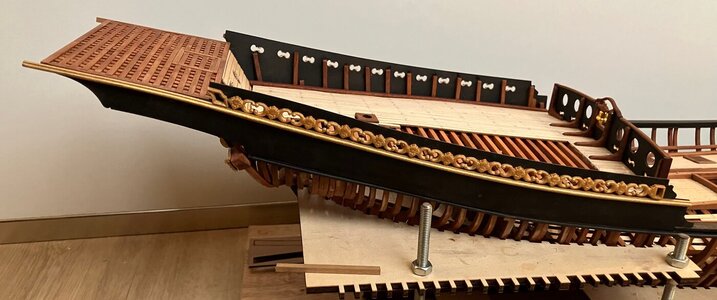
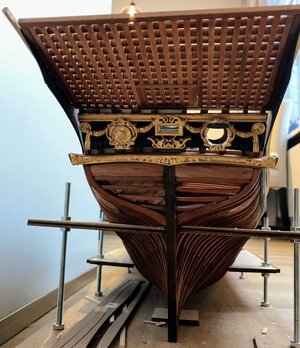
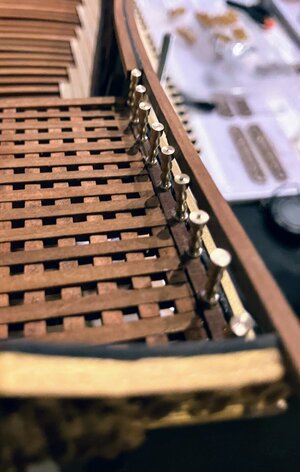
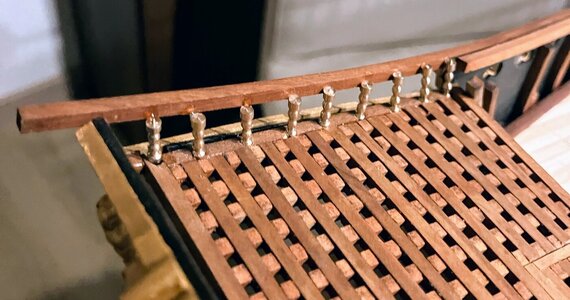
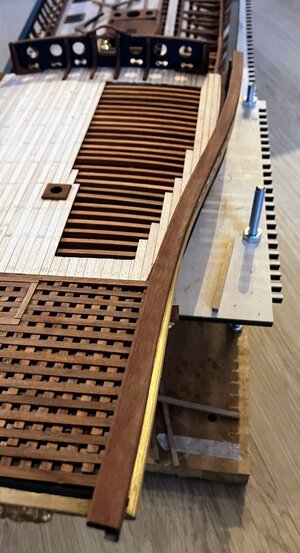
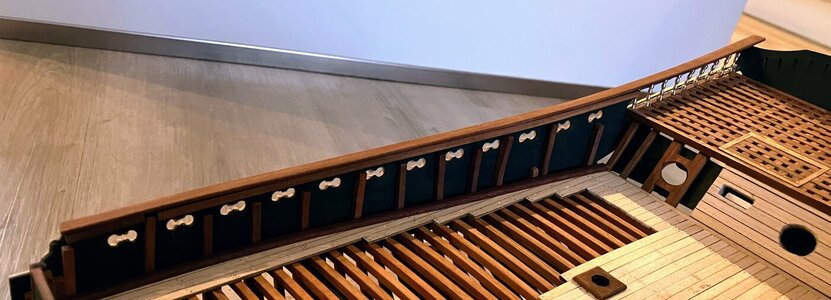
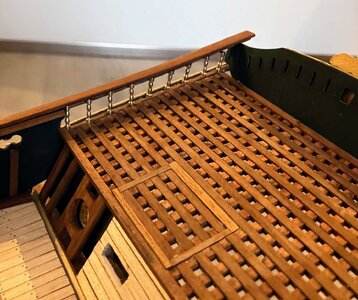
This week, I have been working on the ornaments on the sides. They need to be thinned down from 4 to 2 mm. Since the pieces are so small and fragile, I do it manually on a piece of sandpaper and only a few at a time, to let my finger tips recover/heal. The ornaments are placed first to align with the holes, and afterwards a (golden) strip is placed aligned with the ornaments and grid in the back. Afterwards, I'll place the top railing together with the back plate. Easy!! 



Looking very good CryptonThis week, I have been working on the ornaments on the sides. They need to be thinned down from 4 to 2 mm. Since the pieces are so small and fragile, I do it manually on a piece of sandpaper and only a few at a time, to let my finger tips recover/heal. The ornaments are placed first to align with the holes, and afterwards a (golden) strip is placed aligned with the ornaments and grid in the back. Afterwards, I'll place the top railing together with the back plate. Easy!!
View attachment 421141
View attachment 421142
View attachment 421143
View attachment 421144
Good evening. This is beautiful. The ZHL Le Requin has to be the best kit on the market at present. Just stunning.! You have done justice to this kit and then some. Awesome work. Cheers GrantThis week, I have been working on the ornaments on the sides. They need to be thinned down from 4 to 2 mm. Since the pieces are so small and fragile, I do it manually on a piece of sandpaper and only a few at a time, to let my finger tips recover/heal. The ornaments are placed first to align with the holes, and afterwards a (golden) strip is placed aligned with the ornaments and grid in the back. Afterwards, I'll place the top railing together with the back plate. Easy!!
View attachment 421141
View attachment 421142
View attachment 421143
View attachment 421144
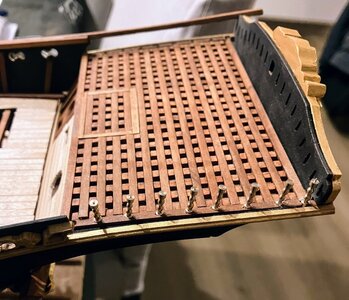
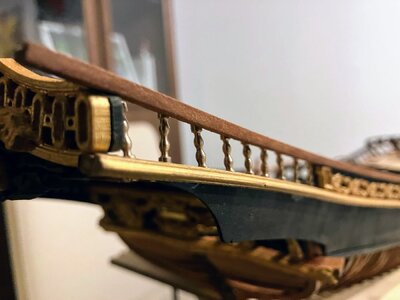
Thank you all again for your nice comments. I agree that this might be the best kit currently on the market. This week, I finished the rail on the back. There was not too much info in the manual, so I improvised a bit. Surprisingly, it all fitted very well 
Afterwards, I finally took the ship out of its frame to inspect the bottom side. There is quite some sanding to do there at least to keep me busy for another week.
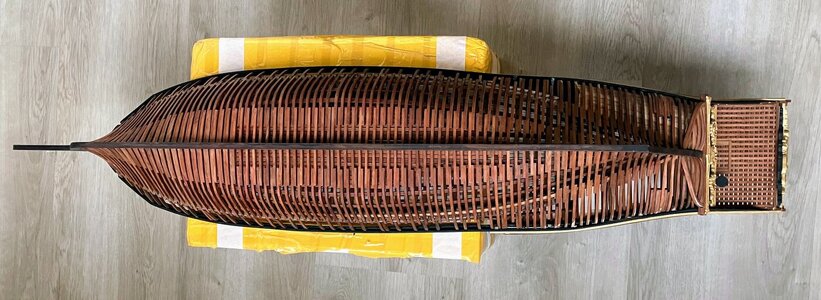
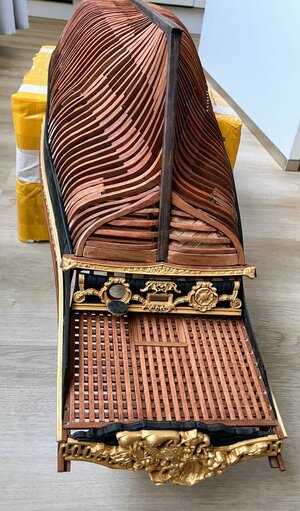
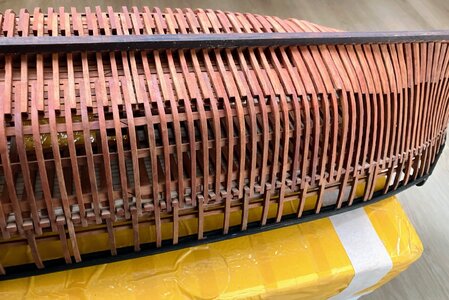
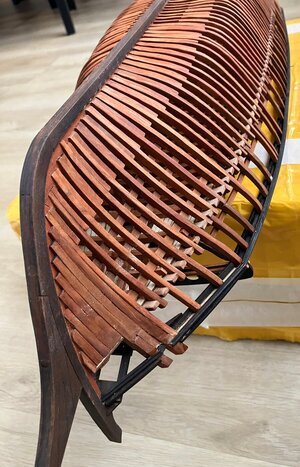
Afterwards, I finally took the ship out of its frame to inspect the bottom side. There is quite some sanding to do there at least to keep me busy for another week.


Good afternoon. I love this ship and how you are building it. Marvellous. Cheers GrantThank you all again for your nice comments. I agree that this might be the best kit currently on the market. This week, I finished the rail on the back. There was not too much info in the manual, so I improvised a bit. Surprisingly, it all fitted very well
Afterwards, I finally took the ship out of its frame to inspect the bottom side. There is quite some sanding to do there at least to keep me busy for another week.
View attachment 422806
View attachment 422807
View attachment 422808
View attachment 422809
View attachment 422810
View attachment 422811
View attachment 422812
View attachment 422813
View attachment 422814
View attachment 422815
View attachment 422816
- Joined
- Jun 17, 2021
- Messages
- 3,199
- Points
- 588

Not just splendid, humbling!
You guys from the Netherlands are a breed apart!
You guys from the Netherlands are a breed apart!
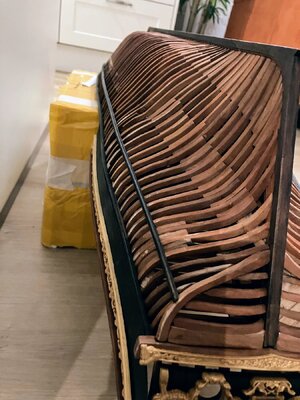
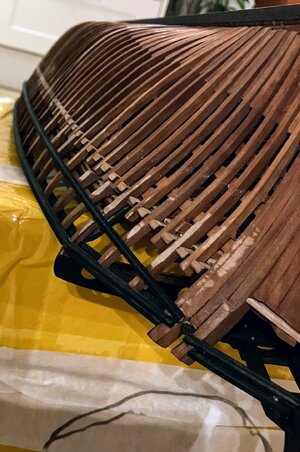
This week, I have been sanding very carefully to prepare for the planking of the hull. The top hull planks are only 1 mm thick, so there is not much room for flattening it by sanding after planking. Also, I have placed the first line of the hull reinforcements. I'm happy with the straight lines. Let's see how the planking will go...
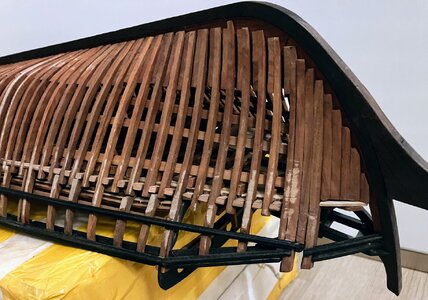
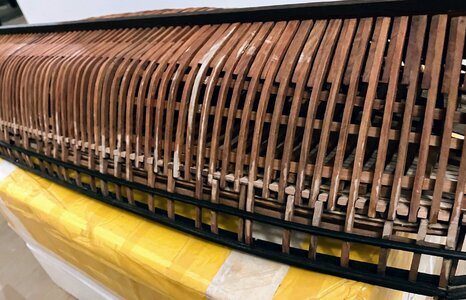
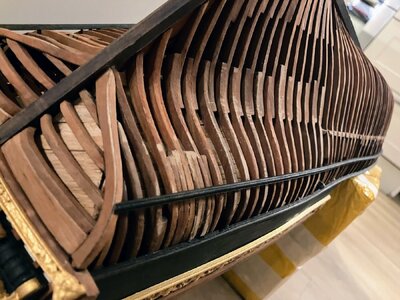


Very impressive.This week, I have been sanding very carefully to prepare for the planking of the hull. The top hull planks are only 1 mm thick, so there is not much room for flattening it by sanding after planking. Also, I have placed the first line of the hull reinforcements. I'm happy with the straight lines. Let's see how the planking will go...
View attachment 424322
View attachment 424323
View attachment 424324
View attachment 424325
View attachment 424326
View attachment 424327
Hallo @CryptonJust before finishing the Brazzera from Maris Stella, I ordered a new kit. It took almost 2 months to arrive (Aliexpress), but it was worth the wait. I have been looking for a high-end and challenging kit and I think Le Requin from ZHL is exactly that. I expect, it will take quite some endurance (no not the ship) and research (crappy chinese manual), since I did not find too many complete building blogs of this kit.
ZHL put online a nice unpacting movie of the kit () so I'll just leave it with some pictures. My first impression is really everything I hoped for. I like that everything is high quality wood (I believe I got the pear version) and the 3D carved parts are very detailed.
Like the previous building log, I will most likely post an update every week. Any help and suggestions are always welcome.
we wish you all the BEST and a HAPPY BIRTHDAY

Happy Birthday for yesterday
Wonderful and amazing work.Thank you all again for your nice comments. I agree that this might be the best kit currently on the market. This week, I finished the rail on the back. There was not too much info in the manual, so I improvised a bit. Surprisingly, it all fitted very well
Afterwards, I finally took the ship out of its frame to inspect the bottom side. There is quite some sanding to do there at least to keep me busy for another week.
View attachment 422806
View attachment 422807
View attachment 422808
View attachment 422809
View attachment 422810
View attachment 422811
View attachment 422812
View attachment 422813
View attachment 422814
View attachment 422815
View attachment 422816
Good morning. She is turning into a beauty. Cheers GrantThis week I repeated the planking on the other side and I almost finished the upper deck planking. It is not perfect, but I'm happy with the results.
View attachment 427253
View attachment 427254
View attachment 427255
View attachment 427256
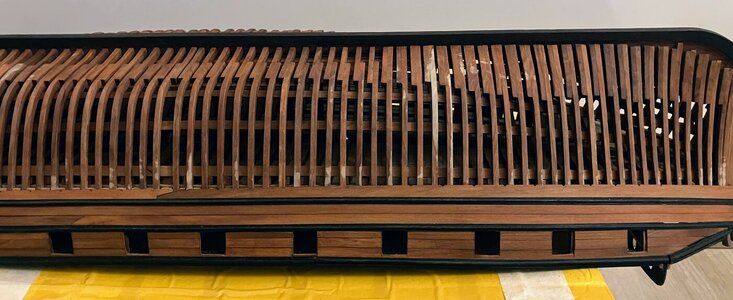
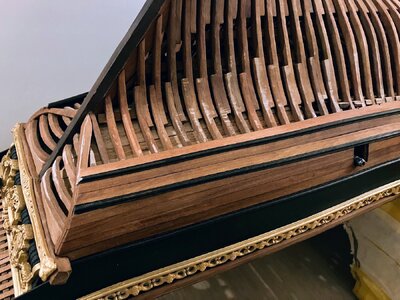
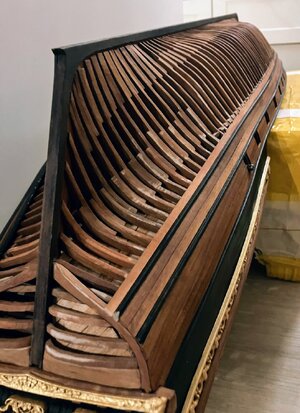
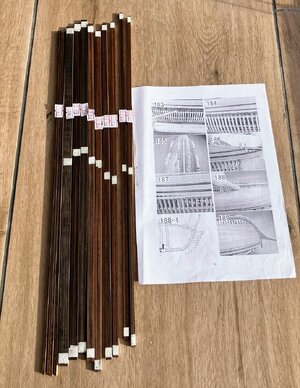
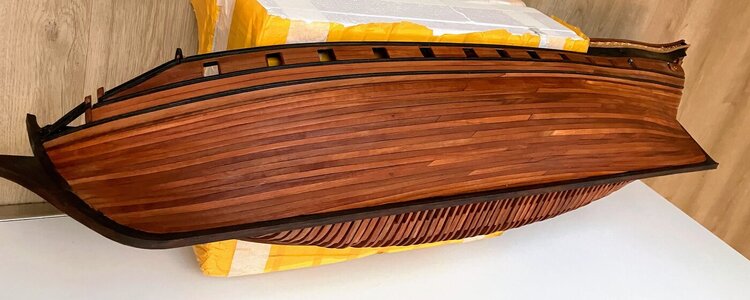
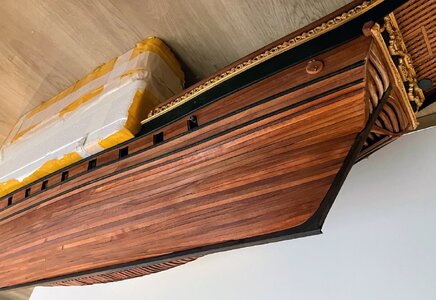
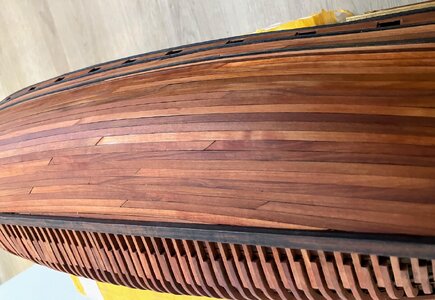
I continued with planking the hull. The instructions indicates to start with a 3.0 mm thick strip, followed by an every decreasing thickness (2.8, 2.6, 2.4 ...). For each thickness 4 strips are provided and at least 2 are needed to cover the length of the ship. Since it is high quality pear wook, I do not need to soak them or use any clamps or nails. I just super-glue them, while bending them with force force and hold them in place with patience. The planks are tapered to 4 mm in the front. For the rest there are not too many sharp bends in the hull, so planking is pretty straight forward.
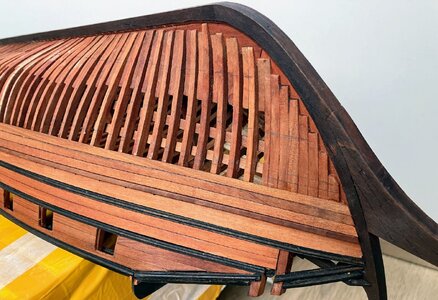
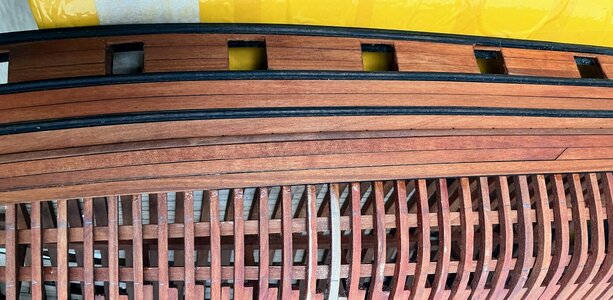
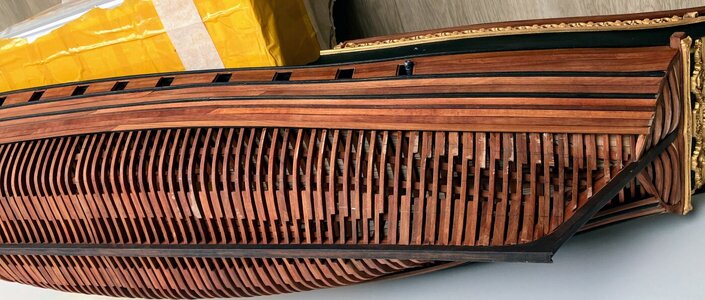
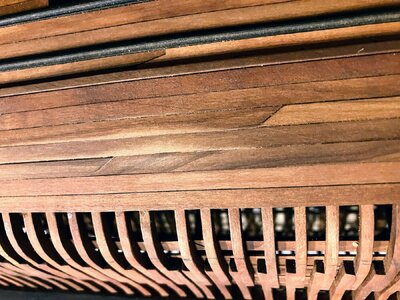
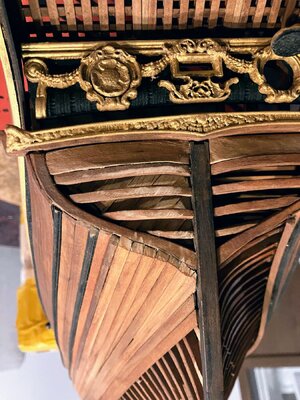


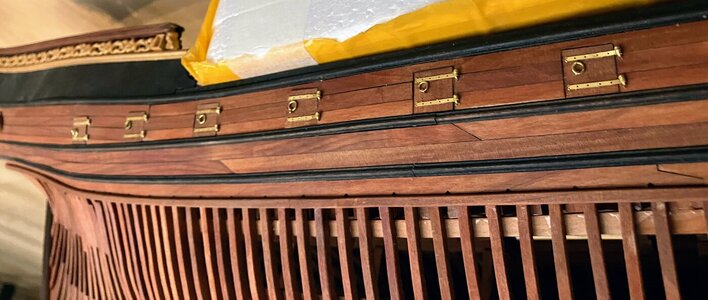
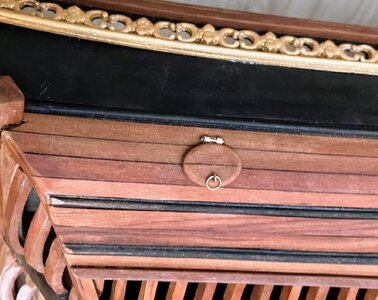
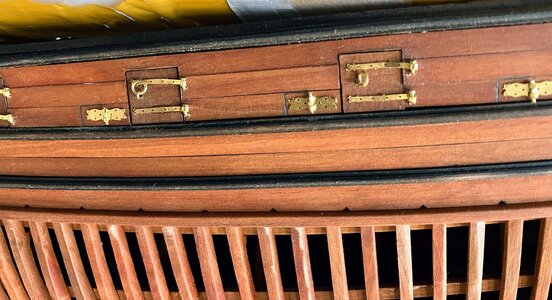
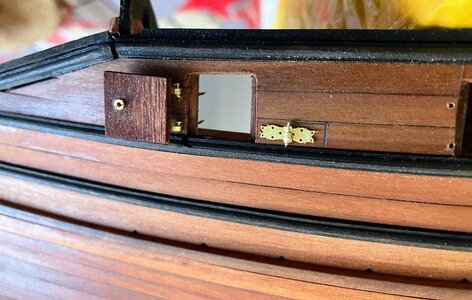
This week, I closed the hull and started with the gun-ports. The tricky part is to drill the holes straight through the bulkwards. Also, the small hatches next to the gun-ports are too small for me to cut out of the hull. Therefore, I decided to mimic them by carving a pencil line in the wood. Most likely I'll weather the brass hinges in a later stage of the build.



What a beautiful ship!!! Wow!


