Hello Friends,
I had hoped this would be a major update, but alas...
I continue to struggle with the challenges inherent to scratch building. Namely, the more complex the part the more difficult it is for me to visualize what the drawings represent. Plus, determining a proper build sequence is elusive. It seems that if I could install certain parts... that would provide some helpful constraint to the shaping of subsequent parts. But if I install those certain parts, it precludes correcting them (or further shaping them / sanding them). Basically, my lack of experience has profoundly slowed progress.
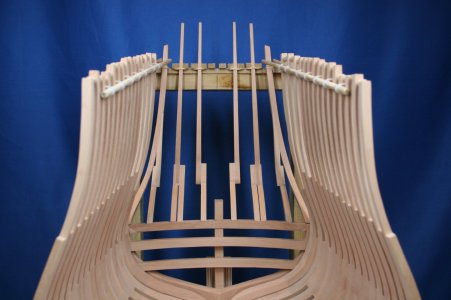
In my last progress report I celebrated the installation of all frames that originate at the centerline. Aft of that there are to be two more
frames. One of these is the top timber that goes on top of the fashion pieces. This forms the corner between the side of the ship and the stern of the ship (that is - it needs to be perfect). There is an additional filler timber between that top timber and the last frame previously installed.
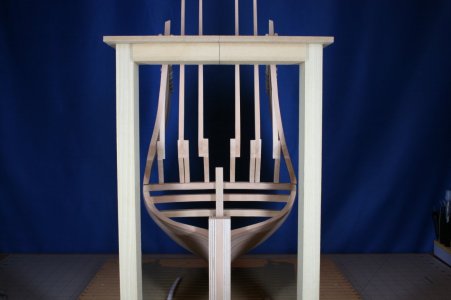
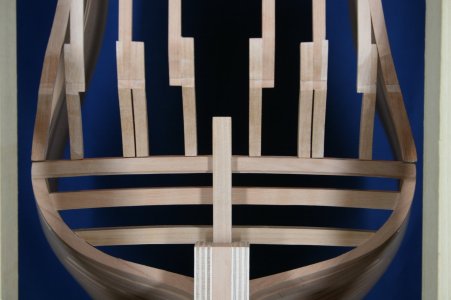
Across the lower portion of the stern there are eight stern counter timbers - and then above that are a series of upper counter timbers. These items relate one to the other.
Here are the lower and upper counter timbers during fabrication:
View attachment 536861
View attachment 536862
View attachment 536863
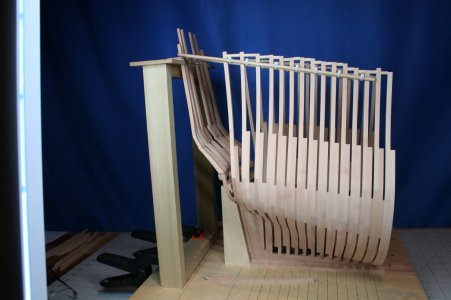
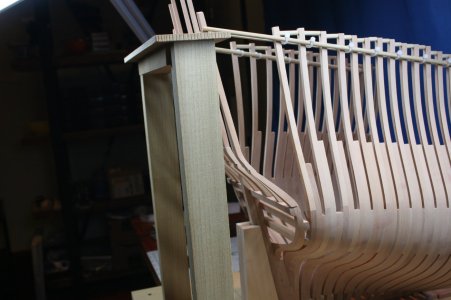
In order to control the position of the counter timbers I made a jig:
View attachment 536867
View attachment 536868
View attachment 536869
I mentioned the top timber that sits above the fashion pieces (forming the corner of the ship in the back). That piece is a 3D marvel that shares the profile of the counter timbers I just showed - but it also follows the curves of the ship hull (effectively making this piece S-shaped when viewed from the stern).
In the center of the image shown below you can see this vexing part. My first attempt was long ago abandoned. This was the second attempt. It has also been binned after an investment of nearly a full day. I made the mistake of trusting the drawing of the filler frame (labeled #18 in the picture below) when creating the curved portion of the fashion piece top-timber.
Anyway, I have given up for the day and will make another attempt over the weekend.
View attachment 536864
I'm sure you are familiar with the "I don't think I can build this thing" feeling...

 ("pervert" in a Japanese way of course)


