Libertyship Jeremiah O'Brien (Trumpeter/Eduard 1:350)

Joined
Nov 2, 2020
Messages
91
Points
143

Hello all,

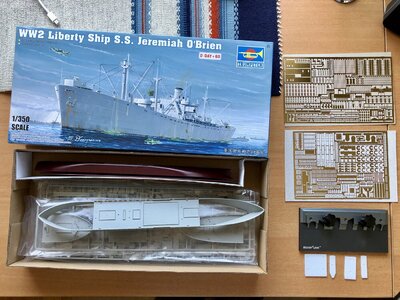
After finishing the Japanese Byodoin temple, I was looking for something very different. So I wanted to do more with weathering and I was looking for a plastic kit from a merchant ship which I could make really scuffy and battered. There are not so many kits from civil freighters, but I found the Jeremiah O'Brien also a very intriguing ship with an interesting history (Check here: https://en.wikipedia.org/wiki/SS_Jeremiah_O'Brien)

So I ordered it and I am now waiting anxiously at home to start.

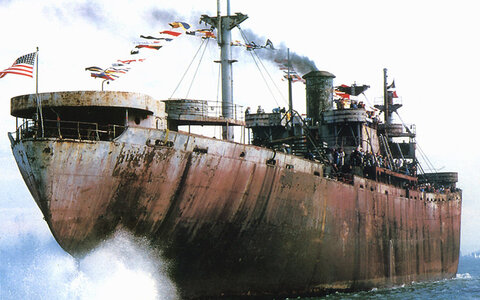
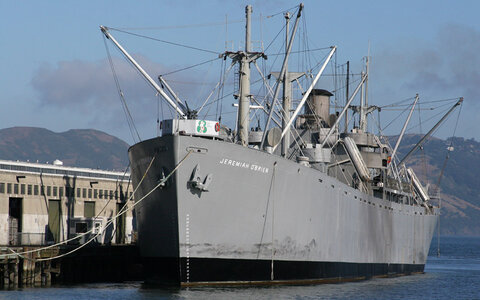
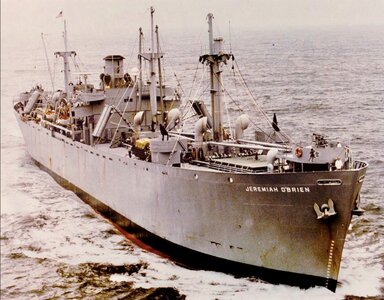
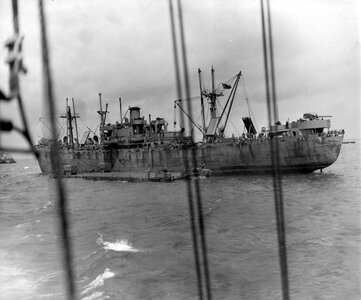
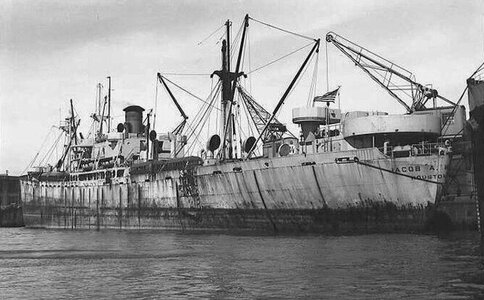
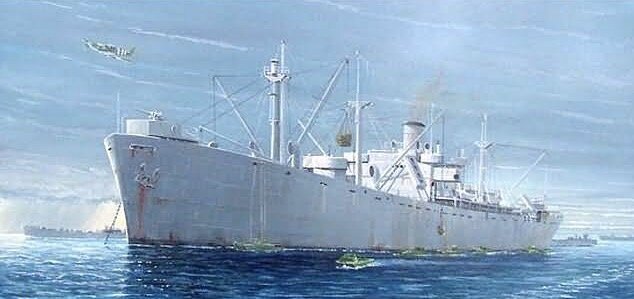
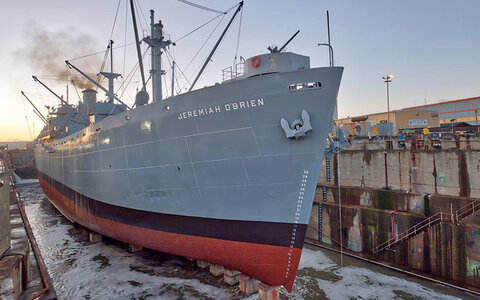
Here are some pictures of the Jeremiah O'Brien and some other original pictures of liberty ships during wartime.
l_trumpeter-05301-liberty-ship-jeremiah-obrien_.jpeg

005.jpeg

004.jpeg

000.jpeg

144201148_3779587988753771_3168827714330598881_o.jpeg

52c270aa2805b.jpeg

Jacob-A-Westervelt.jpeg

Enough to get me inspired and challenged to do something completely different and new for me...

Gijsbert
 
Oh Yes, Peter,
There are some things that are really new to me: First I now really want to use my airbrush and improve my experience with that, the other thing is that I have never use photo-etched parts, so that is new and third is the weathering of course. So enough to learn, haha! But I will post enough questions here for the more experienced members to help me out when I get stuck.

Gijsbert
 
Hello all,

The more I think about it, the more I am starting to like the idea to make a diorama kind of thing. Like this picture, unloading cargo on a barge near the coast of Normandy.

52c270aa2805b.jpeg

I adds the challenge to make some waves and with it comes a lot of action and a lot of accessories on a 1/350 scale, like trucks and tanks and all sorts of cargo. If you have any idea's, please post them here, I am open for suggestions...
 
Nice project!
I had the opportunity to ride on this Liberty Ship to visit it when it came to France, in Rouen... a few years ago (1994)! :cool:
It's a real piece of history for us!
 
I had the opportunity to ride on this Liberty Ship to visit it when it came to France, in Rouen... a few years ago (1994)! :cool:
Nice!!! Do you have some (digital) pictures... uhhh maybe not digital, I guess, haha
 
No, I don't think I have a picture of this boat... There were so many people that year with all the boats that I couldn't take proper pictures.
I must admit that I was much more attracted by the old sailing rigs than by the military ships at that time... But it represents so much in History!
 
Oh - this will be a interesting project - especially the "extreme" weathering and aging on the model :cool:
 
the "extreme" weathering and aging on the model :cool:
Hi Uwek, I am really amazed how dirty these ships look! Not just one, but many of them... They were really just build for a limited number of trips from the US to Europe and no-one really bothered about paintwork or maintenance.
 
Hi Uwek, I am really amazed how dirty these ships look! Not just one, but many of them... They were really just build for a limited number of trips from the US to Europe and no-one really bothered about paintwork or maintenance.
Ja - but understandable - the average lifetime of the Liberties were only some trips when I remember correctly, therefore more than 2700 were built.
and the designed lifetime was only 5 years !! Some were lost only because of hull and deck cracks, or other structural failures.....
Fastly built (I think the record was the launching after 5 days), very cheap and reduced material - so therefore: Who cares about the paints..........
 
Yesss, started!

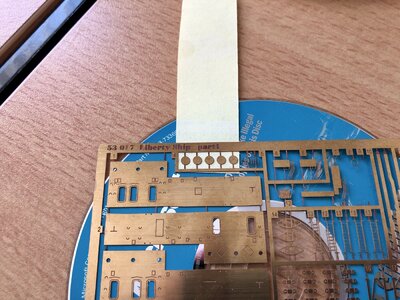
The box arrived with two frames of PE from Eduard and a folding thing. New stuff for me, I am exited to see how I am going to manage all this.IMG_8017.jpeg

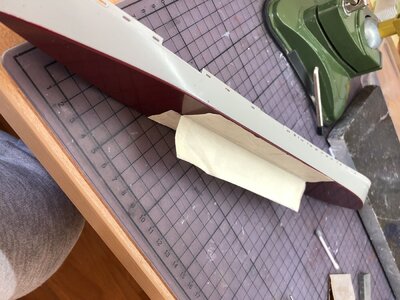
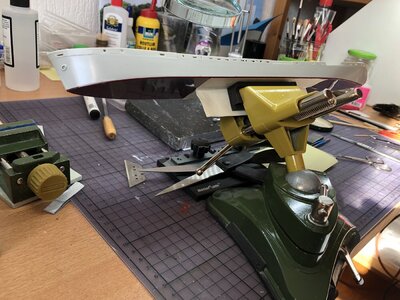
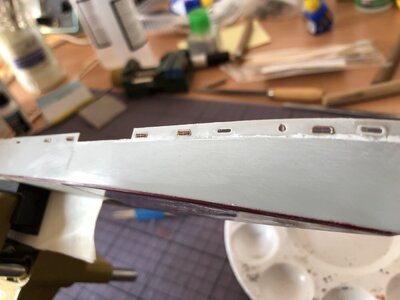
The first thing I did was to glue the waterline bottom in place and I made something with two pieces of masking tape to hold the ship in my vice and orientate it in every direction to help me to put the PE parts on vertical walls.

IMG_8038.jpeg

IMG_8037.jpeg

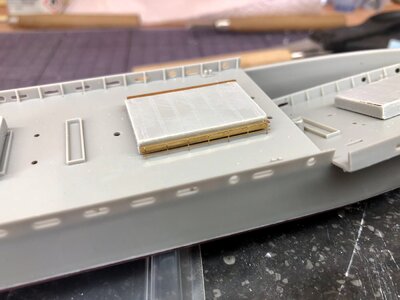
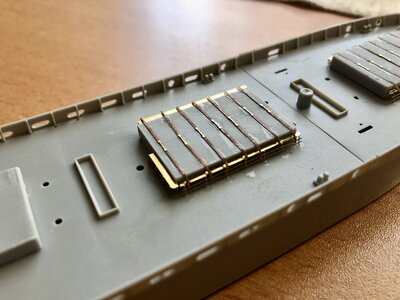
Then the PE adventure really started. Bending and gluing and in the meantime try to be as creative as possible to figure out how everything could be done easily and effectively.

IMG_8023.jpeg

IMG_8030.jpeg

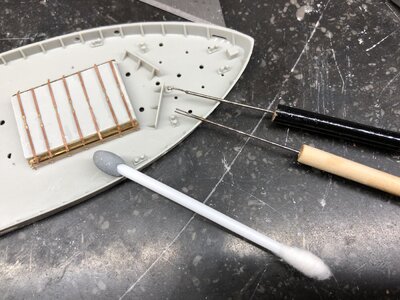
So far it went quite nice. I learned very quickly that picking up a small piece with tweezers on the sides is a guaranteed loss of the part, so I used a bit of sticky gum on a stick to manipulate the parts. Also a cut-open embroidery needle was very helpful to apply a very small amount of CA glue on the desired place, without glueing fingers to the ship.

IMG_8029.jpeg

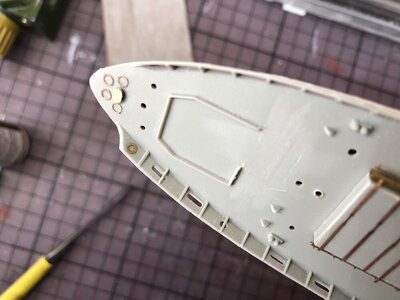
In the end I managed to fix already quite some minuscule parts in different positions.

IMG_8041.jpeg

I learned that while cutting the parts free form the frame, it was an ideal moment to have things disappear in plain sight, so I used the glue strip of a yellow note sheet to fix the parts while cutting and transporting them.

IMG_8043.jpeg

Finally I was helped by someone from a Dutch forum to find a solution for fixating these little things by applying some small drops of PVA glue to stick the parts in place and after drying I added a bit of CA glue with the needle-fork. It worked quite nice!

IMG_8045.jpeg

Pfff... this is really challenging and very rewarding to discover so much new tricks!

Gijsbert
 
Very interesting start of your building log - I am looking forward to see more of the work on the model
 
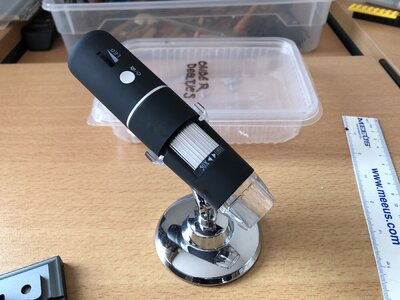
This Photo Etch stuff is really something... I happen to have a little WiFi microscope and that really helps me in judging my work. It is not so easy to use with the construction, because it is 2D and it is very hard to judge how far you are from the surface, but nice to look at the results. And you really see where you have to improve!!!

IMG_8065.jpeg

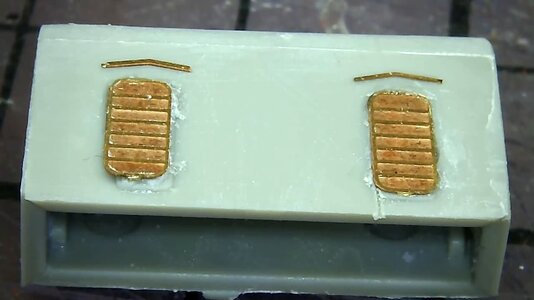
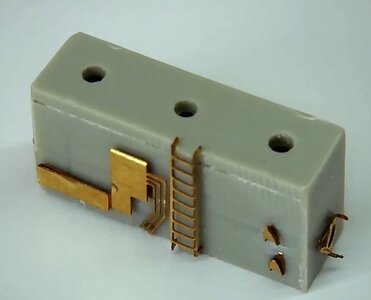
The thing I am building now is a chamber that supports the loading installation and it contains the steam lines from the engine room.
On the stern side there are two doors with a rain protection and on the other side the connection of the steampipes with the winches. Also some of the hose reels and a ladder and on the sides two holders with lifebuoys, sorry for my poor English :-( .

IMG_8048.jpeg

IMG_8060.jpeg

With the microscope it is really visible that:
. the ladder is not bent symmetrical left and right
. the ladder is too high (which explained why it did not glue on the side above)
. the connection boxes are not bent in the same direction

Okay, I don't mind so very much, it is really so very small and I don't think that you will ever notice it in the end, but it teaches me where to improve and where to hone my skills. I keep being amazed how small everything is!!!
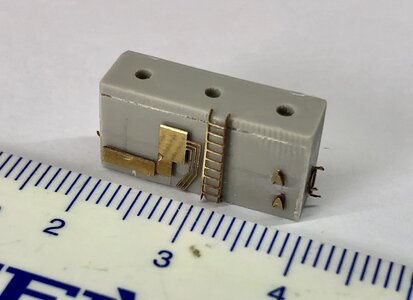
I still need to put more PE-parts to this little assembly of not even 2 cm long!

IMG_8064.jpeg

Gijsbert
 
Last edited:
Back
Top