• Win a Free Custom Engraved Brass Coin!!!
    As a way to introduce our brass coins to the community, we will raffle off a free coin during the month of August. Follow link ABOVE for instructions for entering.

L'Orenoque Mamoli 1:100 scale

I too like having something with plans and a basic structure to build on. But experience is showing me that the amount of work and scratch building is only marginally reduced than if you just do the necessary research, acquire the best plans you can get and start from scratch. Beyond a bandsaw and a few other basic, mostly miniature, power tools and some good basic hand tools. you will probably do just as well with less hassle overall. Most of the wood you will need can be purchased in sizes milled pretty close to what you will require with a minimum of fuss. The resources for aftermarket parts and fittings are vast. If you've bashed enough kits, you already know the drill. And the trick to success is keeping control over your ambition. Good enough is a whole lot better and easier to achieve than putting your finished product beyond your grasp. Your model won't be judged by what isn't there. Only by what is.
Like buying a lottery ticket, starting with a kit will only marginally improves your chances of success. :rolleyes:

Pete;)
I agree completely with Peter, it's not because of using a few commercial blocks , or not turning your own cannons on your own lathe, that a scratchbuild from plans becomes a kit. It just means there is a far vaster choice of subjects and it is you who has control of what you build. the same basic tools are usually sufficient. I think it is important to avoid total perfectionism as it can destroy creativity, and your health, sometimes.
 
Grant! Thank you, sir! Not hard to own when I have almost complete liberty to do what ever I want ROTF I'm still amazed at the lack of information about these ships - almost as amazing as the kit representing itself as historically accurate. I think, going forward, I will just make it how I want it and post that this is how it was on the real shipROTF

BTW - hows the knee rehab? Following the instructions, for once:cool:?

Blessings.
Chuck
Good morning Chuck. I don’t think an accurate kit exists ROTF. I believe if we want historically accurate we have to make it from scratch although the lack of accurate information is the next constraint. Who said building these little ships is funROTF. That being said it can be a lot of fun “doing our own thing “ .
My knee is going really good and I’m feeling good about the rehabilitation so far. Thanks for asking.
 
Gunther!

Thank you, shipmate! I've seen your work, you know :) ! As far as clean finishing and detail go, I'm considering putting you on retainer!

I'm with you on the paddle wheels! I may, I say may, start on them this weekend. I need to get them done in order to make sure my design forr the wheel houses works out.

I really appreciate the support!

Blessings.
Chuck
Hey Chuck,

That's really too much of an honour. Thank you. If I can, I'll help you. Hope you don't regret it ... :-));)
Your ship has also aroused my interest, which is why I'm so curious. It just looks great.

Best regards
Günther Ship-1
 
Chucks gone quiet... He'll be all finished by the time we see him again ! ROTF
Martin! That was the plan 'til you outed me ROTF

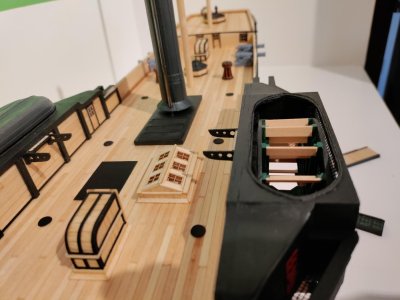
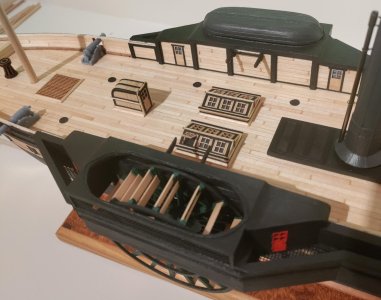
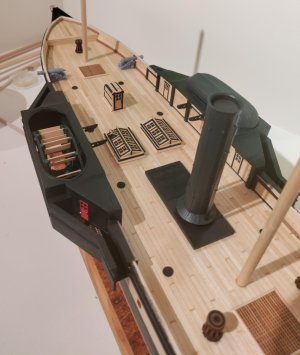
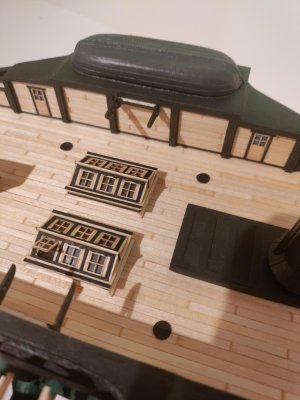
I got really busy getting ready for the fall semester to start. Ordinarily, I wouldn't have to prepare, I have taught the same classes every fall for ten years. It puts me in mind of a quote attributed to Frank Lloyd Wright: "An expert is someone who doesn't have to think."ROTF This year I am teaching a class I last taught in 2011 so I am spending most of my time on that.

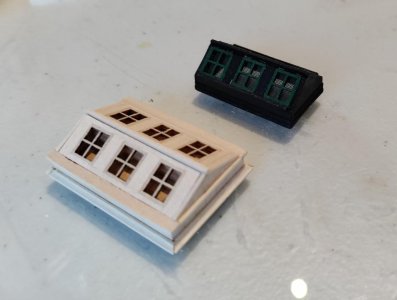
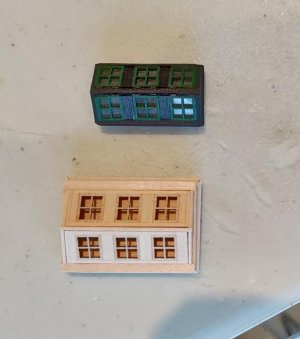
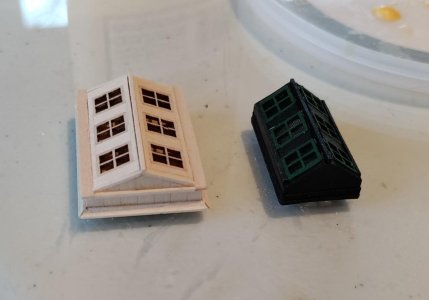
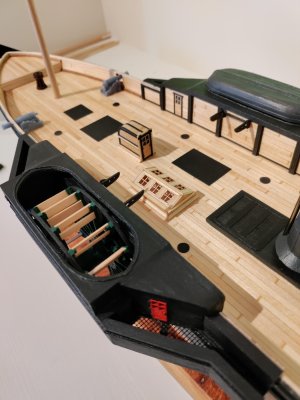
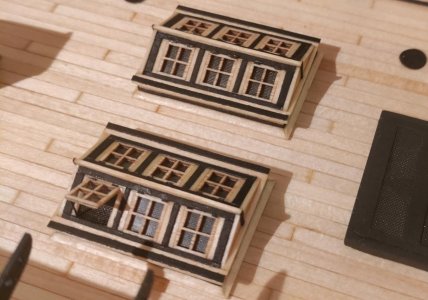
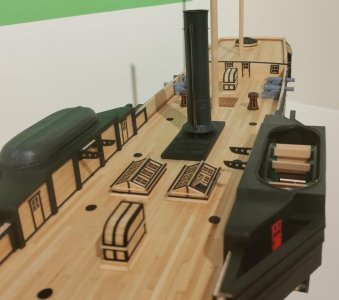
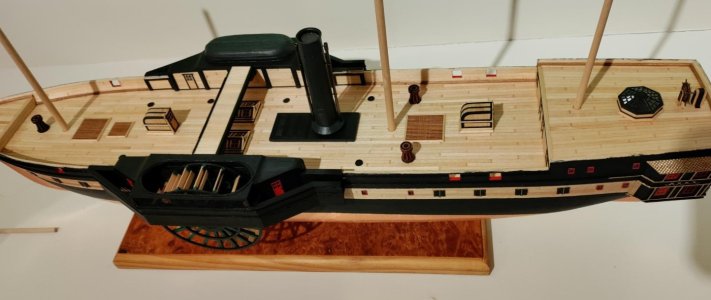
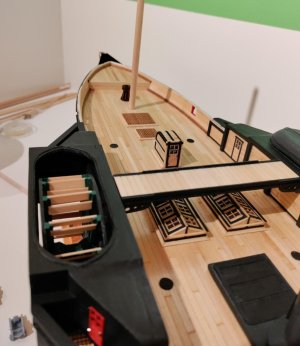
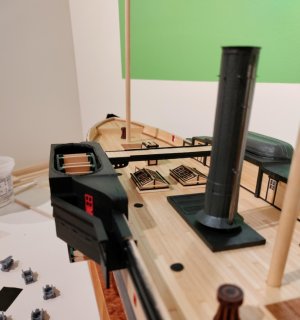
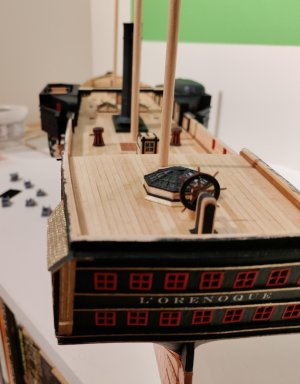
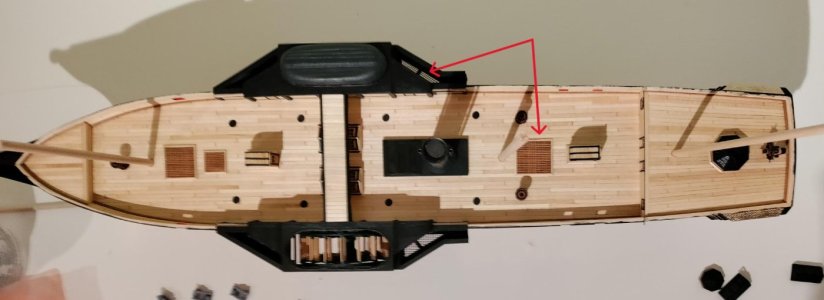
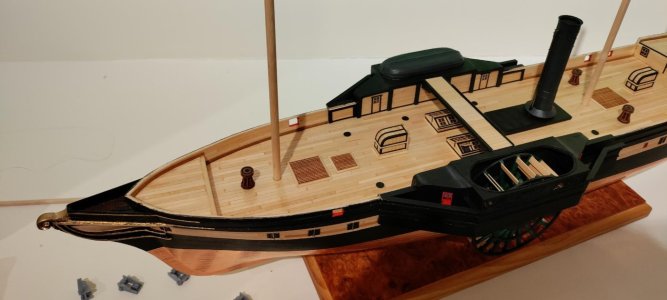
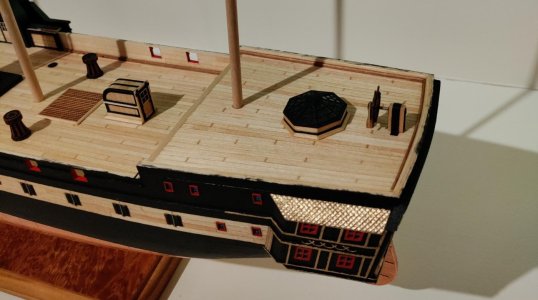
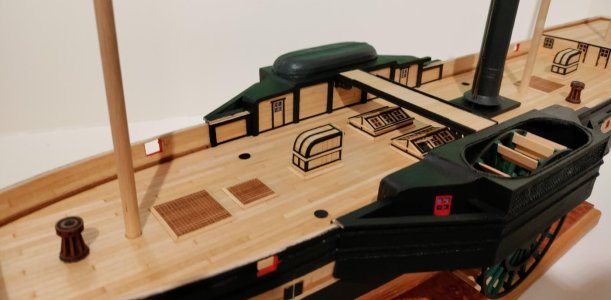
All of my other time has gone to this:

LO aug 925 2.jpgLO aug 925 3.jpgLO aug 925 1.jpgLO aug 925 6.jpgLO aug 925 4.jpgLO aug 925 5.jpg

Blessings. Peace. Gratitude.
Chuck
 
What ho, shipmates!

Now the story of the 1st planking . . . .

As you know fairing the plywood bulkheads was strictly a pain in the backside! I used my small Dremel and got carried away at some points and had to glue on some basswood and try again. In the end, I achieved a fair ROTF result. The kit supplies parts in the same plywood that are meant to be glued to the bow and stern and to be faired to the appropriate shapes for the planks to rest on. First, I had learned that fairing this plywood was a ridiculous undertaking. Second, given the curve of the bow, but particularly the stern, I knew I needed filler blocks to make sure that the planks held the right shape. I used balsa in the bow and a combination of balsa and basswood in the stern. See above for the discussion of the different sanding rates for balsa compared to the plywood:eek:

Now, the stern of this kit is a PROBLEM. The instructions are useless. The kit plans do not help. The actual plans did not really help me except to suggest the approximate end shape. If I understood the sections profile lines I might have been mor accurate and less creative. In the end, I came out with a stern that works for me, at least.

In some earlier post I alerted you to the fact that the plans call for the planks aft to be feathered into the plywood keel. Same for the planks forward. There is no rabbet in the plywood keel. Some of you master builders would probably have carved one. Me stone age. Stone age tools. No carve. Only glue down. Then sand, sand, sand, sand. Also, there is no sternpost.

Yes. I have positive things to say about the kit. How dare you! Here's one: the kit's planking material for the first planking is excellent!

Here we go! So, I began with the garboard strake and worked up a bit. The instructions say to place three rows of planks at the deck level starting at the level of the deck and working down. You can see that I started that process. You can also see the holes in the planks at the frames. I don't know how I "just discovered this" but I found that drilling and pinning the planks really works great! Much better than clips and clamps!

View attachment 530840

Here's a detail showing the dirty secrets. The yellow arrows show a repair I had to make to add back material I recklessly removed with my Dremel. Red and blue arrows pointing out all of the material I had to add to form the stern filler blocks.

View attachment 530841

Stern profile:
View attachment 530844

Bow:

View attachment 530843

Midship - I almost forgot about the axle for the paddle wheels:eek:

View attachment 530842

Here's a detail shot of the bow. You see that I have run the lower planks pretty far out onto the stem. I sanded the underside pretty thin before I glued them on. I know it looks nasty, but it worked out fine.

View attachment 530848

Detail of the finished first planking up to the level of the deck and you can see that I was able to shape up those lower planks:

View attachment 530845

And the ugly truth of the stern. Hey! I was just doing my best to get her butt covered!

View attachment 530846

You can see that the feathering worked out:)

View attachment 530847
Looks just like the old release I have!
 
Martin! That was the plan 'til you outed me ROTF

I got really busy getting ready for the fall semester to start. Ordinarily, I wouldn't have to prepare, I have taught the same classes every fall for ten years. It puts me in mind of a quote attributed to Frank Lloyd Wright: "An expert is someone who doesn't have to think."ROTF This year I am teaching a class I last taught in 2011 so I am spending most of my time on that.

All of my other time has gone to this:

View attachment 536931View attachment 536932View attachment 536933View attachment 536934View attachment 536935View attachment 536936

Blessings. Peace. Gratitude.
Chuck
Super deck!
 
Back
Top