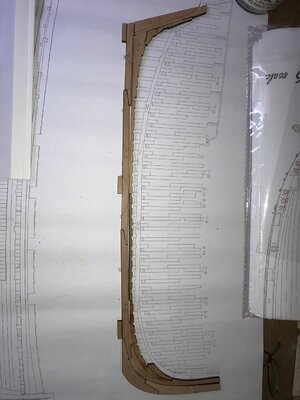
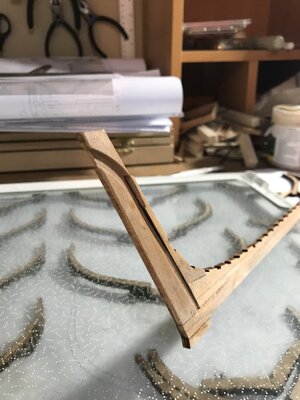
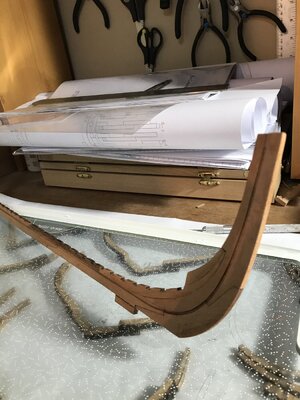
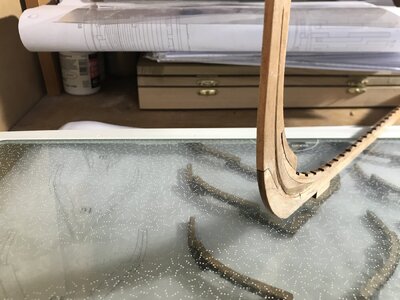
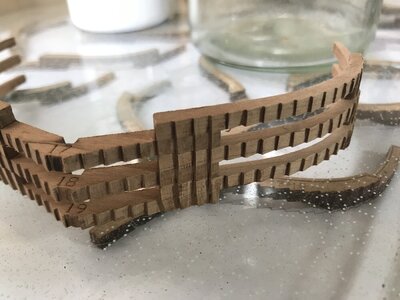
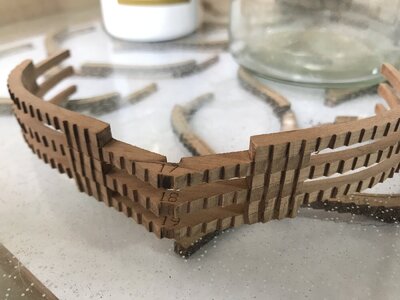
Lougre le Coureur 1776 CAF Model by Chello

Joined
Mar 19, 2020
Messages
206
Points
213

After being threatened by some senior forum members with walking the plank, a couple of sessions of keel hauling, Running The Gauntlet and some other punishments that are not appropriate to post I have given in and will start sharing my attempts to build le coureur from CAF. There have been many post already relating to the unboxing so I will skip that. However it is best to check all the parts before starting. Particularly the parts for the jig need close inspection. Although I had parts E2 and E2 which were missing in a few kits, parts D1 and D2 ( the outside “box” for the jig with the laser etched outlines of the ship) were incorrect, where some part weren’t mirror images so I ended up with a picture on the outside of one part of the jig box and half of one on the inside on the opposite side. Also some parts of the jig are incorrectly marked ( part 4 needs to be 2 or the other way around, I can’t remember).
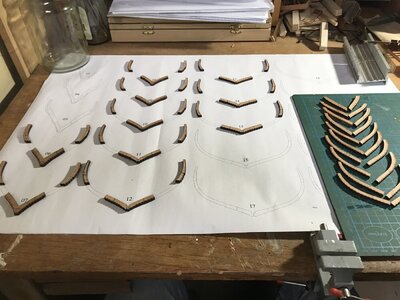
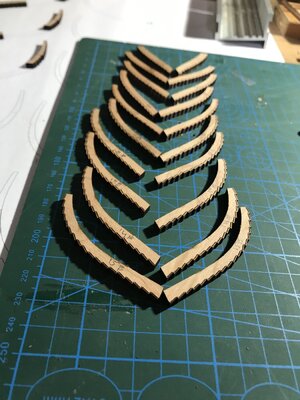
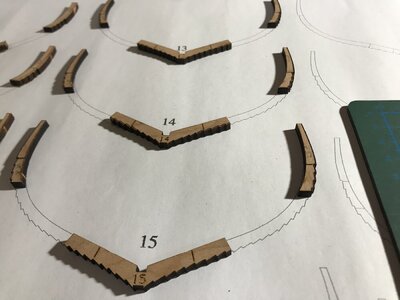
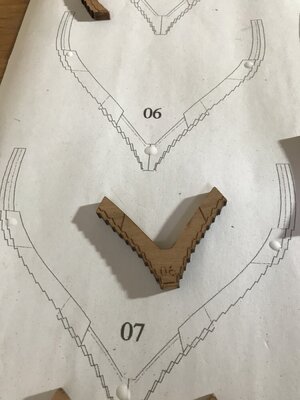
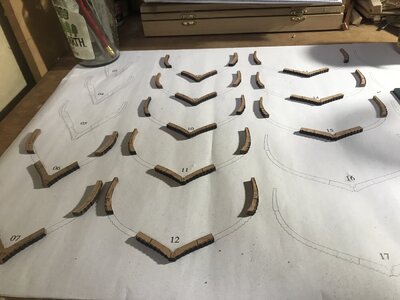
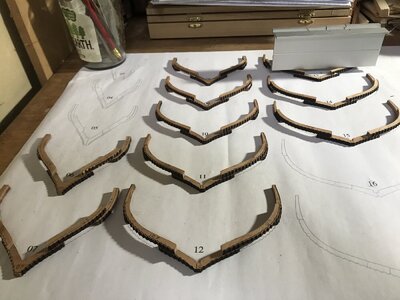
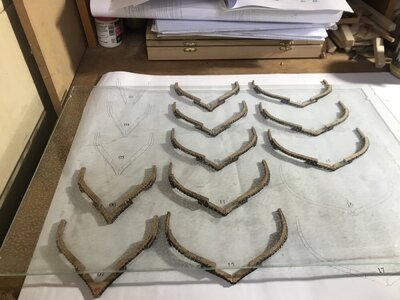
I have so far completed the keel, the jig and I glued and sanded some of the char of frame Numbers 3 till 22. These are All the frames on one drawing sheet. I used the @Uwek method by glueing the futtock parts A and both C parts to the drawing and then glueing part B on top. I did this in two batches and the are all drying under glass now. 1181120A-11D0-49EF-A274-038DEBDFCDE9.jpeg
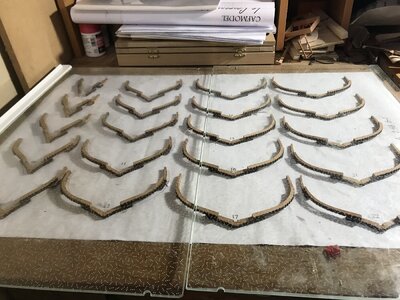
Note some of the frames are not aligned with the drawing as the were the first batch and already taken off the drawing. There will be very little paper stuck to the frame ( unless you drown it in glue) and it will easily come off.
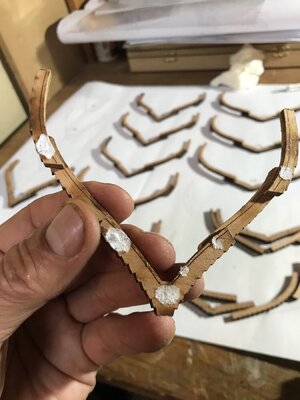
D9E9B2D5-A9E6-4235-98B2-C7946678654F.jpeg

I will post some more pictures of the process so far with some more detailed information.

Can I get off the plank now?
 
YES - you can make the step back on the deck ;)
Many Many Thanks for starting also your building log
Good progress -> you are 10 frames in front, but I will try to catch you......maybe
Wish you a lot of fun ....... I am looking forward to see much more
 
YES - you can make the step back on the deck ;)
Many Many Thanks for starting also your building log
Good progress -> you are 10 frames in front, but I will try to catch you......maybe
Wish you a lot of fun ....... I am looking forward to see much more
Certainly not ahead Uwe, I glued the frames but I will spend hours no doubt sanding and fairing to get my frames looking half as good as yours do. Did you use the Proxxon sanding drum as well as the files fairing the frames and have you got any tips for the process?

Thanks Marcel
 
As posted before the keel, the part to assemble, dry fits very well and is easy to assemble after removing some of the char.
4E01C539-2E1D-4828-A22C-D2ACED8ADC3E.jpeg

Glueing the keel parts takes some more attention as some parts are designed to sit flush, while others dont.
I ended up with a bit of a warp but after wetting the keel and 24 hrs between 2 glass sheets with some weight that was soon sorted. The false keel has 3 separate bits attached to its bottom that will be removed at a later stage in the build. They are there to “lock” the keel into the jig. Just note that they can come off, particularly after a bit of over enthusiastic sanding.
The assembled and glued keel (minus one of the locking parts :))
F2BD5921-CFEF-447D-B842-D60ED3F5D7F1.jpeg990E60C5-A44D-4278-B23B-036B5EFE5426.jpeg6C0B1DCB-72E3-4A49-8D3E-E3D17D50D3DB.jpeg
1D09422C-E53A-4463-936A-E3F2A9D7FA74.jpegC8110544-7D79-4C9C-B4E7-073478AC89FF.jpeg
 
The next steps are the frames. It is useful to note some come out really easily while others are much more difficult. I’m not an expert but it seems where the back of the sheet of wood with the parts is discoloured more due to the laser, the parts come out easier. Also, just as @Uwek mentioned check the wood grains as some parts are prone to break. I had one of the bottom futtocks (05C) snap on me. Again easily fixed but be aware.
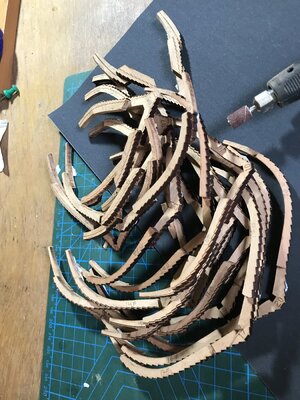
I will post some pics below of what I refer to as the Uwe method by glueing the futtocks to the drawing which makes life a lot easier. I also sanded some of the char if parts which might be more difficult to get at after assembly. I used the dremel with the small sanding drum on low speed.6ECFA50C-F074-4E29-9881-2CBCD4DEAC70.jpeg1516EA52-FB77-43BD-8776-D40DB209DA0C.jpegD9BF7039-C510-40F2-9E2D-E23E1DACFFAE.jpegC12CD2C6-6A8B-462D-8F5C-BC12789A3B4F.jpeg6868EA45-965C-4776-87C4-F96677FD6CFF.jpegEBE13108-5CA1-426C-8105-963ADBEB56C2.jpegBC7FCADA-B7FC-42EB-BEC3-5BA6697B180C.jpegCECA5710-BF90-4927-A4DF-03772390D449.jpeg
 
Hallo again,
The small sanding drum on my Proxxon - I tried it for the sanding of the steps for the clinker, but decided that it is partly to fast and not accurate enough.
With the drum I am only sanding the inside of the frame to remove here the char and get the frame faired.
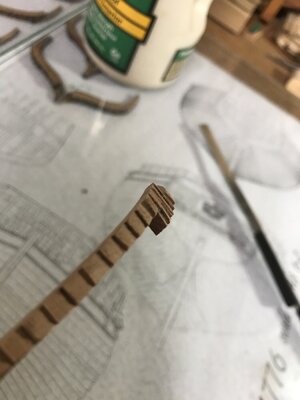
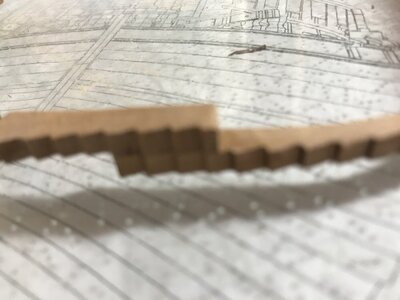
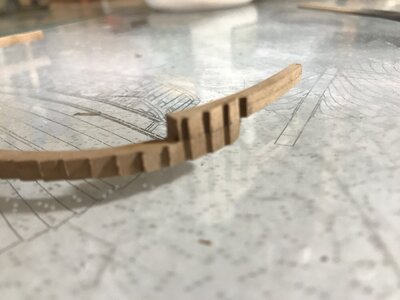
For the steps, I am using still the needle files...... very slow progress but easier to keep the sanding accurate enough.
I think at the end, when we are planking finally the hull - we will realize, which quality and accuracy was really necessary - so the following modelers will have here a big advantage
This is what a group build is standing for - giving advise and share the experience of each other -> especially with such a new type of kit with a clinkered hull
I experimented with dremel and files to do the frames. I have to agree that using the sanding drum to fair the insides (with just the file and sandpaper for a neat finish) works well. I agree that for the steps the dremel does not give you a neat finish and filing by hand seems the only acceptable but very time consuming option.
 
It is a lot of additional work, especially because the frames of the Le Coureur are also more fragile than the typical double frames of the Salamandre, Bonhomme Richard etc.
I am very sure, that the work is worth to do. And we should stay patient and not in hurry - It is important to make the frames as accurate as possible to have a good basis for the planking.
I have sanded appr. 20 frames in the meantime - you will get fast some routine and the work is getting faster with every frame
Very good work
 
As mentioned in @Uwek ‘s build log the fairing is a tricky job and should not be rushed. The drawings and instructions are at the best of times to be interpreted but I suppose with sharing experiences we will all get there.

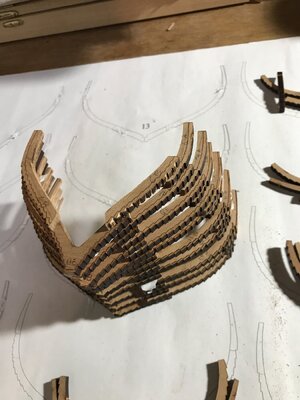
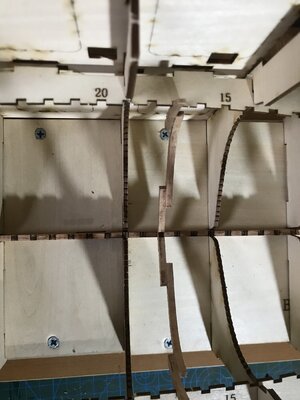
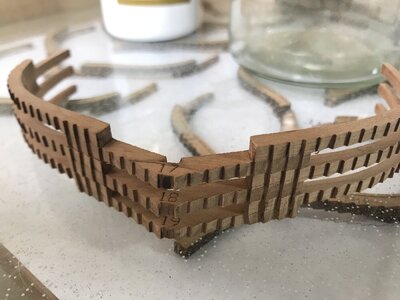
The frame slots in the jig also provide some extra guidance for the angle of the faring for the top of the frames.
D2081690-2A11-41C4-AD29-2DCCE2168249.jpeg
 
Last edited by a moderator:
Word of warning:
Assembling and preparing one frame:
Cutting loose from sheet, prepping, glueing, sanding, filing including the teeth, fairing, sanding, polishing ONE HOUR! And that’s excluding the drying. Make sure you have some nice music on.
3E00B125-BA49-4053-9D7A-BA7E552B160D.jpegC77D5E01-EBEC-4B34-887B-778BD2AA06D2.jpeg8945DDFB-218A-4481-A762-E8FED88FB1F4.jpegF723CFA7-F59B-4855-BF00-6A717D43FD33.jpeg
 
I HOPE THIS IS NOT REDUNT, DO YOU FILE THE FRAME PIECES INDIVIDUALLY OR AFTER ASSEMBLY, OR DOES IT MATTER. GOD BLESS STAY SAFE DON
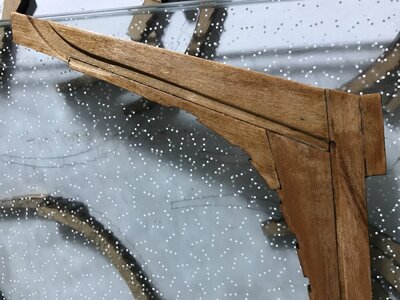
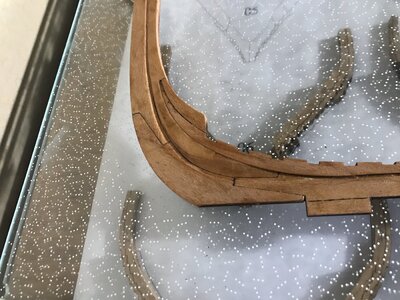
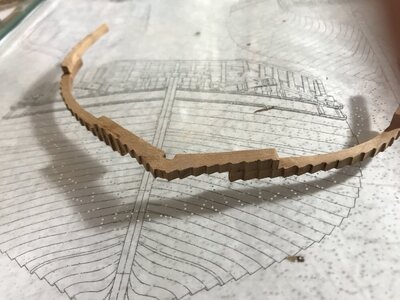
Hi Don, I file them after assembly. It gives me a better “stemless” joint where the futtock joints the floor and top timbers and it is also better to leave the parts untreated as this will give you a more accurate fit when you assemble the individual ribs using the drawing as the drawings are based on the parts before fairing. I initially did remove some of the char prior to assembling the ribs but I have now decided it is to treat the ribs after assembly all together. I will attach a pic that hopefully shows the continuing lines after filing the complete ribs on the subsequent ribs.
B04CEC86-1937-4FC0-913F-8806CDA7A930.jpegE0E1A7A9-5A8E-496C-9C1F-0672B3D58785.jpeg
 
Hi Don, I file them after assembly. It gives me a better “stemless” joint where the futtock joints the floor and top timbers and it is also better to leave the parts untreated as this will give you a more accurate fit when you assemble the individual ribs using the drawing as the drawings are based on the parts before fairing. I initially did remove some of the char prior to assembling the ribs but I have now decided it is to treat the ribs after assembly all together. I will attach a pic that hopefully shows the continuing lines after filing the complete ribs on the subsequent ribs.
View attachment 184478View attachment 184479
Stemless is obviously seamless
 
Back
Top