-

Win a Free Custom Engraved Brass Coin!!!
As a way to introduce our brass coins to the community, we will raffle off a free coin during the month of August. Follow link ABOVE for instructions for entering.
-

PRE-ORDER SHIPS IN SCALE TODAY!
The beloved Ships in Scale Magazine is back and charting a new course for 2026!
Discover new skills, new techniques, and new inspirations in every issue.
NOTE THAT OUR FIRST ISSUE WILL BE JAN/FEB 2026
You are using an out of date browser. It may not display this or other websites correctly.
You should upgrade or use an alternative browser.
You should upgrade or use an alternative browser.
Marisstella Cog 1:48
- Thread starter Bluebeard
- Start date
- Watchers 15
-
- Tags
- cog marisstella
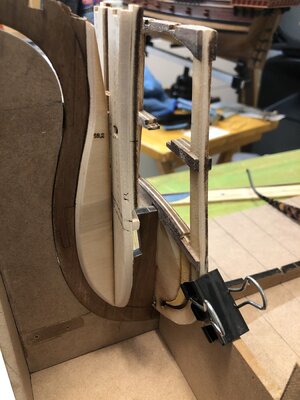
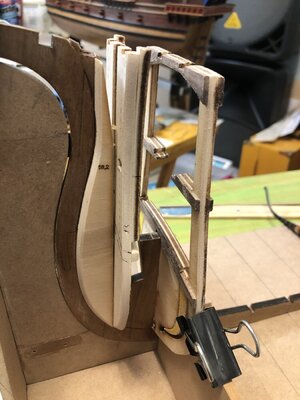
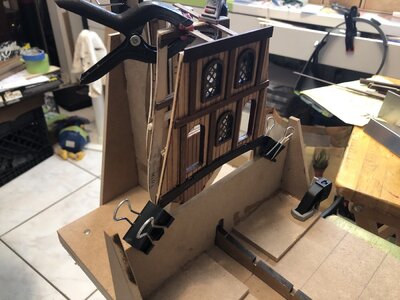
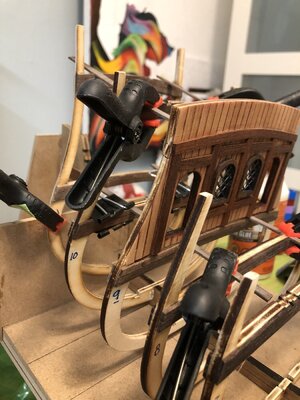
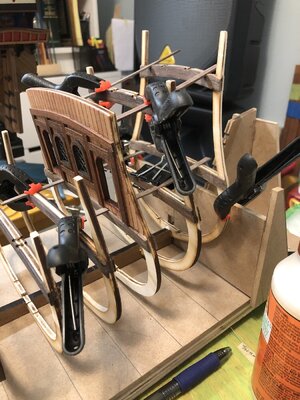
Now it was time to assemble all the bulkheads into the keel so I started with #2.
After it was glued in place, I added pieces 18.1 and 18.2 by gluing them against bulkhead #2.
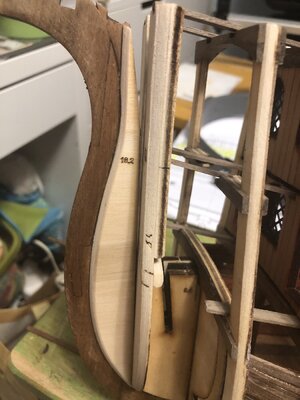
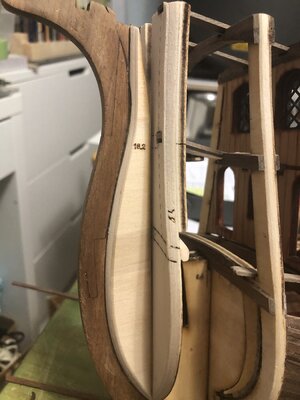
After it was glued in place, I added pieces 18.1 and 18.2 by gluing them against bulkhead #2.
Those were the main reasons why I was eyeing this model. Unfortunately Marisstella do not have pictures of the interior. So I will wait with anxiously your built to see how it looks. Are those sections depicted in the drawing plans. If Yes, can you post a picture.
You got the horses from Marisstella or from ... ??
You can see that I am really interested in this kit.
Cheers
Daniel


Daniel I bought my horses from eBay a vendor called “ohkwarisale”. They are of course 1-48 scale.Those were the main reasons why I was eyeing this model. Unfortunately Marisstella do not have pictures of the interior. So I will wait with anxiously your built to see how it looks. Are those sections depicted in the drawing plans. If Yes, can you post a picture.
You got the horses from Marisstella or from ... ??
You can see that I am really interested in this kit.
Cheers
Daniel
About the interior, ...yes, the blue prints show but is not too easy to interprete. I had to make major alterations to make it happen. I have a good communication with Zoran and giving him all of my changes to his blueprints.
I will post later on all of the interior pictures.
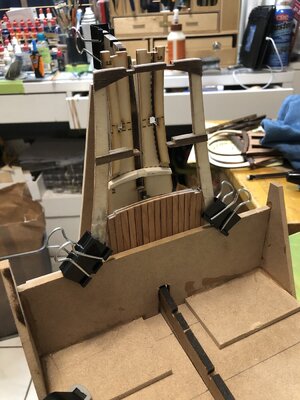
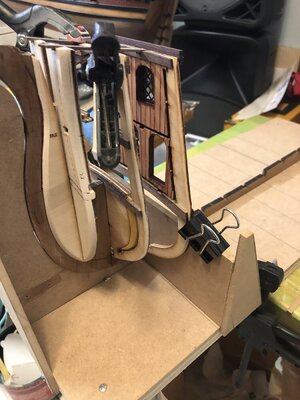
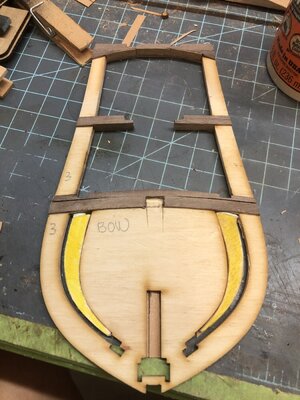
Before installing bulkhead #3, there are a few things you might want to know.
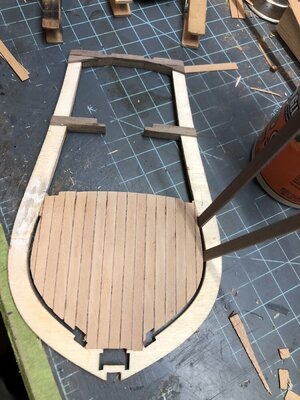
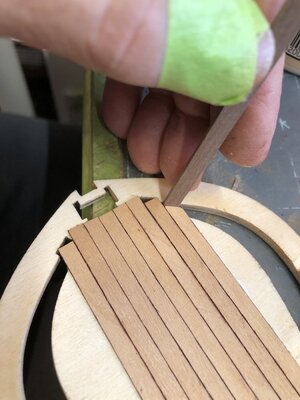
The pictures tells the story.
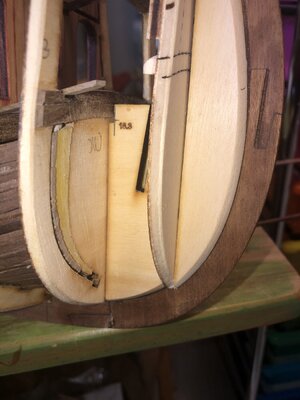
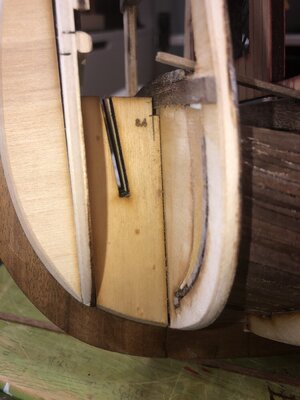
Use a scrap piece of 1.5 x 5mm for spacing when paneling this section to check for the future interior planking. I altered the opening made with the original laser cut out by adding a piece (yellow marked), making it wide enough y only for the inter wall planking. I have no idea why this was made so wide. Maybe in the future when someone also build this model will bring a better answer.
Here you can also see me wearing an emergency bandaid due to the exacto cuts we all get wile building models.LOL


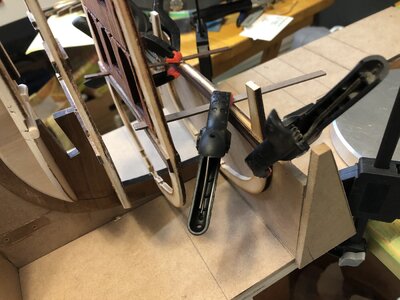
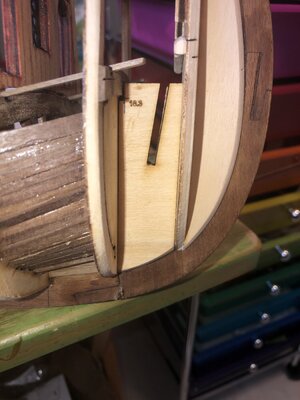
I forgot to mention that after assembling the third bulkhead, you have to add pieces 18.3 and 18.4
This will give a strong base for the forward mast.
I like to take this opportunity and ask for forgiveness when I’m describing the parts of the model. I might not be writing the correct name fir them since like I stated at the beginning “I’m not a Pro” like many of you guys.
Your expertise in this hobby and your building logs is the one that inspired me to take courage and do my own build.


Hi @Bluebeard ,thanksfor sharing your build,probably you noticed the your images are not posted in full size,I can help you with that here is tutorial on how to post full size images,I can fix your previous posts if you do not mind.
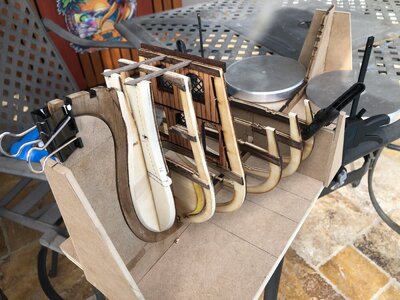
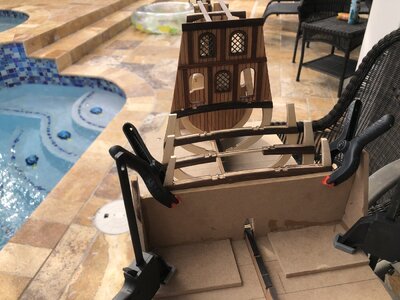
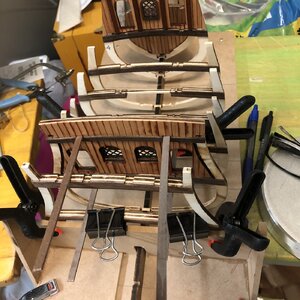
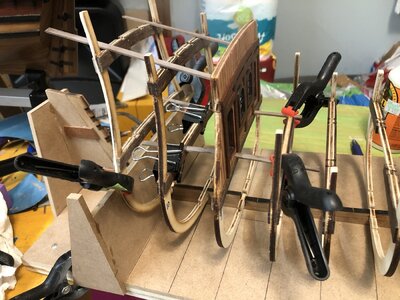
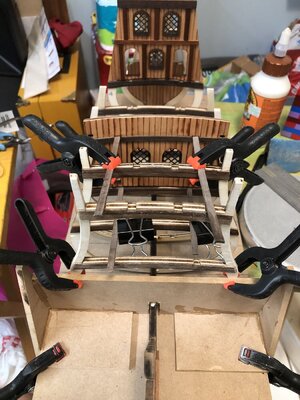
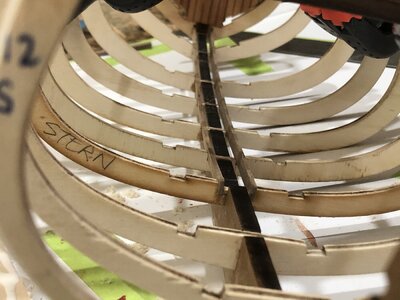
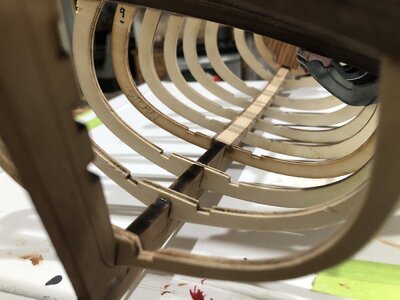
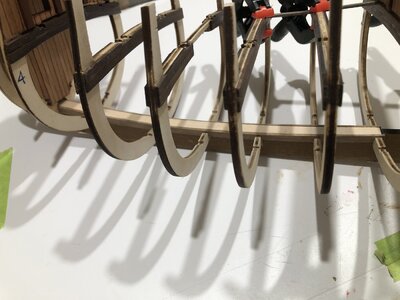
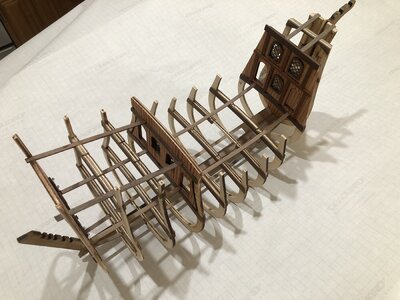
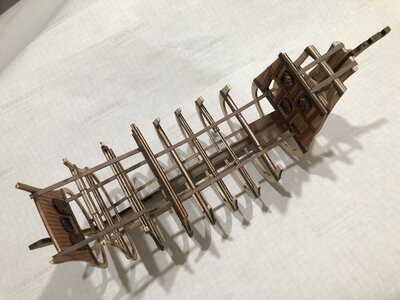
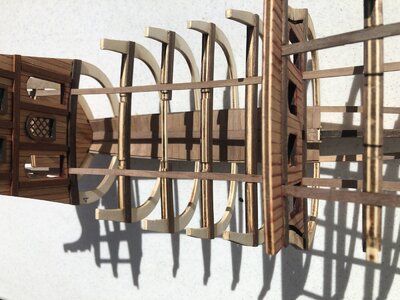
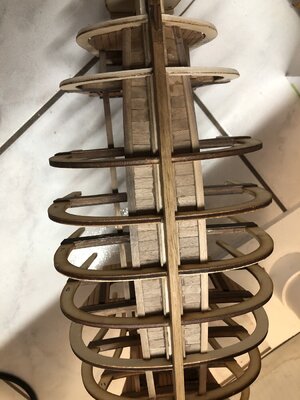
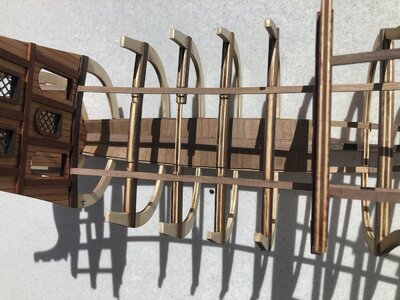
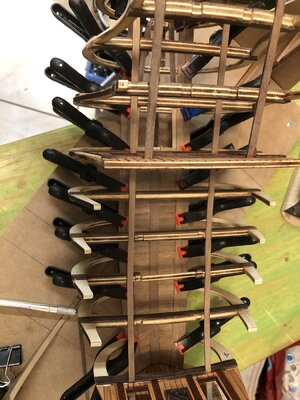
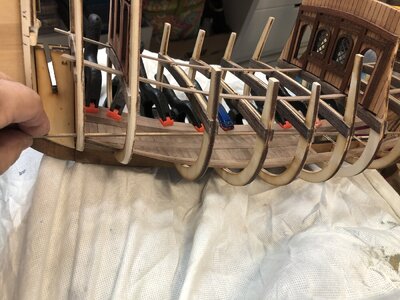
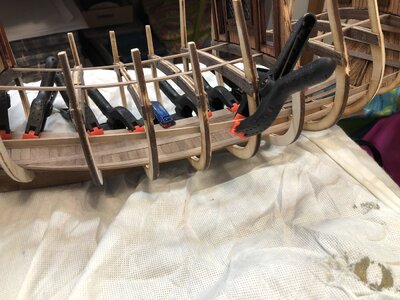
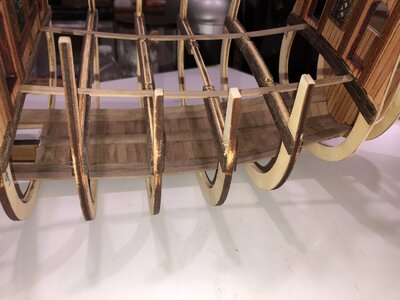
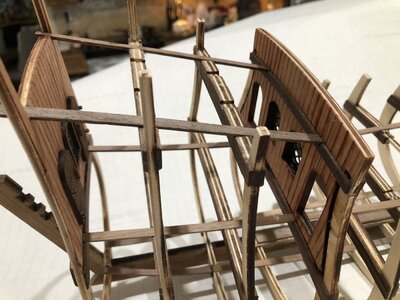
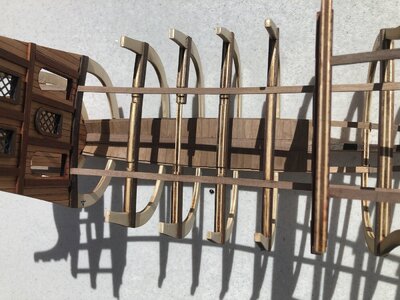
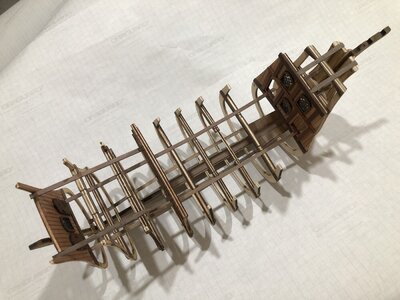
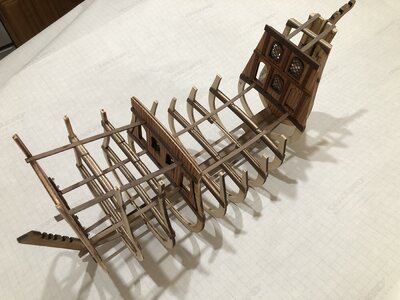
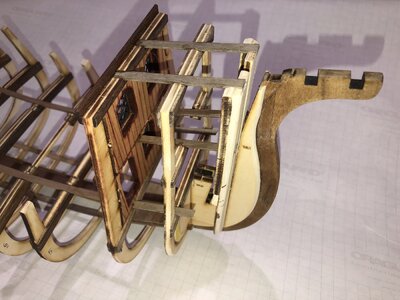
After all the bulkheads are in place you have to brace them by passing a 1.5 x 5mm strip through them and sitting them on its bulkheads grooves.
The instructions call this “supporting strips 20,21 and 25 because these particular strips are numbered like that in the blueprints.
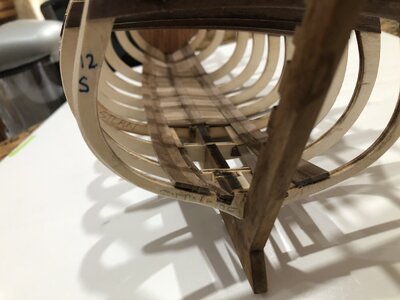
Here you can also see the beginning if the keelson wish I will explain later.
The instructions call this “supporting strips 20,21 and 25 because these particular strips are numbered like that in the blueprints.
Here you can also see the beginning if the keelson wish I will explain later.


Hi @Bluebeard ,thanksfor sharing your build,probably you noticed the your images are not posted in full size,I can help you with that here is tutorial on how to post full size images,I can fix your previous posts if you do not mind.
Please by no means, fix them. Thank You so much for doing that for me.
I’m a rookie when it comes to post any pictures on this website, like I said before this is my very first build log ever on any model ships website, of course I need all the help anybody could give me.
I’m a rookie when it comes to post any pictures on this website, like I said before this is my very first build log ever on any model ships website, of course I need all the help anybody could give me.
no problem,Please by no means, fix them. Thank You so much for doing that for me.
I’m a rookie when it comes to post any pictures on this website, like I said before this is my very first build log ever on any model ships website, of course I need all the help anybody could give me.
HI BLUEBIRD YOU ARE DOING AN EXCELLENT JOB GREAT BUILD AND A GREAT LOG ALSO, LIKE DANIEL I TOO WANT TO BUILD THIS JUST NOT NOW, MAYBE BY APRIL MAY, ALSO AGREE ZORAN IS FANTASTIC TO WORK WITH CHECT WITH DON ROBINSON ON THIS SITE,,, AND FINALLY WHERE IN MIAMI DO YOU LIVE SPENT OVER 50 YEARS THERE MY ENTIRE ADULT AND WORKING LIFE, NOW 82 YEARS OLD LIVING IN KANSAS NEXT TO MY DAUGHTERS, IF YOU WANT YOU CAN PM ME ANY TIME. GOD BLESS, STAY SAFE YOU AND YOURS DON
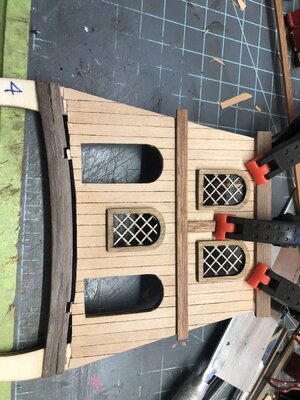
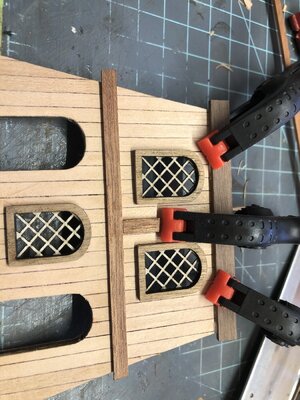
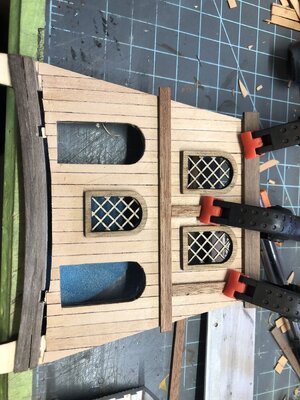
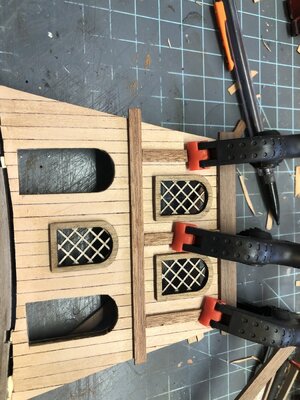
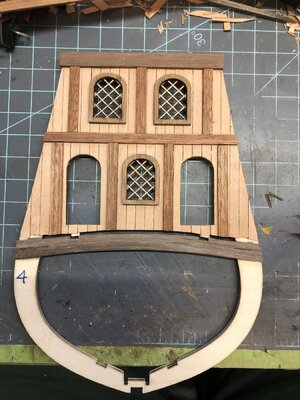
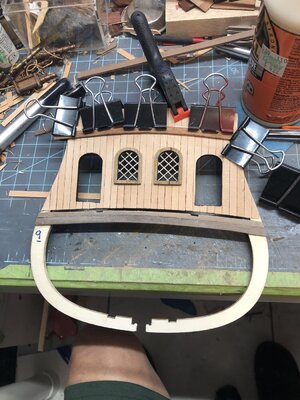
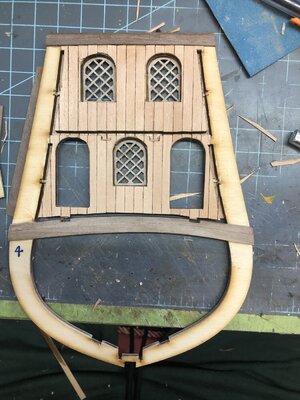
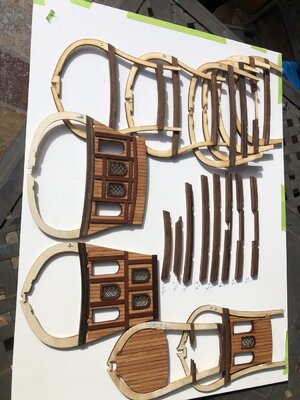
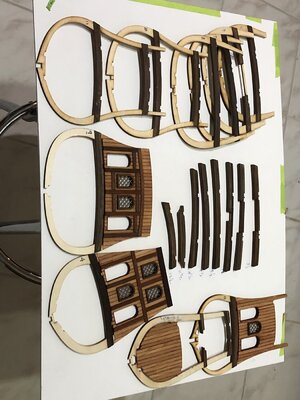
Now the instructions called for assembling of the element #13. This is a very intricate piece composed of 9 pieces. I left this for later since is very delicate and I did it when I was ready to build the transom.
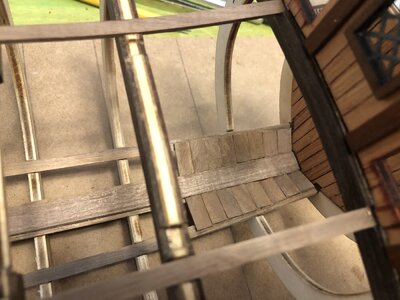
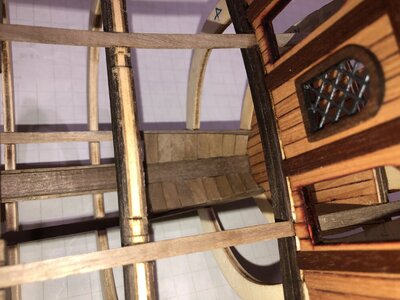
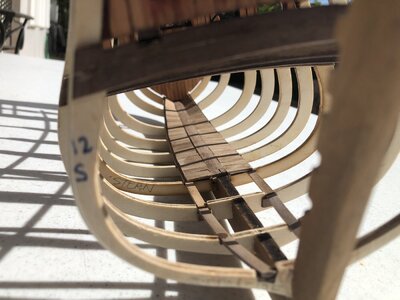
What I did was to continue preparing the inner shell. For some particular fact unknown to me, the maker of this model called this bottom “ceiling”.
So the pieces need to be cut individually to seat perfectly between parts #19 and 20.
What I did was to continue preparing the inner shell. For some particular fact unknown to me, the maker of this model called this bottom “ceiling”.
So the pieces need to be cut individually to seat perfectly between parts #19 and 20.
After those four pieces, the rest is all 1.5 x 5mm strips and some will require tapering.
Now, the instructions tell you to glue them until you reach the level if the storage fir the animals.
I didn’t do that and I will explain later why.
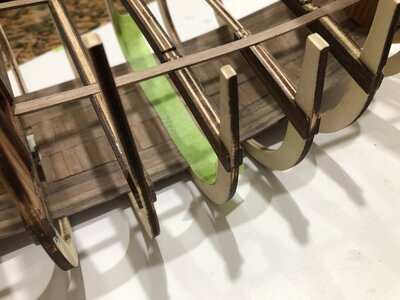
You should glue in the flooring until the 9th or 10th board together with the bilge keelson (this will be mahogany strips included in the kit).
If you go any farther upward, you won’t be able to have space to install the Mast Step.
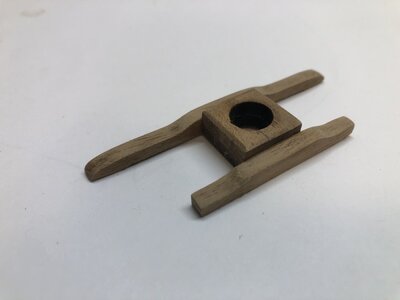
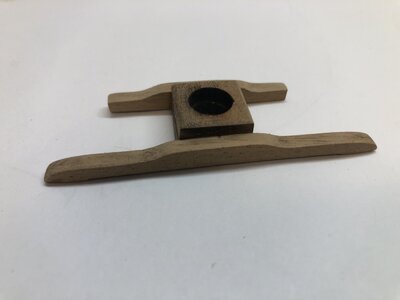
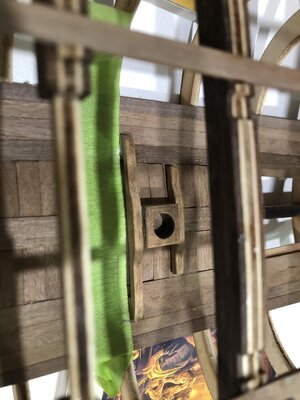
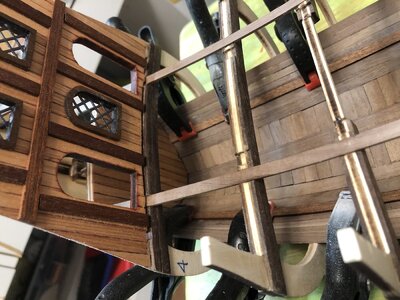
I did a mistake when installing the mast step so make sure the smallest horizontal piece goes towards the bow and the largest one towards the stern.


