-

Win a Free Custom Engraved Brass Coin!!!
As a way to introduce our brass coins to the community, we will raffle off a free coin during the month of August. Follow link ABOVE for instructions for entering.
-

PRE-ORDER SHIPS IN SCALE TODAY!
The beloved Ships in Scale Magazine is back and charting a new course for 2026!
Discover new skills, new techniques, and new inspirations in every issue.
NOTE THAT OUR FIRST ISSUE WILL BE JAN/FEB 2026
You are using an out of date browser. It may not display this or other websites correctly.
You should upgrade or use an alternative browser.
You should upgrade or use an alternative browser.
Marisstella Cog 1:48
- Thread starter Bluebeard
- Start date
- Watchers 15
-
- Tags
- cog marisstella
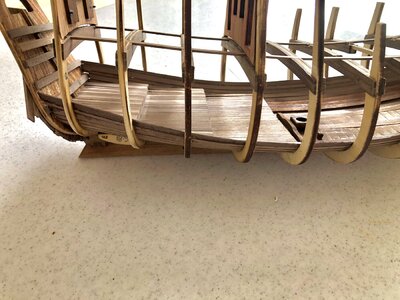
This is the part that you start building the three level platform for the horses.
I first glue the front and back lumbers where the planks will rest on the first platform.
As you can see, I build a squares jig to guide me planking on a straight form.
I started at the center plank and work my way outward.
When all planks where glue in place, I held them down wile drying.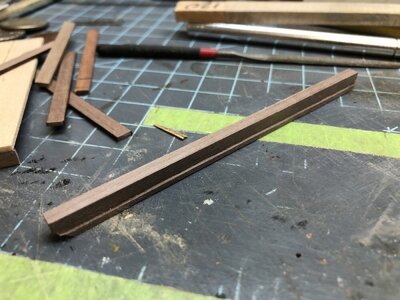
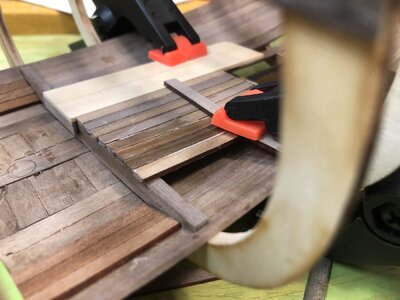
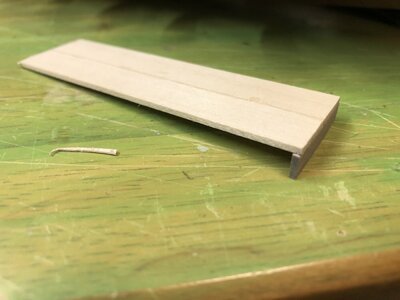
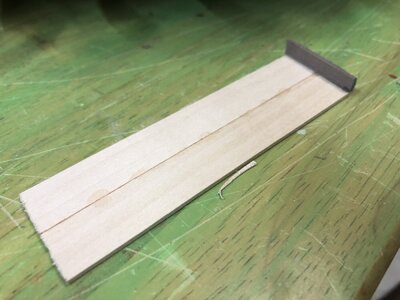
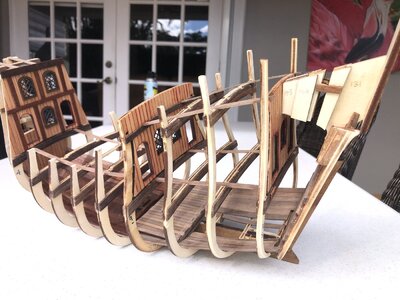
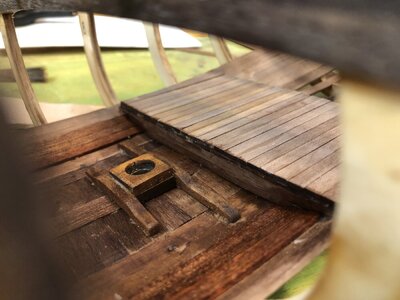
I first glue the front and back lumbers where the planks will rest on the first platform.
As you can see, I build a squares jig to guide me planking on a straight form.
I started at the center plank and work my way outward.
When all planks where glue in place, I held them down wile drying.


Yes, those are the fillings. Thank You for the arrows.
HI BLUEBIRD YOU ARE DOING AN EXCELLENT JOB GREAT BUILD AND A GREAT LOG ALSO, LIKE DANIEL I TOO WANT TO BUILD THIS JUST NOT NOW, MAYBE BY APRIL MAY, ALSO AGREE ZORAN IS FANTASTIC TO WORK WITH CHECT WITH DON ROBINSON ON THIS SITE,,, AND FINALLY WHERE IN MIAMI DO YOU LIVE SPENT OVER 50 YEARS THERE MY ENTIRE ADULT AND WORKING LIFE, NOW 82 YEARS OLD LIVING IN KANSAS NEXT TO MY DAUGHTERS, IF YOU WANT YOU CAN PM ME ANY TIME. GOD BLESS, STAY SAFE YOU AND YOURS DON
Thank You for your kind words. Yes, I have lived here in Miami since immigrating from Cuba back in 68 when I was 11.
Planning to move up
North when I retire next March.
Thank You for your kind words. Yes, I have lived here in Miami since immigrating from Cuba back in 68 when I was 11.
Planning to move up
North when I retire next March.
I live in the north (Massachusetts) since I landed in USA in 2000 and moving to Florida for my retirement. Enough of snow
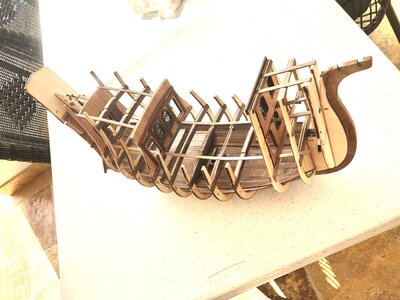
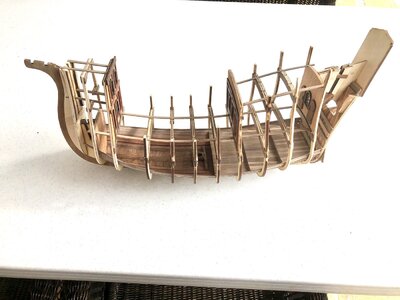
For the second platform I will advise that you shouldn’t follow the blueprints.
The reason why is because the space is too narrow and it will be imposible to fit three horses side by side like the blueprint shows.
So what I did was extended 5mm towards the stern. This gave the needed space for only two horses.
Zoran explained that this narrow spaces (like the blueprints) could be used for a donkey or to store hay.
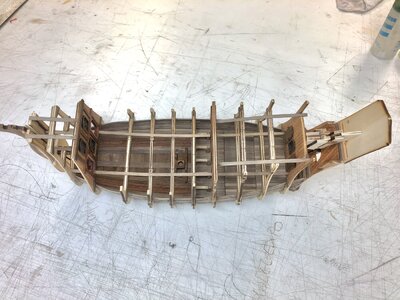
I decided to create four equally spaces so I could accommodate four more horse for a total of 8.
He also told me that this ship was to carry knights into battles, so I figured that less than 8 horses will be a bit short based on the knights on board.
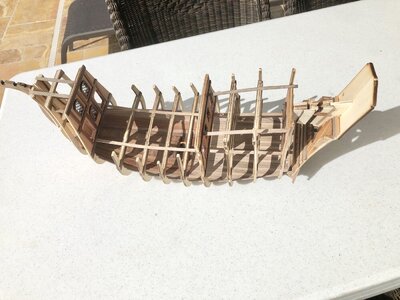


Last edited:
Let me explain something about the transom.
As you can see in some if the pictures. I planked the inside and stained with a light colored wood stain.
I did this because when showing with the horse doors open, it will be noticeable.
I’m planning to leave some portions without the planking so people could easily see the horse stables and the rest.
This unplanked space will be on the main deck between bulkheads 7-9.
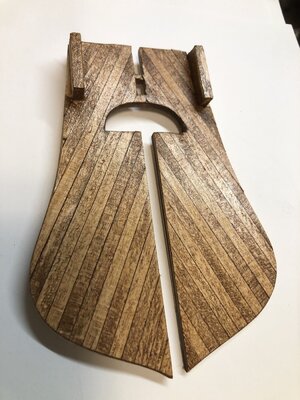

After the transom was glue to the keel, is when I started to work in the #13’s elements.
This section is tricky and has 9 pieces.
This unit will brace the transom with a slit on top of the bulkhead #12. (Stern side)
It’s delicate because once is installed, any bump with it will brake like it happen to me.
So what I did was to brace it with two thick mahogany pieces.
Here is the final result.
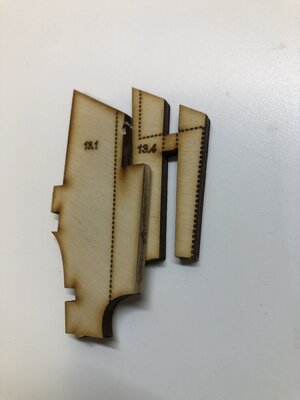
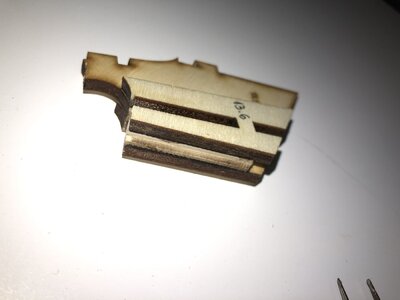
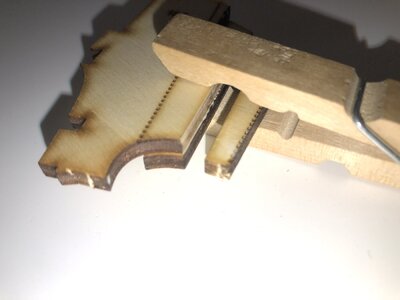
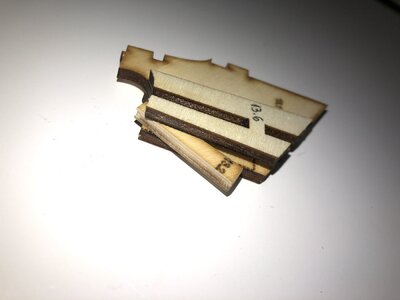
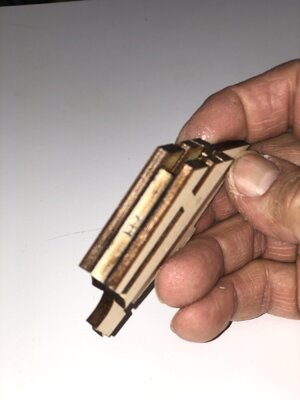
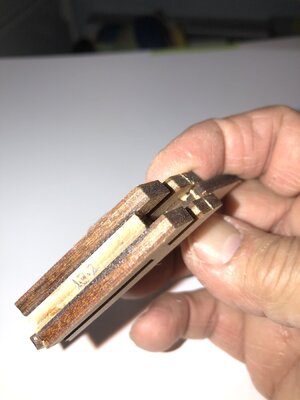
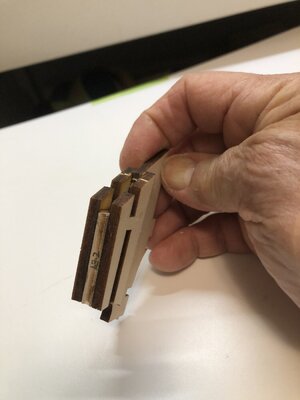
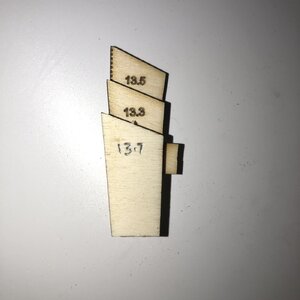
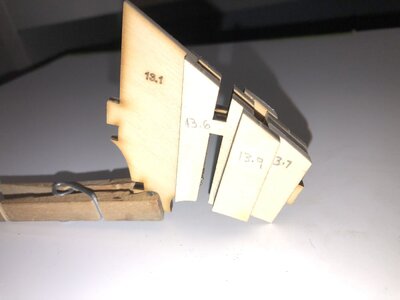
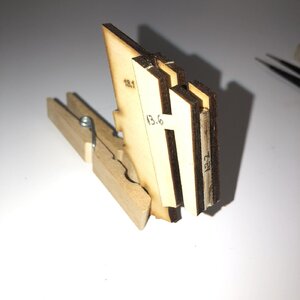
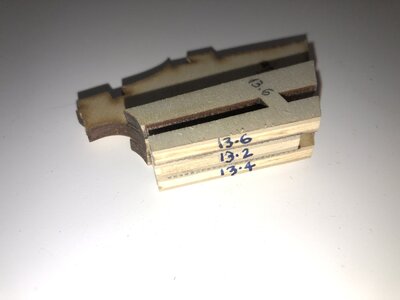
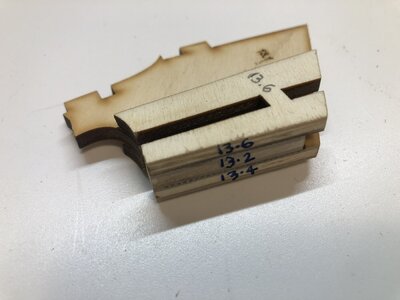
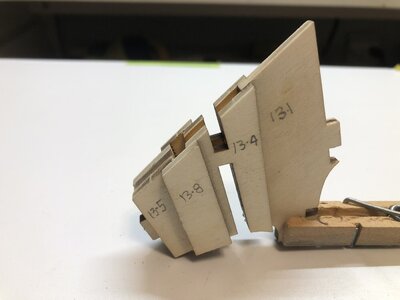
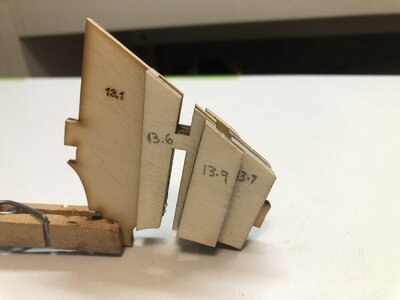
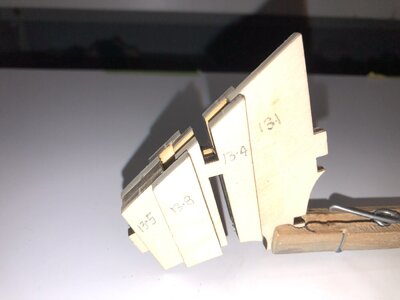
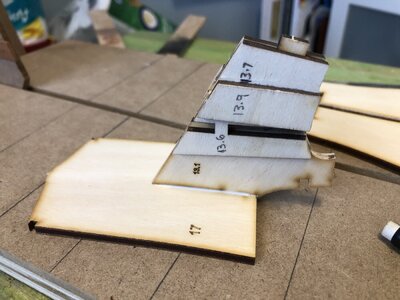
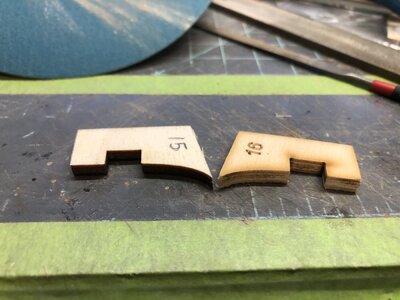
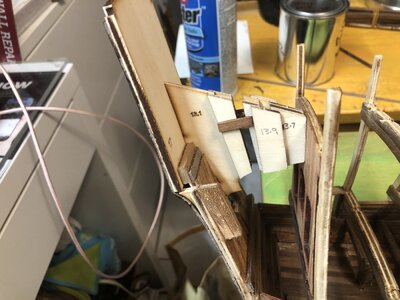
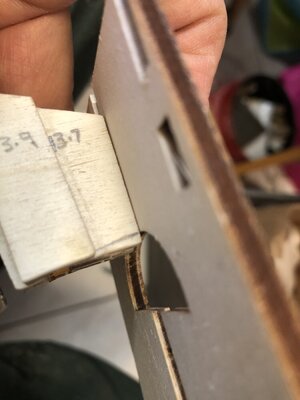


The last picture wasn’t supposed to be shown, but it will help to see the wrong way of attachment because it shows been attached to the transom.
Part # 13.7 is the part that gets glue to the slot on top behind of bulkhead #12.
Sorry guys.
Part # 13.7 is the part that gets glue to the slot on top behind of bulkhead #12.
Sorry guys.
Last edited:
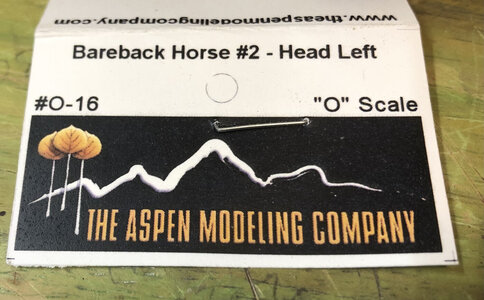
Someone asked me earlier today, where did I get my horses from?View attachment 208225
Here is the answer.
Thank you!!!
Very interesting building log - and good work you are showing us
I will follow with big interest...
I will follow with big interest...
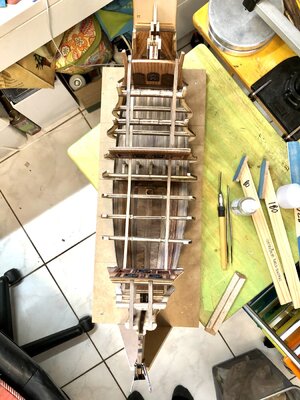
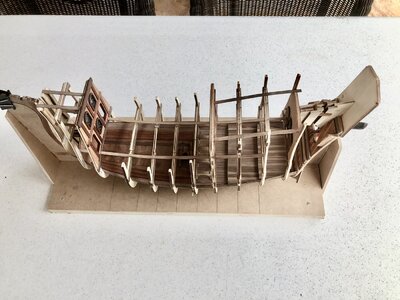
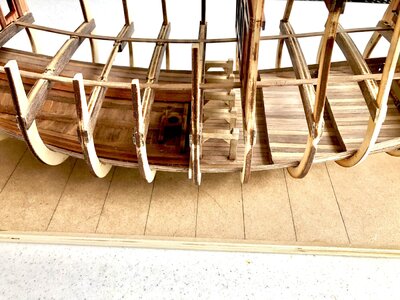
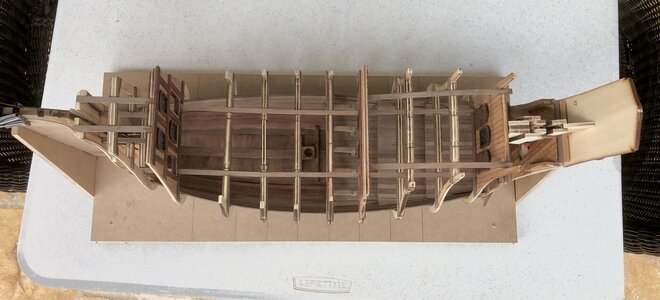
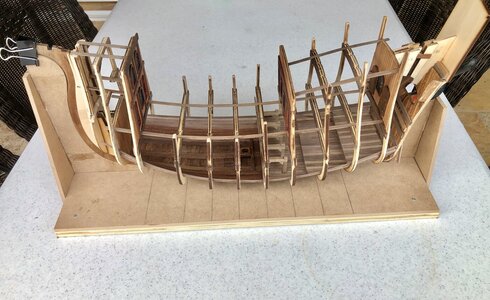
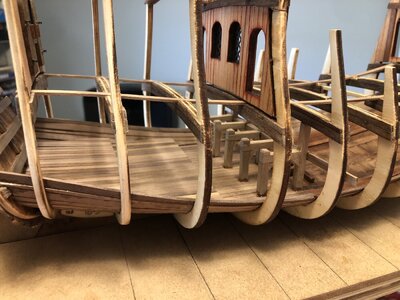
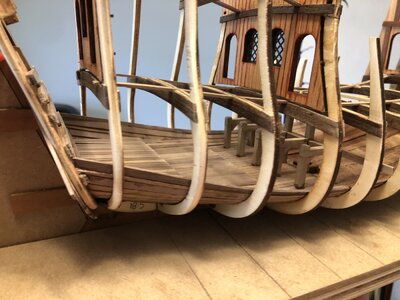
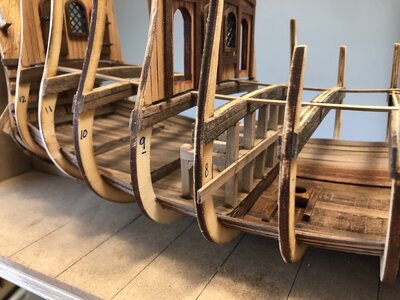
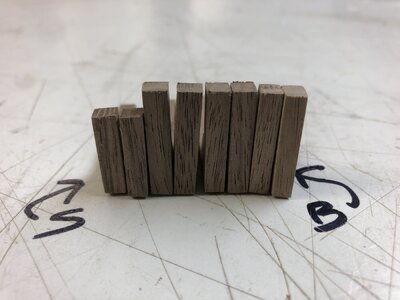
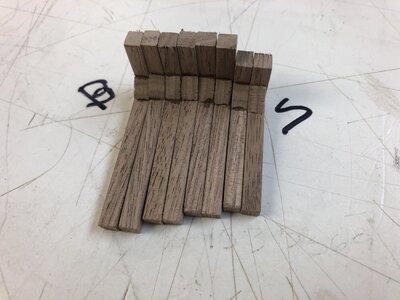
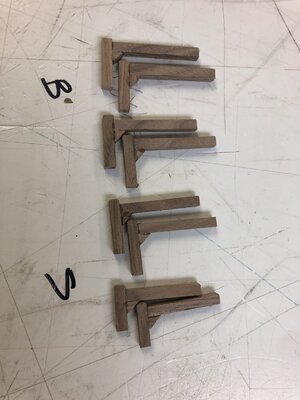
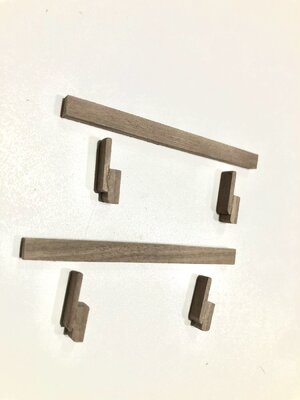
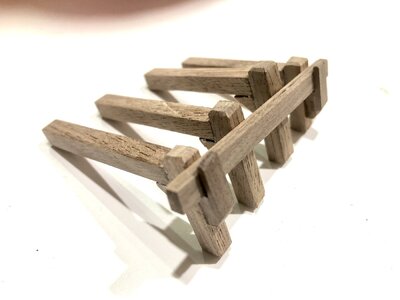
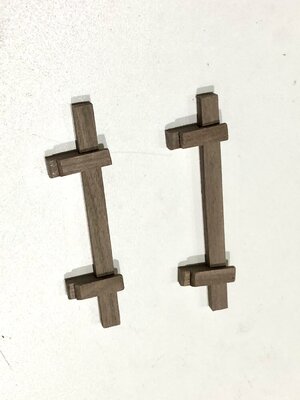
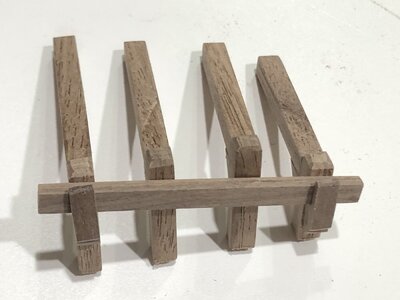
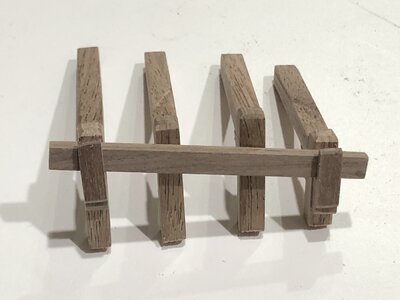
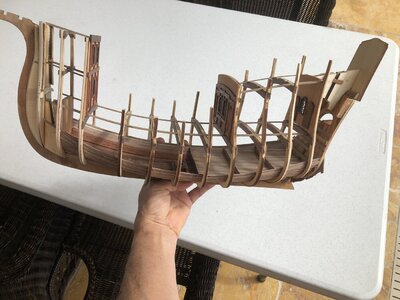
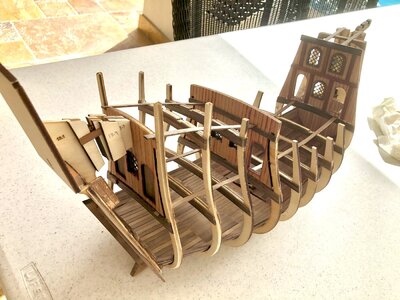
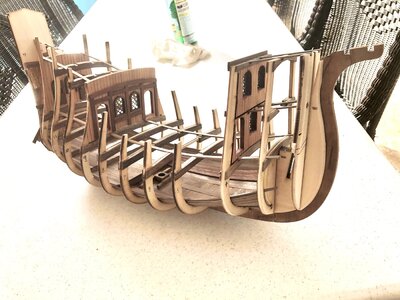
Now...”The horses Stables or Separators”.
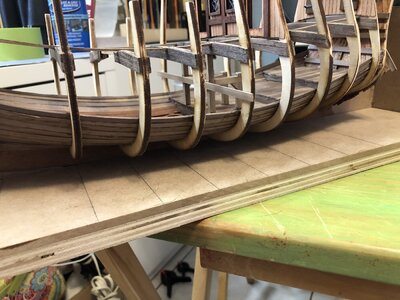
By now you should have cover the “ceiling” or the walls high enough to reach just a bit over the biggest horse space, that is the lower platform, the first one you build.
The first picture shows you how high you should build.
I’ll explain all if the steps I took.
By no means, my way or opinions here, are not the best...My modeling skills are way behind any of you guys. I have seen your logs.
In this build, I learned that you can’t follow the kits instructions to the T like I did.
Don’t do my mistake by building the walls all the way to the deck beams.
Build the walls as needed.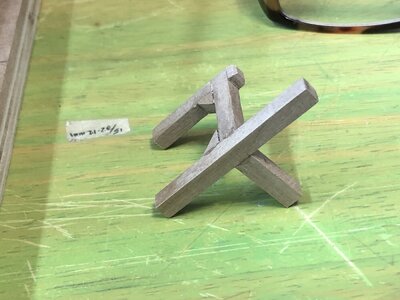
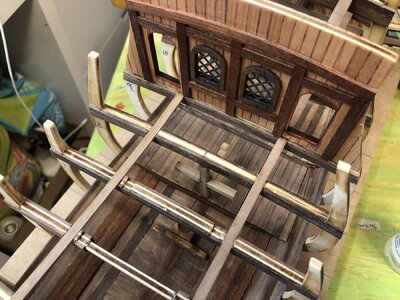
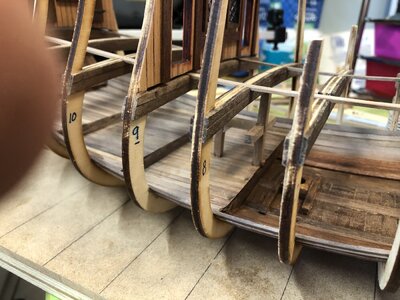


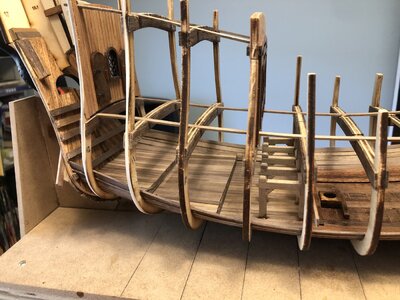
Start with the middle. Of course that you will have to invent a way to find out exactly how high is the main beam. I cut my a bit higher and slowly I sand it down till it fit between the floor and the beam.
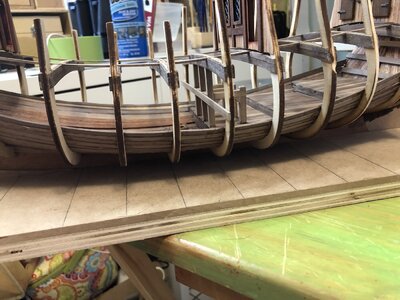
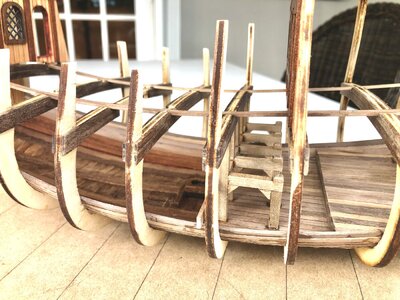
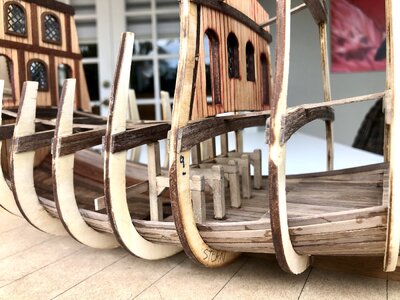
In this picture you can see that my walls are not that high so I could have space to work inside.
You can also see in the first picture that I attached the horizontal piece.
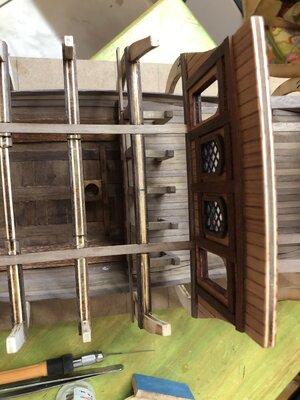
Once you have this in place, you can add a brace of 1.5 x 5 all the way across to serve as a guide fir the rest.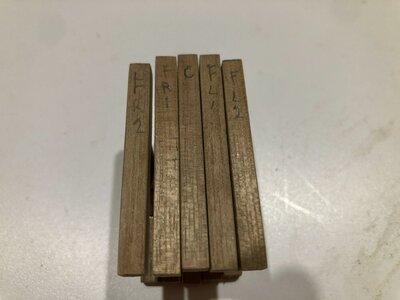
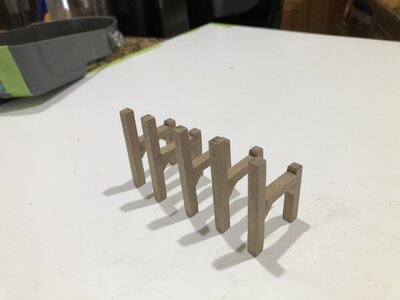
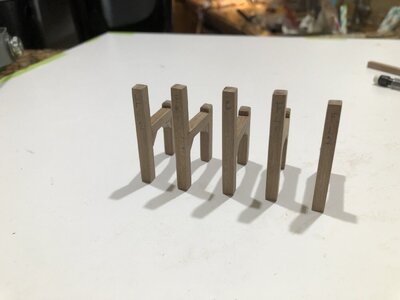
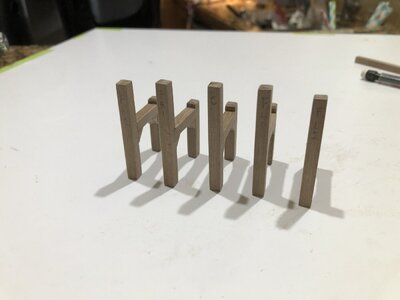
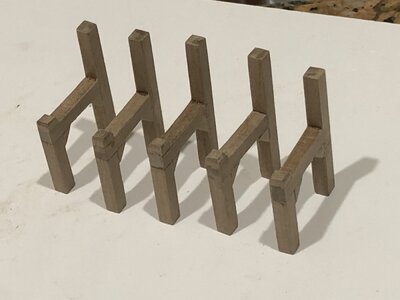
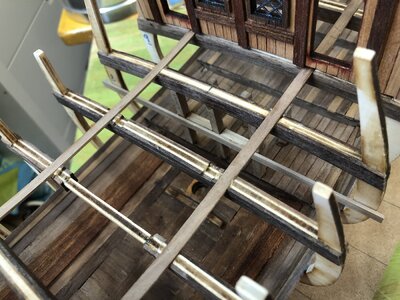
In this picture you can see that my walls are not that high so I could have space to work inside.
You can also see in the first picture that I attached the horizontal piece.
Once you have this in place, you can add a brace of 1.5 x 5 all the way across to serve as a guide fir the rest.


Sorry if I’m posting too much pictures.
I wish that someone had done this before me so I could have saved lots of headaches trying deciphering the instructions.
By the way, I have forgotten to mention something very important that really surprised me when I first received this kit.
This kit DOES NOT have any pictures or schematics or drawings of how to build the hull inside or out, you are left only with the blueprints.
I really wished that Zoran some day soon will incorporate at least some renderings to help modelers like me.
THATS why I’m posting every angle posible.
Thank You fir Your patience guys.
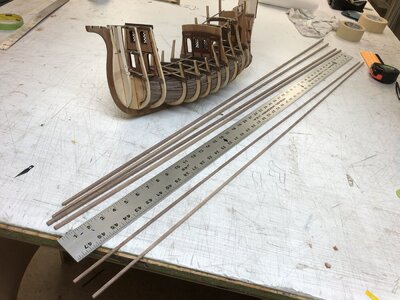
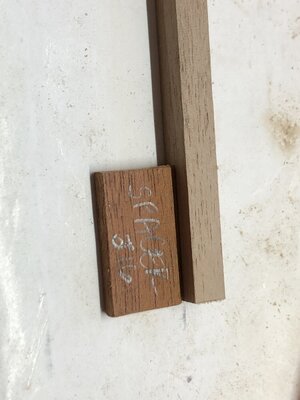
First picture shows a bunch of 4 and 5mm walnut strips.
Lucky I had walnut in my place of work and I rip this pieces.
That been said, just be careful with the consumption of the materials included in the kit because I ran short of this specific size.
Lucky I had walnut in my place of work and I rip this pieces.
That been said, just be careful with the consumption of the materials included in the kit because I ran short of this specific size.
Last edited:


