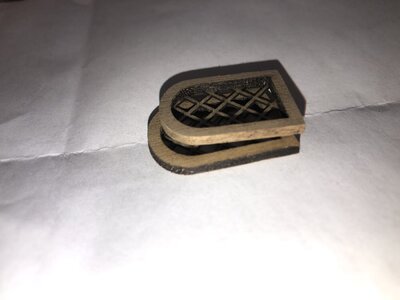
Marisstella Cog 1:48

Joined
Dec 26, 2019
Messages
1,526
Points
488

Location
Miami
Hi guys and gals:
This is my first build log ever and I hope you like my orientations and pictures.
By no means I consider myself a “Pro” since I have only built 5 wooden models that later I will post pictures of them.
Before my wooden models I built many plastics model ships like many of the guys in this great website.
I guess by now everyone is very familiar with the Marisstella models and its owner Zoran.
Zoran has answer all of my questions about this model, and for that I thank him tremendously.
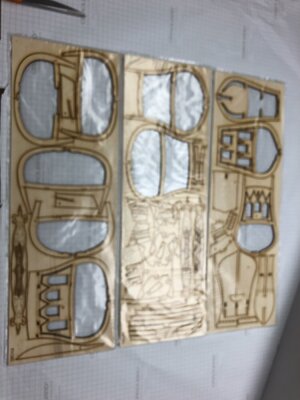
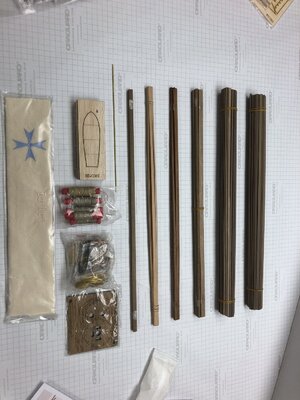
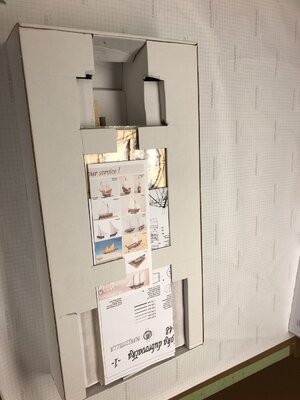
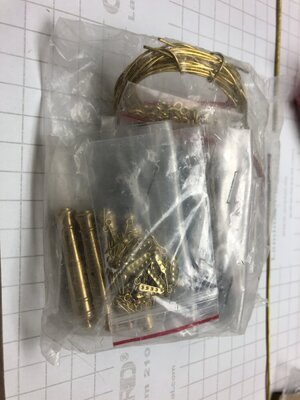
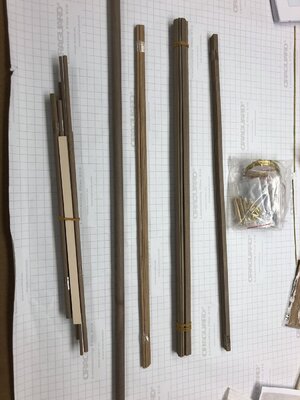
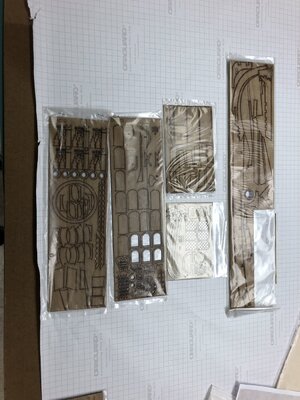
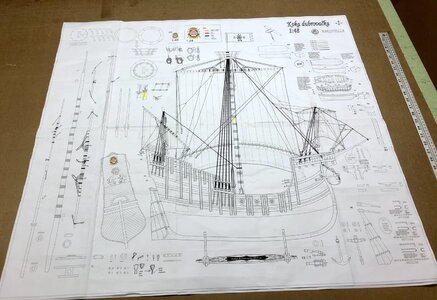
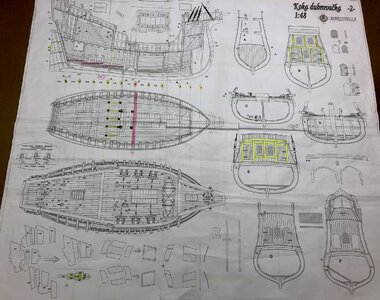
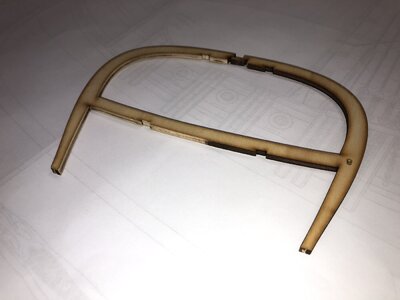
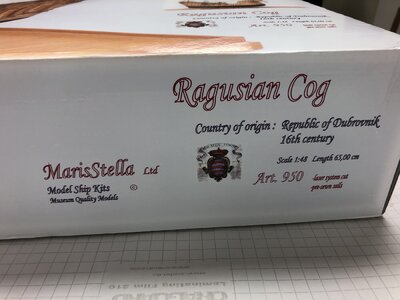
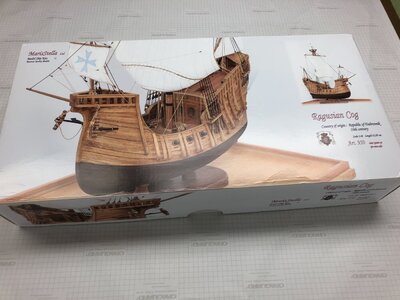
This is the kit that I will be posting my build log.
D40BD8B3-9F21-49CB-8C13-C06CC5F85BE2.jpegDA546D1A-E85C-48EE-989D-A0F31BA92D24.jpegB6925353-A187-45E3-9D19-04CE3F505486.jpegFE5B0721-401E-4769-9576-B89D37D91EB2.jpeg0A49EFB2-15FC-41DF-A002-B3D484763F16.jpegB391D0CD-761C-4F81-BF2A-C9A0749ABC82.jpegBABFACE5-D079-4887-85A4-3A5C143D57F7.jpeg80D075C9-ED57-4D0A-9DCB-4D91DB038444.jpeg
0298DE1E-468D-436E-A1CC-1813EDC0998B.jpegAB170AC6-418C-434C-8AF4-97B4ECB39BE6.jpeg
 
Last edited:
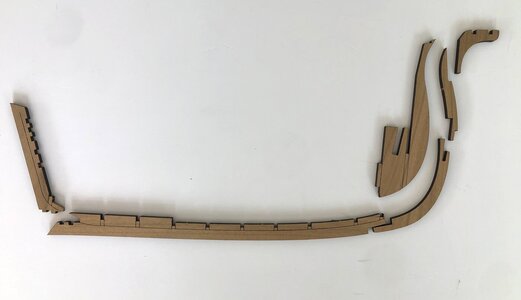
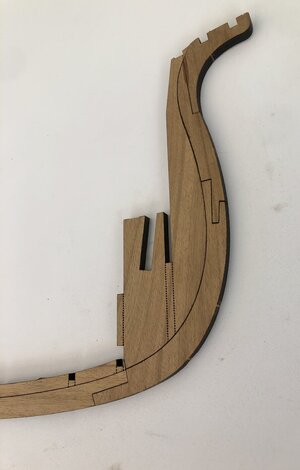
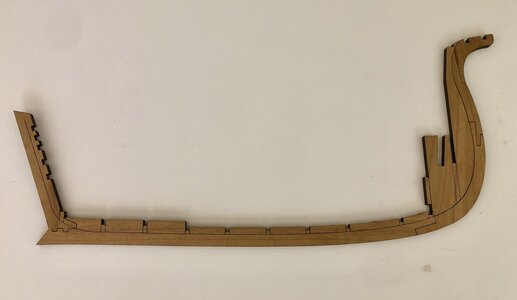
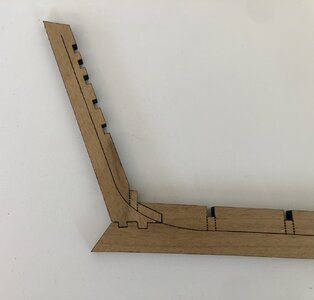
Building the keel was my first bump in the road.
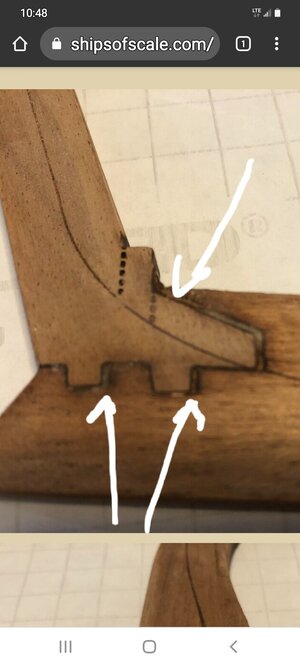
The laser cuts for this parts were not at 90o.
Nothing mayor but you have to correct this minor setback.
But Zoran fixed the problem and I received a new set of keel components.
It fits nice and tight, hardly need any sanding at all.
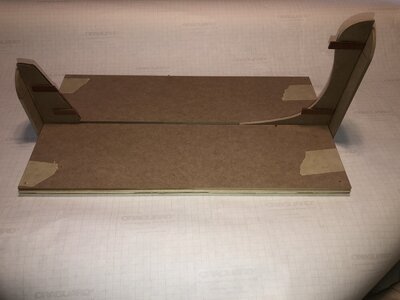
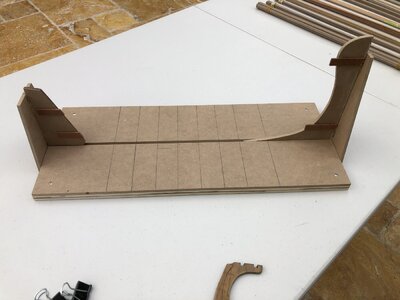
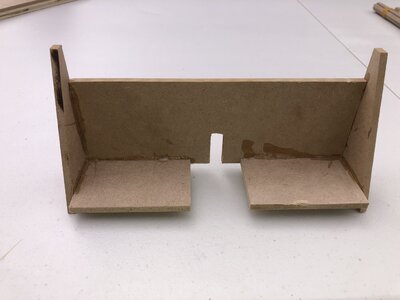
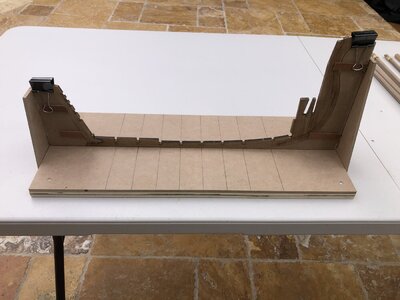
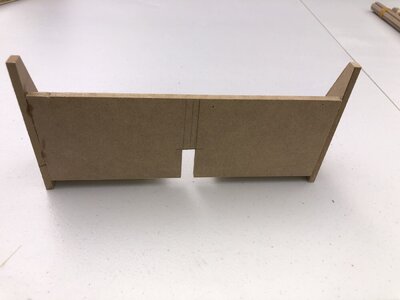
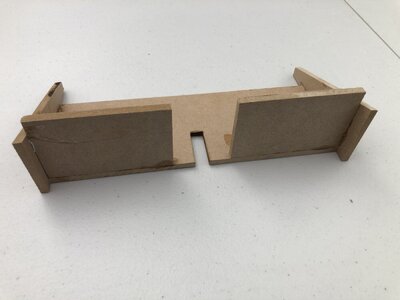
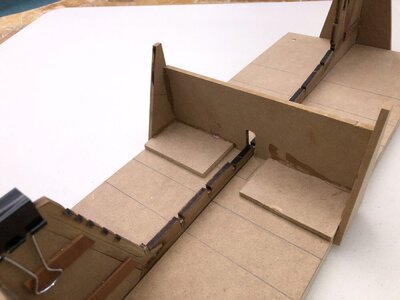
I also created a building jig by tracing the blueprints for the bow and stern.

D5FC5427-BCDC-4A74-AEA6-2B48DF7E8877.jpeg44B06473-7653-4844-8F30-ADA8BAA90DA2.jpeg6819ABA4-A8F2-4A42-885A-711698C718AB.jpeg8005EBE6-D018-4824-9142-D67D42138AE4.jpegAF146A20-3E60-4990-936B-BDBFC3B43737.jpeg1B8A149F-275F-4FEA-A8E1-58DDD980D3E6.jpeg8ED3B130-A67E-4939-A2F7-7F059884270C.jpeg
6F98E6F8-1410-4E1B-BF94-C67F004C385B.jpeg
 

Attachments

  • 1112E070-B01A-4CE9-8500-A69685996C1E.jpeg
    1112E070-B01A-4CE9-8500-A69685996C1E.jpeg
    121.4 KB · Views: 5
  • C3D20923-A11F-44AA-98A0-3D563390AC63.jpeg
    C3D20923-A11F-44AA-98A0-3D563390AC63.jpeg
    76.3 KB · Views: 4
  • 4BD37BDD-6790-41BB-BD1D-8F0A6874CCA3.jpeg
    4BD37BDD-6790-41BB-BD1D-8F0A6874CCA3.jpeg
    146.5 KB · Views: 4
Last edited:
You are in my watched list now. I have been looking this kit with Hight interest for some time. I am happy that you have started a log. I am sure I will be learning from you a lot. The jig looks great. Let us know how you correct the keel issue.

Great detailed pictures and explanations!!

Thank you
Daniel
 
Bluebeard, could be you have seen this building log. It is the Russian Carrack from Marisstella too. The builder found also a problem with the keel and shows in a video what she did to solve it.

Looks like these kits are having issues on that section. I hope Marisstella corrects it.

Post in thread 'Ragusian Carrack XVI c (MarisStella) - Scale 1:59' https://shipsofscale.com/sosforums/...xvi-c-marisstella-scale-1-59.6512/post-144173

Cheers
Daniel
 
Last edited:
You are in my watched list now. I have been looking this kit with Hight interest for some time. I am happy that you have started a log. I am sure I will be learning from you a lot. The jig looks great. Let us know how you correct the keel issue.

Great detailed pictures and explanations!!

Thank you
Daniel
I fixed the off angle issue by carefully filing it back to its correct angle. In some joints I couldn't go too far, so I used a mixture of walnut wood dust with white glue to create a filling putty. The pictures show those particular joints filled with the putty.
 
I like to add another opinion about this kit.
I fell in love this kit because it will be the most antique ship I have built. Also it’s super challenging due to the fact that you have to build the ship from the inside out.
It has three platforms that will have horse stables and I have bought the horses to go with it.
 
A last question: Do you have the upgraded kit or the basic one ?

Thanks
Daniel
Daniel I have the upgrade kit. One thing about this kit is the time you will be waiting to receive it.
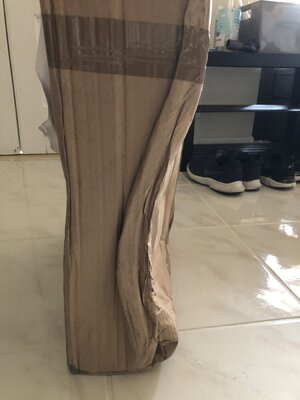
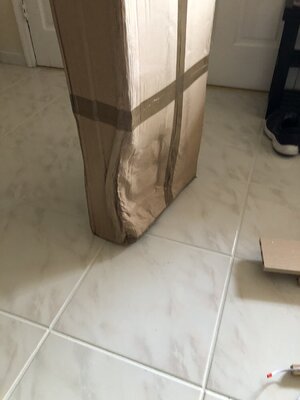
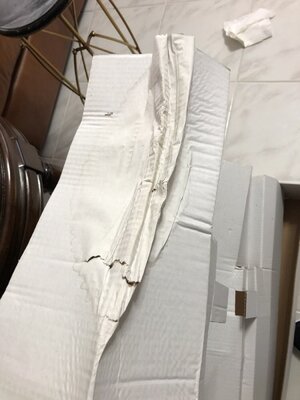
It took 8 weeks to get it and the box was damaged but the content was complete and intact.
Recently Croatia had a few mayor hearth quakes and their mail is even worst now. My advise is to call Zoran and ask him about the mailing issue.

49E3375D-F673-448E-A8AE-50E98AC8100F.jpeg266A4F92-9D5F-4B37-8C92-137AC2162E4C.jpegC20CEBB4-C25F-4F2D-8D7D-D6BB5BB0649D.jpeg
 
I like to add another opinion about this kit.
I fell in love this kit because it will be the most antique ship I have built. Also it’s super challenging due to the fact that you have to build the ship from the inside out.
It has three platforms that will have horse stables and I have bought the horses to go with it.

Those were the main reasons why I was eyeing this model. Unfortunately Marisstella do not have pictures of the interior. So I will wait with anxiously your built to see how it looks. Are those sections depicted in the drawing plans. If Yes, can you post a picture.

You got the horses from Marisstella or from ... ??

You can see that I am really interested in this kit.

Cheers
Daniel
 
Daniel I have the upgrade kit. One thing about this kit is the time you will be waiting to receive it.
It took 8 weeks to get it and the box was damaged but the content was complete and intact.
Recently Croatia had a few mayor hearth quakes and their mail is even worst now. My advise is to call Zoran and ask him about the mailing issue.

Yes, I will, but it will probably be by the end of this year or 2022.

I waited for some brass hinges that are made and sell in Russia more than 2 months last October. Yes, shipping from that regions is tuff today.

Fortunately looks like the kit was fine.

Cheers
Daniel
 
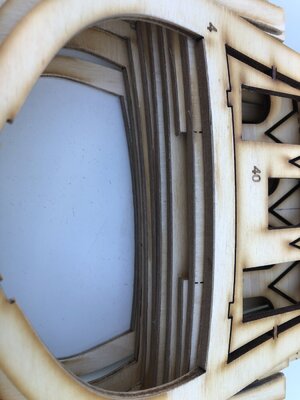
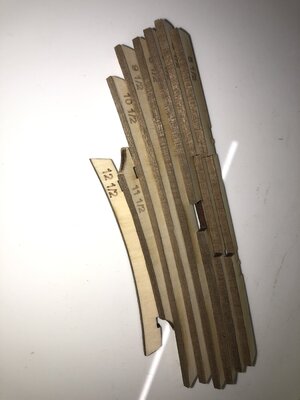
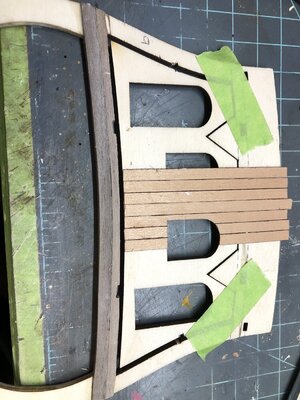
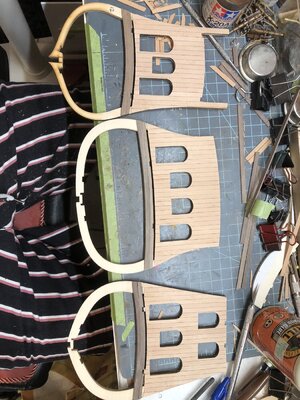
The fist steps after the keel is done is to prepare the bulkheads. Like I mentioned before, I always try to clean off all the laser burned edges that will be later glued.
Also you have to trace all of the bulkheads to later use them to shape the vertical side pieces.
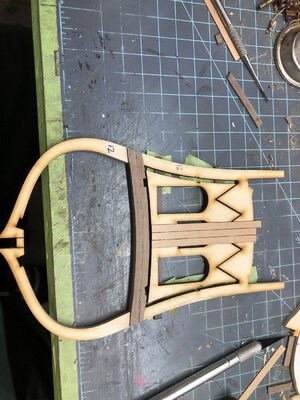
Once that is done I glued all of the bottoms of the support beam with 0.6x5mm strips.

B6AC14F2-4704-44C6-9693-4704A2B659FB.jpeg640AA827-69D2-447E-B530-D6929F90A99A.jpeg
 
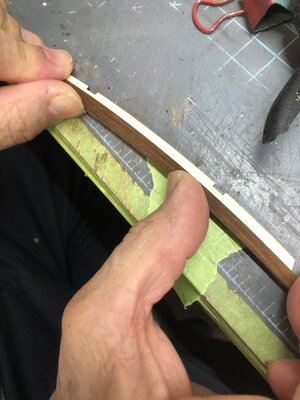
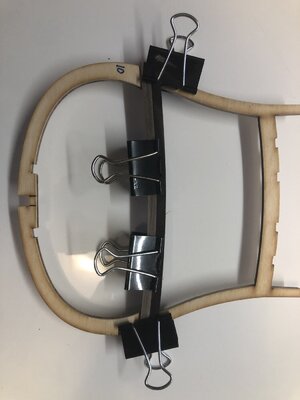
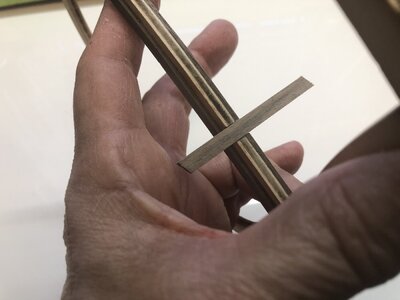
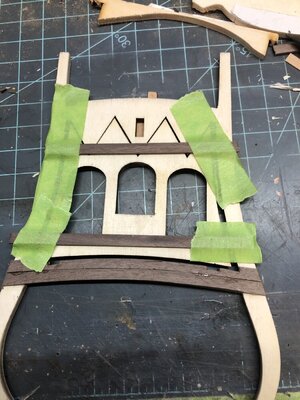
Next step was to cover the faces all of the supporting beams. Again this is done with the same material as the bottoms.
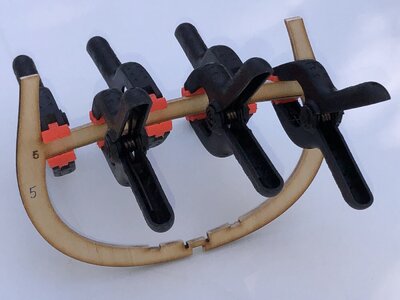
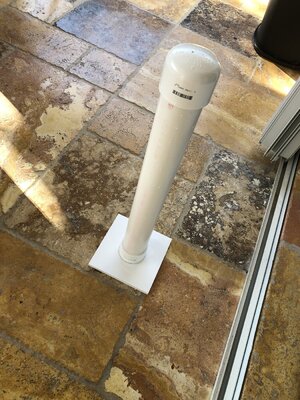
I had a heck of a time trying to bend this extremely hard walnut. I left the strips on a pipe full of hot water for two days and still they were hard to bend.
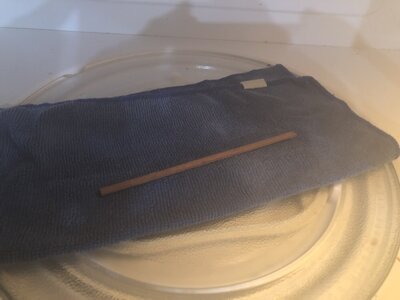
I also tried to wrap them in a wet towel and heat the in the microwave for three minutes with just about the same results.
So I was forced to used Cyanoacrylate wile holding the needed bent shape.

FF30DACF-74BC-4AC2-8EE2-EC222F90CBF0.jpegCCA13D51-3660-40E4-A459-FAA074466660.jpegFBAC4CA8-5137-47D8-B173-7CD366BFA6C3.jpeg48B998AB-BCE9-453B-A92F-CBF871D97729.jpegFF4328DE-9A97-4AA4-807E-16C85D779A5E.jpeg
 
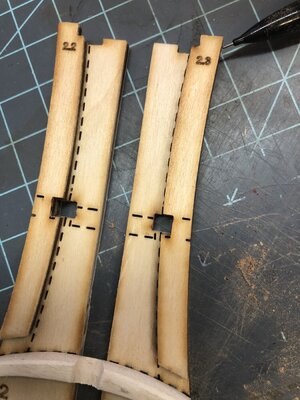
After that it was time to install all of the bulkhead in the keel but before that you have to prepare the first one in line from the bow, that will be #2.
You have to add three pieces before assembling.
As you notice, the middle pieces you have to build a groove to accept the bowsprit.
Make sure 2.2 and 2.3 makes a perfect square hole.

12B2529C-E6AB-406B-BD71-8A301F314E88.jpeg5D9C236D-4C4F-4DA2-A17C-69F54CC8A6F5.jpeg
 
Also before assembling the bulkheads, you will have to panel some of them.
I like to paint the edges with brown markers before assembling just to get a ni es finish look.
Now....I don’t recommend the markers because they bleed and I had to sand off the mistake. Maybe some brown color pencil would have done a better job.
I’m an artist and do oleo paintings so Ibtry to take good care of the finish aspect of all if my models models .

062882E6-F285-404E-9B0C-CD7F1915BB57.jpeg7DB2332C-8188-49ED-80AA-B08102E4D807.jpeg41317536-482E-41DB-8648-6C669C7B3641.jpegFC8C34A8-5BC9-495C-AC76-52C4EEA49C04.jpegFEBDBFBB-48C1-4E16-8AB4-D2400F47D437.jpeg
 
Back
Top