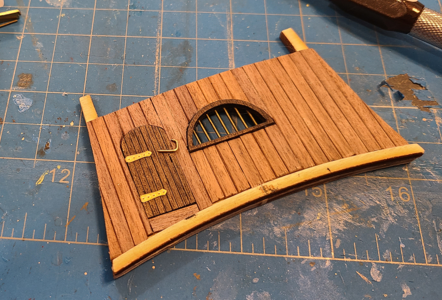
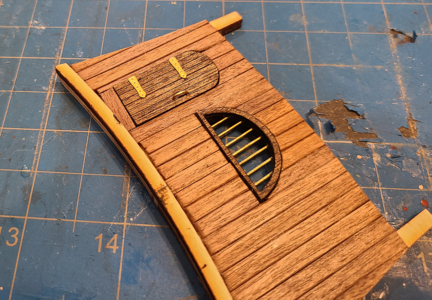
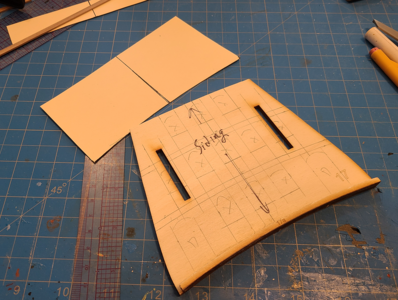
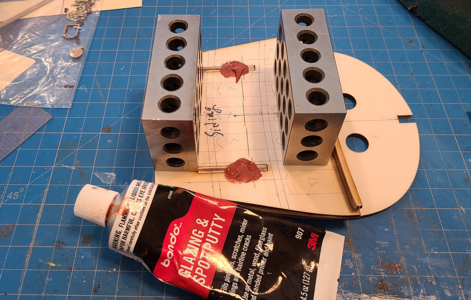
Continuing on with Bulkhead 17, I decided to go with Olha's method of inserting doors and windows within the planking, rather than gluing them on top of the planking. In addition to providing a flat background for the windows, I felt it would look more realistic with the windows "built in" rather than "tacked on". I would live to regret my decision, as without Olha's skills, this is a difficult method. But this thread is not about perfection, after all.
after sanding the putty-filled areas, I began with the easy stuff: straight cut wood strips glued in place. The fit around the doors wasn't too bad, but now I contemplated making all those rounded cuts, 3 each above each of the 10 windows.
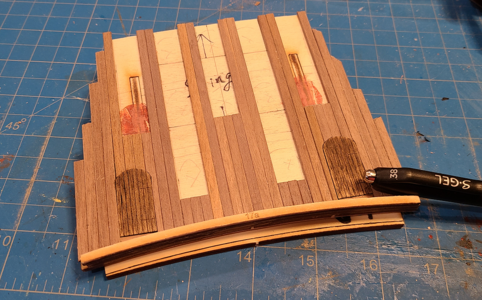
The above view also shows a piece of scrap that I marked with the exact curve of the deck on this bulkhead. This will be used later to measure and installed overlay pieces.
After a bit of contemplation, and knowing my inconsistency with an Xacto blade, I decided to make a jig to help me shape the strips over the windows. I took a piece of wood, but a 1/2" hole in it, opened it up, then took my smallest diameter sanding drum and smoothed it into a long 'U'. This diameter approximated the radius at the top of the windows. I would later find it wasn't as close as I thought, but still, I think, better than roughing it. The 4 glued wood strips will hold the strips to be sanded in place, one at the edge of the window (flipped over for the other edge), and the other centered:
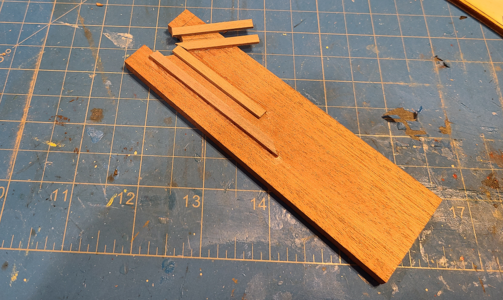
The strips were then sanded out using the sanding drum. I also clamped the jig in place, so I didn't have to worry about it moving around during sanding:
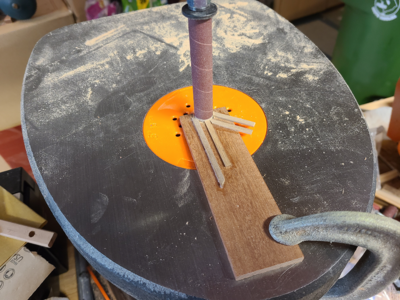
It's obvious how a strip is inserted to be sanded, but here's a pic anyhow:
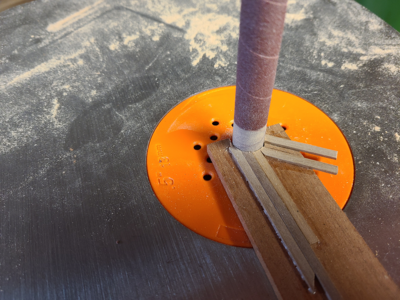
Here, the first window is in place with the sanded strips. A bit loose side-to-side, as I now found out. Olha's seemed to fit precisely. Perhaps she thinned all the 1.5mm x 4mm strips a bit. I probably should have as well, but did not.
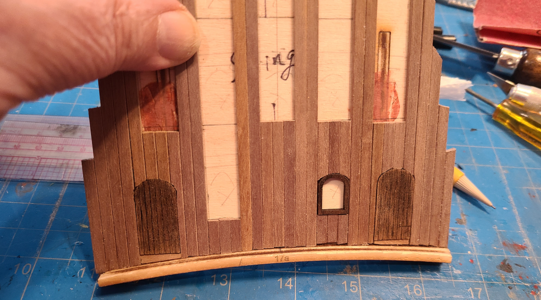
Of course I didn't glue the windows in at this point. A lot to do before that. Oh, I stained the doors, windows and add-on trim (shown later) using water-based dark bourbon stain. Only a light coat required with water base-stain.
All strips have now been installed, with space for all windows. Window frames now have the etched brass grids super glued to the back of them.

(On the left is my first attempt at rounding strips over windows: just a guide to show where to hold the strip while sanding by hand. Didn't work well.)
Next, but bottom four pieces of the overlay sections were measure, cut and placed. Some builds simplify this area by making the horizontal pieces straight, but I think the look is really enhanced by the curve matching the deck, so developed a method.
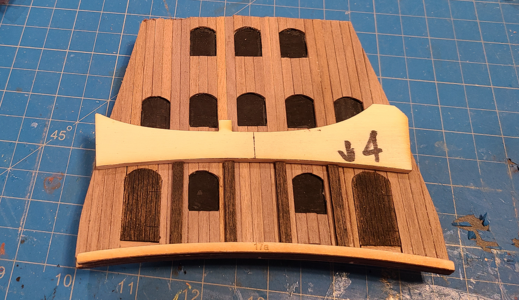
Since the desired curve of the horizontal overlays above this point match the deck below, this template is also used to confirm the length and angle of the vertical pieces. I calculated the angle of the inner vertical pieces as 1 degree, and outers as 3 degrees. When cutting them, first they should all be the exact same length (along a side), and top and bottom angles should be the same. I know you're laughing at 1 degree, but 3 degrees is visible. And when using my miter box, it is 3" from the left side to the cutting point. For a 3 degree angle, I simply held the far end about 3/16" from the back, which gives close to 3 degrees (since the angle includes the length of the piece too), and a little over 1/16" for the 1 degree. Thus, an easy way to approximate angles and make them consistent.
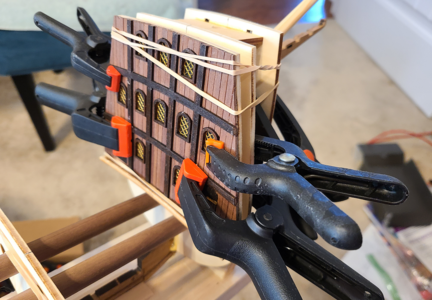
I applied glue to the back of the cross piece, and clamped it in place over the center two vertical pieces, using small pieces of scrap to keep the glue away from all but the center area for now.
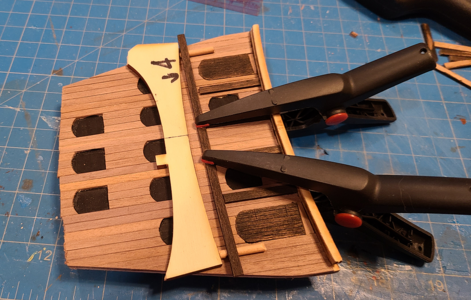
I then used the template to push and bend the horizontal piece into the correct shape.
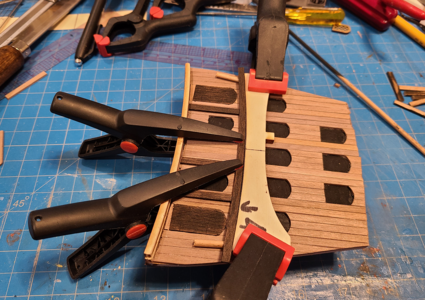
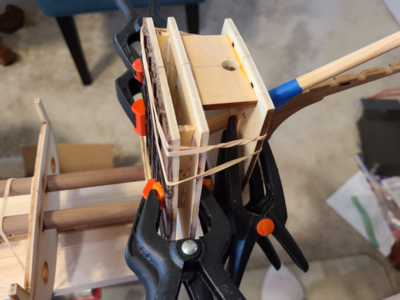
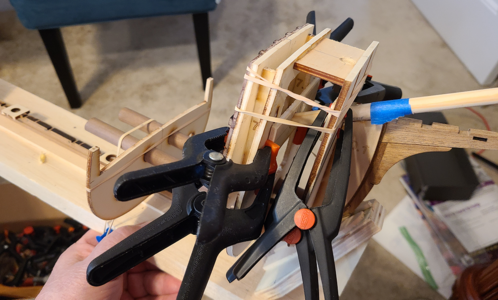
I then removed the pieces of scrap, and pushed the ends of the curved strip into contact to glue it in place.
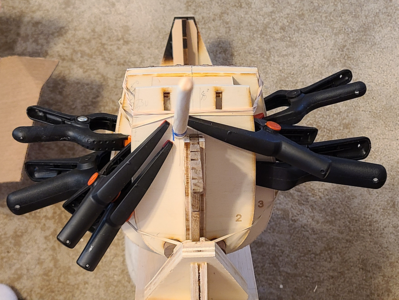
Here's where multiple clamps really help:
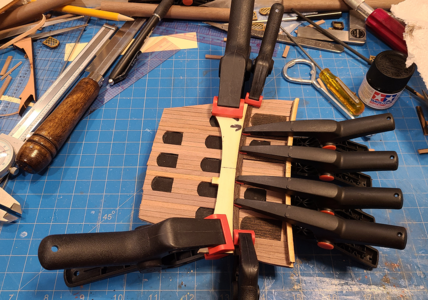
After clamp removal, we have a nicely curved piece:
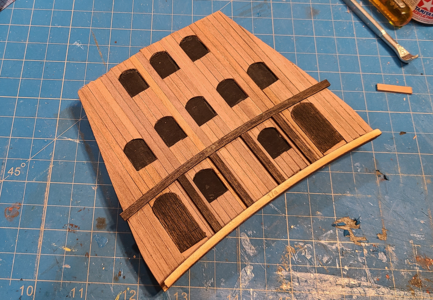
This worked so nicely that I ignored the old rule "measure twice, cut once" and did more of a "measure once, cut 15". I couldn't see the forest for the trees, so my upper horizontal piece is about 2mm higher than it should be. And I'm not thrilled with my cuts around the windows, especially as there are gaps.
But I'm hoping that with leaving the window grid inserts brass, guys, especially, will just think "Oooh, shiney!" and ignore the poor workmanship. If you're not that kind of person, just stand about 10 feet away from your computer monitor; I guarantee it will look good from there.

In retrospect, I wish I'd placed the upper horizontal bar in the right place. I wish I'd thinned the planks in the window section to result in a closer side fit, and that the top and bottom fit was better. I wish I hadn't already cut down the left hand door for use elsewhere and didn't have the hinge marks in the wrong place. I wish I had extra materials do do it all over again. I wish I wasn't going to be 80 years old in 2 months.
But wishes aside, I think the completed bulkhead will go well with the ship, which I do hope to complete some day, and no doubt there are greater challenges and worse errors to come in the future.
 . Cheers Grant


