• SUBSCRIBE TO SHIPS IN SCALE TODAY!

    The beloved Ships in Scale Magazine is back and charting a new course for 2026!
    Discover new skills, new techniques, and new inspirations in every issue.

    NOTE THAT OUR NEXT ISSUE WILL BE MARCH/APRIL 2026
  • Win a Free Custom Engraved Brass Coin!!!
    As a way to introduce our brass coins to the community, we will raffle off a free coin during the month of August. Follow link ABOVE for instructions for entering.

Mary Rose "Your Noblest Shippe" 1545 scale 1/50

Just a quick note, old drawings are sometimes open to interpretation...

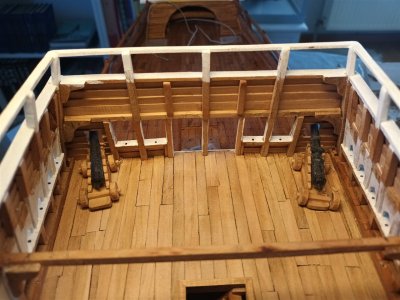
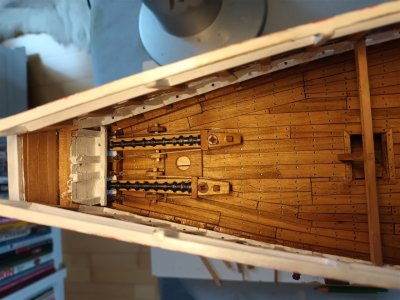
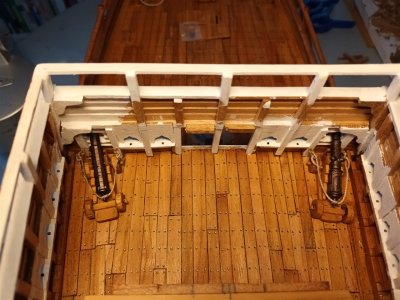
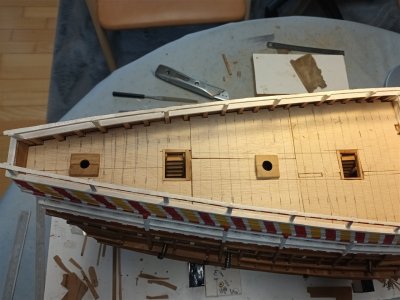
Adding cannons to a drawing is simple.
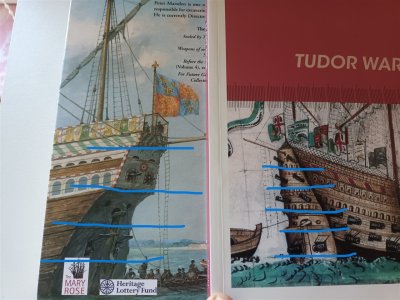
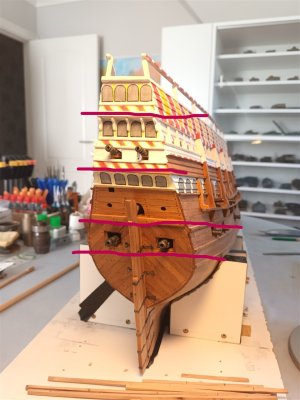
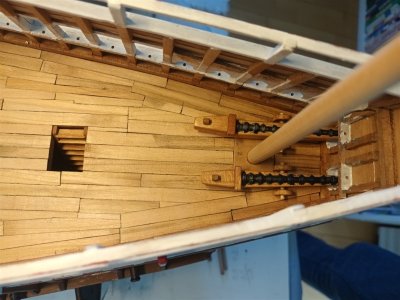
Antony adds a total of 8 cannons to the sternr.
For that, you need at least 5 decks. 4 decks with cannons and one with the tiller.
There can only be a maximum of 4 decks, of which the 3rd deck is actually too narrow to operate the 2 cannons.
20260430_185116_1280.jpg

20260430_152327_1280.jpg

20260430_152243_1280.jpg


The next updates still need to be built and will roll out more slowly. ;)

The English version of the Mary Rose build log has been restored.
Happy reading
 
Last edited:
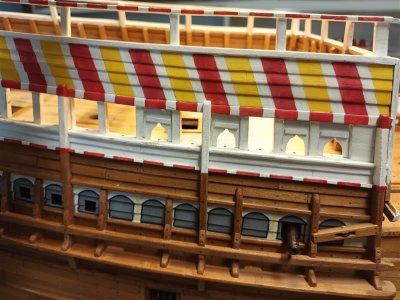
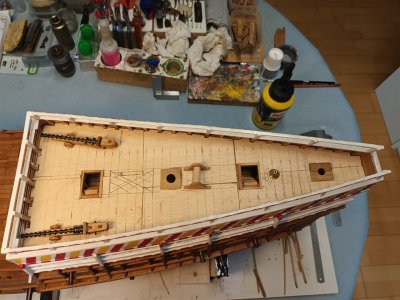
After days of copy/paste and translate. Work has continued on the rear castle, and the first real update on this forum

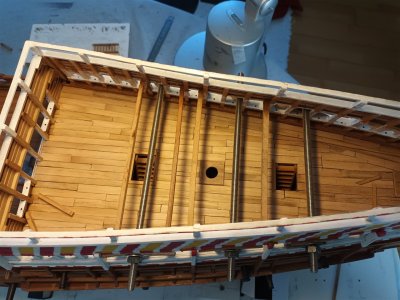
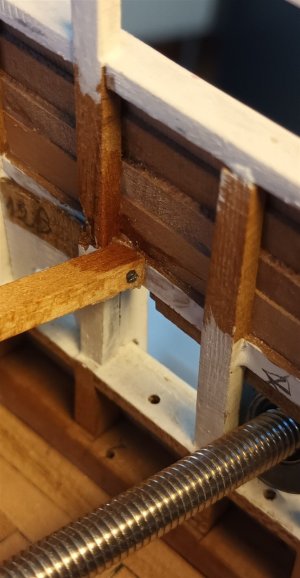
For those who reed the previous posts, the top of the rear castle was too wide and was in the way of the standing rigging. So, the entire top section was pulled together with threaded rods, and then crossbeams were glued on.
20260501_163736_1280.jpg
These have been additionally secured with small nails.
20260501_163809_1280.jpg
The threaded rods are removed, the crossbeams are holding up, and there is now sufficient space for the standing rigging.

Now i can resume placing all the shields.
Work in progress. During construction, the shields were numbered; not a single one is identical.20260507_190519_1280.jpg20260508_092716_1280.jpg20260507_190529_1280.jpg
Thanks for following
 
After days of copy/paste and translate. Work has continued on the rear castle, and the first real update on this forum

For those who reed the previous posts, the top of the rear castle was too wide and was in the way of the standing rigging. So, the entire top section was pulled together with threaded rods, and then crossbeams were glued on.
View attachment 599321
These have been additionally secured with small nails.
View attachment 599322
The threaded rods are removed, the crossbeams are holding up, and there is now sufficient space for the standing rigging.

Now i can resume placing all the shields.
Work in progress. During construction, the shields were numbered; not a single one is identical.View attachment 599323View attachment 599325View attachment 599324
Thanks for following
A lot of work, but now we are here on the SoS up-to-date, Patrick. Good to see that you could adjust the rear castle.
Regards, Peter.
 
Hi Patrick, seems like you live not very far away from me as you have the same supplier as i do - I live in sint-niklaas - where did you find all those plans for the mary rose in that scale?

grtz,
chris
 
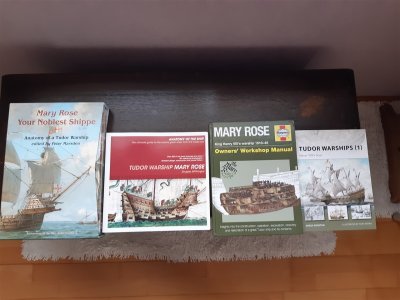
All the info and plans comes from these books.
1779272021293.jpeg
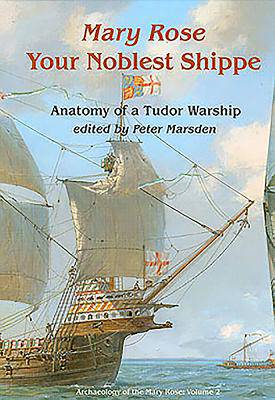
Left, Noblest Shippe, contains two parts. One is a book, and the second are plans.
These plans are enlarged from scale 1/100 to 1/50.
Rest is internet research. And sometimes info from Mary Rose Museum.

exceptional, fore sale in belgium. Very rare...


Last edited:
Back to work on Mary after the holiday.
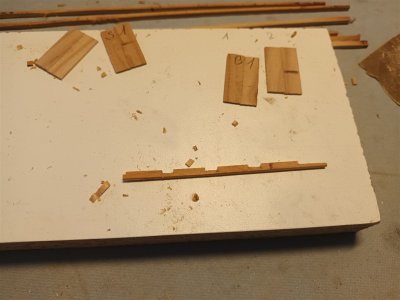
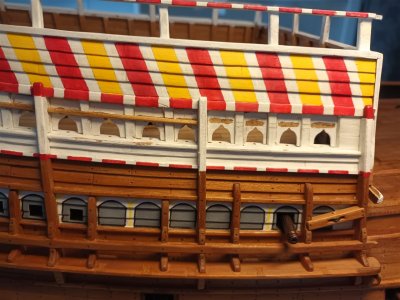
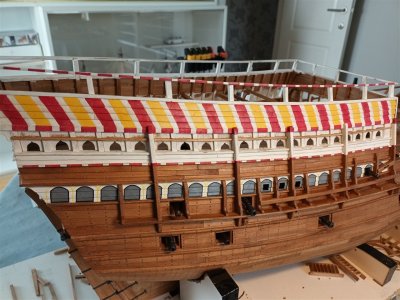
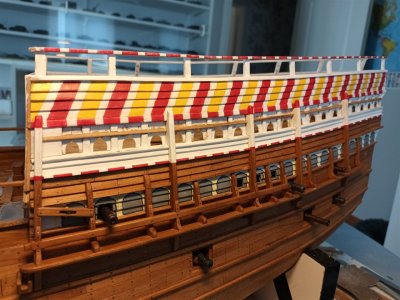
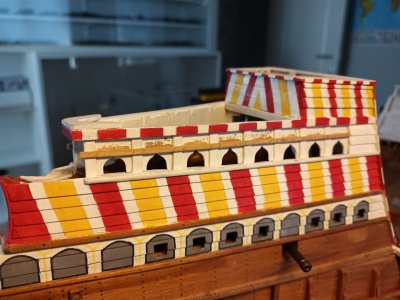
I went through my books once again and determined that the slat on each shield was incorrect. There needed to be a thin beam running along the outside of the shields. The shields were also nailed to this beam.

So, I removed the slats from the shields and added a small beam. The shields are now also more securely attached.
20260520_143219_1280.jpg20260520_143227_1280.jpg20260521_151022_1280.jpg20260522_142504_1280.jpg
And of course, I didn't forget the forecastle.
20260522_142521_1280.jpg
Hooray, at last,all the shields are in place.
Thanks for following
 
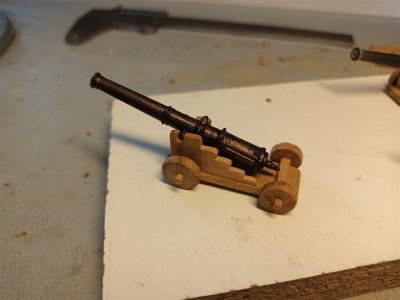
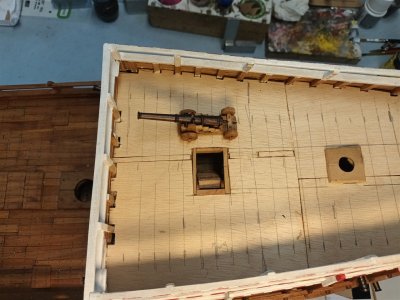
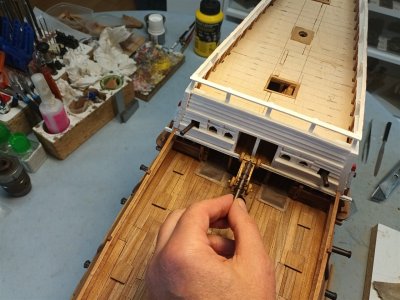
The forward-firing bronze cannons in the rearcastle.

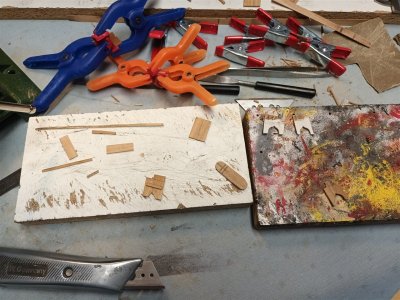
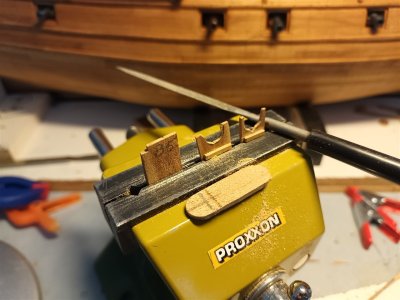
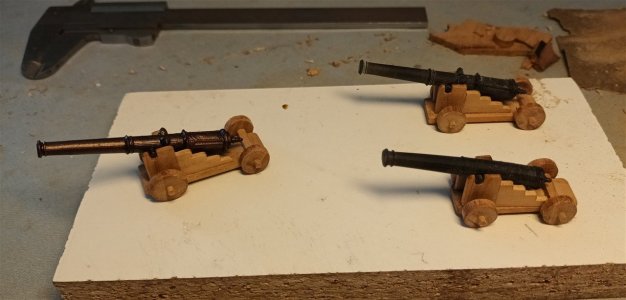
I am making 3 instead of 2. 2 for the model and 1, more detailed, for the stand.
20260524_103920_1280.jpg20260526_144631_1280.jpg
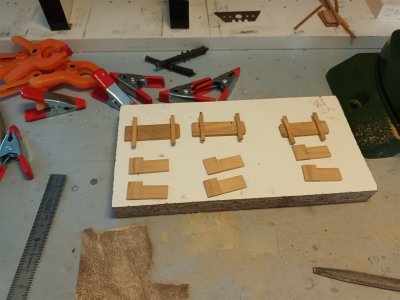
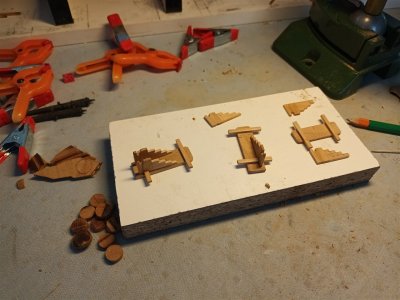
Building the gun carriages, with the wheel axles exceptionally positioned on top of the base plate.
The rough shape of the gun carriages is finished. One also has the correct wheel size and will be mounted on the stand later.
20260527_162237_1280.jpg20260527_162254_1280.jpg
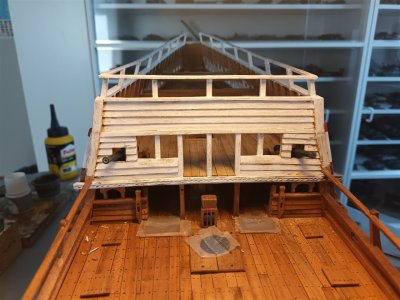
Now 2 holes could also be made in the front wall.
20260528_152209_1280.jpg20260528_152227_1280.jpg
To be continued.
 
Back
Top