• Ships of Scale has incorportated an extra level of security when you log In. Please follow on-screen prompts to acknowledge that you are not a robot via a "Check Box" or a "Pictorial Check Box Puzzle". This is needed due to higher level of AI Activity Security.
  • SUBSCRIBE TO SHIPS IN SCALE TODAY!

    The beloved Ships in Scale Magazine is back and charting a new course for 2026!
    Discover new skills, new techniques, and new inspirations in every issue.

    NOTE THAT OUR NEXT ISSUE WILL BE July/August 2026
  • Win a Free Custom Engraved Brass Coin!!!
    As a way to introduce our brass coins to the community, we will raffle off a free coin during the month of August. Follow link ABOVE for instructions for entering.

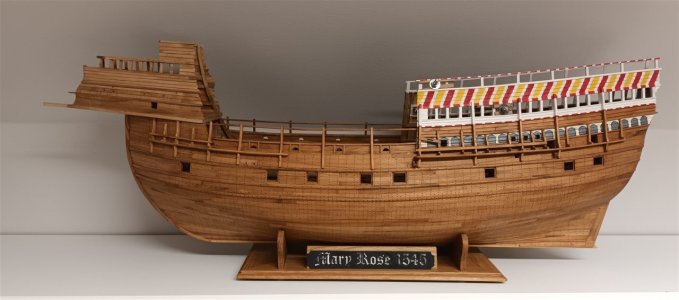
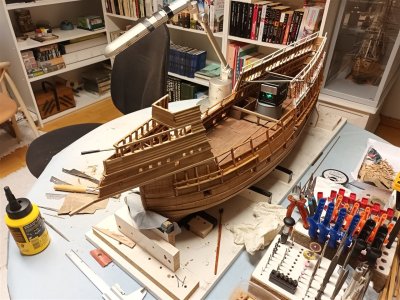
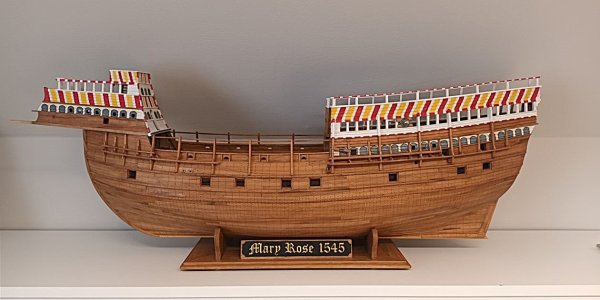
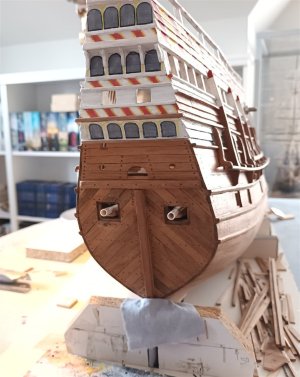
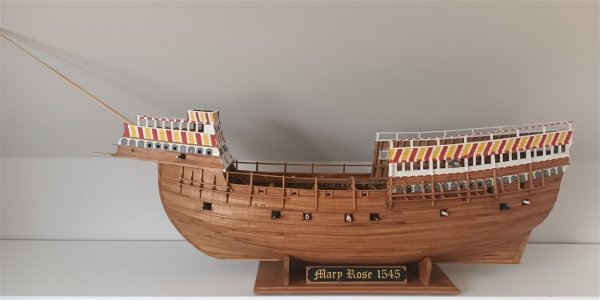
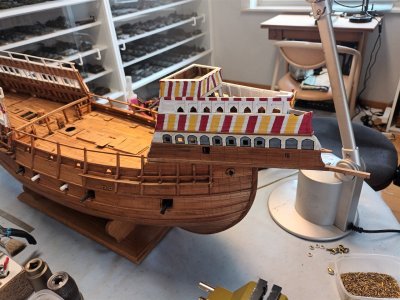
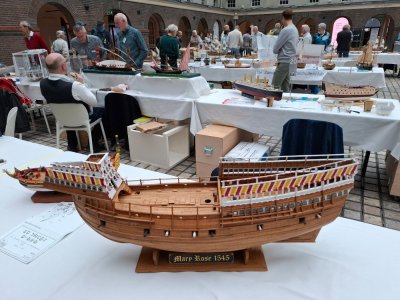
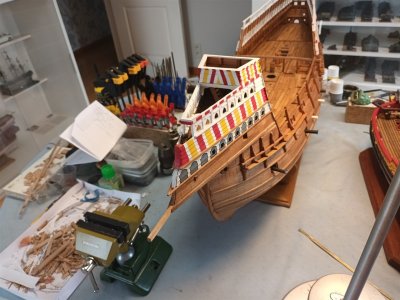
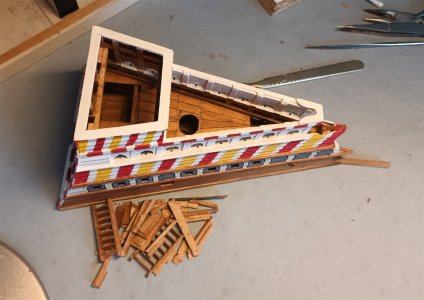
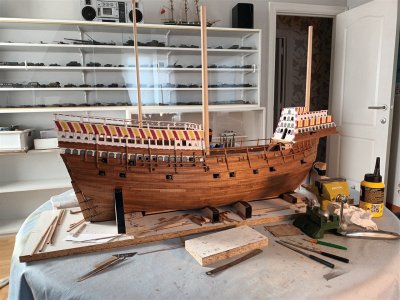
Mary Rose "Your Noblest Shippe" 1545 scale 1/50

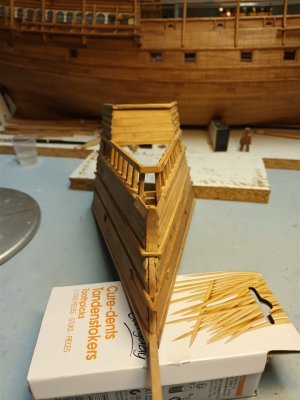
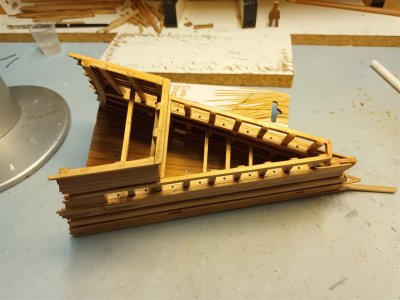
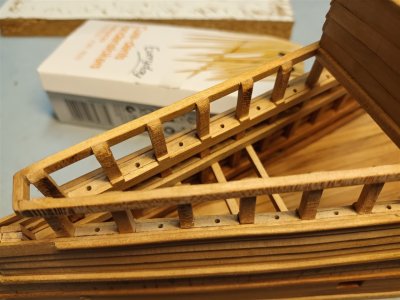
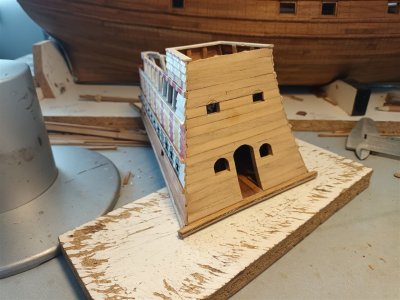
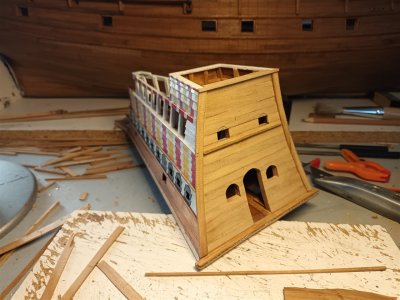
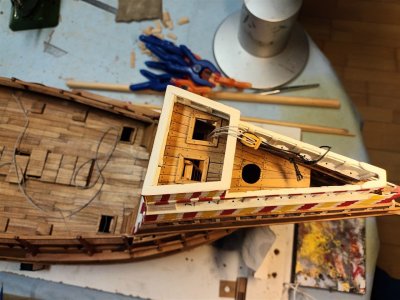
A few extra holes have been made in accordance with those in the rearcastle.
20250104_162509_1280.jpg20250104_162604_1280.jpg
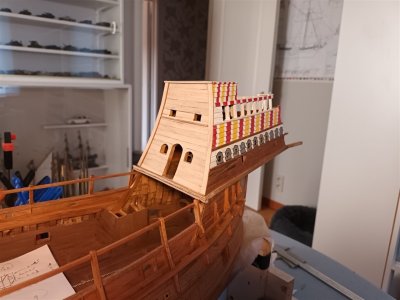
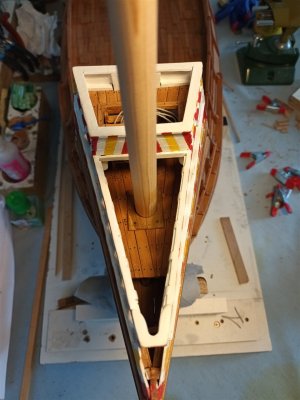
And after measuring with the laser, it turned out that the entire forecastle was slightly tilted relative to the hull.
20250108_084154_1280.jpg20250108_084228_1280.jpg
This problem has now been rectified. If only I didn't tell anyone about this, no one would have noticed
20250108_084302_1280.jpg
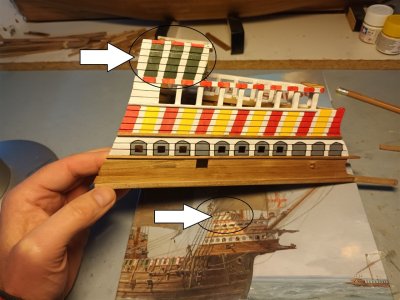
The forecastle is painted, but I didn't think the top part was really successful. Too high and too green.
20250313_080602_1280.jpg
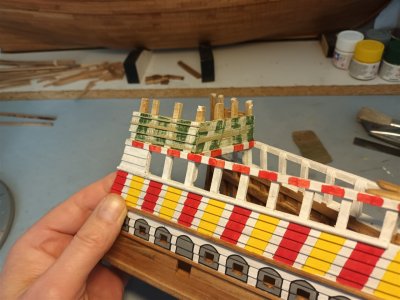
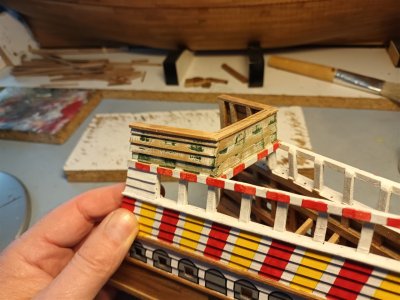
The height was therefore adjusted.
20250313_083604_1280.jpg
20250313_145553_1280.jpg
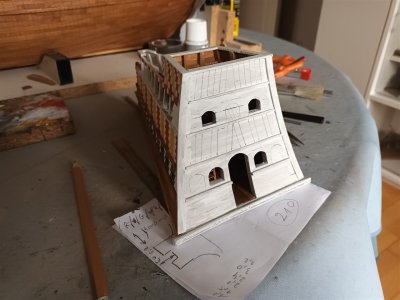
And repainted.
20250315_103940_1280.jpg
Better, I think. The paintwork still needs some tidying up here and there.
20250315_103928_1280.jpg
 
Last edited:
Time to start on the 2 cannons in the outer castle.
The 3D printed cannons come from Australia. (via MSW)
20250315_141423_1280.jpg
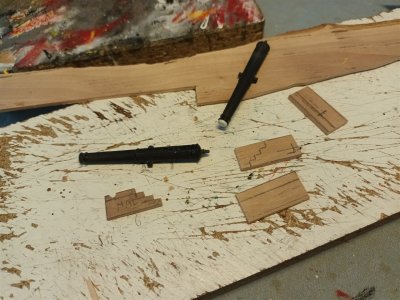
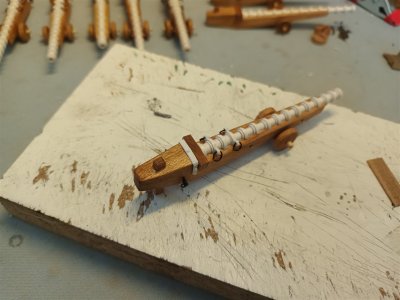
Making 2 carriages; little of these will be visible. So I put little time into the details.
20250314_125433_1280.jpg
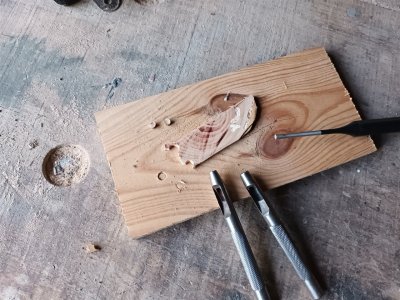
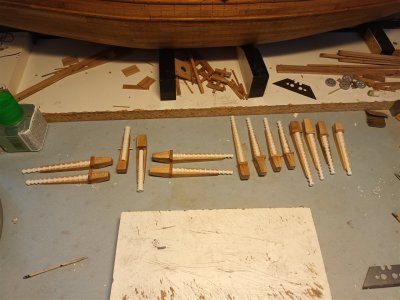
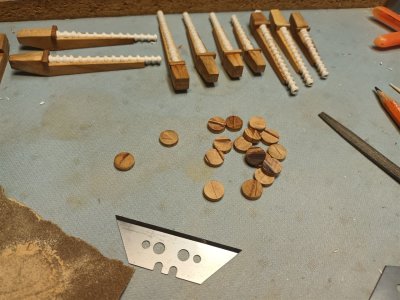
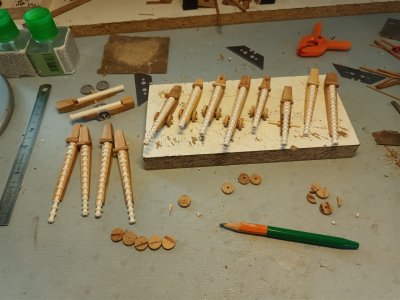
Making wheels. Sawed thin pieces with the miter saw, so that you can then hammer out the wheels across the grain.
20250315_102457_1280.jpg
The barrels are only glued later.
20250315_141858_1280.jpg20250315_141839_1280.jpg
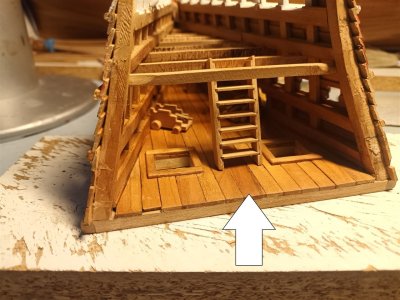
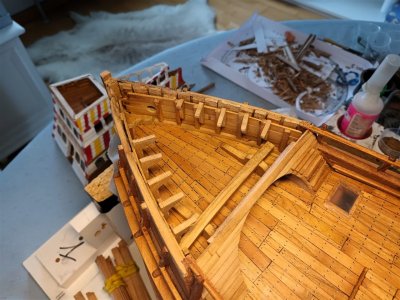
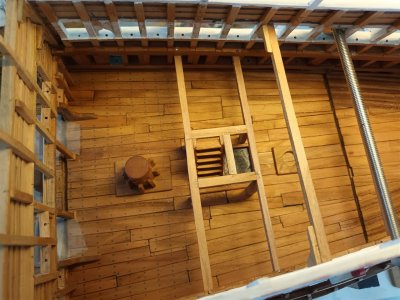
Stairs on both sides are too much. In that case, the stairs to the upper deck must be in the middle. And that is just in front of the entrance (arrow).
Ladder(s) will occasionally switch places at a later stage)...
20250328_075909_1280.jpg
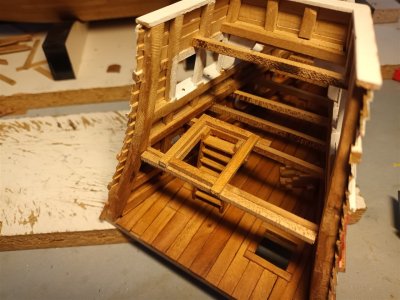
So a staircase leads from the lower deck to the starboard side. And a staircase leads to the upper deck to the port side.
(The patchwork in the deck planking will be invisible later)
20250328_161117_1280.jpg
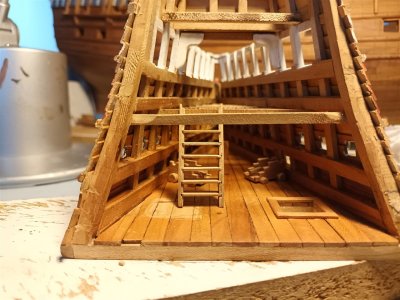
Adder 1 for access to deck 2 has been placed
20250330_101638_1280.jpg
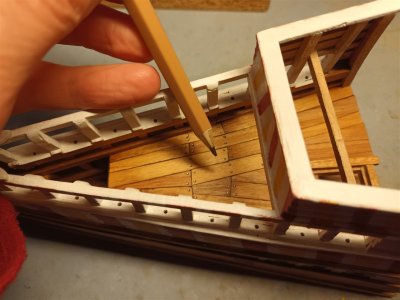
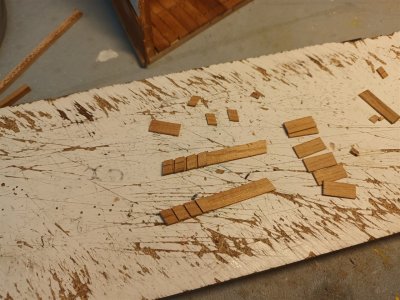
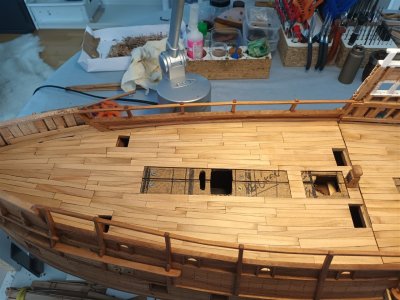
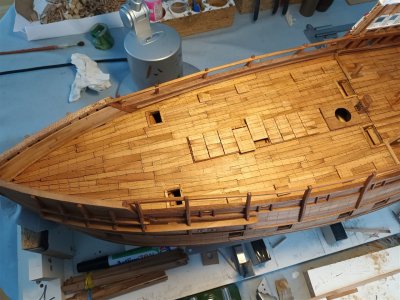
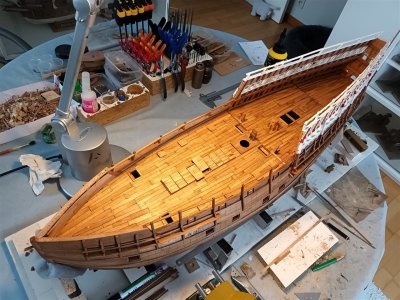
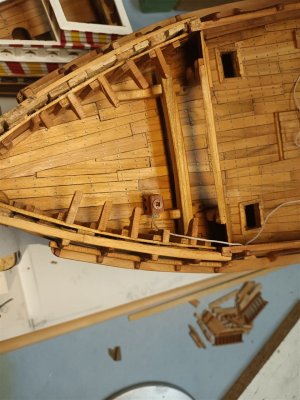
Deck 2 is planked and "nailed". Following 16th-century custom, short, long, wide, and narrow planks have been used.
20250330_193506_1280.jpg
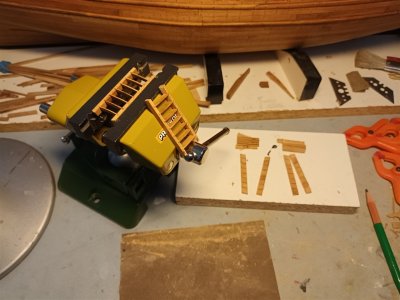
Ladder 2 under construction
20250401_092320_1280.jpg
ready for assembly
20250402_111401_1280.jpg
Ladder 2 installed and deck 3 planked.
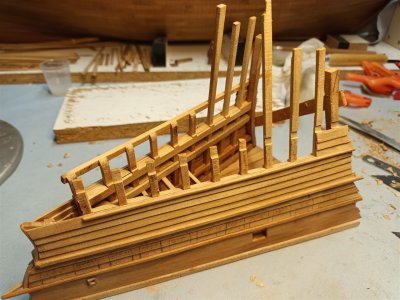
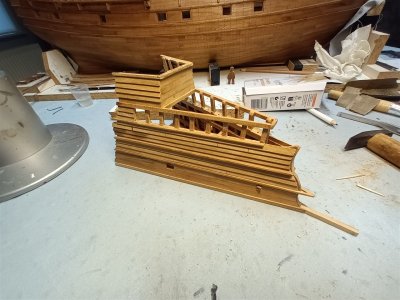
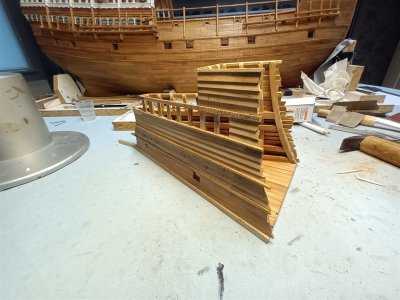
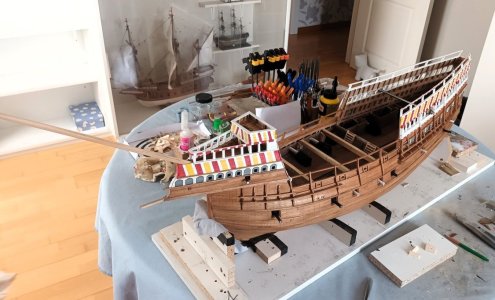
Work has now begun on the rear of the front castle.
20250405_101048_1280.jpg20250405_101012_1280.jpg
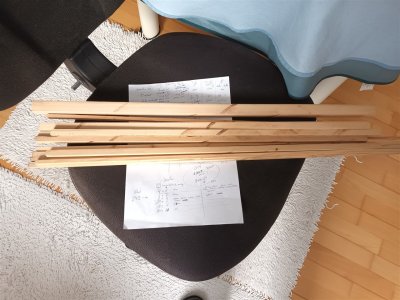
And sawed material for the masts.
Pine wood with closely spaced grain is used for this.
Normally, this shouldn't warp anymore (it has been lying dry waiting "in the yard" for well over 25 years now).
20250402_111153_1280.jpg
 
Last edited:
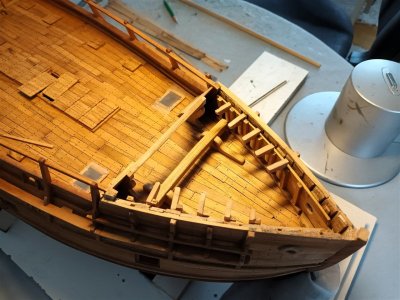
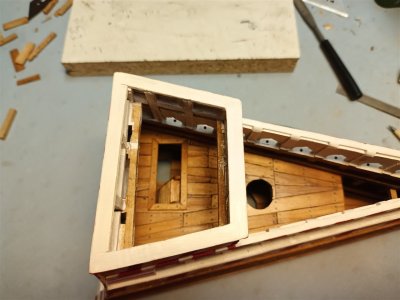
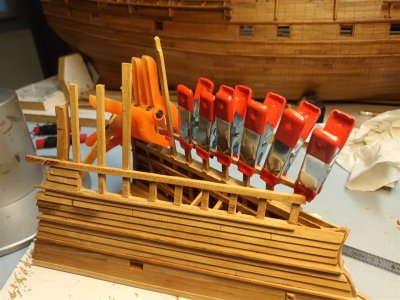
Continuing with the planking of the forecastle.
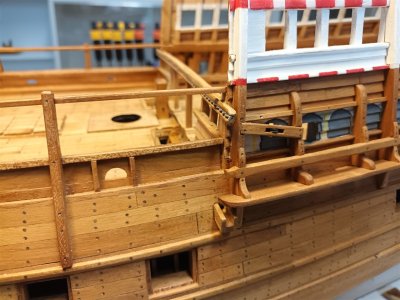
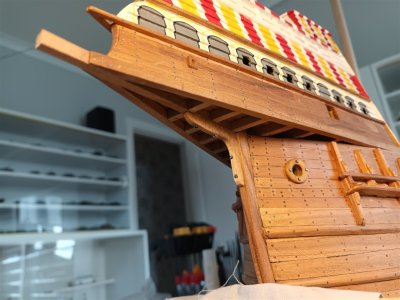
Among the remains of the rearcastle, part of a decorative "drain" was found. This likely served to drain water from the deck at the front of the castle to the sides of the hull. So why would there not be one at the forwardcastle?
This was made from a solid oak tree trunk, and on the model it is constructed from various layers of cherry wood and twisted iron wire (to be painted later).
20250406_161102_1280.jpg
The drain is in place and the boards have been installed. Gluing board by board and letting it dry took a while..
20250412_162028_1280.jpg
Sanded and further finishing is in progress.
20250414_191953_1280.jpg
The back is ready to be painted
20250414_192027_1280.jpg
And painted. Not entirely "to my liking" yet, but for now, it will stay like this.
The form is there, and after having worked on this piece for months. Something else for a change.
The next step will be the gun deck.
20250417_162635_1280.jpg20250422_192418_1280.jpg
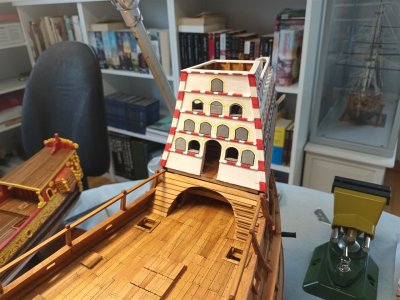
And this is where we stand now. (fore castle dry fit)
20250422_192628_1280.jpg
 
Last edited:
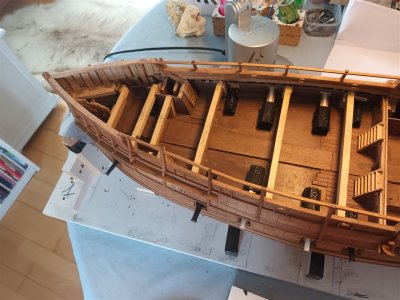
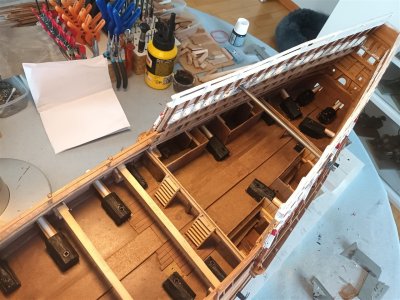
Preparation of the gun deck.

Since there are no gratings in the deck above, little or nothing of the interior of this deck is visible.
The intention is to make the gun mounts as simple as possible, and only add the (half) gun barrels later.

The first attempt failed, luckily no photos.
The second attempt was with wooden blocks. Reasonably good, but the (large) blocks turn out to be too visible when sunlight shines on them.
20250424_153554_1280.jpg20250425_200609_1280.jpg
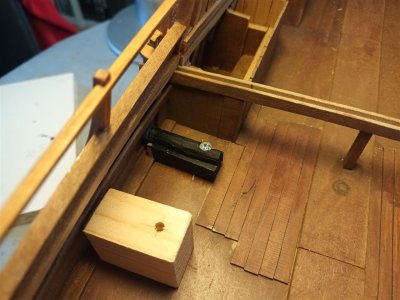
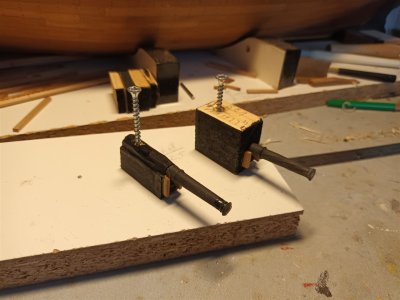
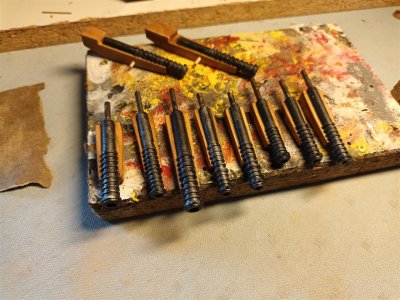
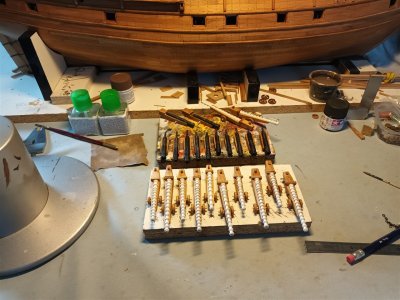
On the third attempt, these blocks have now been reduced in size and painted completely black.
This method will be used for the bronze cannons.
20250430_170232_1280.jpg
The screw is indeed a bit too long for this setup.
20250504_094713_1280.jpg
View with the large block behind it
20250425_200727_1280.jpg
View with the reduced block behind it
20250430_170023_1280.jpg
Moving on to the "forged iron cannons" that will be placed on deck.
These consist partly of wood and the barrel will be made of plastic.
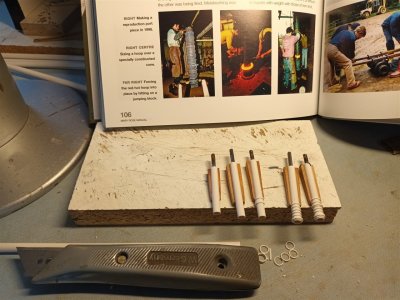
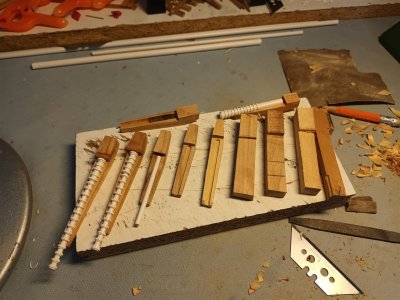
First, make the wooden parts.
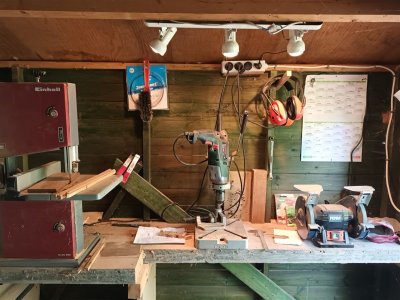
For that, we are first moving temporarily to the garden shed. I get to make dust there....
20250506_102053_1280.jpg
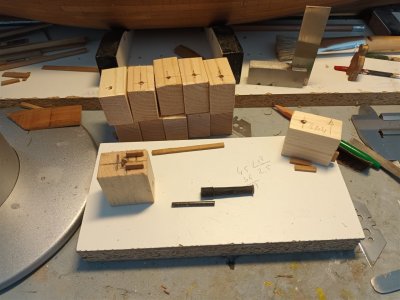
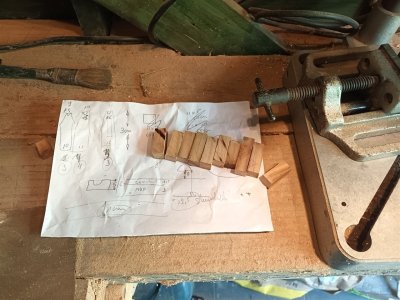
The base: cherry cubes
20250506_102028_1280.jpg
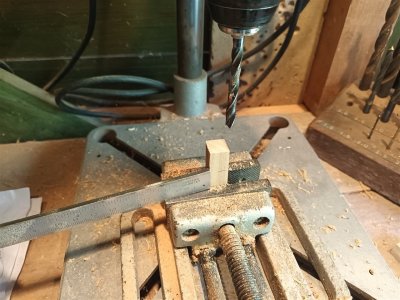
Square in the drill stand
20250506_102537_1280.jpg
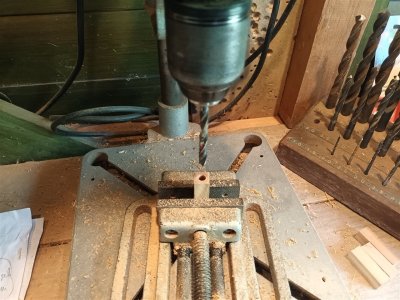
Boren
20250506_102437_1280.jpg
Sawing through
20250506_104653_1280.jpg
Back in the hobby room for the finishing touches.
20250506_140047_1280.jpg20250506_140047_1280.jpg20250506_142316_1280.jpg20250506_142014_1280.jpg
one ready
 
Last edited:
In the meantime, prepare the masts and yards.
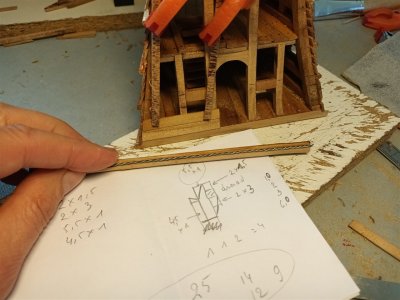
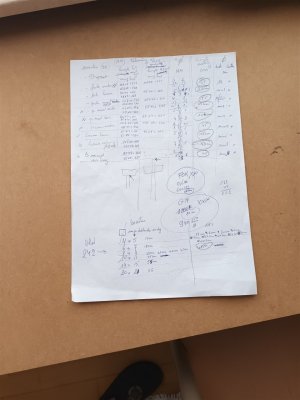
During the previous holiday, the possible dimensions were drawn up.
All of this is largely guesswork.
20250514_152026_1280.jpg
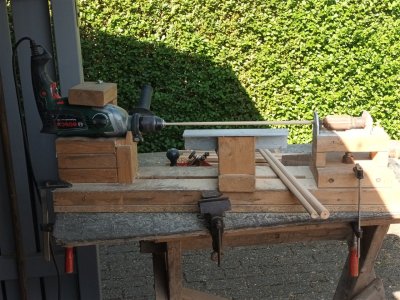
Nice weather to work outside, so I set up the "lathe".
Custom construction, not a pretty thing. But it works.
View attachment 20250512_134804.mp4
20250514_094818_1280.jpg
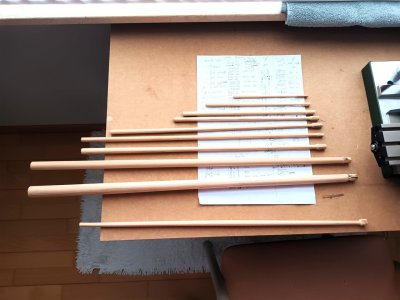
All mast sections are "semi" finished. Together with the main yard.
20250514_151617_1280.jpg
 
Last edited:
Continuing with the cannons
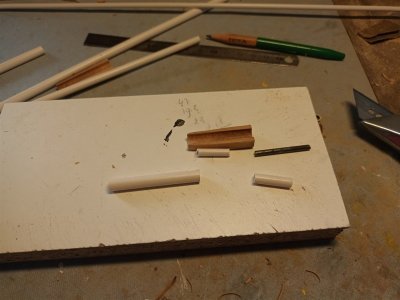
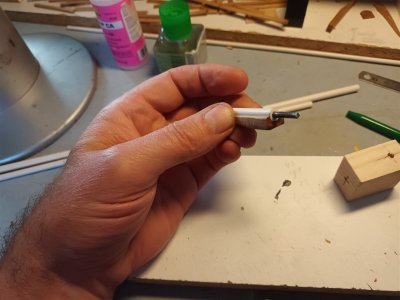
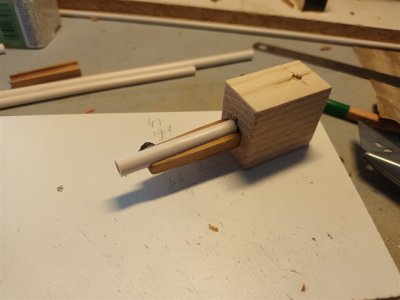
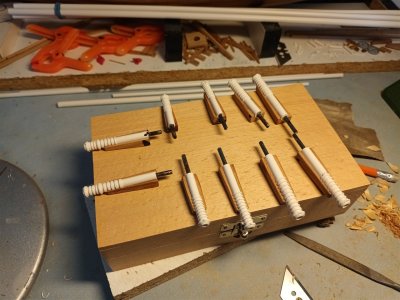
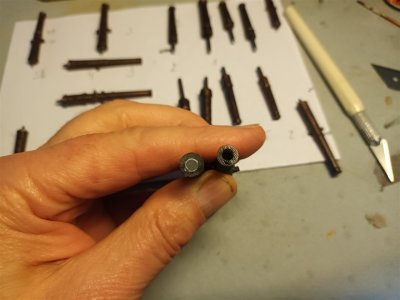
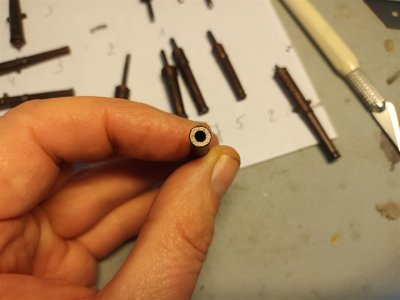
The forged iron cannons are constructed from polystyrene tubing, the inner and outer diameters of which always differ by 1 mm.
These are then glued onto the wooden part (gun carriage) and fitted with an iron pin.
They will be finished later.
20250519_185411_1280.jpg20250519_191316_1280.jpg20250519_191330_1280.jpg20250519_191443_1280.jpg
So, it looks like this for now.
Standardization was not yet in fashion at this time...
20250521_153001_1280.jpg20250521_153716_1280.jpg
In the meantime, also started on the "foundation" of the deck above.
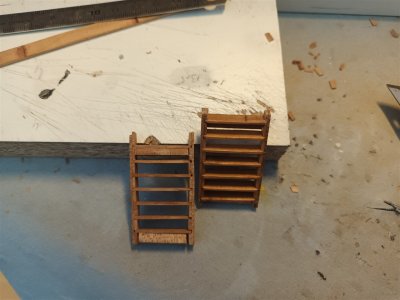
And making stairs again.
20250521_152812_1280.jpg20250521_152829_1280.jpg20250517_082945_1280.jpg
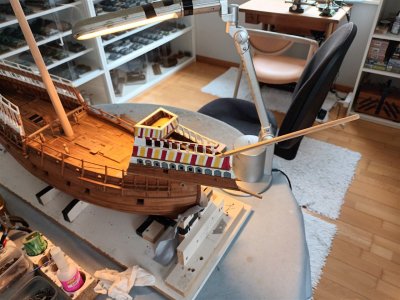
Test setup (with bowsprit still too long)
20250521_152930_1280.jpg

20250521_152553_1280.jpg
 
Last edited:
I requested and received information from the Mary Rose Museum.

Question: Was there a capstan, and if so, where?
Answer.
There is no real evidence that there was one, but also no evidence that there wasn't one. And the most logical place is behind the main mast.

I also received a (free) PDF "cables and cablets of the Mary Rose" which contains a lot of info about the layout of the upper deck and the anchor cables.
This PDF has about 25 pages and is normally downloadable for around ÂŁ47 .... I don't think it will sell well...

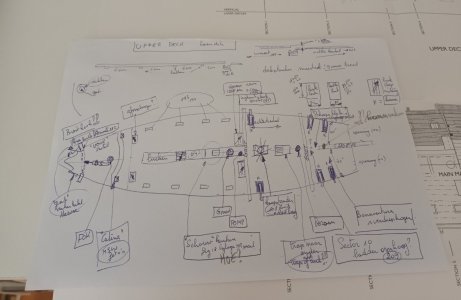
This results in the following layout (not a technical masterpiece but reasonably clear).
20250604_202526.jpg
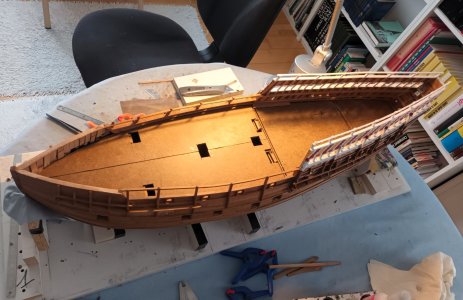
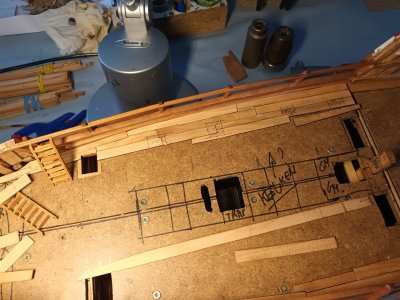
Start work on deck.
20250607_082645.jpg
Construction of the knight . Given that it involves a really large sail, the only one with 3 sheaves
20250608_161004_1280.jpg
It turned out that the main mast is positioned too far aft.
20250611_101822_1280.jpg
Corrected position.
20250611_141611_1280.jpg
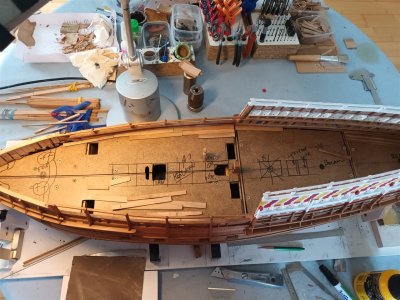
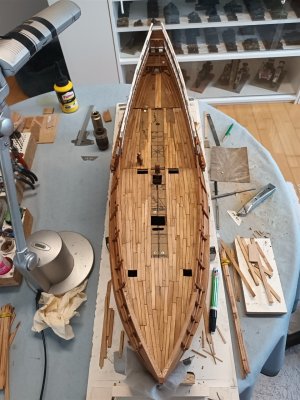
Knight and the base plates for the upper deck installed. With the layout roughly sketched.

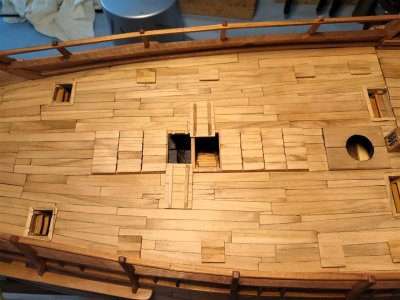
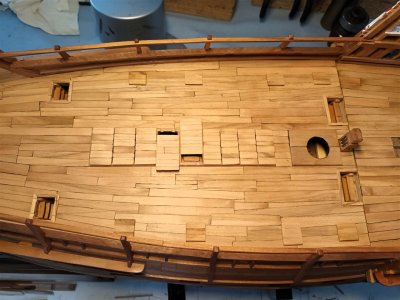
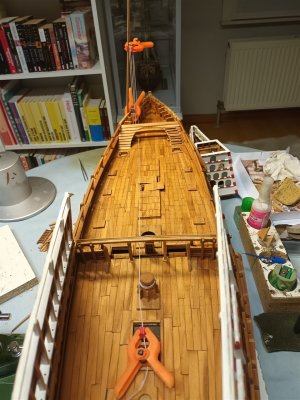
And started planking. First the section on the starboard that still exists, and then comes the rest.
Time to puzzle...
20250613_155322_1280.jpg
 
Last edited:
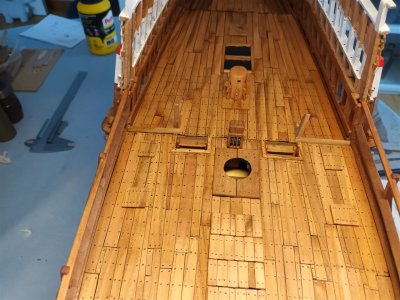
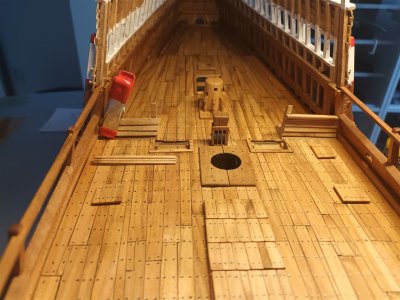
The puzzle is coming along pretty well.
The further back you go, the less attention has been paid to planking. once the rear castle is finished, you will see little of it.
20250614_141600_1280.jpg20250627_200055_1280.jpg
And sanded down outside. Same story again: what remains visible gets the most attention.
20250702_093145_1280.jpg20250702_103002_1280.jpg
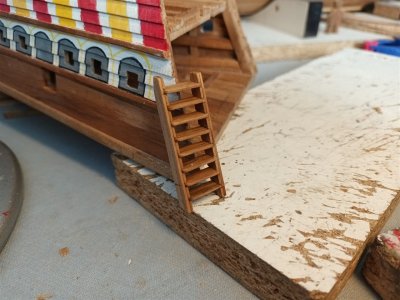
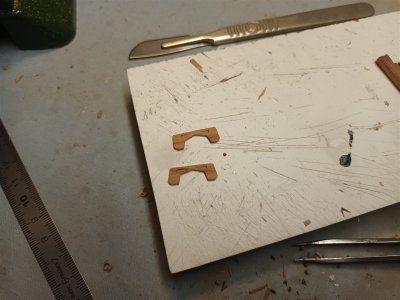
The stairs are also being installed; an extra small beam is glued to the bottom and top steps.
This provides more surface area for gluing and will not be visible here later.
20250702_105349_1280.jpg20250703_200433_1280.jpg20250703_200459_1280.jpg
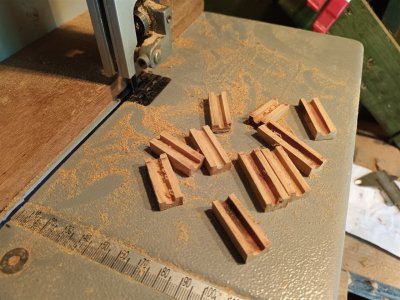
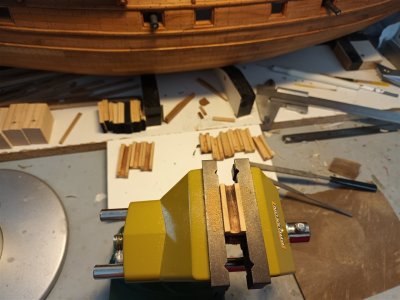
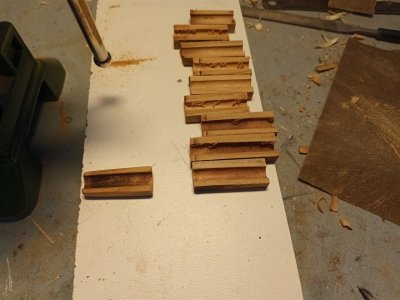
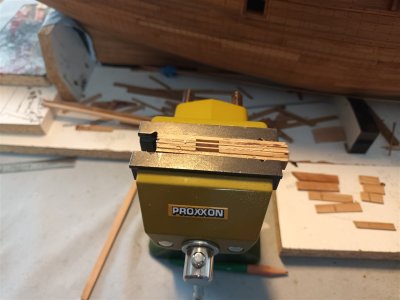
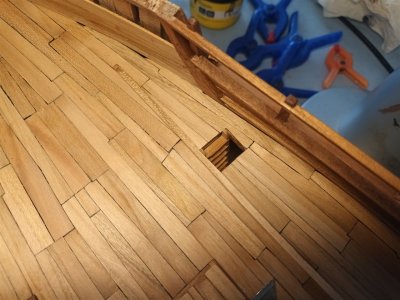
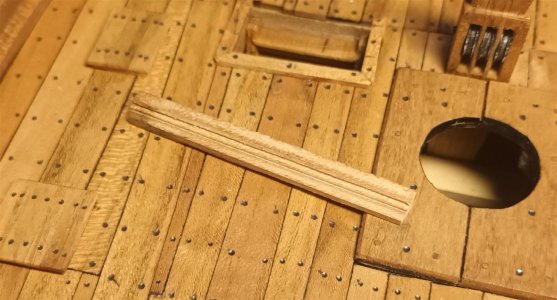
The stair openings are fitted all around with mitered battens.
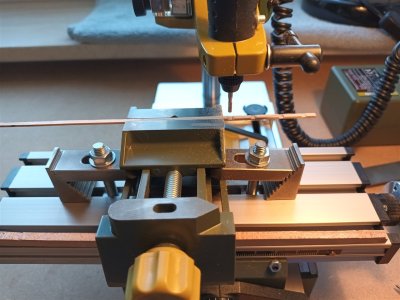
Slanted grooves have been made here. The crossbars of the hatch fitted into these, allowing this opening to be closed off if desired.
(the clamp on the milling table is therefore placed at an angle)
20250704_190620_1280.jpg20250707_103415_1280.jpg
The shutters in the middle are based on the same principle.
20250703_200402_1280.jpg
glueing
 
Last edited:
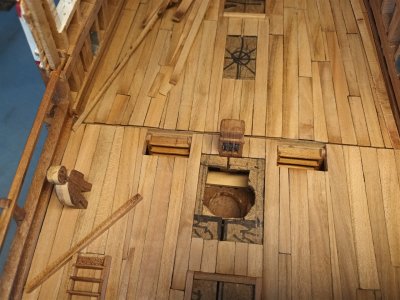
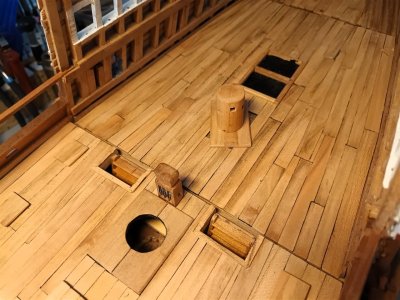
Construction of the various hatches on this deck.
20250708_105249_1280.jpg20250708_123103_1280.jpg
There are 8 small hatches, above each cannon standing on the deck below.
Not a single one is identical. Looks sloppy, but so be it...
These served (probably) for: ventilation, communication with colleagues to open/close the gunports, or???...

Hatches are also provided in the middle.
An anchor cable later "disappears" under one of them.
Underneath another, a ladder will remain partially visible.
20250715_135441_1280.jpg20250715_135412_1280.jpg
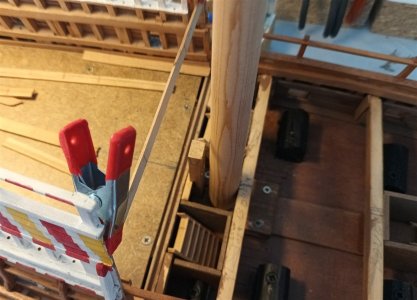
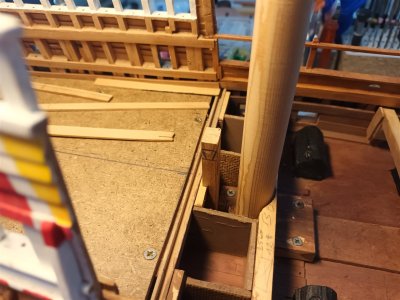
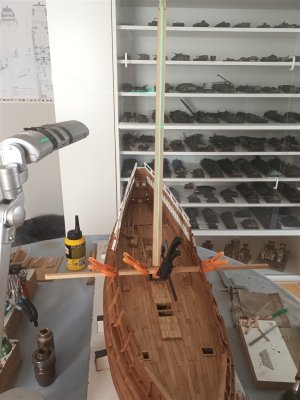
Align the mast, straight across and leaning slightly backward along the length.
20250708_180841_1280.jpg20250708_181323_1280.jpg
Capstan under construction
20250715_135543_1280.jpg
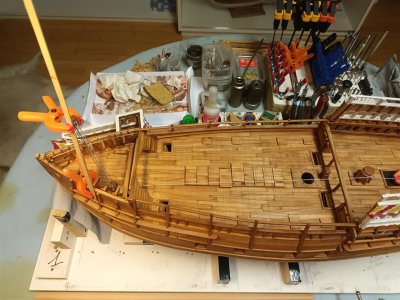
Further finishing of the upper deck.
First a layer of Danish oil and then "nails"
20250718_132231_1280.jpg20250718_132310_1280.jpg
And the construction of the wall of the rear castle has begun.
20250718_132239_1280.jpg20250723_093258_1280.jpg
The beam that goes above the 4 overlapping planks was quite a bit of routing and fiddling.
20250723_093029_1280.jpg
 
Last edited:
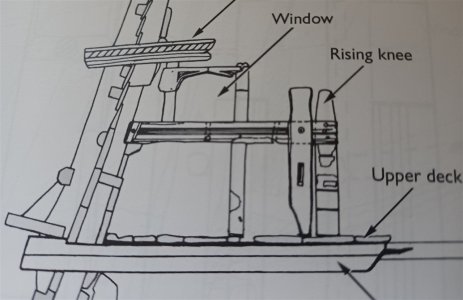
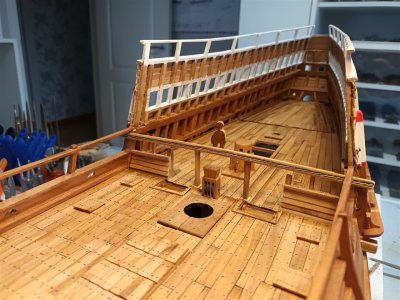
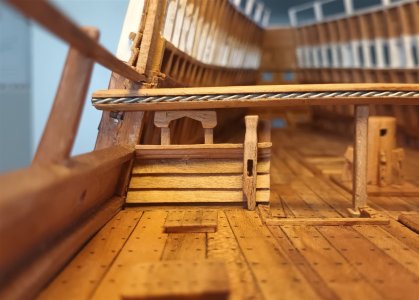
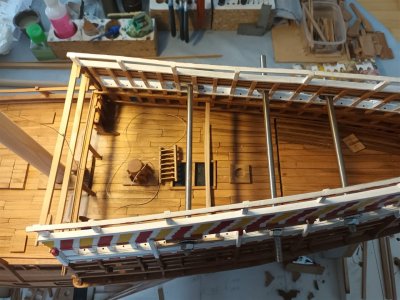
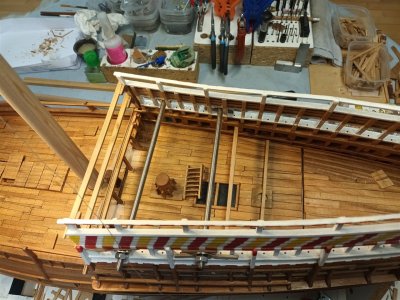
Reconstruction of the rearcastle wall on the upper deck.
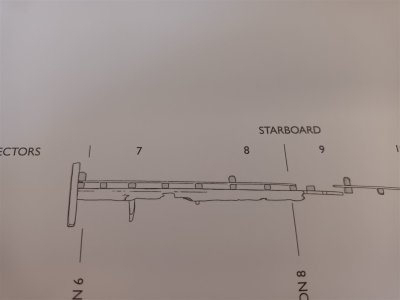
Drawing of what remains of it.
20250728_194819_1280.jpg
Result.
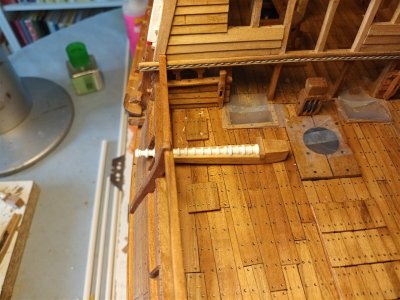
Originally, swivels may have been installed here. Therefore, two holes have been provided in the beam on each side.
Whether these were still present after the renovation..???
20250727_102650_1280.jpg20250728_194855_1280.jpg20250727_102712_1280.jpg
The supports in the middle are gueswork.
20250728_195016_1280.jpg
The drainage gutter from the deck above, once this is painted, you won't notice the wire anymore ;)
20250727_102705_1280.jpg
 
Last edited:
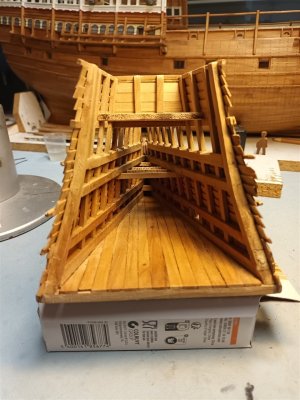
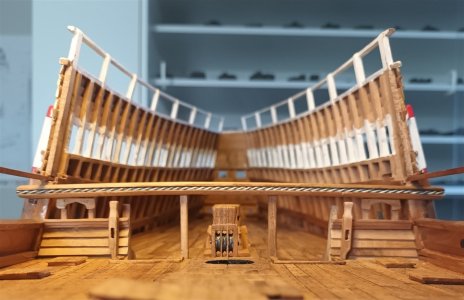
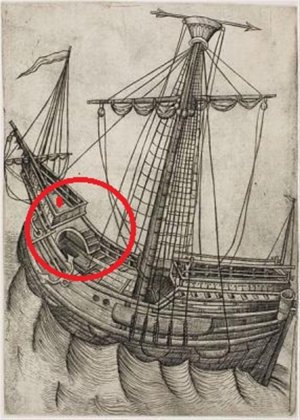
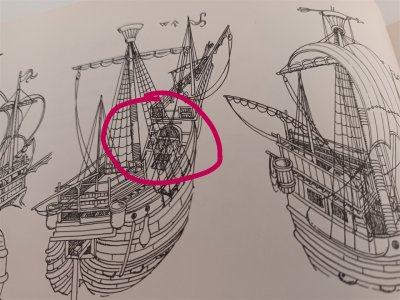
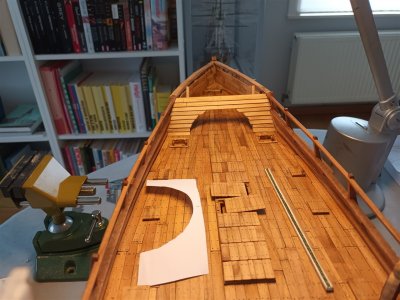
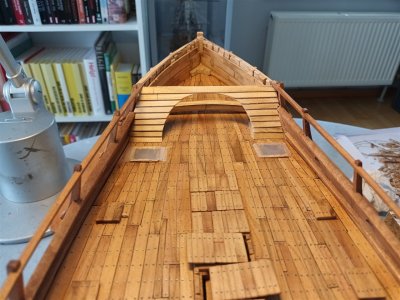
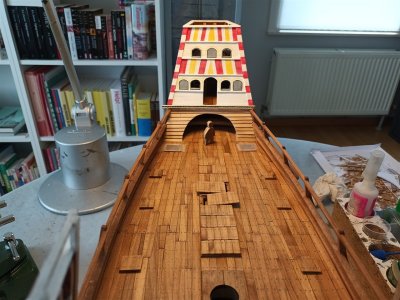
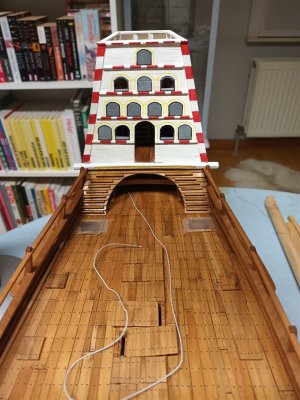
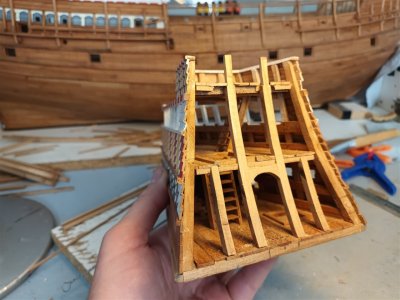
Continuing with the "arch" under the forecastle (typical of a carrack)
Contrary to what I previously thought, this did serve as access from the upper deck to the forward castle.
post-1425-0-95072900-1388908997_thumb_1280.jpg20250730_192054_1280.jpg
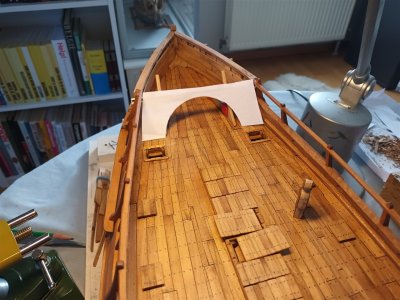
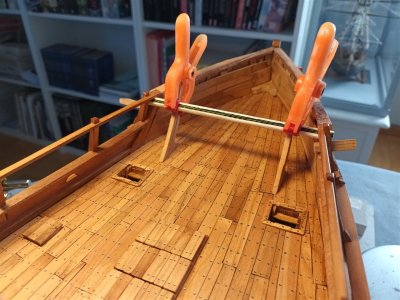
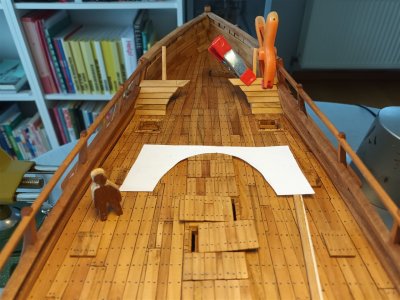
The construction took place step by step.
20250730_190732_1280.jpg20250730_192525_1280.jpg20250801_112705_1280.jpg20250801_143152_1280.jpg
20250802_130707_1280.jpg
The carved/sanded arch. Ladder and staircase still need to be installed.
The curved beam is called a "catena" and served for the anchor cable. It is not yet glued in place.
20250801_154319_1280.jpg
20250802_130721_1280.jpg
Looks like it will work out.
The front castle is still separate, but currently seems to be leaning a bit, I just noticed in the photo.
20250802_130826_1280.jpg
 
Last edited:
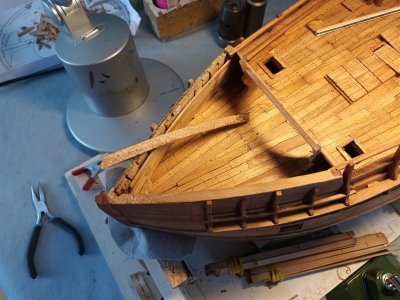
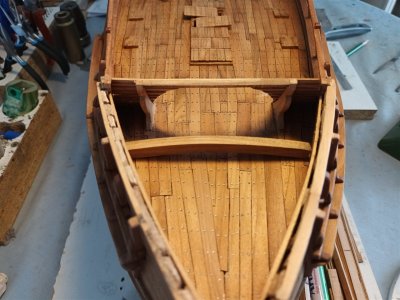
The space beneath the forecastle is somewhat more detailed (in a guesswork style), but later on, not much of it is visible anymore.
With the Catena in a dry fit and knees that, should they remain visible, could give the impression that the chest is really well supported.
20250822_151006_1280.jpg20250822_151018_1280.jpg
With the bowsprit, dry fit.
20250822_151134_1280.jpg
And the holes for the anchor cable.
20250804_130600_1280.jpg20250822_151822_1280.jpg
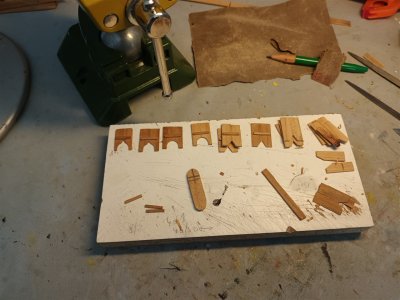
Now i make the shields that are still missing from the forecastle.
These are based on remains of shields found near the rear castle.

The start
20250823_084655_1280.jpg
One finished
20250823_192030_1280.jpg
Test
20250823_192230_1280.jpg
Serial work
20250824_095555_1280.jpg
These shields are finished; there are still about 40 to do for the rear castle.
20250831_094242_1280.jpg
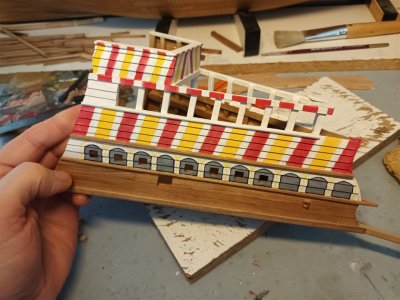
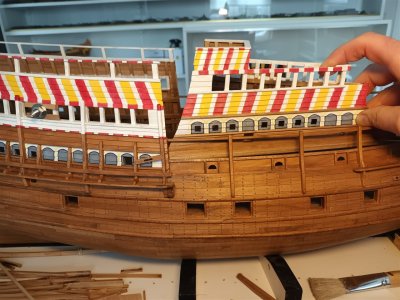
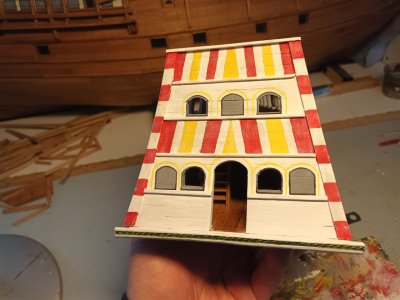
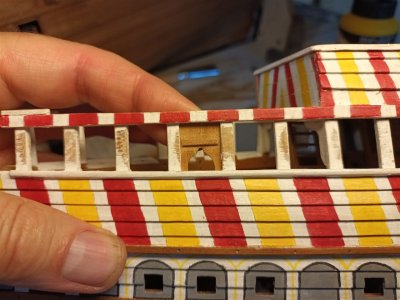
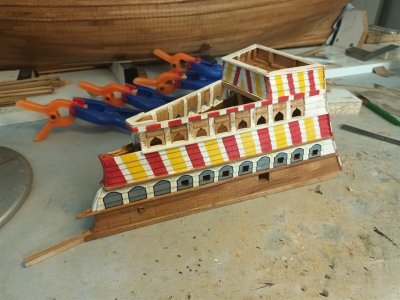
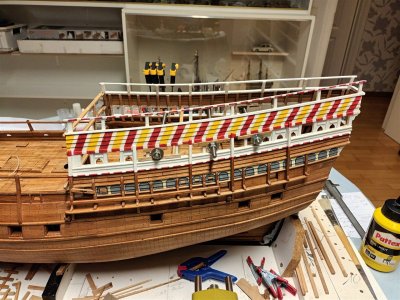
The forecastle has been painted.
The painting scheme of the reverse side has been adjusted so that it looks more like the Anthony drawing.
20250908_163409_1280.jpg20250908_163424_1280.jpg
And Mary went on a trip to Amsterdam (september 2025)
20250927_103227.jpg

20250908_163430_1280.jpg
 
Last edited:
This is from januari 2026, with started with demolition work.
I forgot to install the foresail halyard ...
20260107_134619_1280.jpg
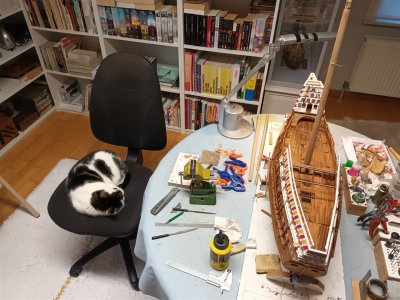
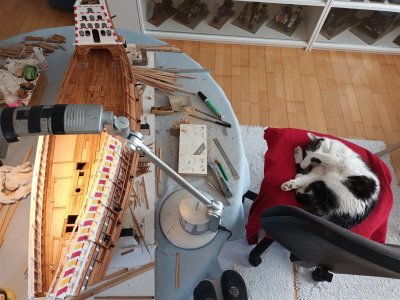
And a sleeping supervisor (again) ;)
20260114_090116_1280.jpg
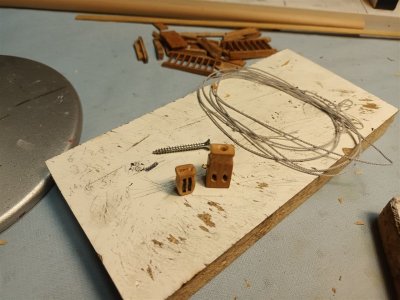
So I made a knight (a simple version, will be virtually invisible later). An accompanying block, a rope, and a screw...
20260109_164556_1280.jpg
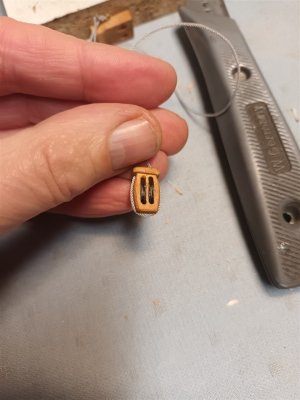
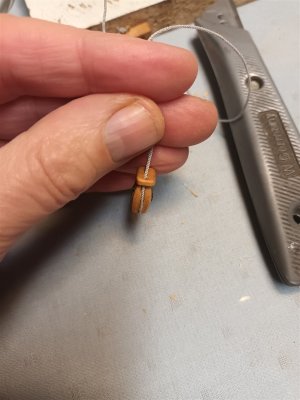
Blocks from the first half of the 16th century are quite "exotic" and therefore labor-intensive to make.
20260110_081244_1280.jpg20260110_081255_1280.jpg
The servant firmly attached with the screw
20260110_082412_1280.jpg
Test, the entire mechanism is operable via the capstan.
20260110_082939_1280.jpg20260110_083059_1280.jpg
Deck 1 rebuilt (with a narrower ladder this time)
20260110_174004_1280.jpg
Deck 2 also back in position
20260114_085706_1280.jpg
The foremast has a mast foot.
20260116_124647_1280.jpg
The forecastle is finally glued to the hull, and securely "bolted" in place.
20260116_124713_1280.jpg
Made a new "gutter", using the one from the rear castle as a model.
20260117_110725_1280.jpg
Once installed, it served as drainage to drain away all the water that collected in the outer castle.
Whether it was actually present, I have no idea.
20260123_075931_1280.jpg
status.
20260123_080112_1280.jpg
 
Last edited:
Continuing with the rear castle
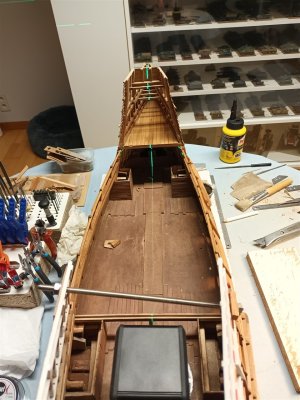
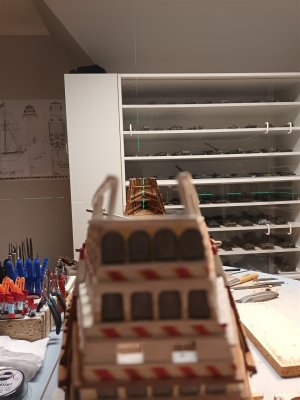
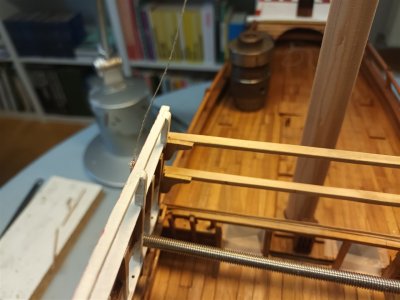
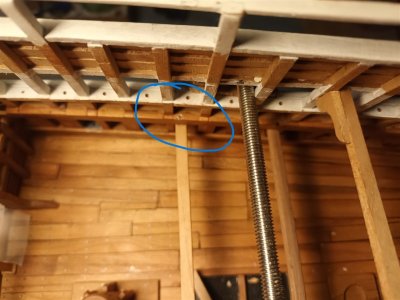
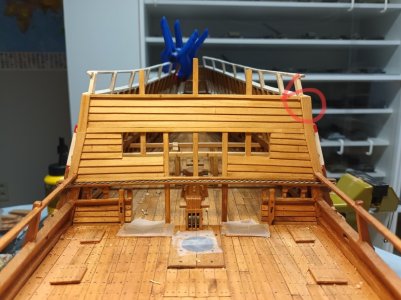
As previously discovered, the top is too wide and will obstruct the standing rigging.
The drawings used were incomplete, and I didn't notice it during the construction either.
Don't worry, there is a solution for everything. So this time with threaded rods.

So, tighten with the threaded rods to the desired width.
20260122_144813_1280.jpg20260121_154408_1280.jpg
Gluing beams and reinforcements
20260121_154422_1280.jpg
And with a nail (bad photo)
20260126_101236_1280.jpg
In the meantime, continue working on the front.
20260126_101155_1280.jpg
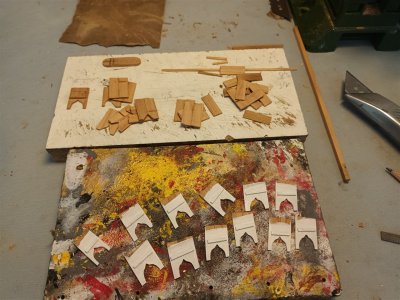
And make 40 small shields for the swivels
20260118_112805_1280.jpg
of which several have already been in place
20260123_080211_1280.jpg
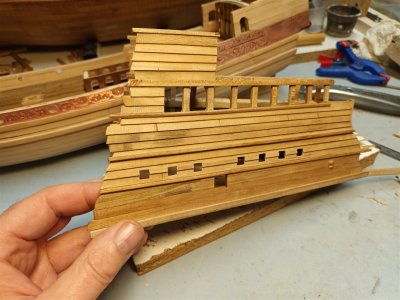
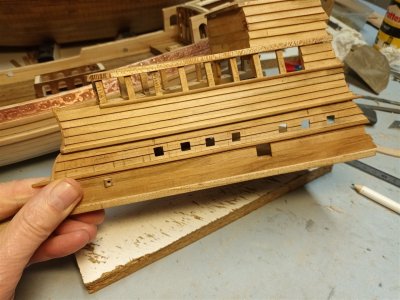
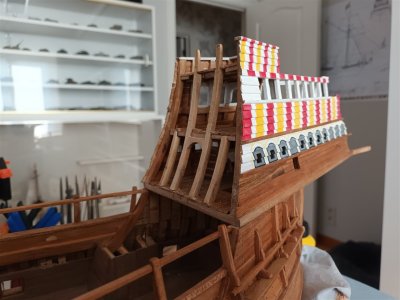
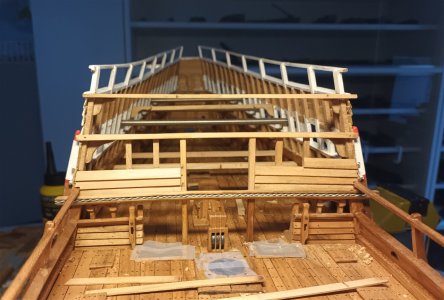
The front of the rear castle has been constructed. Still to be painted, openings made for cannons, etc.
Noticed in the photo that the plank on the top right is slightly wider (this has been resolved).
20260130_085419_1280.jpg
An oversized ladder from theforecastle could be placed here.
20260131_124209_1280.jpg
 
Last edited:
Now, first make the rudder and the tiller.
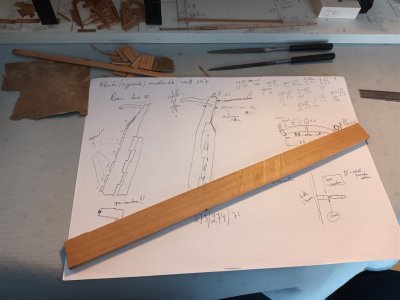
20260130_141038_1280.jpg
Preparations. The 2 pieces have been sawn and milled.
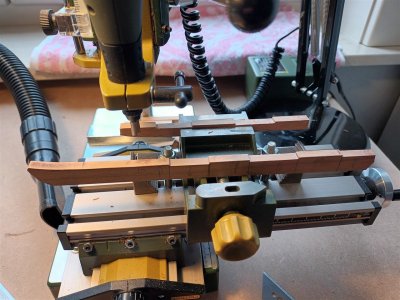
20260131_153135_1280.jpg
Glue together.
20260131_154202_1280.jpg
Compared to a figure, the rudder is quite large.
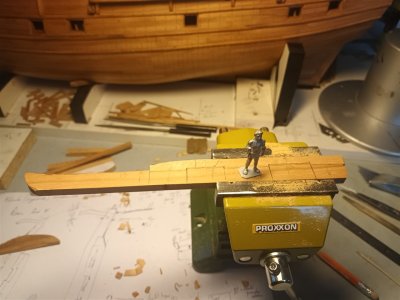
20260201_094450_1280.jpg
The rudder and tiller are largely finished.
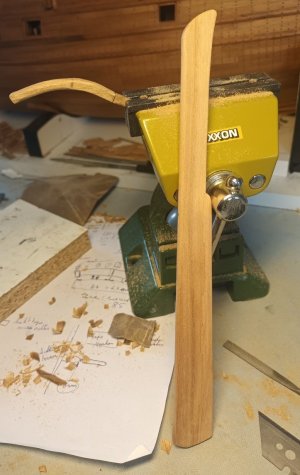
20260201_133824_1280.jpg
Recesses for the hinges have been milled.
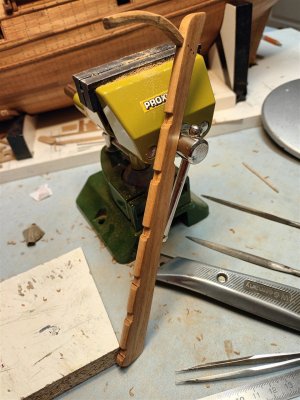
20260205_182633_1280.jpg
So I don't use brass for the hinges. During the build of the Corel yacht, I realized once again that this doesn't suit me.
So, make polystyrene pieces and paint them.

The hinges are not neatly spaced evenly.
They are wider at the pivot point than at the rear of the rudder.
And goaround the rudder (unusual, but seen here and there)


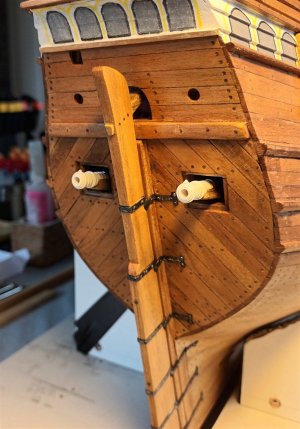
These polystyrene hinges provide no rigidity, so the rudder is attached to the hull with copper wire.
Drilling holes in the rudder.
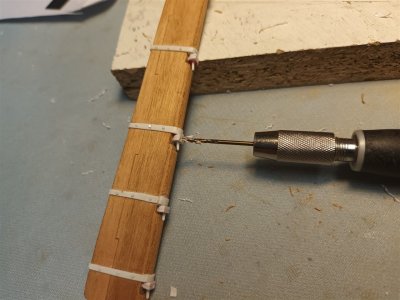
20260209_154316_1280.jpg
And in the hull
20260209_155050_1280.jpg
Rudder hinges have been installed and painted .
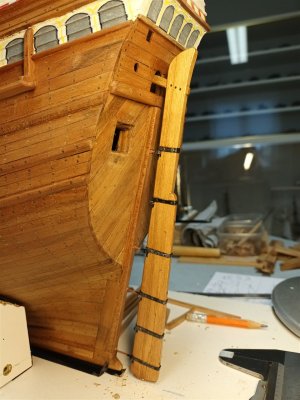
20260210_131935_1280.jpg
And just tap it into place with the hammer.
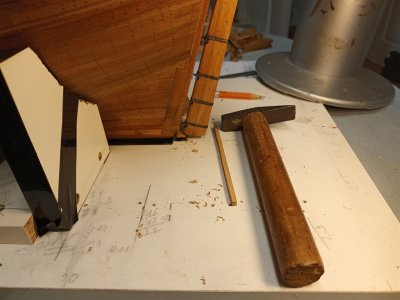
20260210_132139_1280.jpg
20260210_133211_1280.jpg
Now attach the hinge pieces to the hull.
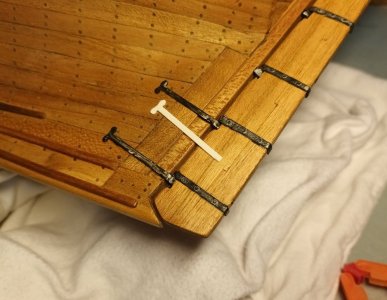
20260210_162624_1280.jpg
Continued working on the hinge parts on the hull. These were painted black first before gluing them in place. This makes things easier, because holding the large hull at the correct painting angle and painting it is difficult..
Next, the "bolts" are glued on. The "bolts" are cut from 1mm round plastic strip.
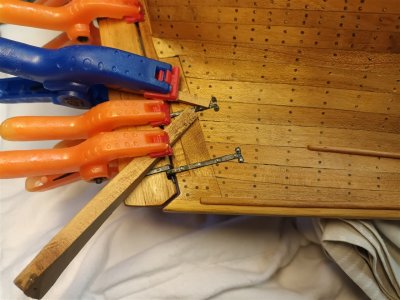
20260211_153745_1280.jpg
And then there was a rudder.
20260212_170651_1280.jpg
 
Last edited:
The rearcastle deck I am currently working on has 6 cannons. They need to be made first.
To make working easier, they are made together with the other cannons.
First the wrought iron pieces. The method is roughly the same as back then, just slightly smaller pieces and no danger of burning your fingers.
20260213_160427_1280.jpg
Rings are cut from plastic tubing and slid over the "cannon barrel". Once everything is in the right place, glue it.
It's not too bad
20260212_170535_1280.jpg20260212_170539_1280.jpg
The dummies are largely assembled.
Pointing to the left: 2 so-called "sternchasers" in the stern.
The other 8 are called "port pieces".
Looked up on the internet, the term "portpiece" comes from a cannon that fires through a "port". In other words, a cannon that you fire through a gun port...
20260220_122418_1280.jpg
The 2 horizontal ones at the top end up in the rear castle. And remain only partially visible.
The other is called "slings".
The longest are slings, shorter ones demi-slings, and the shortest quarter-slings. In short: the longer the cannon, and consequently the gun barrel, the greater the range.
Work in progress
20260220_122613_1280.jpg
There was only one sling left, and it was found in the right place. So, at the time, it was really in everyone's way...
20260220_122649_1280.jpg
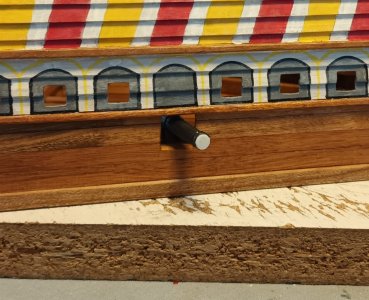
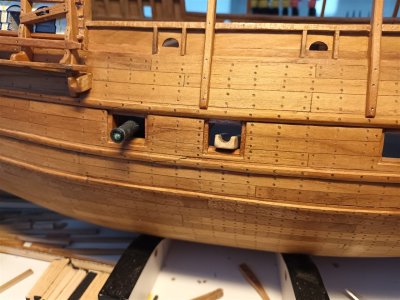
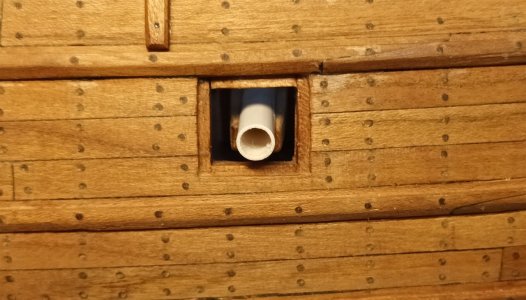
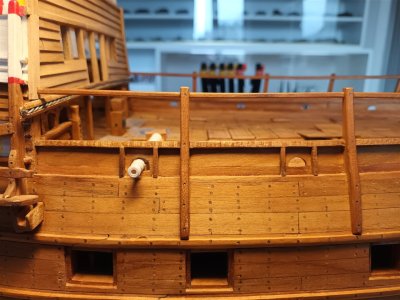
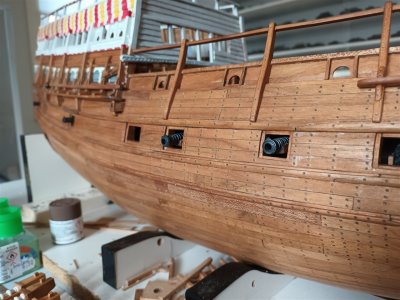
And then it turned out that the cannonports were too small. The one on the left has been adjusted.
20260220_122709_1280.jpg
 
Last edited:
All dummies have been temporarily placed
20260227_124604_1280.jpg20260227_124621_1280.jpg
And back to the rest (no two are the same)
20260227_124816_1280.jpg20260227_125404_1280.jpg20260227_163725_1280.jpg
20260305_145836_1280.jpgThe half dummy cannons have been painted.
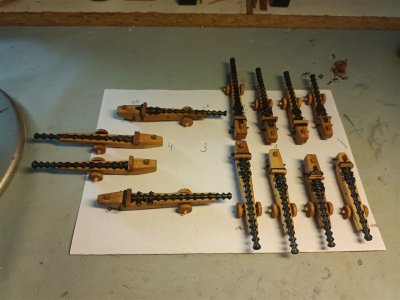
First matte black
Wash with diluted metal paint
And then touched up a bit here and there with a pencil.
20260319_170622_1280.jpg
It is now the turn of the complete cannons.
20260319_170337_1280.jpg
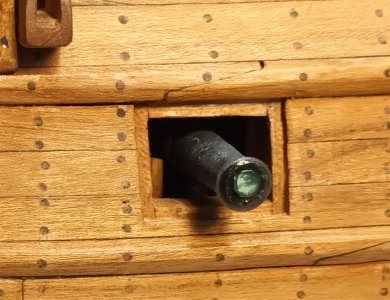
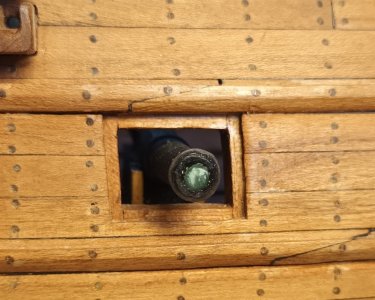
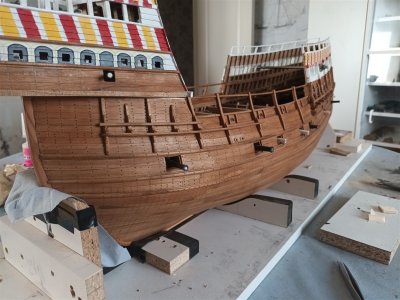
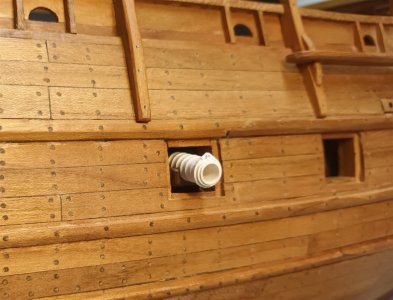
With the dummies in the hull
20260320_094338_1280.jpg
And a cannon ready for painting
20260326_112232_1280.jpg
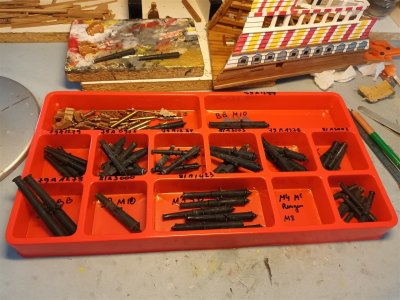
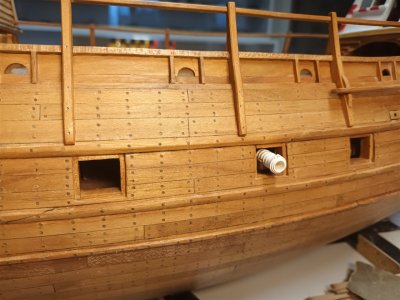
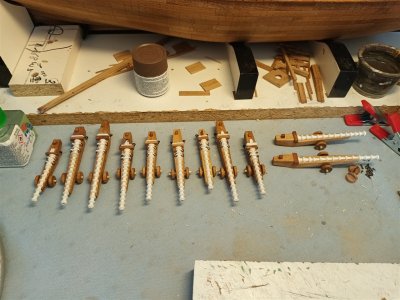
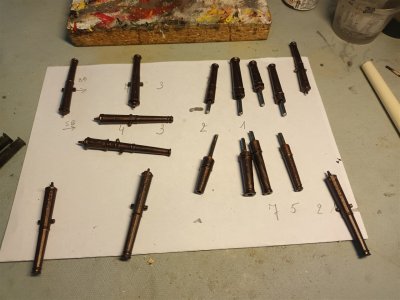
The entire battery (the 2 on the right go into the rear castle, and are therefore less detailed)
20260326_112246_1280.jpg
Painted
20260327_144054_1280.jpg
The 8 pieces for the middle deck
20260327_190208_1280.jpg20260327_190229_1280.jpg
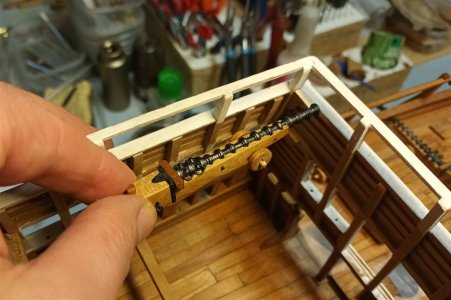
There will also be 2 on the upper deck of the aftcastle (one of them here, currently still "floating in the air")
20260327_190441_1280.jpg
 
Last edited:
So, on to the bronze cannons.
The cannons 3D printed in Australia save me a lot of work and headaches.
The only thing that caused some problems was the bore. This had to be filled first and then bored out.
20260405_131940_1280.jpg
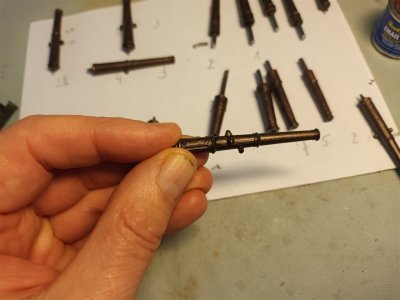
Re-drilled and painted
20260405_132035_1280.jpg
All cannons ready and painted
20260405_132053_1280.jpg
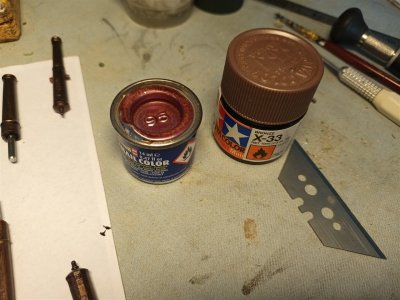
The 2 used "bronze paints".
The Revell was disappointing. Looks dark on the lid, and resulted in a sort of light red coppery color, just bad...
The Tamiya color wasn't too bad.
Method used:
The Revell bronze as a base coat, and over that a Tamiya layer diluted with IPA.
20260405_132113_1280.jpg
Result
20260405_132217_1280.jpg20260405_133033_1280.jpg
 
Last edited:
With the cannons largely ready, on to the rear castle.
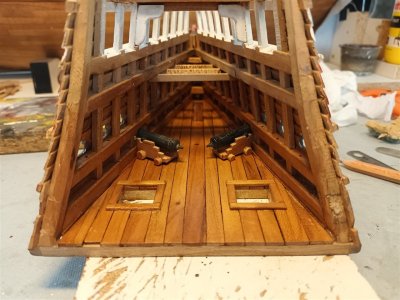
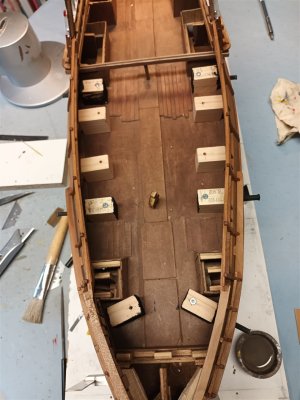
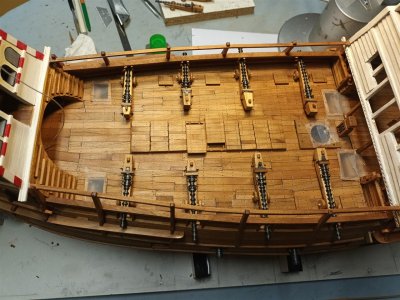
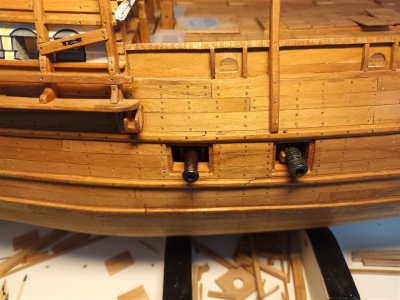
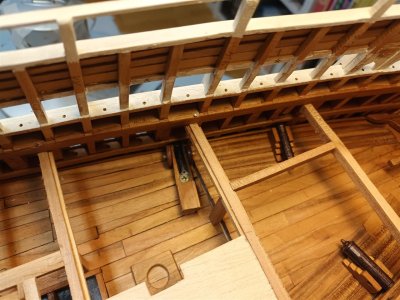
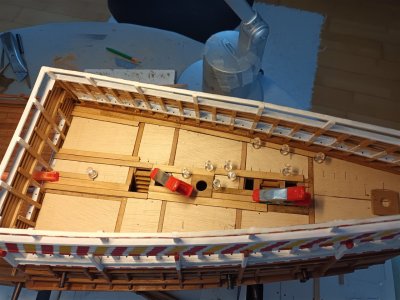
The cannons present on the lowest deck have been mounted. Given that little of this will remain visible internally, the detailing is not excessive.
20260411_182434_1280.jpg
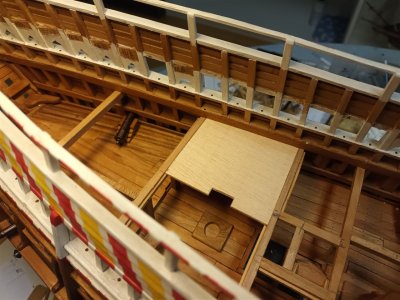
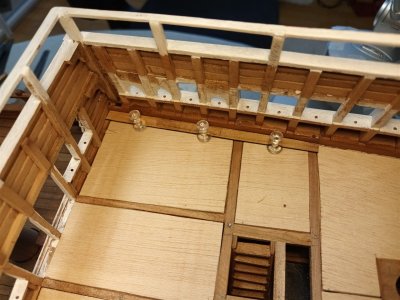
There is insufficient headroom to install deck beams with plywood above them; therefore, the plywood is recessed between the deck beams.
20260411_182446_1280.jpg
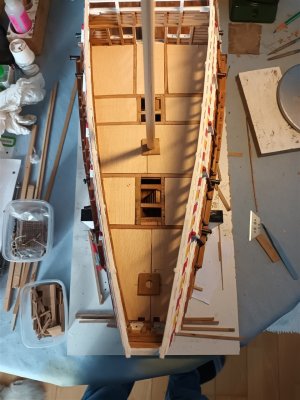
The basis for the next deck
20260419_183016_1280.jpg
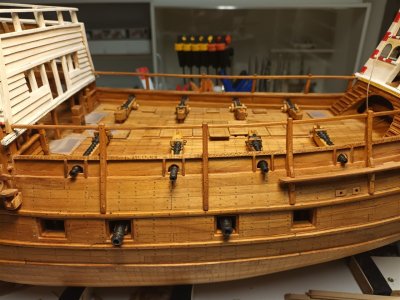
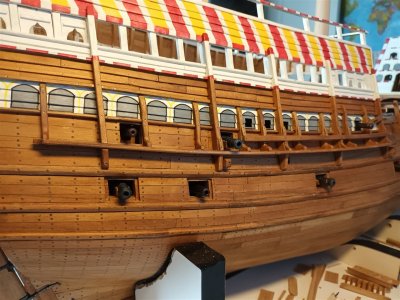
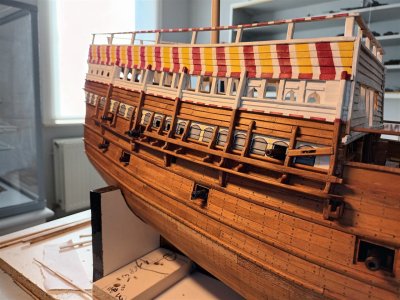
View from the outside, little of the interior is visible.
20260419_182911_1280.jpg20260419_182933_1280.jpg
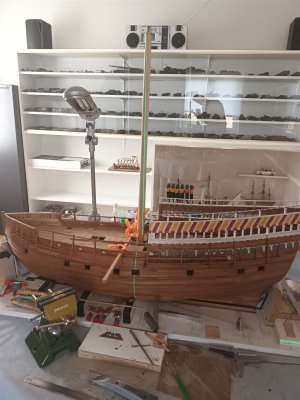
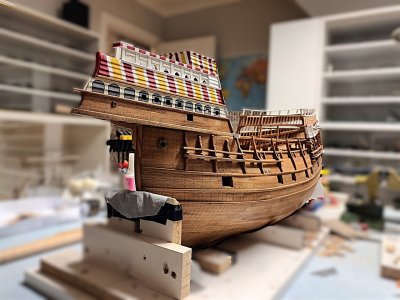
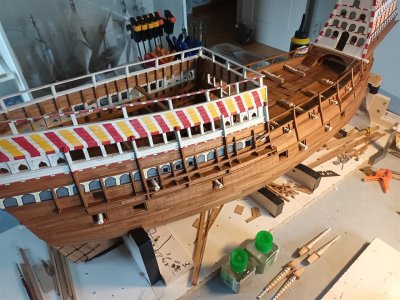
And already an overview with 3 of the 4 masts
20260419_183113_1280.jpg
The tops of the mainmast and foremast still turn out a bit too thick, by eye.

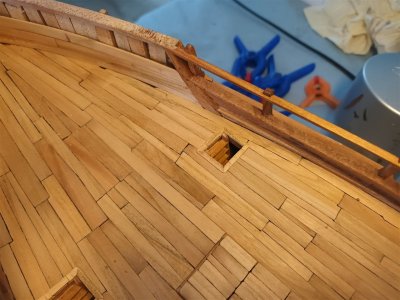
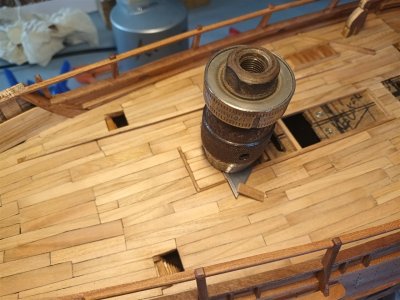
Planking
The "one and only" remaining plank
20260423_193758_1280.jpg20260423_193806_1280.jpg
The rest is in "free style"
20260424_151645_1280.jpg20260426_092250_1280.jpg
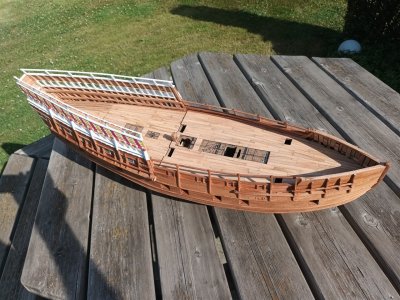
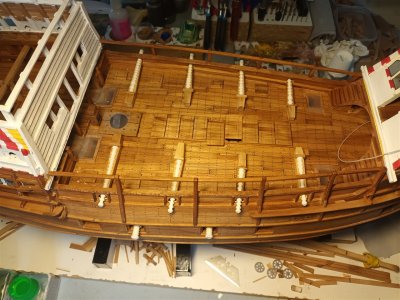
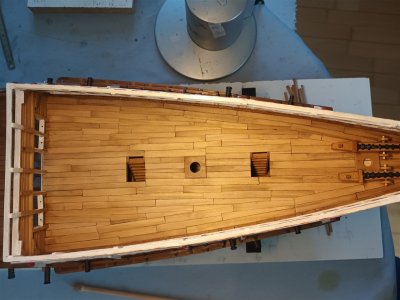
The deck planking is ready
20260430_152226_1280.jpg
 
Last edited:
Back
Top