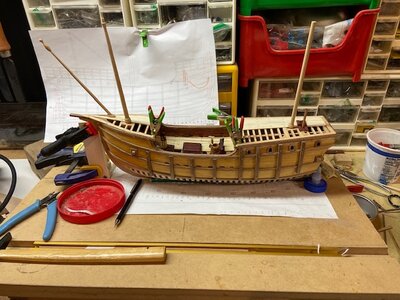
Really nice work, Mike!
-

Win a Free Custom Engraved Brass Coin!!!
As a way to introduce our brass coins to the community, we will raffle off a free coin during the month of August. Follow link ABOVE for instructions for entering.
-

PRE-ORDER SHIPS IN SCALE TODAY!
The beloved Ships in Scale Magazine is back and charting a new course for 2026!
Discover new skills, new techniques, and new inspirations in every issue.
NOTE THAT OUR FIRST ISSUE WILL BE JAN/FEB 2026
You are using an out of date browser. It may not display this or other websites correctly.
You should upgrade or use an alternative browser.
You should upgrade or use an alternative browser.
Matthew 1497 1:48 scale by Mike 41 [COMPLETED BUILD]
- Thread starter Mike41
- Start date
- Watchers 27
-
- Tags
- completed build matthew
She was looking as the ship when you start lofting the frames and assembling them! Great progress, Mike! I love the way you scratch build.
- Joined
- Aug 10, 2017
- Messages
- 1,706
- Points
- 538

Rudder / Whipstaff
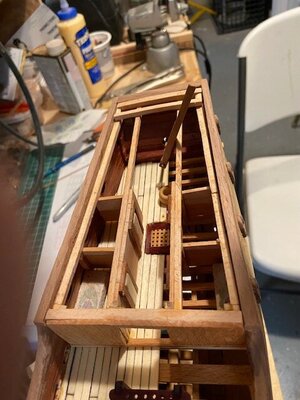
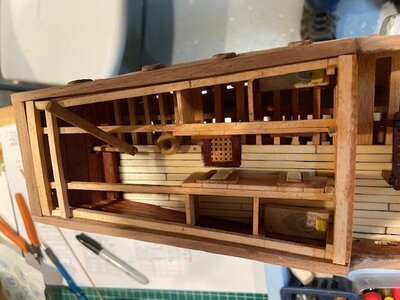
The rudder installation is straightforward the gudgeons and pintles are attached to the rudder and sternpost. I used little nails to attach the rudder to the stempost and glued the tiller in place. The whipstaff is slipped onto the tiller and will be supported when the stern castle framing is in place. I will be working on the castle deck framing next.
Progress photos.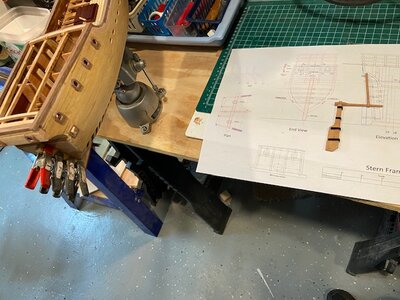
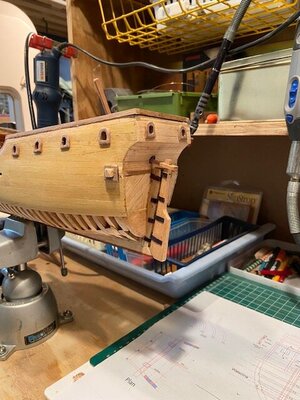
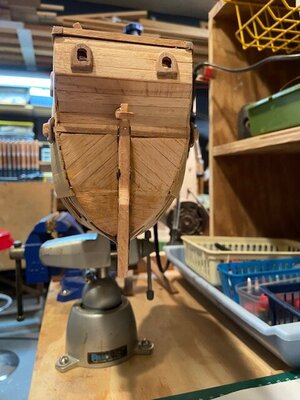


- Joined
- Aug 10, 2017
- Messages
- 1,706
- Points
- 538

Aft Castle Framing
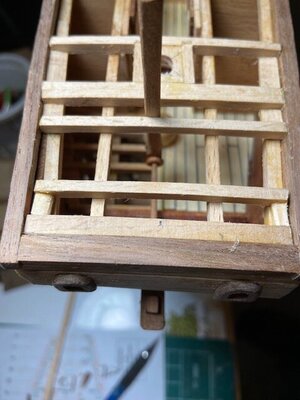
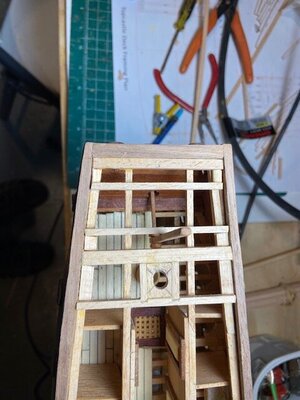
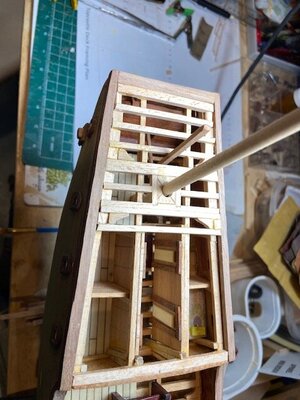
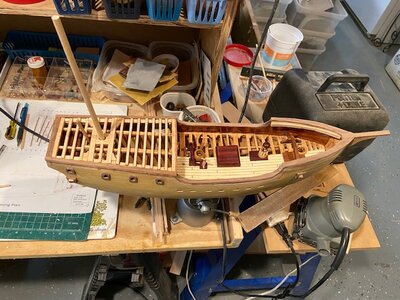
I started the aft castle framing with the pair of beams that straddle the mizzen mast and added the mast partners, I should have told Dave the partner joints were to be etched my bad, he did use a single block with a hole in the center on the second try. After the mast partners were in place, I egged the hole and checked the rake with the mizzen mast. The tiller was attached to the rudder I made a couple of small wooden washers from a ¼” dowel rod with the tiller in place the first
stop washer was glued to the tiller with the whipstaff butted next to it (no glue on the whipstaff). A small amount of glue was added to the second washer sliding the washer along the tiller next to the whipstaff make sure there is not any glue on the whipstaff. When dry the washers will hold the whipstaff in place and it will move side to side.
I will not be quite as detailed with each deck beam lol.
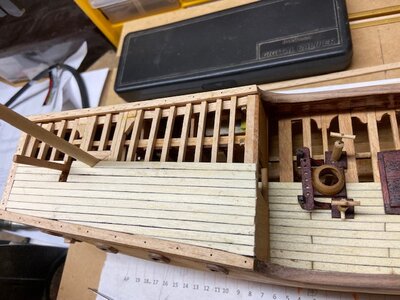
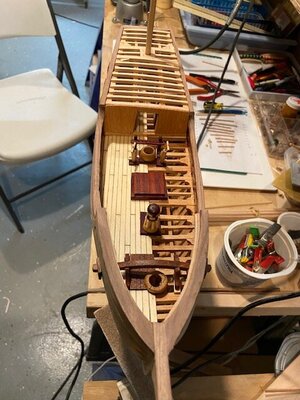
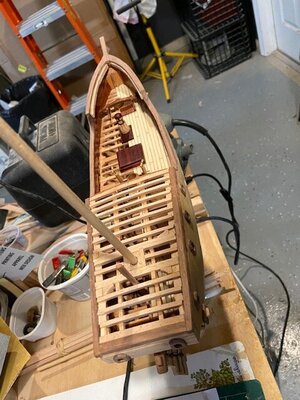
The framing drawing shows spacers as boxes with x in the center, they are very helpful installing the beams. The photos show the progress and finish beam installation.
The fore castle deck beams will be next.
s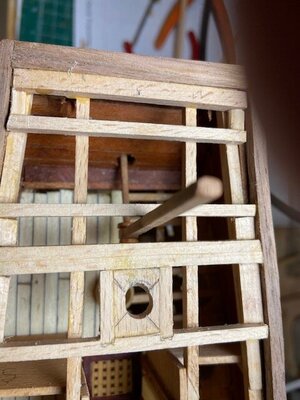


- Joined
- Aug 10, 2017
- Messages
- 1,706
- Points
- 538

Forecastle deck beams
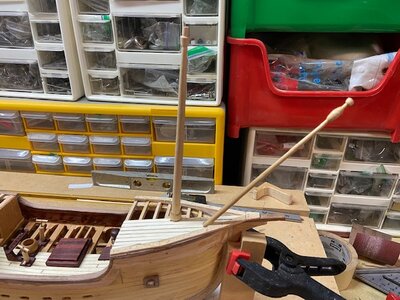
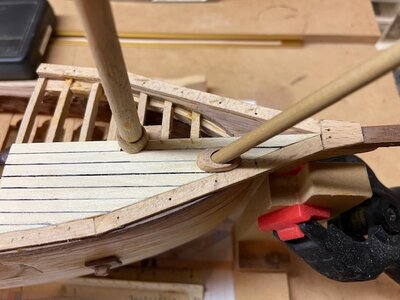
I started the deck beams the same as the ones in the stern, when the mast partners was in place, I turned the bowsprit and made the step for it. When I tried the placement of the bowsprit it looked like there was not enough rake, so I increased the angle to 30 degrees. The photos show how I made the sprit step and sprit.
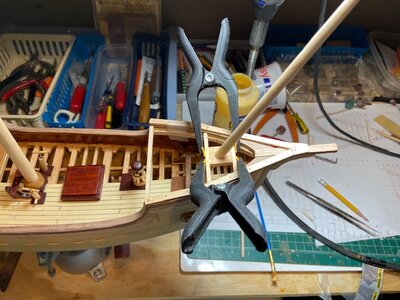
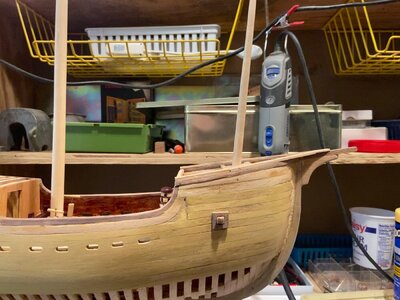
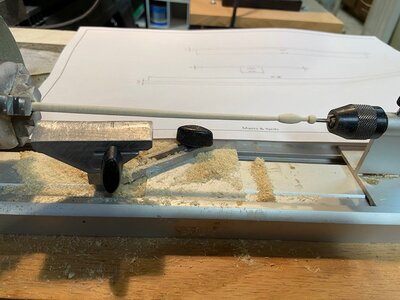
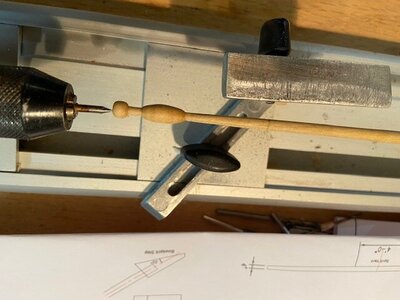
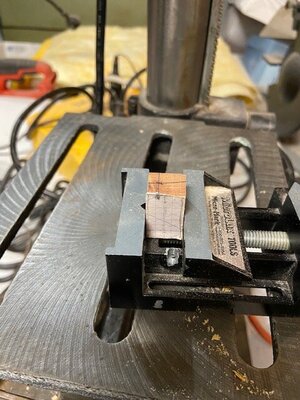
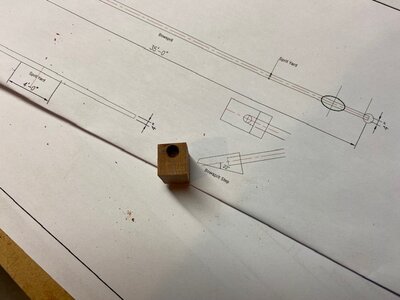
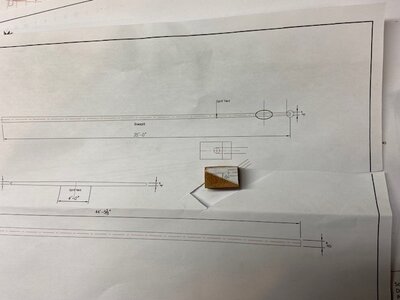
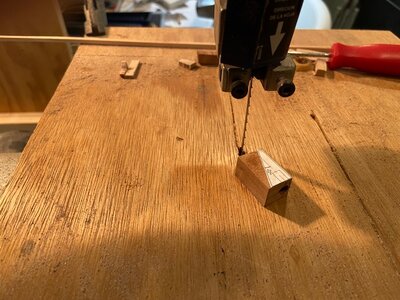
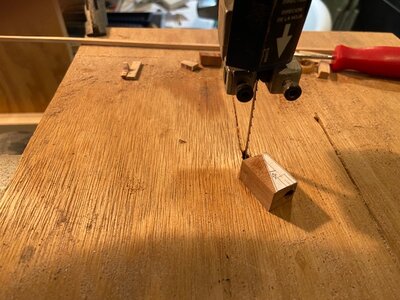
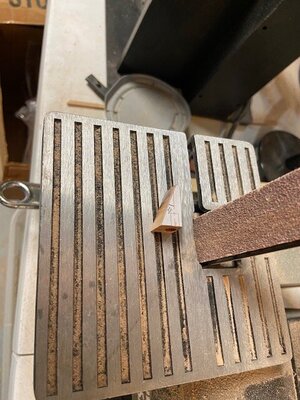
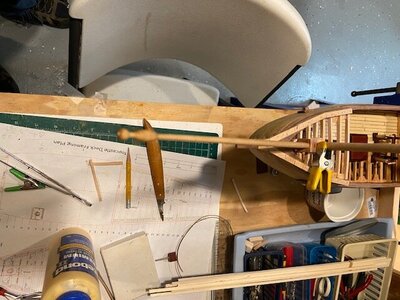
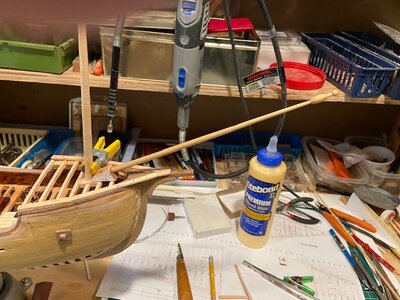
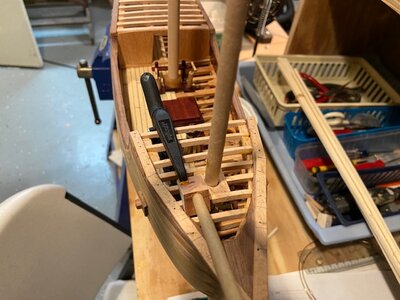
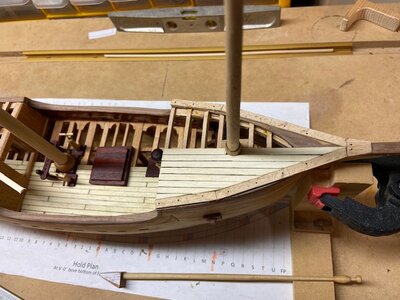
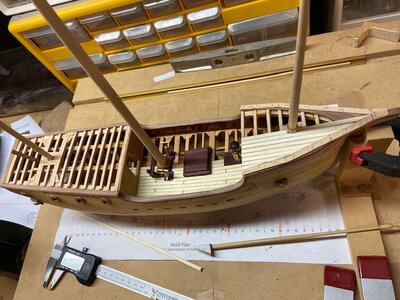
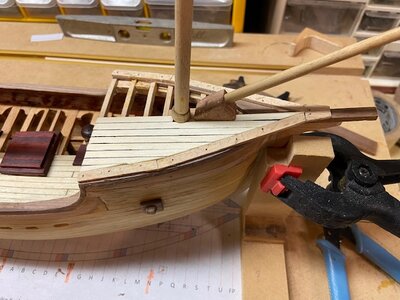
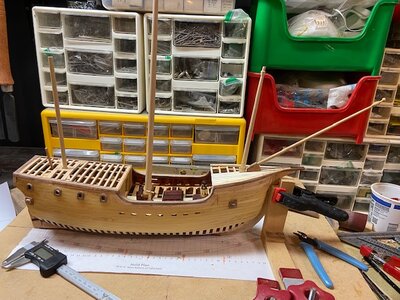
I started the deck beams the same as the ones in the stern, when the mast partners was in place, I turned the bowsprit and made the step for it. When I tried the placement of the bowsprit it looked like there was not enough rake, so I increased the angle to 30 degrees. The photos show how I made the sprit step and sprit.


WHAT CAN I SAY MIKE JUST FANTASTIC BUILD FROM START TO NOWB AND BEYOND, IN THE KIT WHAT DETAILS IF ANY ARE INCLUDED. GOD BLESS STAY SAFE YOU AND YOURS DON
Its coming along nicely Mike. Well done. 
She does look very nice with the light deck as the contrast. Great progress, Mike!
- Joined
- Aug 10, 2017
- Messages
- 1,706
- Points
- 538

She does look very nice with the light deck as the contrast. Great progress, Mike!
Thanks Jim, I used spruce for the decking, it is harder than basswood and easy to work.
- Joined
- Aug 10, 2017
- Messages
- 1,706
- Points
- 538

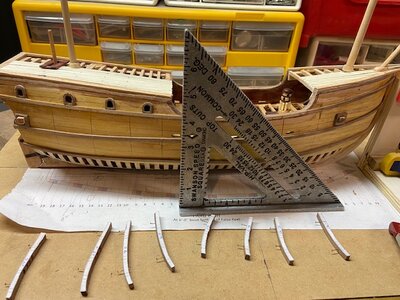
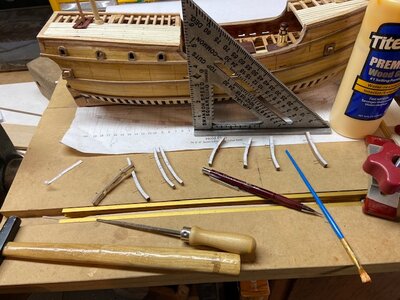
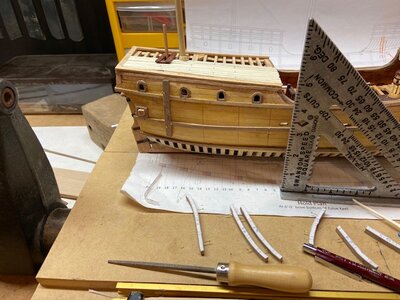
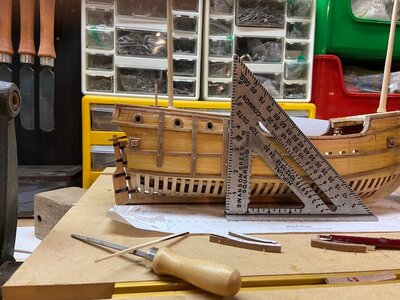
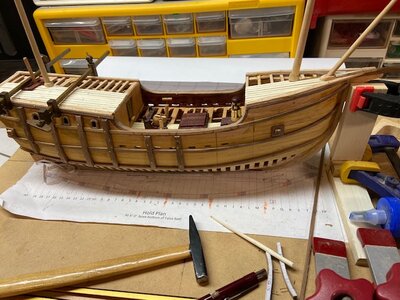
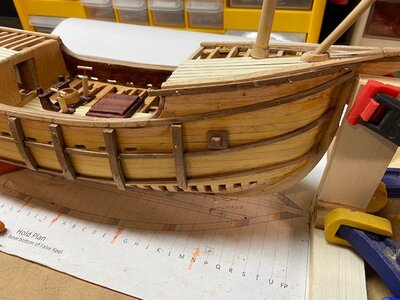
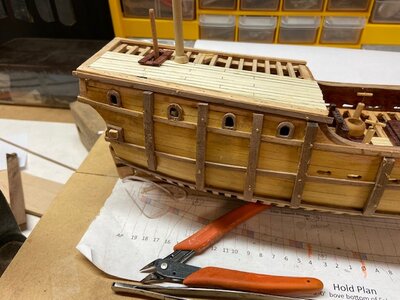
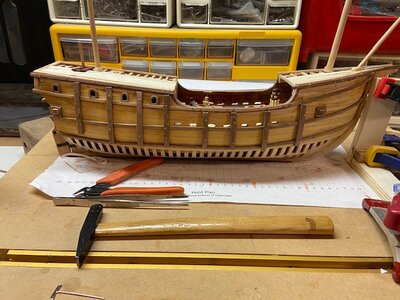
Wales
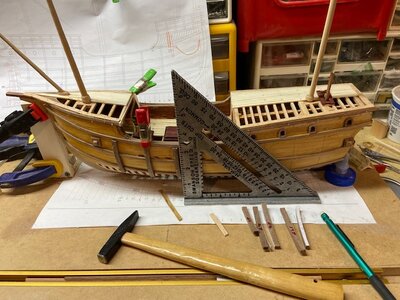
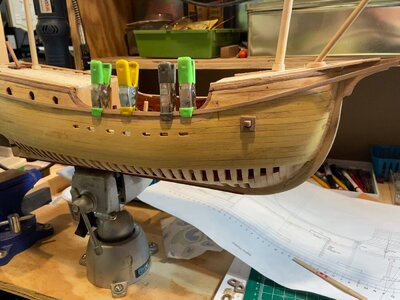
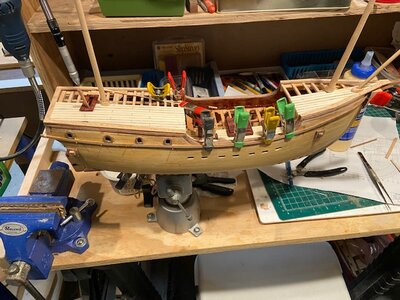
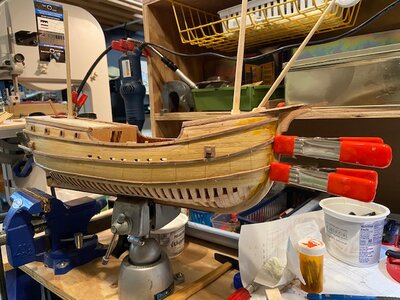
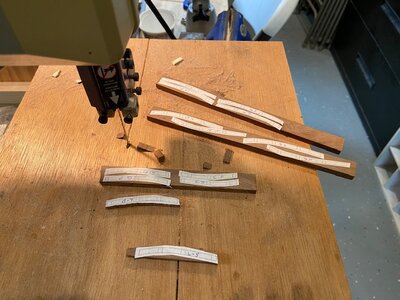
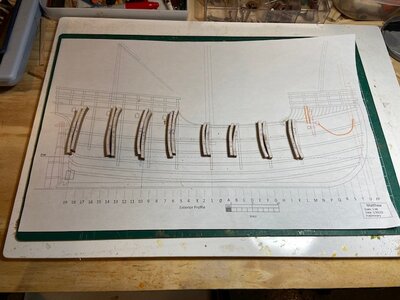
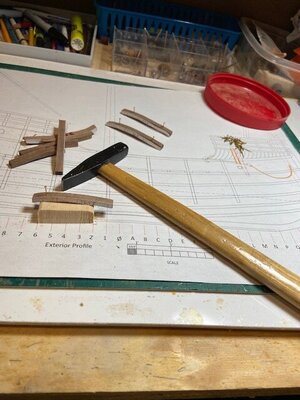
The wales stop at the waterline to show the ship frames. The wales are single planks running the full length of the ship. The futtock riders are notched to accommodate the wales.
The photos show the installation of the futtock riders using a square to ensure they are vertical. The starboard side is ready for the finish sanding, the port side will be next.


