Model Airways Sopwith Camel [COMPLETED BUILD]

Just found your build-log, Donnie. The engine is looking great.
And the build of the wings looks very fragile. But that is known from Dean’s build-log.
Regard, Peter
It’s definitely a labor intensive build, with a lot of tiny parts. But the end result makes it all worth it.
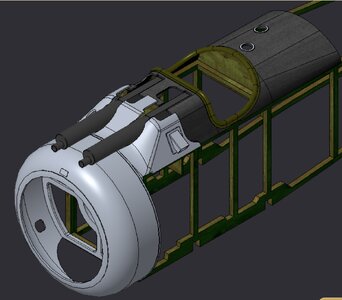
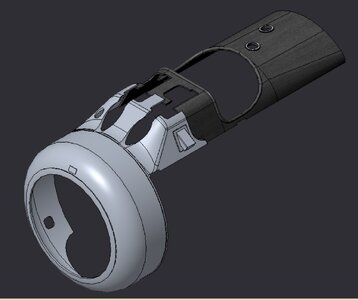
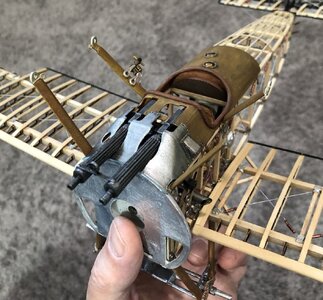
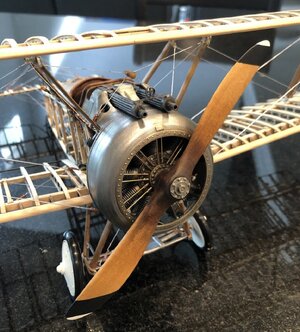
I love your motor so far Donnie. I added detail to mine, but it got mostly covered with the cowling. I modeled a cowling and the canopy and gun covers in 3D and printed them in plastic. I felt like it helped identify it as a Sopwith Camel better with the additional parts.
 
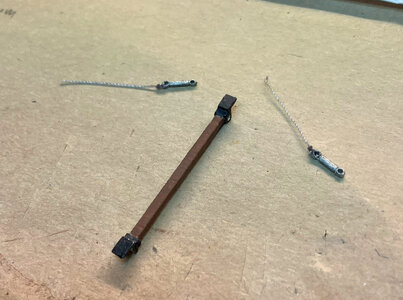
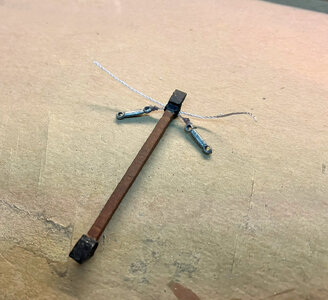
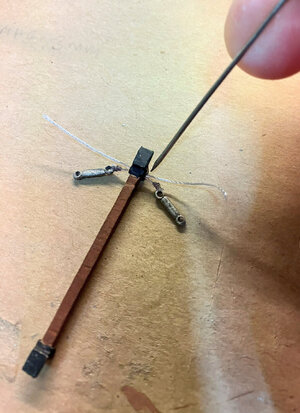
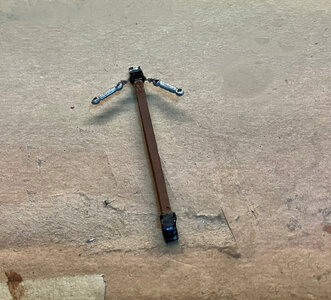
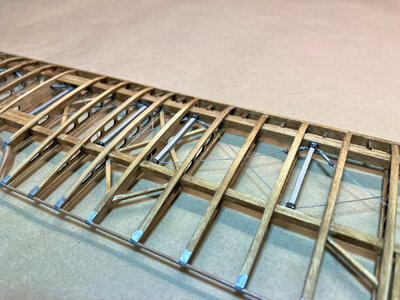
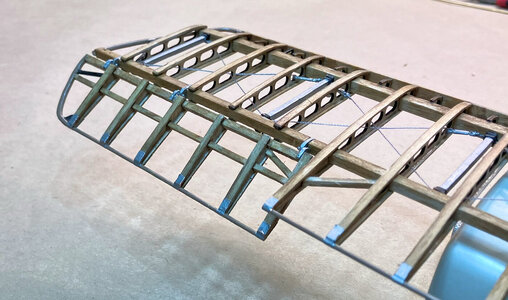
Now, for the Compression bars. This is the only way that I could find to attach the turnbuckles to the bars. Cut two halves of the buckles and feed each end through the holes of the Bars and then glue and cut off.

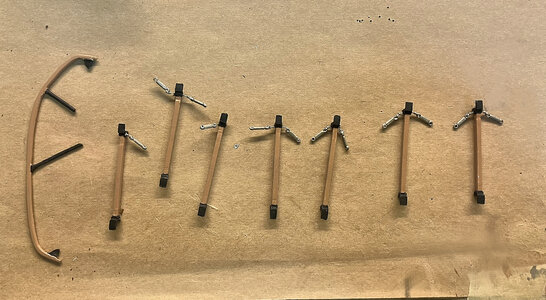
I hope this sequence makes sense. I took about a hundred times before I could decide on a color for the Compression Bars and the End Wing Tip, - it is what it is.


compression-bars01.jpg

compression-bars02.jpg


I am using this needle tip to apply CA. The CA will "wick" into the hopes and seal up. Then I cut off the remaining.

compression-bars03.jpg

compression-bars04.jpg

compression-bars05.jpg

 
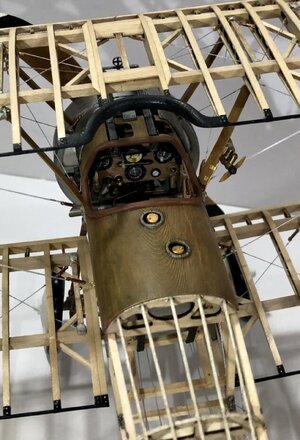
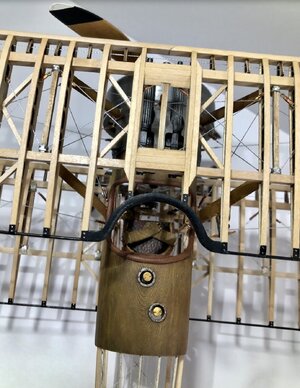
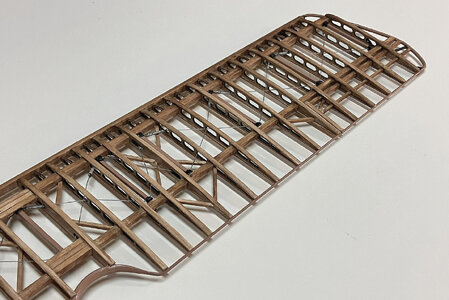
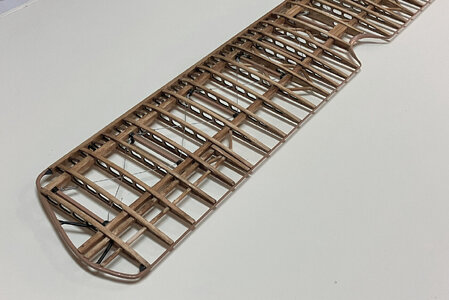
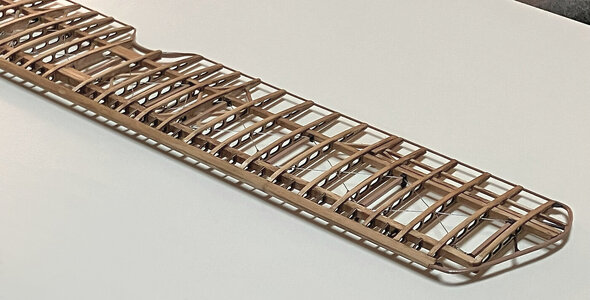
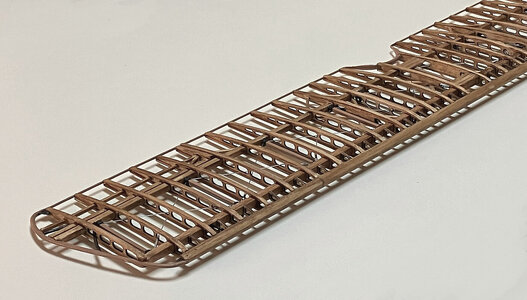
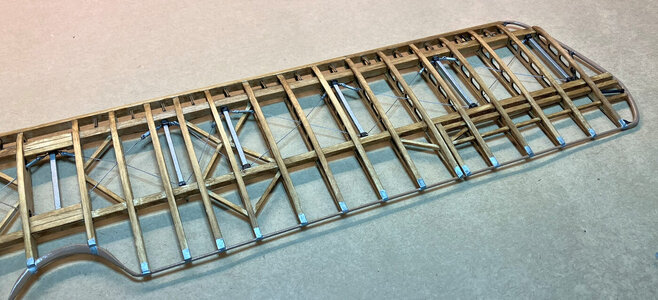
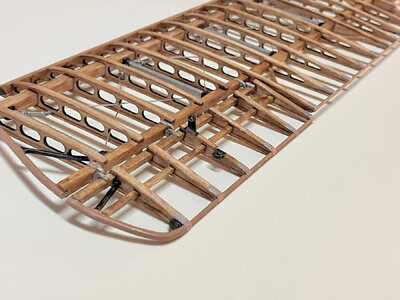
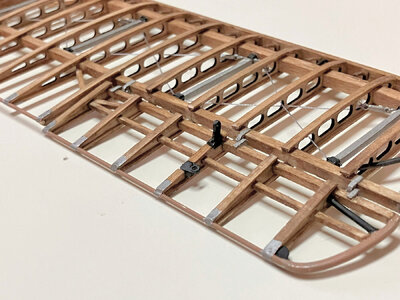
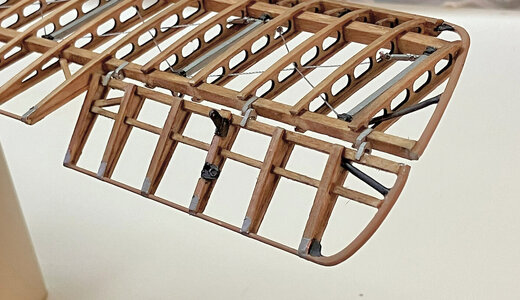
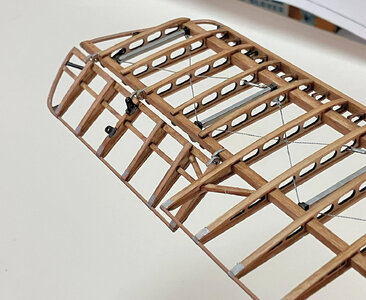
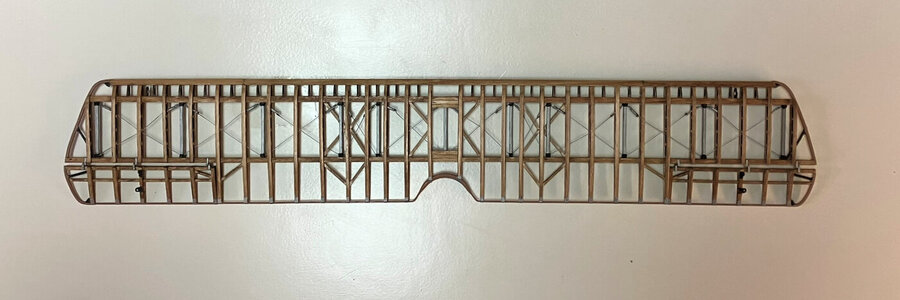
Thank you all for tuning in and all the compliments - it is appreciated. This is the update. I am using Golden Oak Minwax for the Stain. This is one of those things that I fret over about colors and the balance of colors. I am somewhat happy, but then again, I am not. I am not too happy with the Compression bars - look rather fake with that Testor "brown". But, it is what it is and I am not going back. I probably should have painted the Compression Bars flat steel.
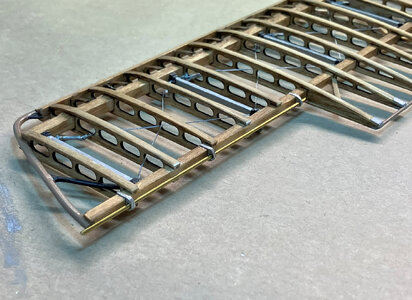
Next will be the copper tape strips at the trailing edge of the wings.

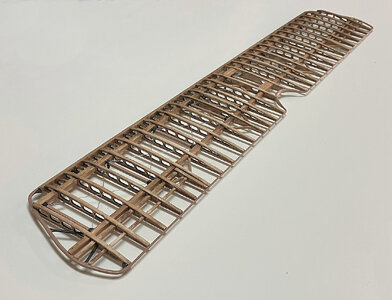
The lighting is not good as I do not have my shot box anymore -

whole-frame01.jpg

whole-frame02.jpg

whole-frame03.jpg

whole-frame04.jpg

whole-frame05.jpg

whole-frame06.jpg
 
The color of the wood in open frame model is always a question of what the owner likes. In a real aircraft, you wouldn't have this issue, as the wood is covered with fabric or painted. So pick what make you happy and go for it.
 
Thank you Jan and others -

Well, after the tedious application of the copper tape, and painting them Testors Flat Steel, I just could not cope with the ugly tan-brown compression bars, so, I painted them the same Flat Steel. So, I think this makes the third time I have painted those things---LOL. Some of the tape needs to be trimmed to length to match all in alignment.


compression-bars06.jpg

compression-bars07.jpg

 
thank you all for the likes and great compliments. I receive them all humbly.

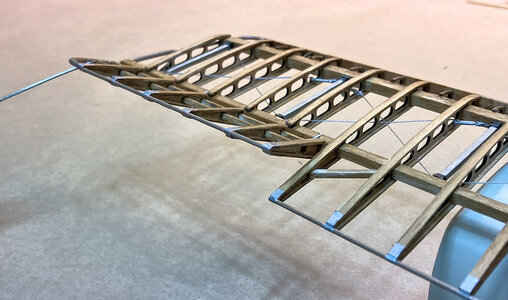
So, I have separated the ailerons and installed the wing side hinges. The hinge openings that fit onto the spars are a little too narrow and therefore, I had to cut a recess (which was a guess) for the most part.

The main point here is that I am using a brass rod to make sure the holes of the hinges are in alignment so the ailerons will move freely. The hinge on the far right (yes, it is reversed) per plans. If not, then the aileron would just fall off and that would not be a good thing !!


aileron-hinges01.jpg
 
I just ordered this kit. I am not sure when I will start on it, but just a heads up.
I have a half finished Newport from Model Airways. Great kit. Put it aside after grandson grabbed it off the table and fell on it as he was running away.
 
Here is a small update - as you know, I was able to find all the screws and hardware from the plastic container that opened. However, I still am not able to locate the remaining 3 springs. So, the springs are for the valve seats. I think the springs were just a miscount from the factory.

I decided to wrap my own springs and if I am successful, I will wrap all 24 so that there will be consistency in the material I am using which is stainless steel. The kit springs are some type of shiny material - not sure. But they will be replaced anyway.

Therefore, this is the progress so far. I ordered some stainless steel spring wire from Amazon and it arrived the other day - the price is excellent considering what I am getting. The spring wire comes all the way down to .2mm - and it is truly as fine as human hair. I might have to go up to .3mm

This is the link to the product.

View attachment 415117

I did some research to see if there was an Equation to determine the mandrel diameter to wrap a spring GIVEN the Spring Diameter and the thickness of the wire you are using. Interesting, I did in fact find such a formula from a Google Search- but I have not tried this yet. So, if you wish to use this - you are welcome.

So, this is how the Equation works and I am going to plug in my own Spring Details. My Spring final diameter needs to be 3mm and the thickness of the wire in this case, I will use .25mm. The equation will have real-life values plugged in, but for now, let's see what happens.


Solve for a Spring Diameter of 3mm and a Stainless Steel Wire thickness is .25mm

Equation:

Dm= kD - d

where:
Dm is the diameter of the mandrel,
k is the diameter coefficient,
D is the final diameter of the spring, measured from the center of the wire (not the outer or the inner spring diameter).
d is the diameter of the wire.

The value of “X” is not listed, but first, we have to determine the Spring index to plug this into the formula:
X = D/d
Therefore 3mm / .25 mm = 12
Spring Index value “X” = 12

Next, determine the diameter coefficient of “k
k = -0.01245 (x) + 0.98425
k= (-0.01245 x 12) + 0.98425
k = -.1494 + 0.98425
k = 0.83485

Lastly, we can find the diameter of the spring (Dm or the Diameter of the Mandrel we need)
Dm = kD – d
Dm
= (0.83485 x 3mm) - .25mm
Dm = 2.50455 - .25

The diameter of the Mandrel will be 2.25mm

I have not made this Spring as of this post so far. When I do, I will report the results and see how accurate this equation is.
Model Expo will replace them for free.
 
Great job Donnie on this famous old fighter. I love the colours you put into the wood, makes it look really old as if it was in a museum. I read an article on the flying characteristics of the Camel, and it said it killed almost as many pilots trying to learn how to fly it as it did in combat. Once a pilot mastered it is when it became very dangerous to its' enemies.
 
So, the upper wing is finished. Many areas need some touchup paint, etc. due to handling of the wing during construction. Of course, close-ups reveal all the imperfections, but so far, I am pleased with it regarding that the kit itself has to have a lot of attention to make it a halfway decent model - nor am I bragging about it either. It is what it is just trying to make the best as I can. There are several "steps" in the process that should have been done in better sequence.

whole-frame12.jpgwhole-frame11.jpgwhole-frame10.jpgwhole-frame09.jpgwhole-frame08.jpgwhole-frame07.jpg
 
Back
Top