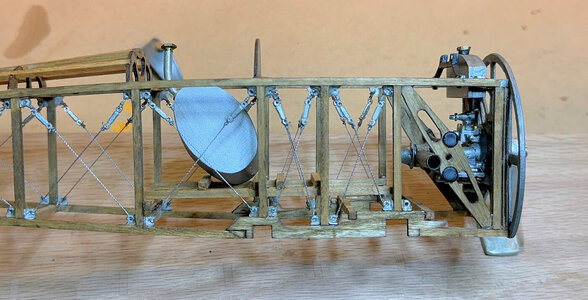
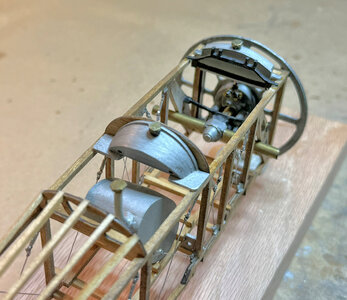
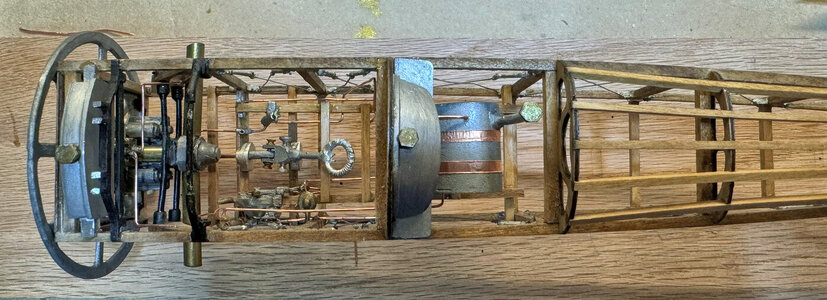
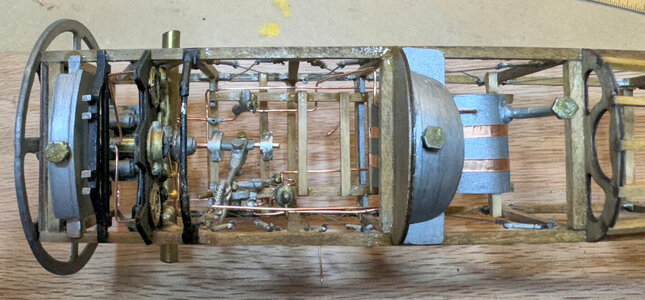
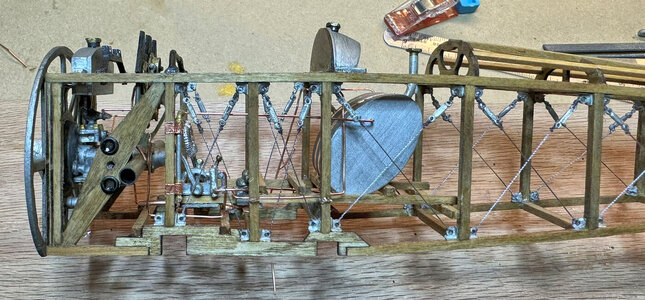
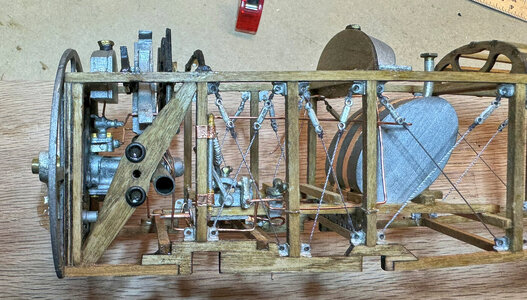
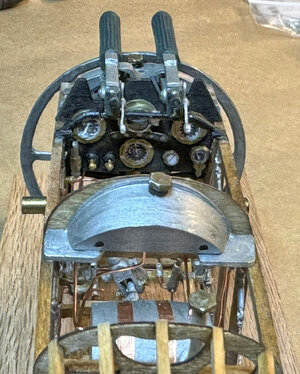
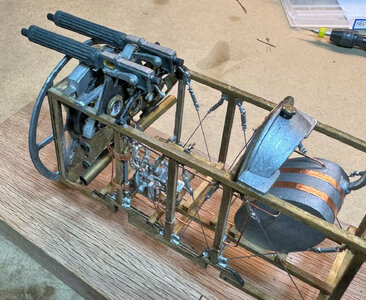
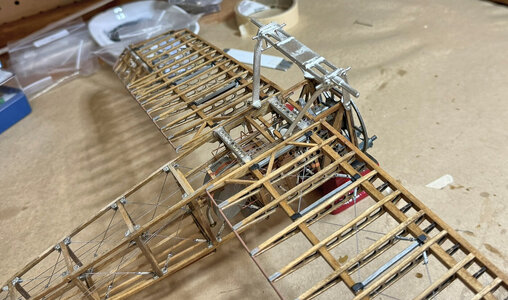
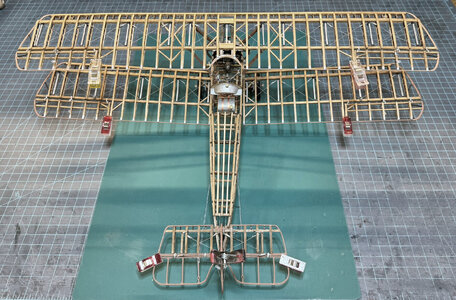
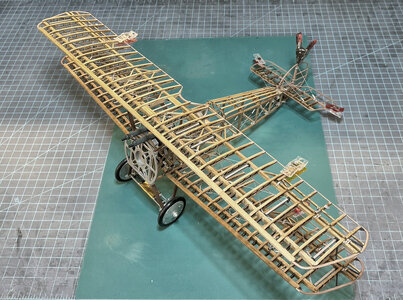
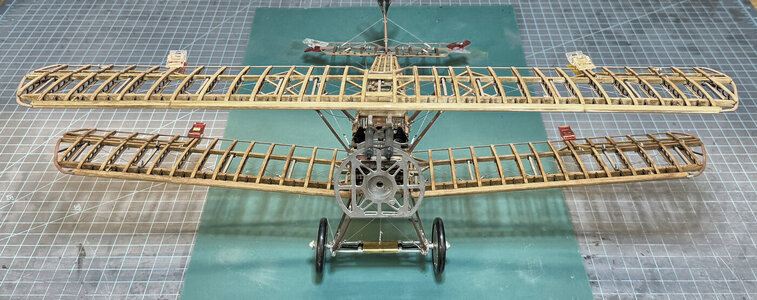
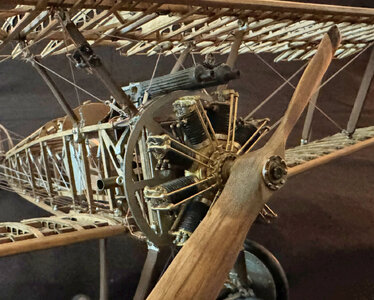
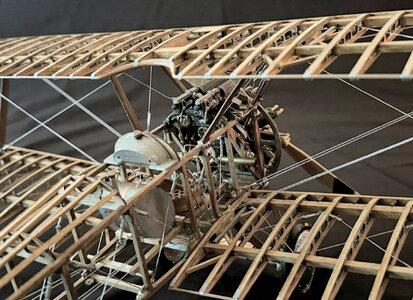
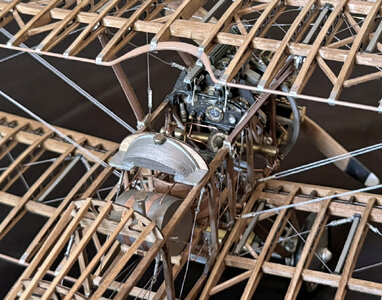
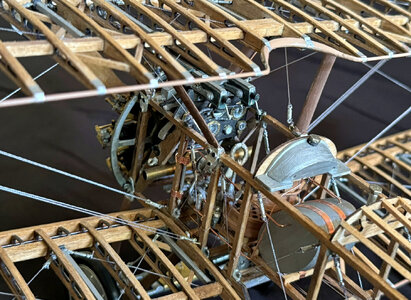
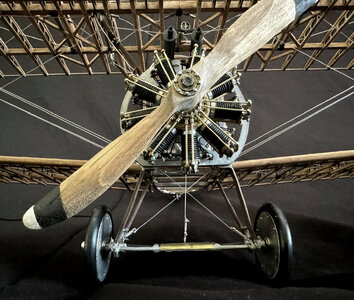
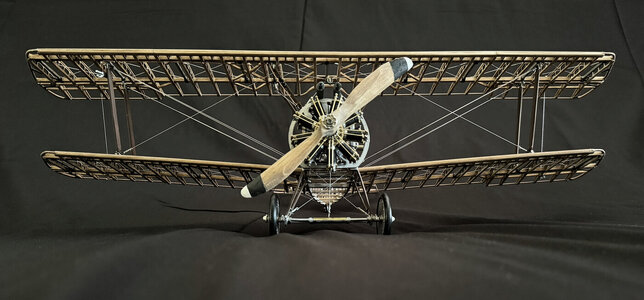
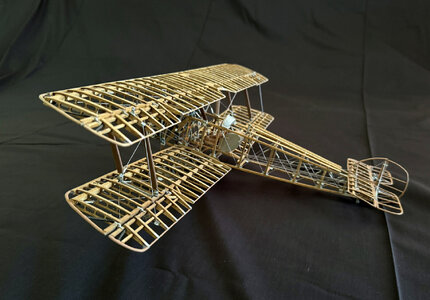
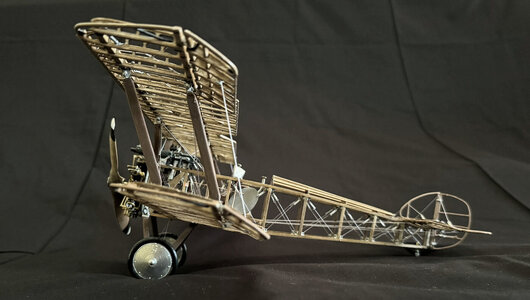
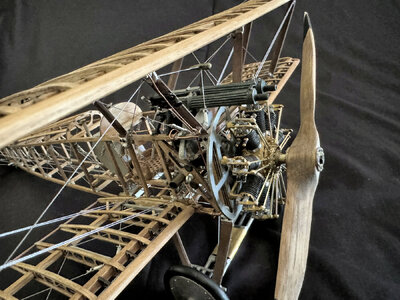
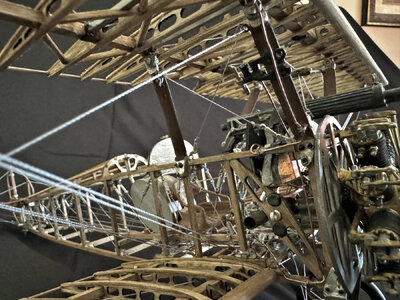
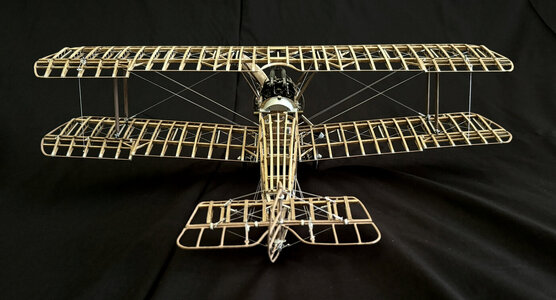
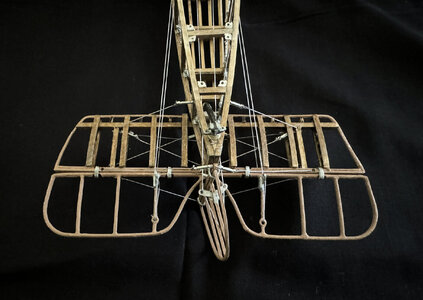
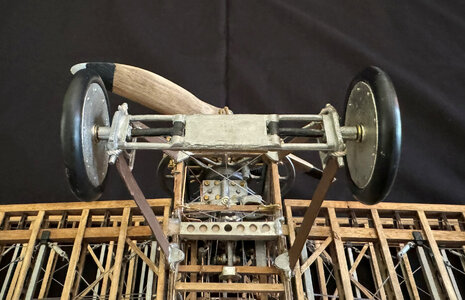
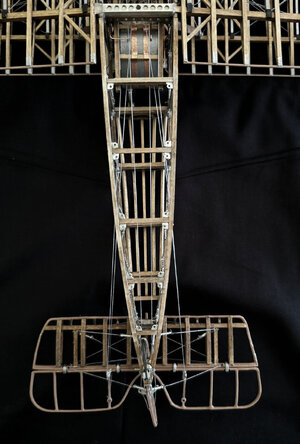
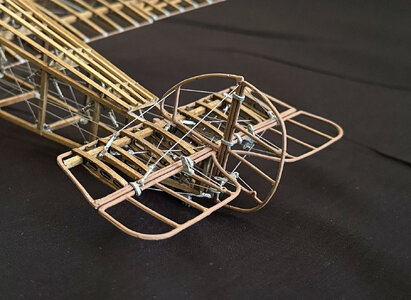
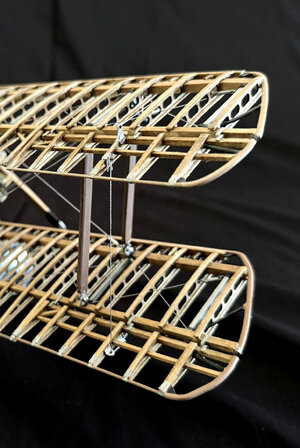
Looks fantastic
- Home
- Forums
- Ships of Scale Build Logs
- Super Detailing Static Models / Other Genres
- Historical Trailways, Guns, Aircraft, and Cars
You are using an out of date browser. It may not display this or other websites correctly.
You should upgrade or use an alternative browser.
You should upgrade or use an alternative browser.
Looking really good!
Thank you all for the likes. I know I did not take a step-by-step log of this build. I admit that this build was just too frustrating and I hate to say, that I will be glad when I finish it. I do not mean to be negative about it - and really I am not - it is just that this model was pretty tough to build.
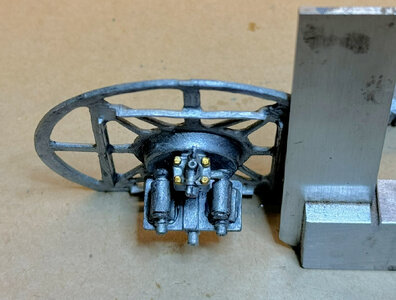
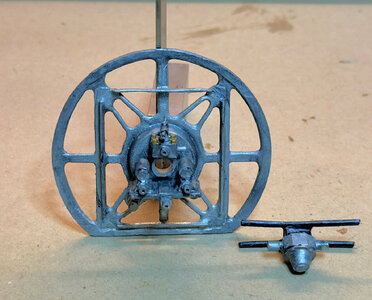
I would say the most frustrating are the Britannia Metal pieces (their brittleness). Then in most cases even using a 2 part epoxy, the parts just would not stay bonded. CA glue posed another problem with a lack of bonding power. Britannia metal and wood (bonding) just isn't good - - at least from my experience.
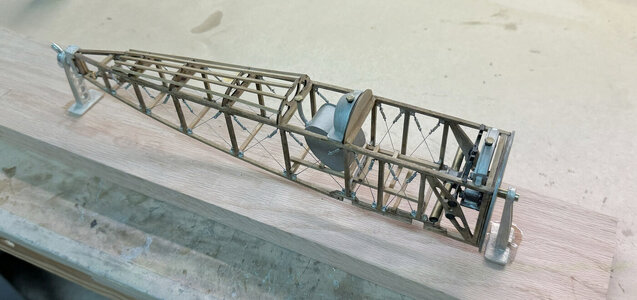
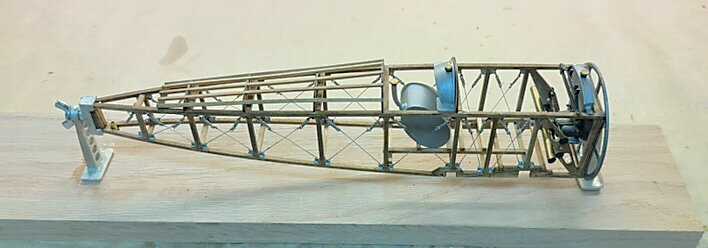
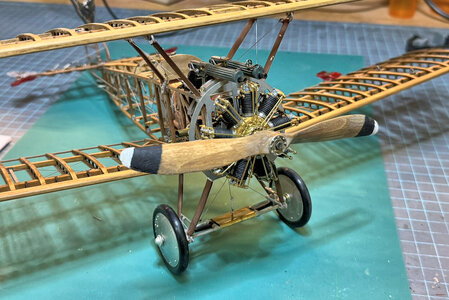
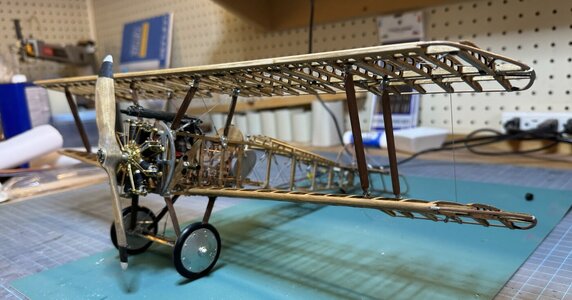
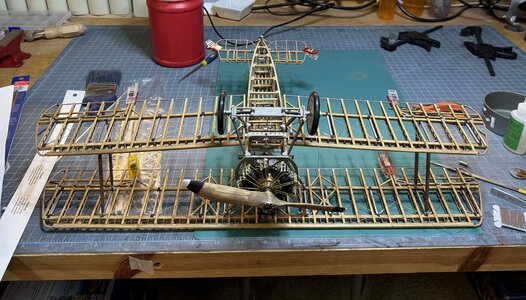
So, with all that said, here is where I am with it. I am getting ready to install a few more parts to the lower wing assembly, then on to installing the upper wing.
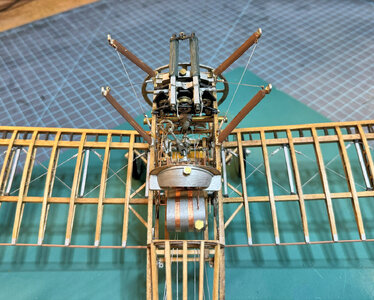
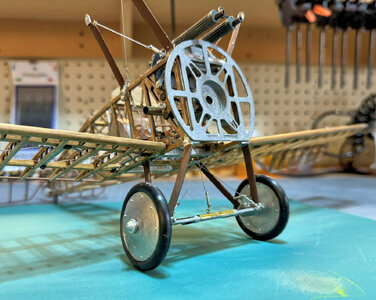
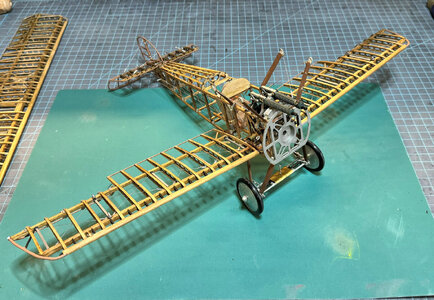
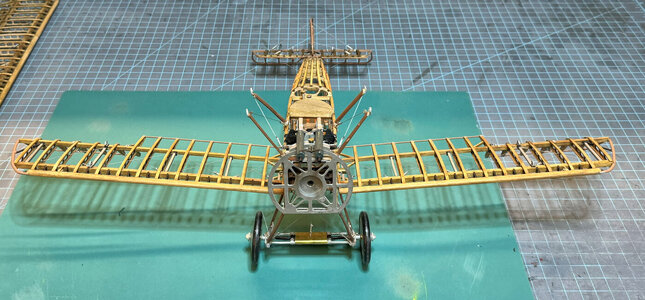


Wow! That's looking great Donnie!
Kurt Konrath
Kurt Konrath
Just add the engine and she will be ready for flight, maybe some skin on the wings.
I have seen one other builder years ago who did the skeleton on one side and added fabric covering on the other like some of your POF ship hulls are done.
I have seen one other builder years ago who did the skeleton on one side and added fabric covering on the other like some of your POF ship hulls are done.
Hi Kurt - that is a good idea. However, I am really ready to put this one to the side. Even though there is a little rigging in this plane, it is very frustrating to do.
Gentleman, start your engine!. It’s looking very nice, Donnie. Adjust the ignition a little and it will pick up.
Regards, Peter
Hi Donnie, Beautiful little model but where's Snoopy?
you are getting closer to the RC models, one foot at a time...Who knows, maybe one day we will see Sopwith Camel take off?  BTW, very nice model!
Thanks Jim, et al.
Well, I used to fly RC planes back in around 1986. It is amazing how far that hobby has come with quarter scale, lifelike rotary engines, jet engines, etc.
While I am here and if you are following, this, (forgive me, but) I wish to repeat myself again:
IMPORTANT SUGGESTION:
It might be worth your while to take inventory of all the parts. I had some missing, and some deformed. Mostly metal. However, M.E. replaced them with no problem. I did not take inventory and wished I had. If you do, then it is wise as you can get all the replacements you need at one time. It is a long process, but in the end it is worth it.
As I was building the last 4 wing struts, I did not have enough end brackets that go into the ends of the struts. Dang M.E. - - - and among other missing items and such. I can say that nearly all 100% parts must be cleaned up - reshaped - redrilled - reformed - or either just fabricate it yourself.
I would much rather pay more $$$ for a kit that is well supplied with high quality parts.
So nearing this build, I can only give this 3 stars at the most.

 and that is being very gracious. It just takes way too much work for this model to look half way decent.
Well, I used to fly RC planes back in around 1986. It is amazing how far that hobby has come with quarter scale, lifelike rotary engines, jet engines, etc.
While I am here and if you are following, this, (forgive me, but) I wish to repeat myself again:
IMPORTANT SUGGESTION:
It might be worth your while to take inventory of all the parts. I had some missing, and some deformed. Mostly metal. However, M.E. replaced them with no problem. I did not take inventory and wished I had. If you do, then it is wise as you can get all the replacements you need at one time. It is a long process, but in the end it is worth it.
As I was building the last 4 wing struts, I did not have enough end brackets that go into the ends of the struts. Dang M.E. - - - and among other missing items and such. I can say that nearly all 100% parts must be cleaned up - reshaped - redrilled - reformed - or either just fabricate it yourself.
I would much rather pay more $$$ for a kit that is well supplied with high quality parts.
So nearing this build, I can only give this 3 stars at the most.


 and that is being very gracious. It just takes way too much work for this model to look half way decent.
Thanks Jim.
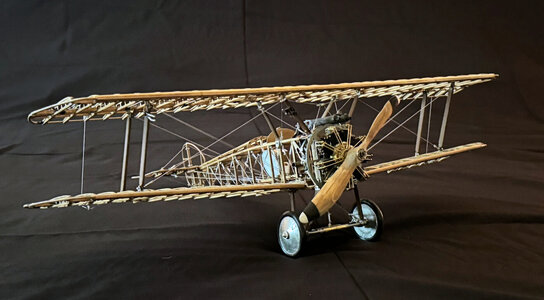
I will be taking final photo shoot soon.
I will be taking final photo shoot soon.
- Joined
- Nov 21, 2016
- Messages
- 45
- Points
- 48

You're welcome. One thing I failed to mention, I was surprised that the propeller and the radial engine both turned as one unit. I guess that was before they figured out how to gear the propeller shaft to turn on its own keeping the radial engine stationary.
Donnie, As an old airplane guy, very nice work  The good news is Jimsky and the razor saw group won't be after you.
 The good news is Jimsky and the razor saw group won't be after you.


