Thanks for posting your detailed build log. This will be my next build so I will continue to follow your lead with great interest.
...henry
...henry
 |
As a way to introduce our brass coins to the community, we will raffle off a free coin during the month of August. Follow link ABOVE for instructions for entering. |
 |
 |
The beloved Ships in Scale Magazine is back and charting a new course for 2026! Discover new skills, new techniques, and new inspirations in every issue. NOTE THAT OUR FIRST ISSUE WILL BE JAN/FEB 2026 |
 |

Thank you! Please don’t hesitate to ask questions even before each step as this boat is different from the previous 2 in the series and different approaches to building are required for some steps!Thanks for posting your detailed build log. This will be my next build so I will continue to follow your lead with great interest.
...henry

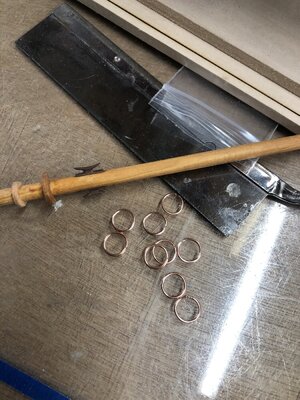
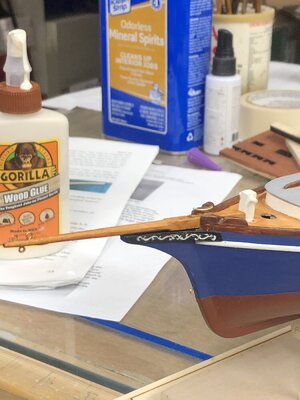
Thank you! Have you started a build log for others to view and comment on!It’s looking good. I’m waiting to get a missing sheet that has the center spine materials. In the meantime I’ve made the mast and booms. I decided to make the mast from a dowel rather than the using the pieces the kit came with. I also stained the booms with Minwax Ipswich. They look great.


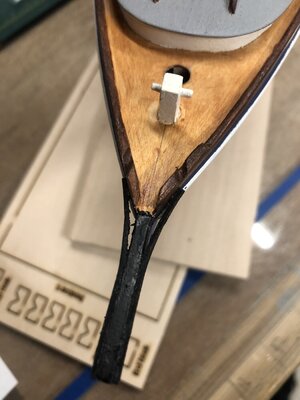
Yes actually, your are correct I wanted a smoother finish. I first primed with the Model Shipways acrylic primer after filling in divets , then trying to sand the acrylic smooth I found it was rolling instead of sanding smooth I then sprayed automotive primer and got the smooth finish I was looking for! Remember build to please you ! Right now I’m shaping the mast !Being relatively new to this hobby, why did you choose to use an automotive paint sealer vs. say an acrylic paint sealer? is it for a smoother surface for the final top coat?
Thanks
...henry

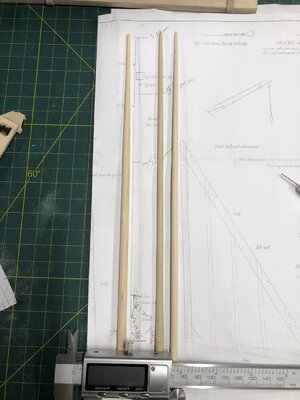
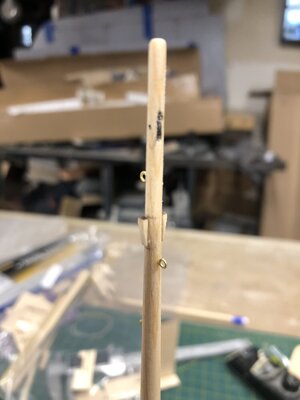
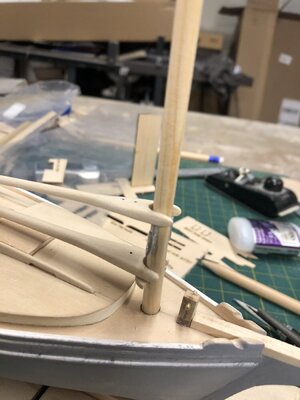

Thanks it was a bit of a learning curve while sanding and shaping it! I wanted to try and do it as per instructions by gluing the two lazer cut pieces and shaving it round, but I went to thin at the base! Then I did it again with a kit supplied Dowel, better but still too thin! Using from my own stock, this time I used a digital caliber an slowly turning and sanding it chucked it my electric drill, constantly checking the areas I need to shave down! Every bump in the road is another opportunity to learn!Nice job on the mast! Magic Mike


